WAR on Covid19 - a study on a Cartoon Character - FINAL

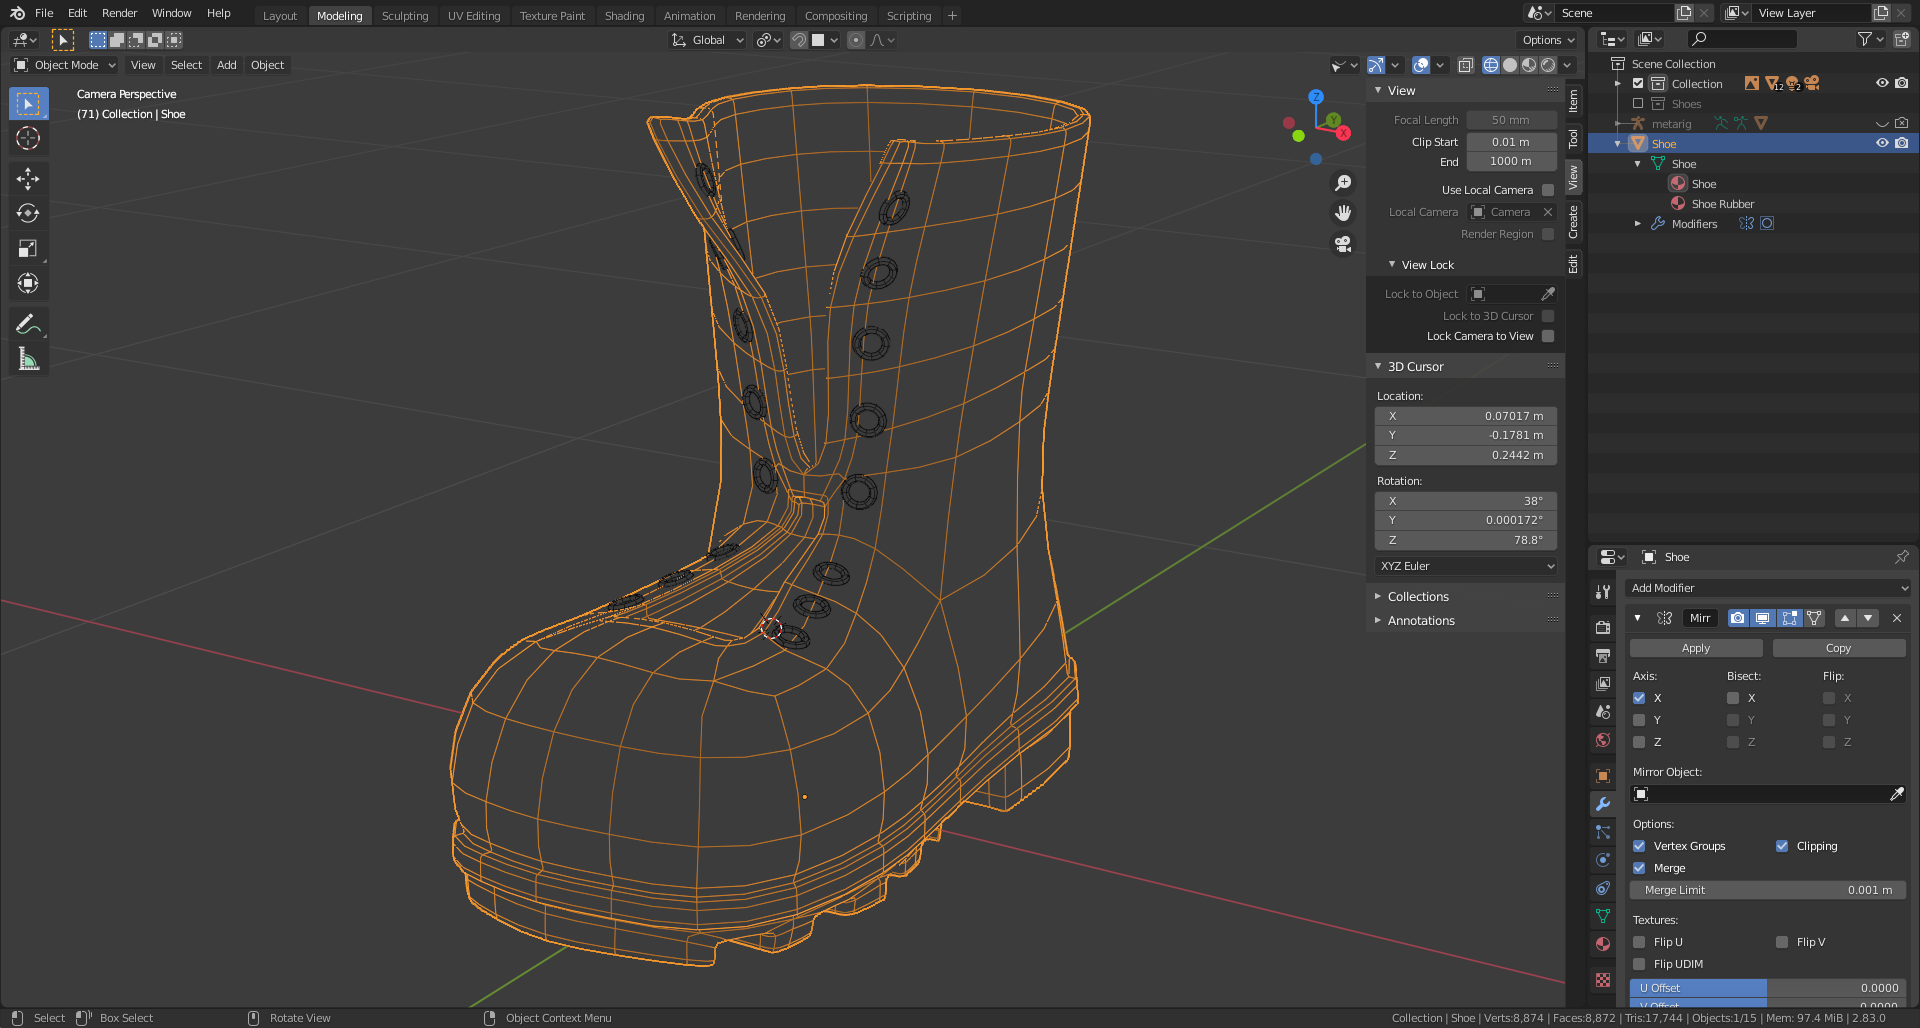
With the knowledge of the Character Orc course.
I started this process again with my own character, which I want to use in another project.
And I will keep it simple, it’s difficult enough.

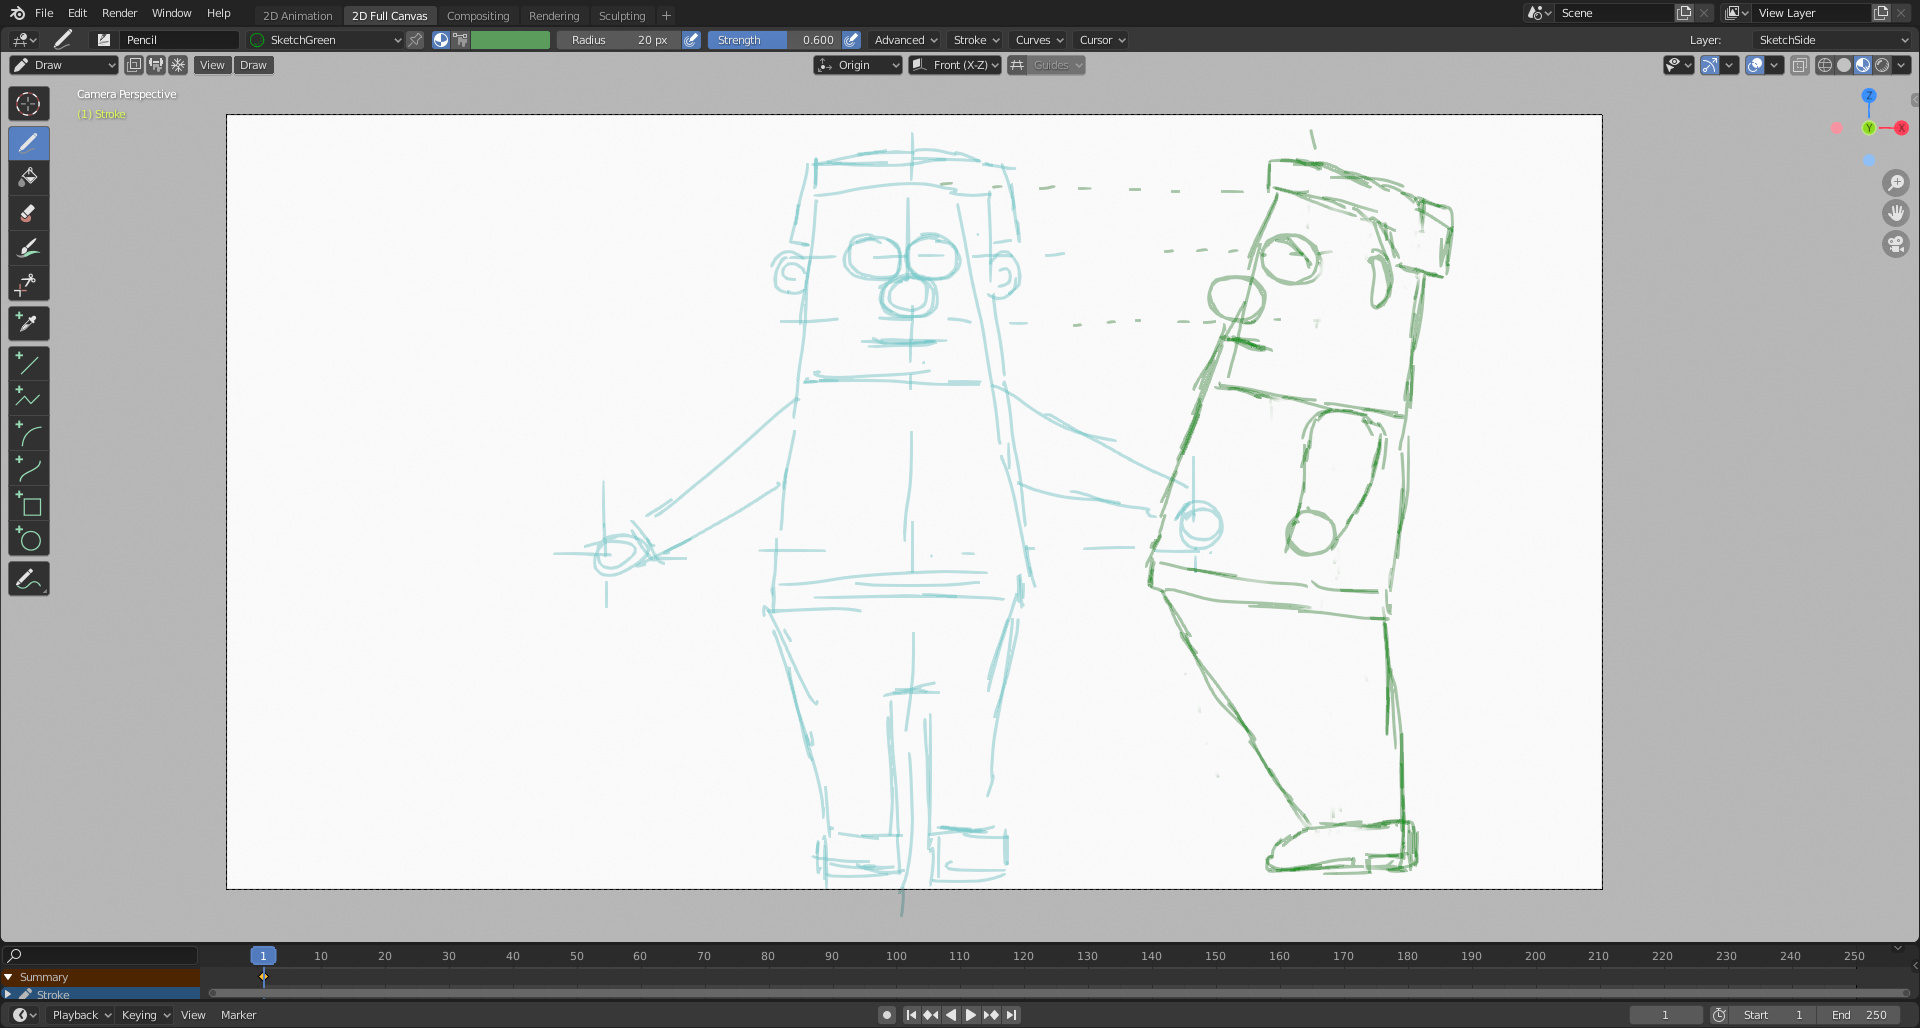
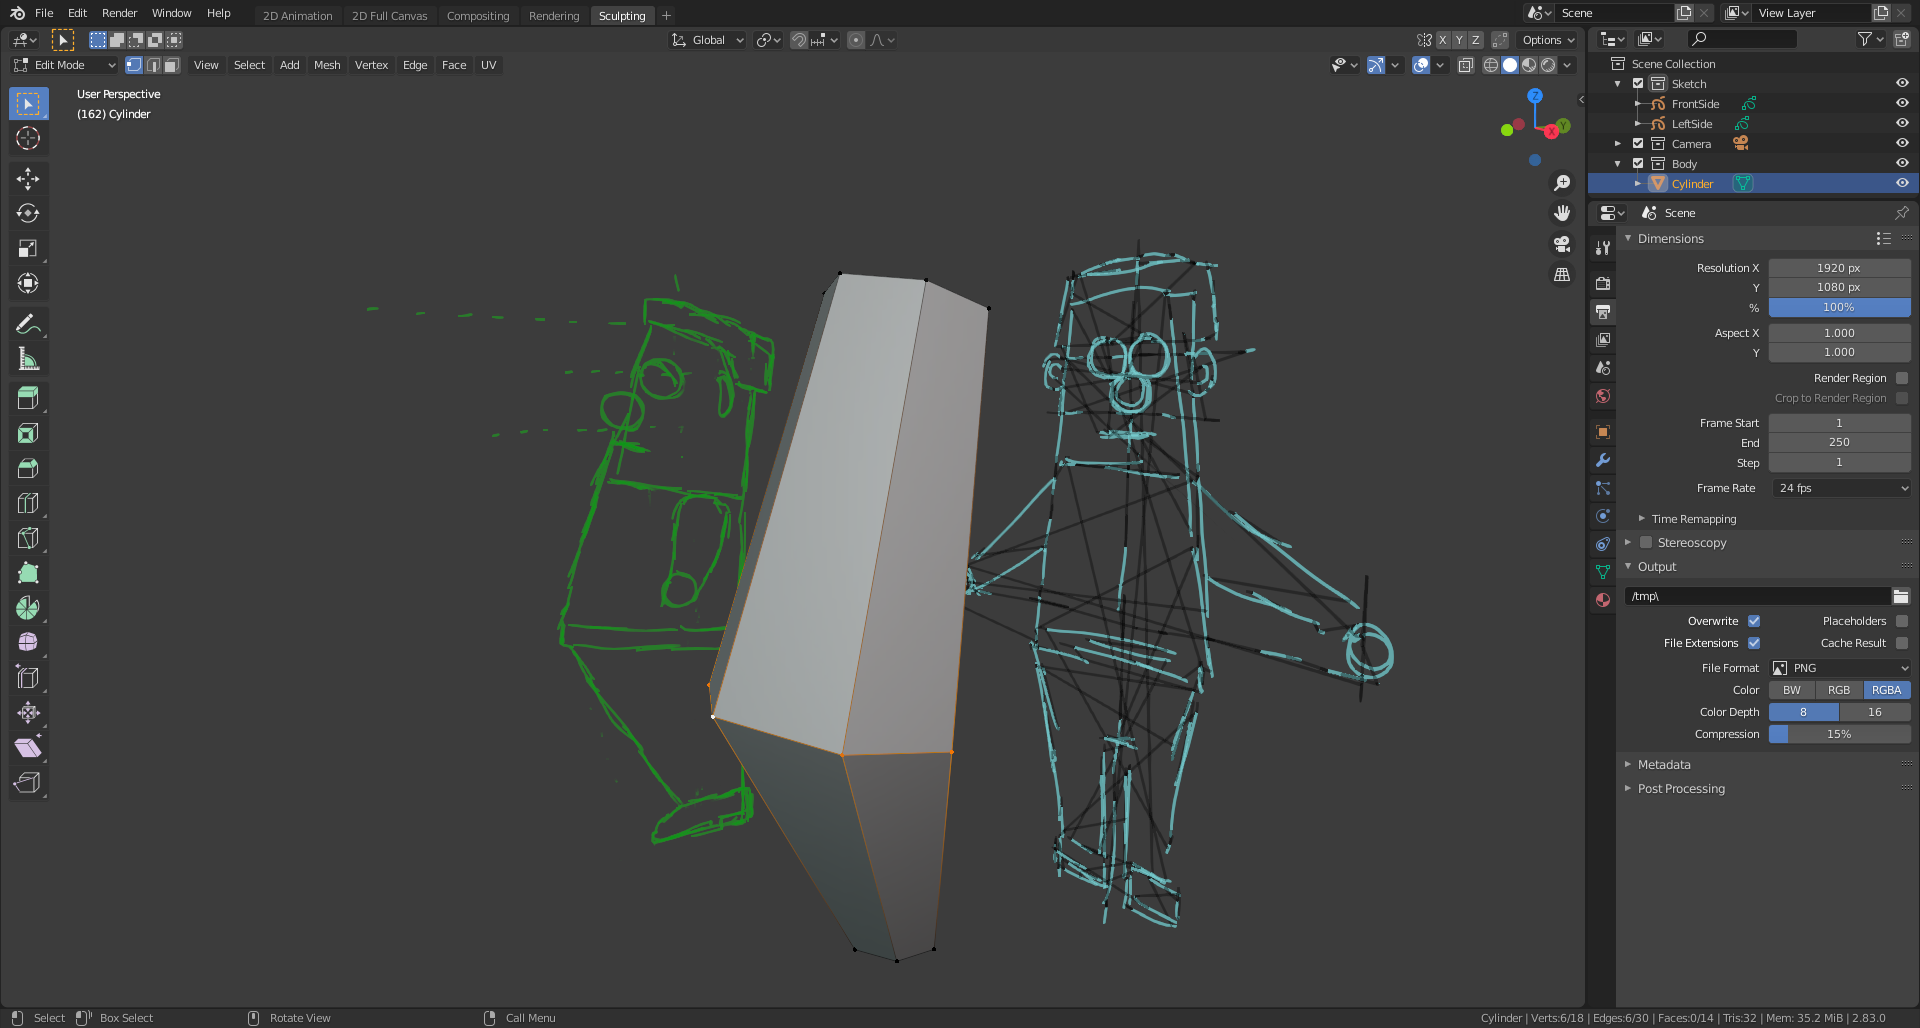
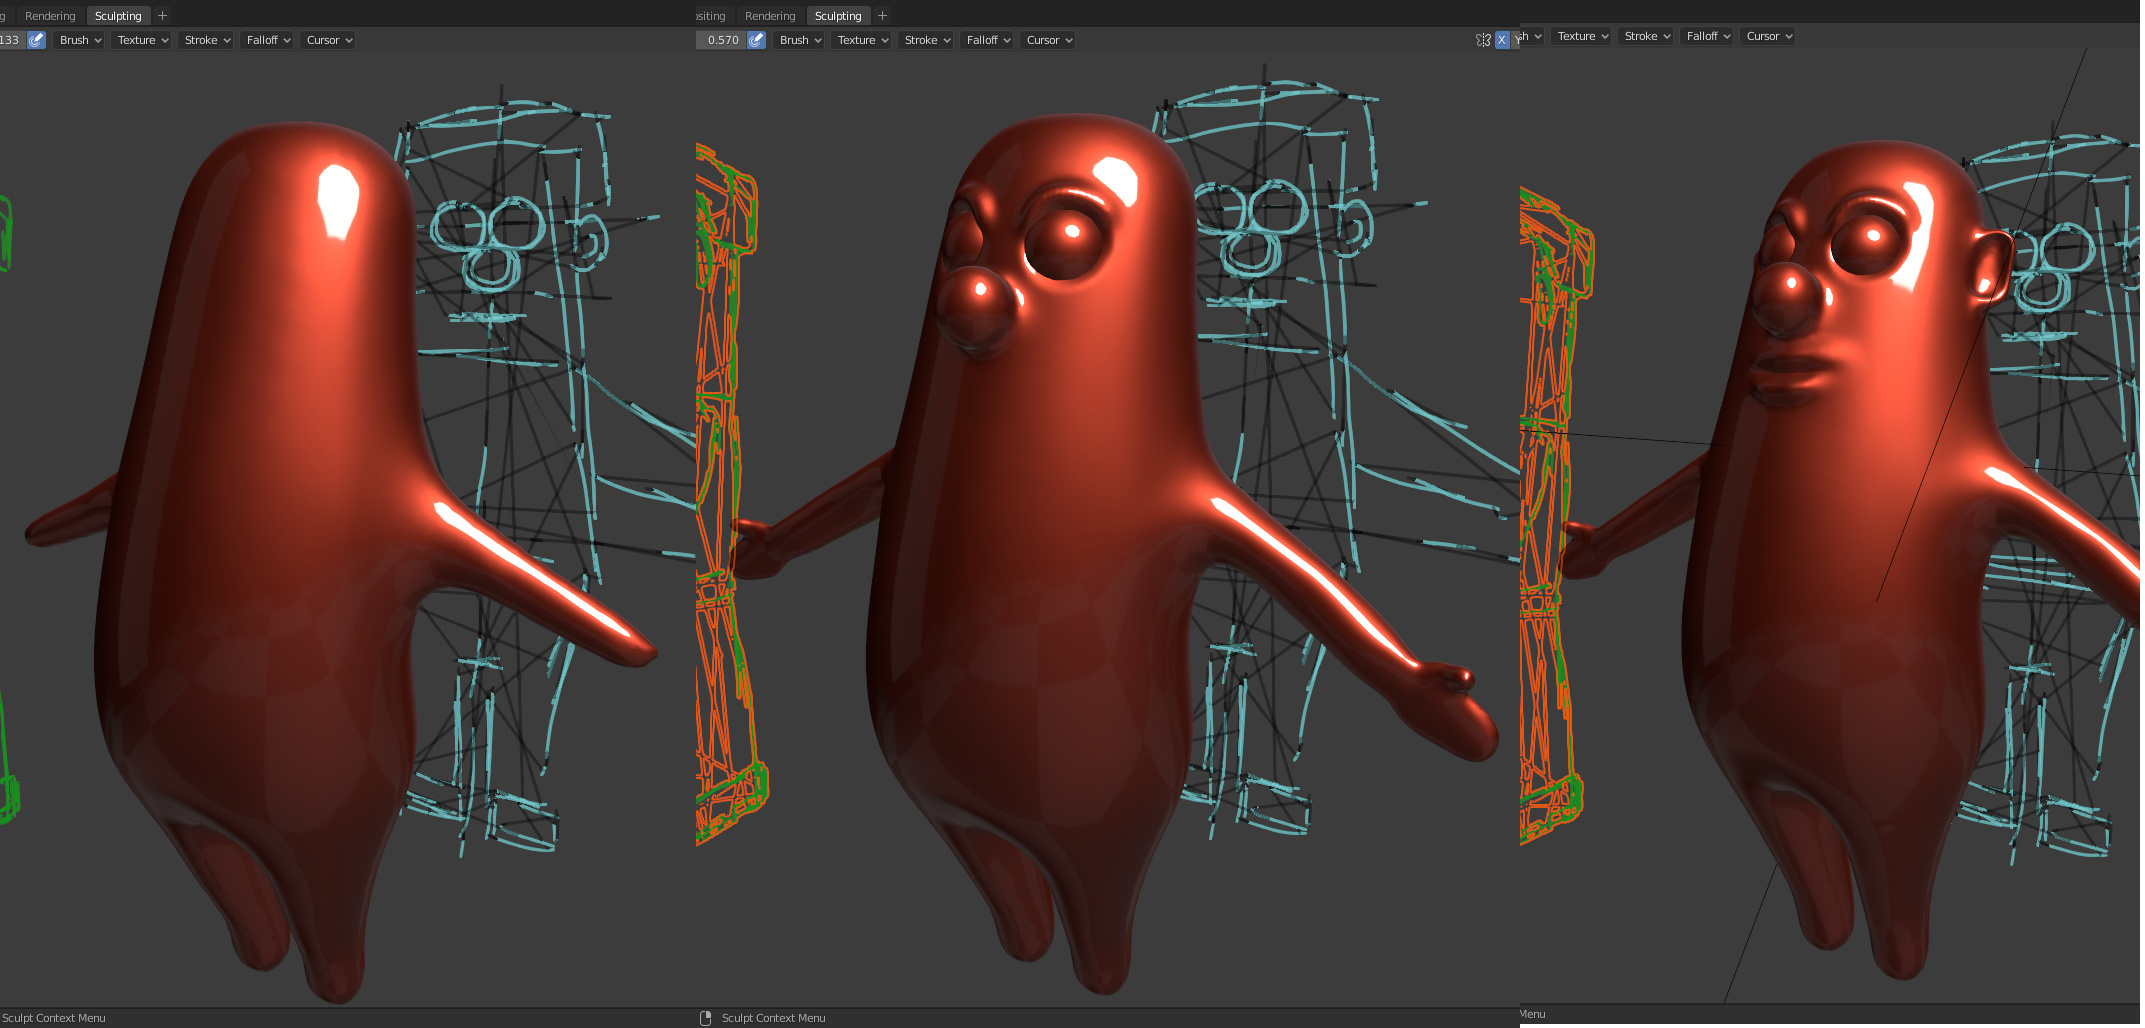
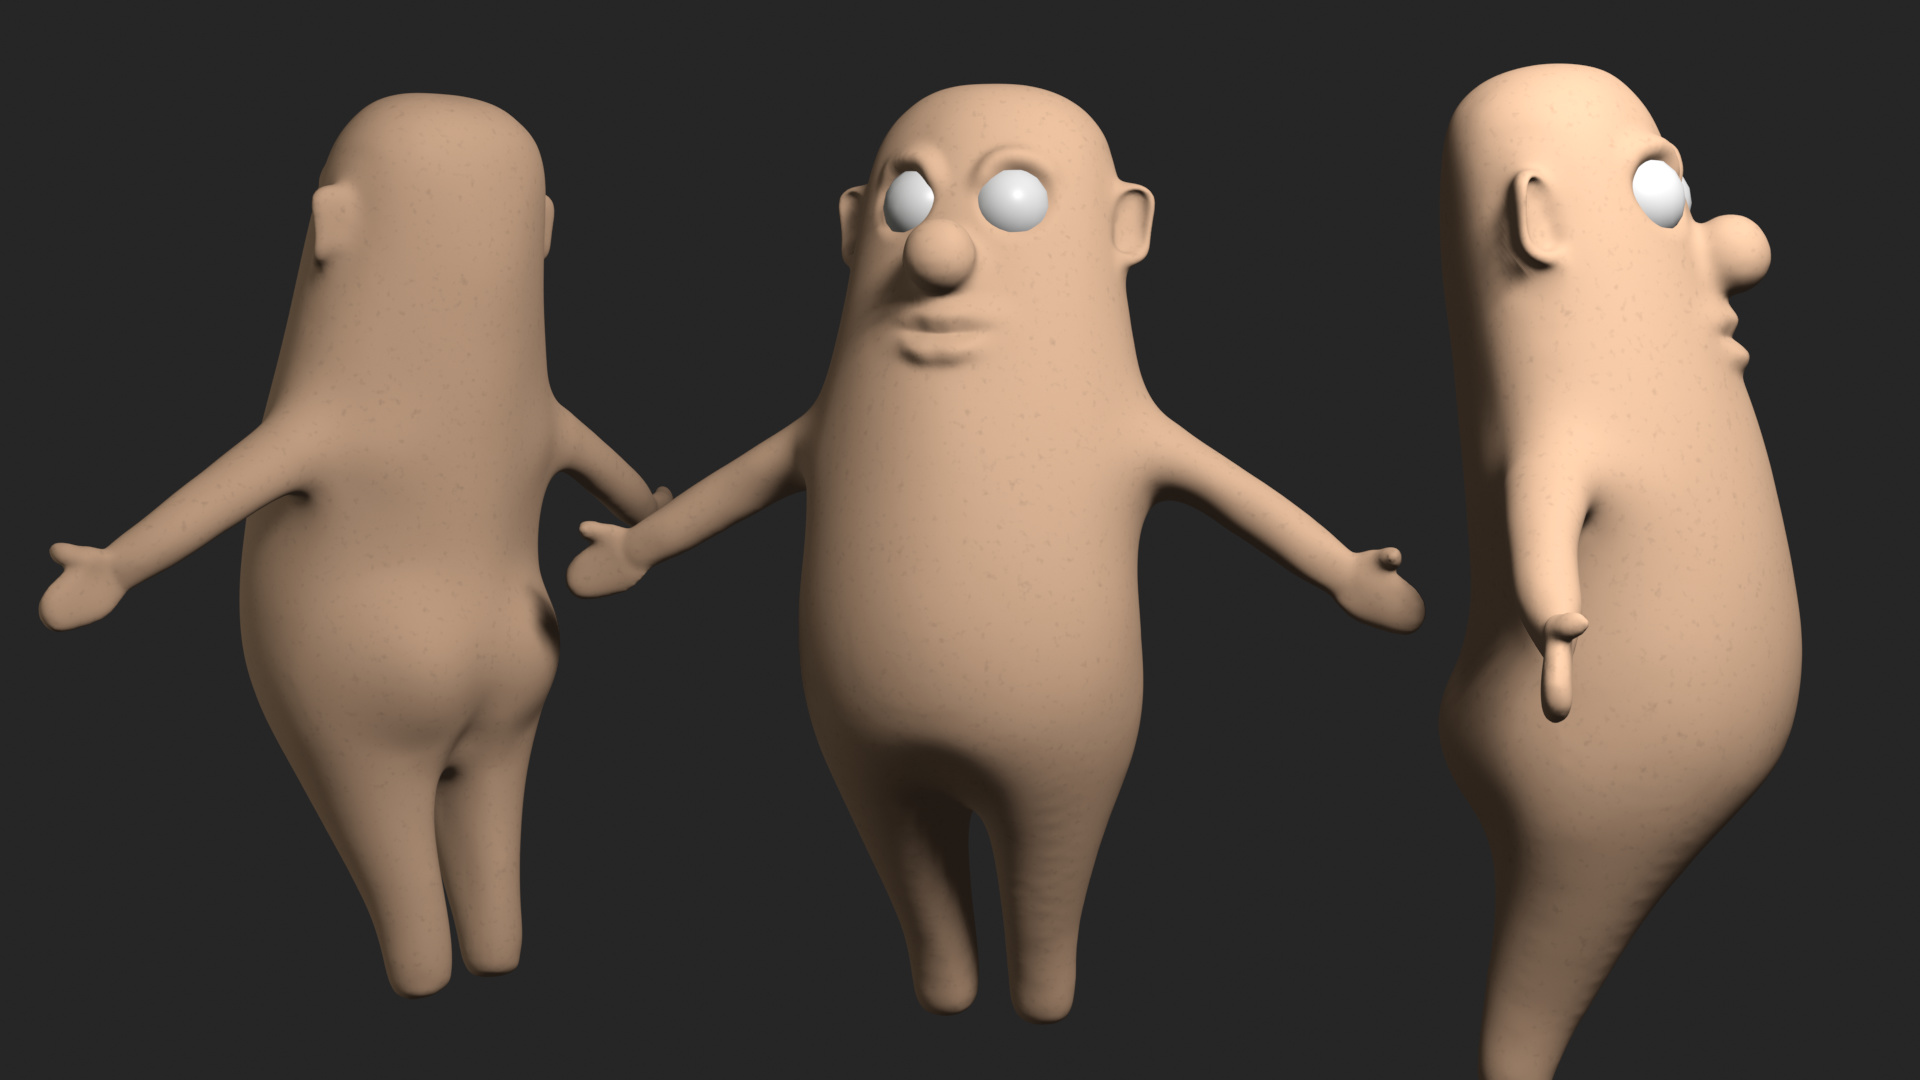
My first attempt was to jump into sculpting mode an try to do something interesting.
Or I hope it will be interesting. But it didn’t work out, so a bit of help like references will help.

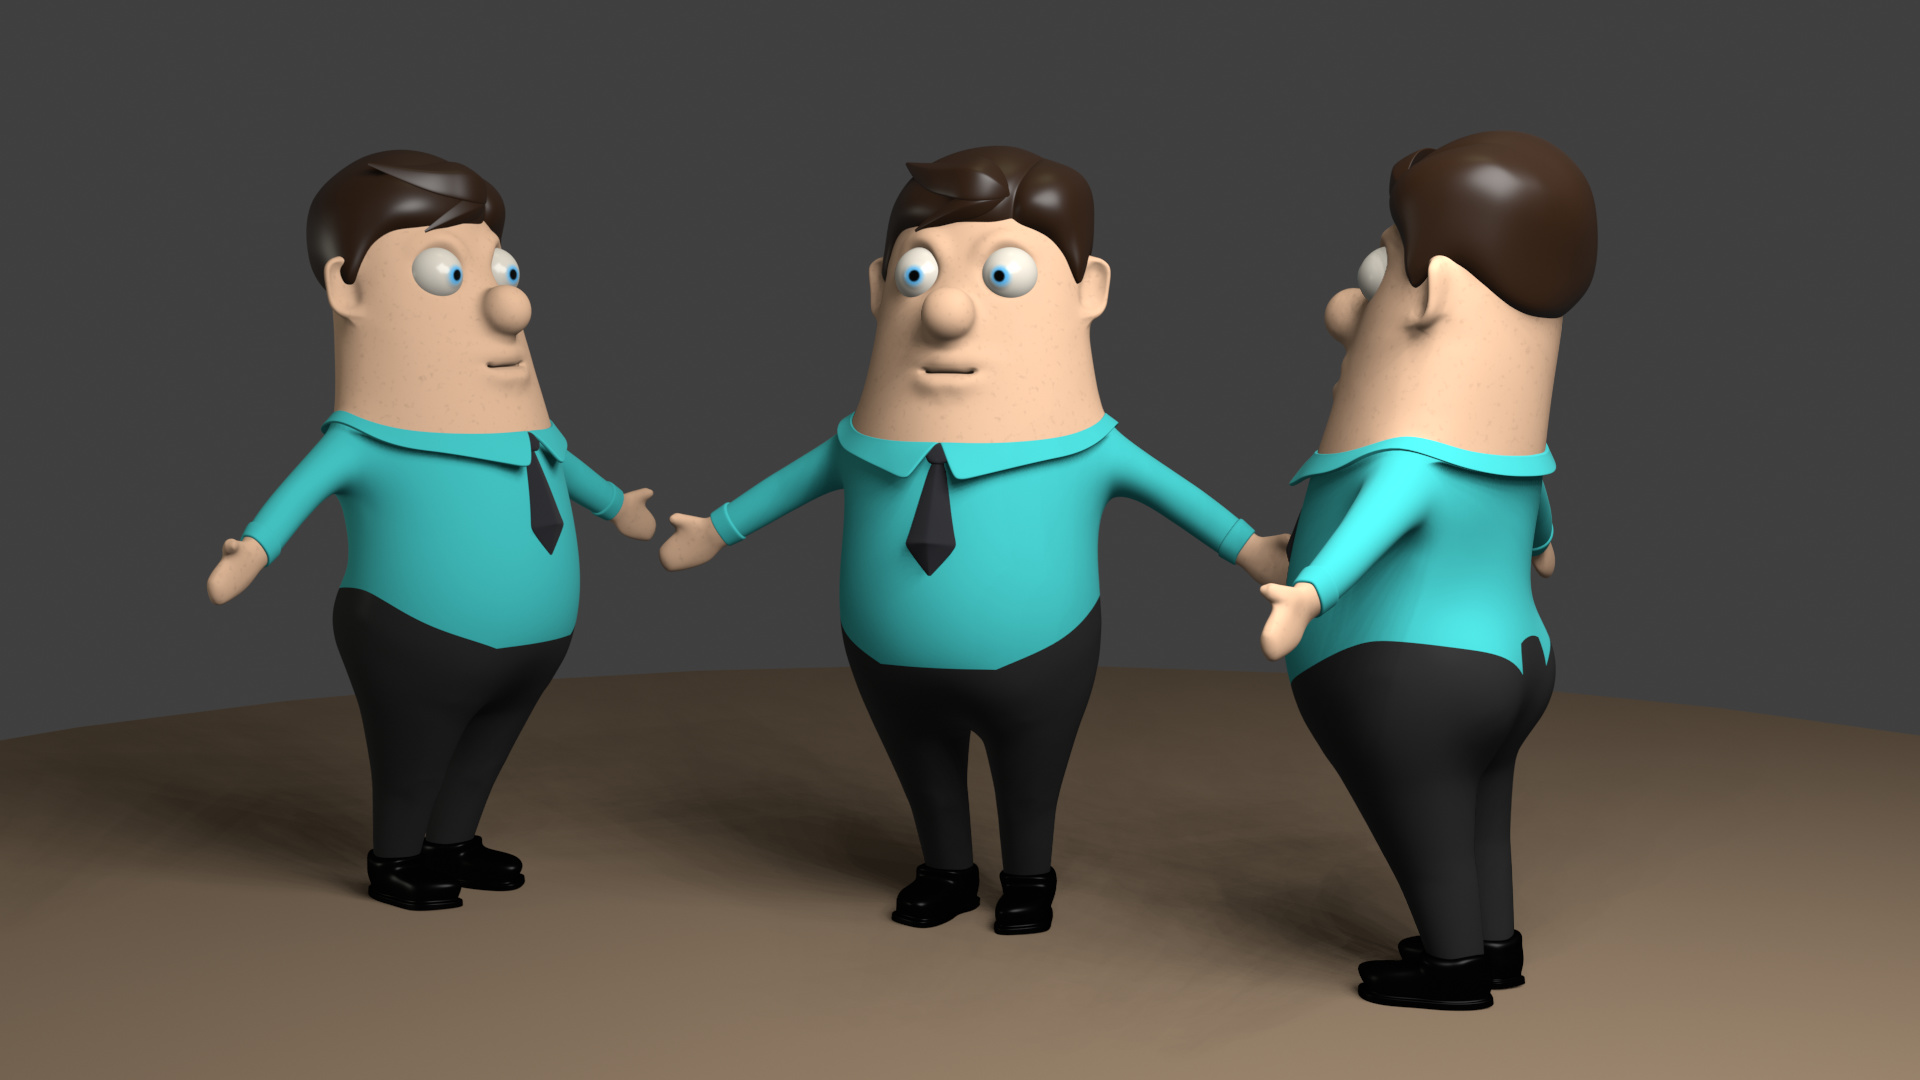
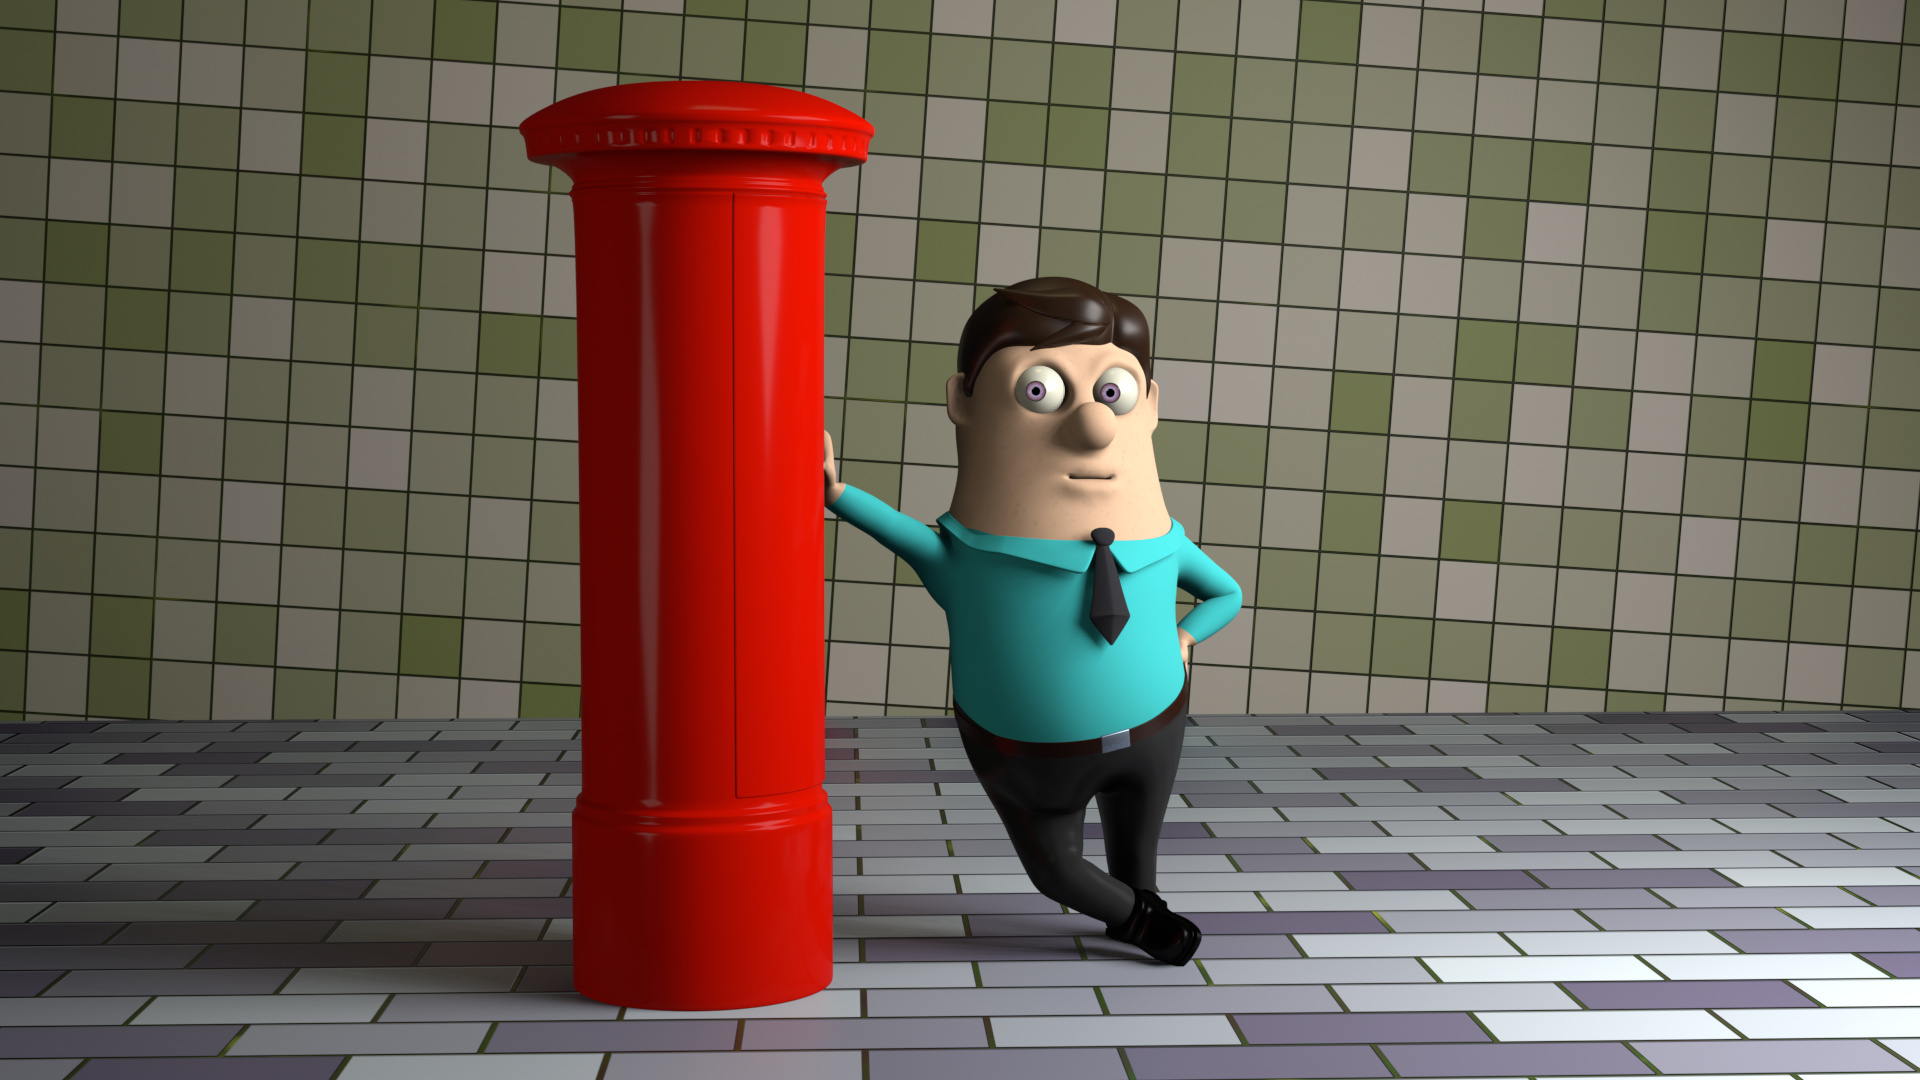
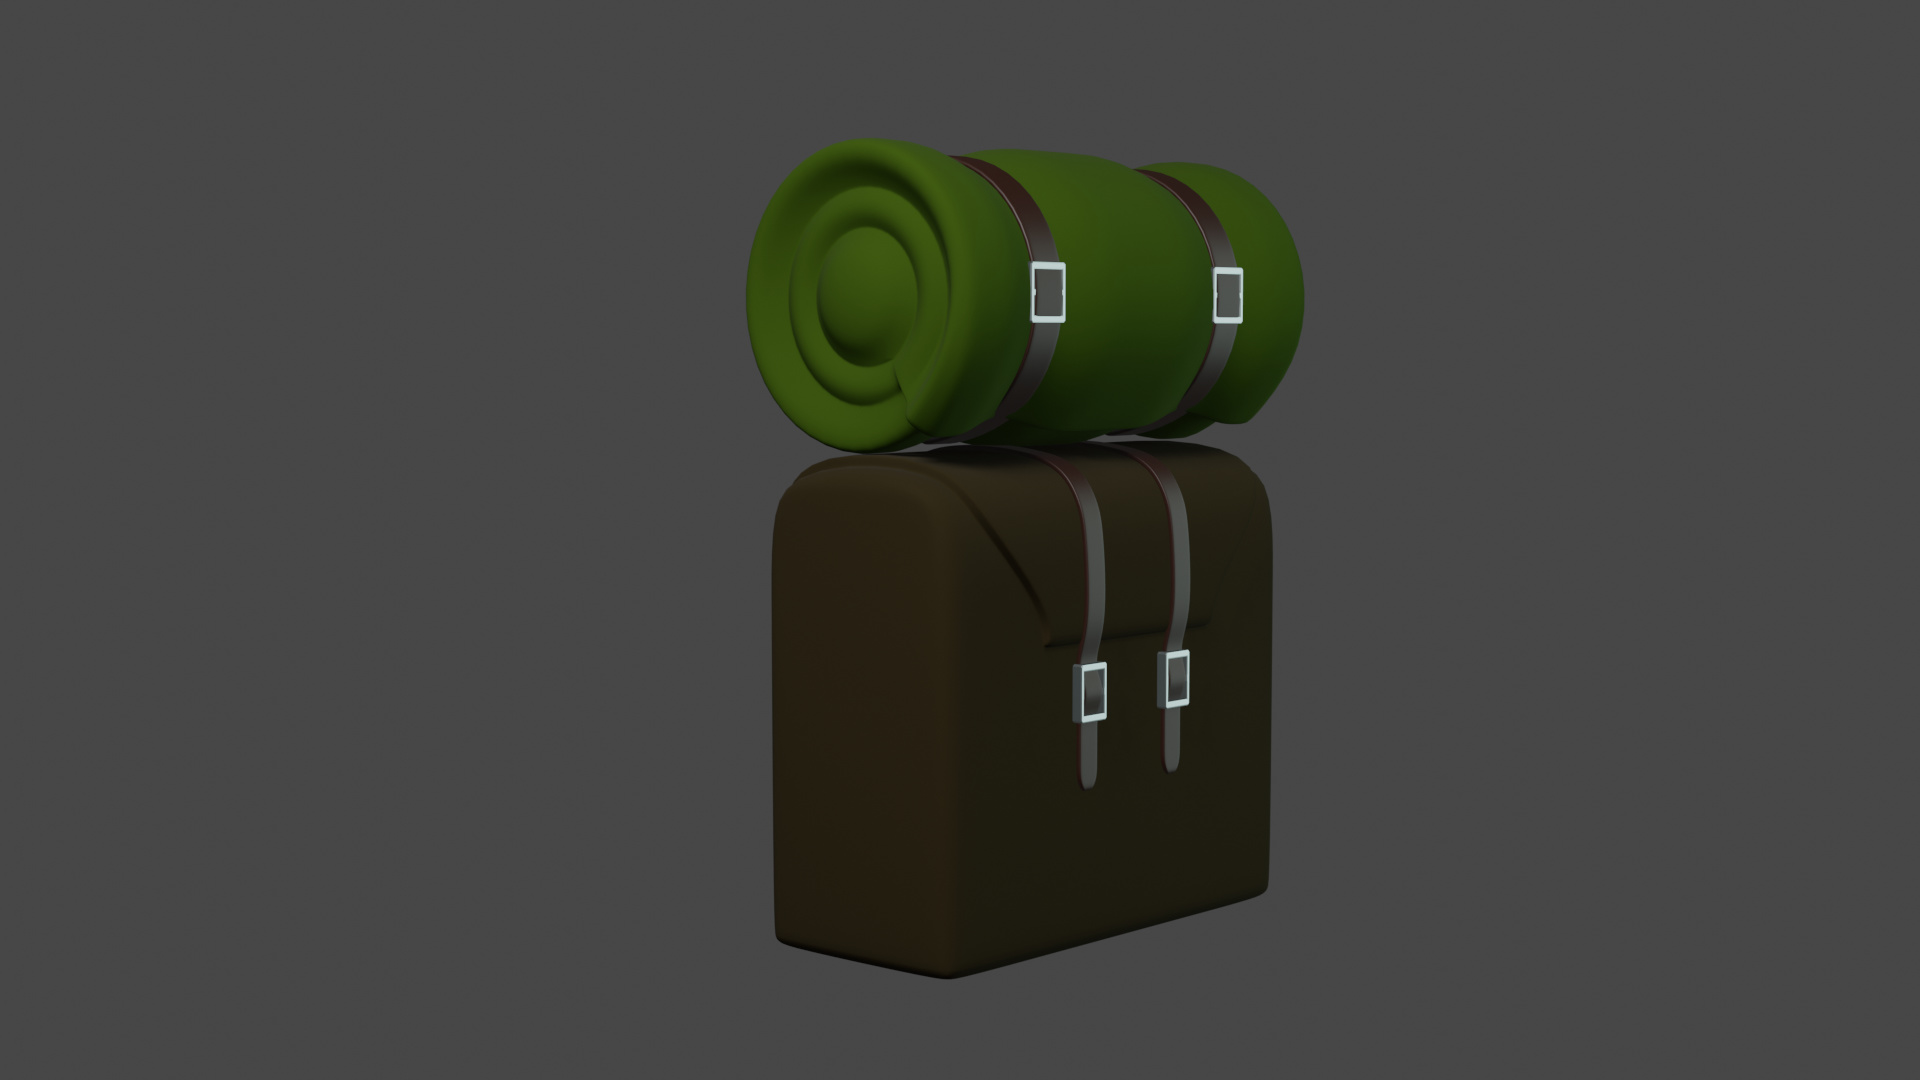
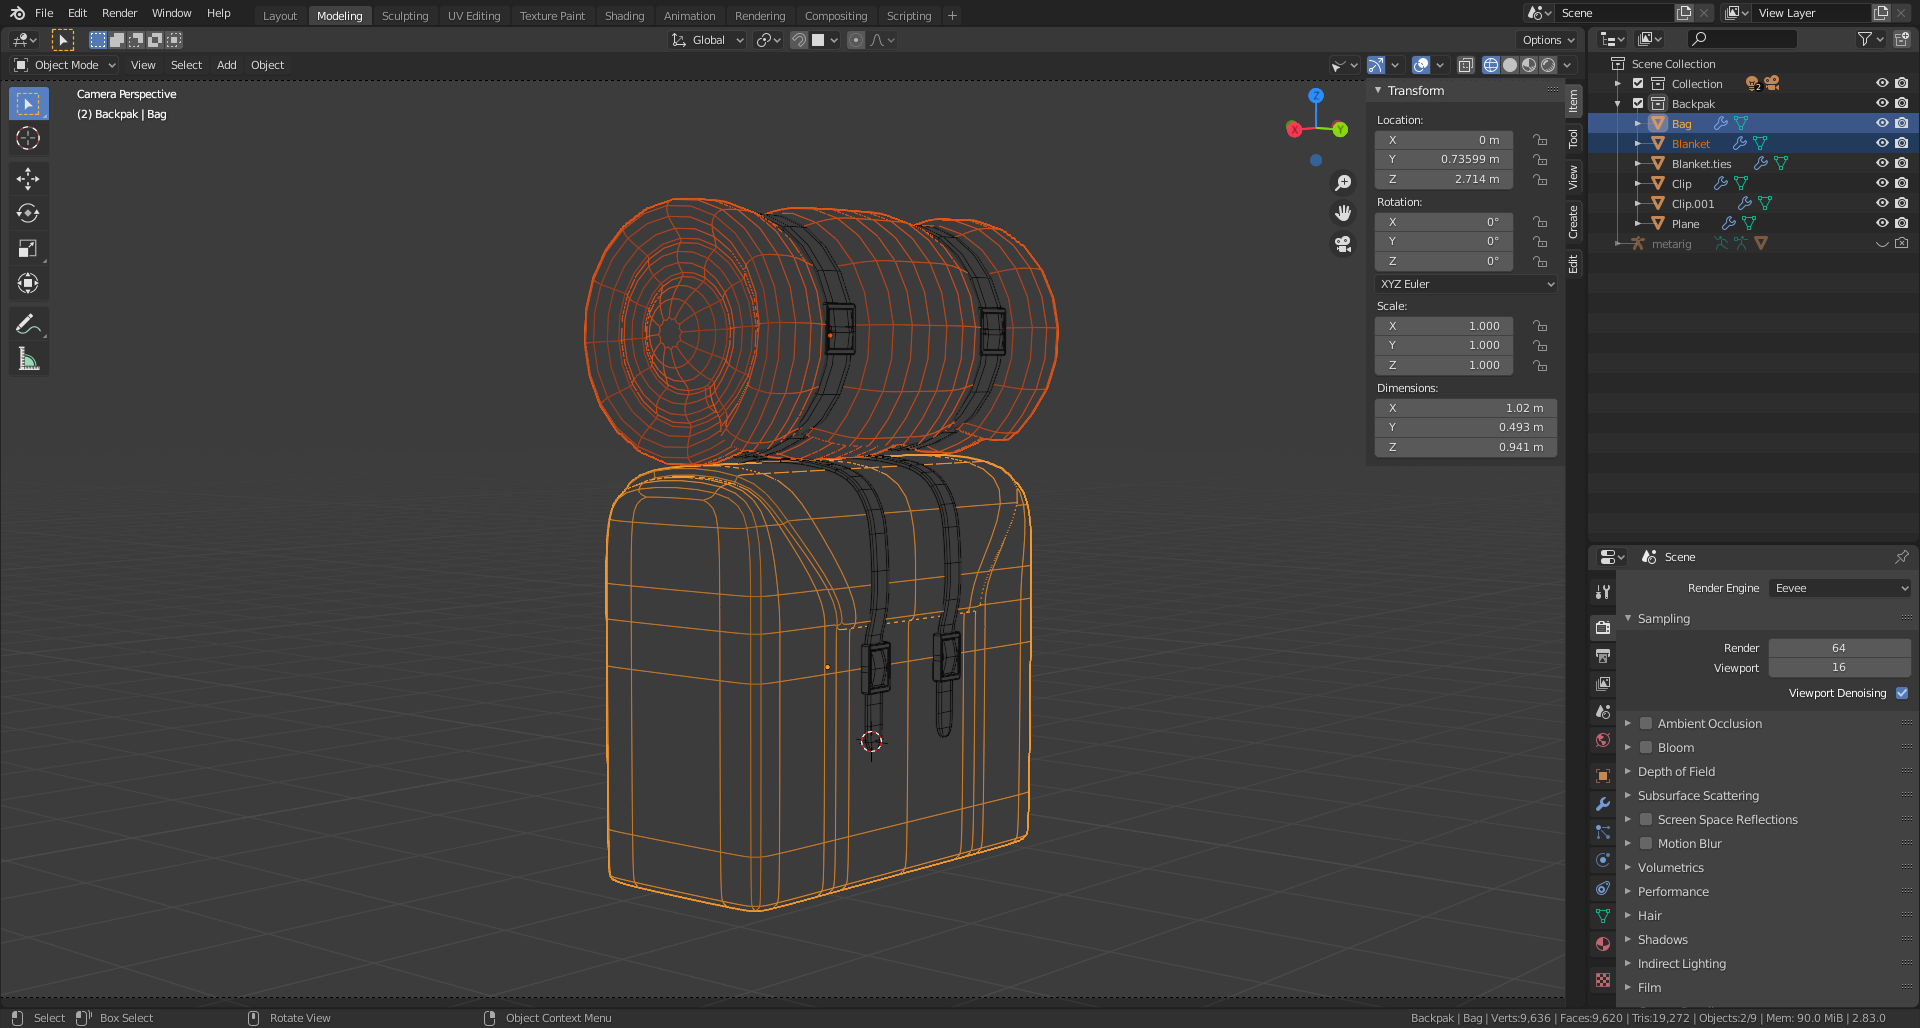
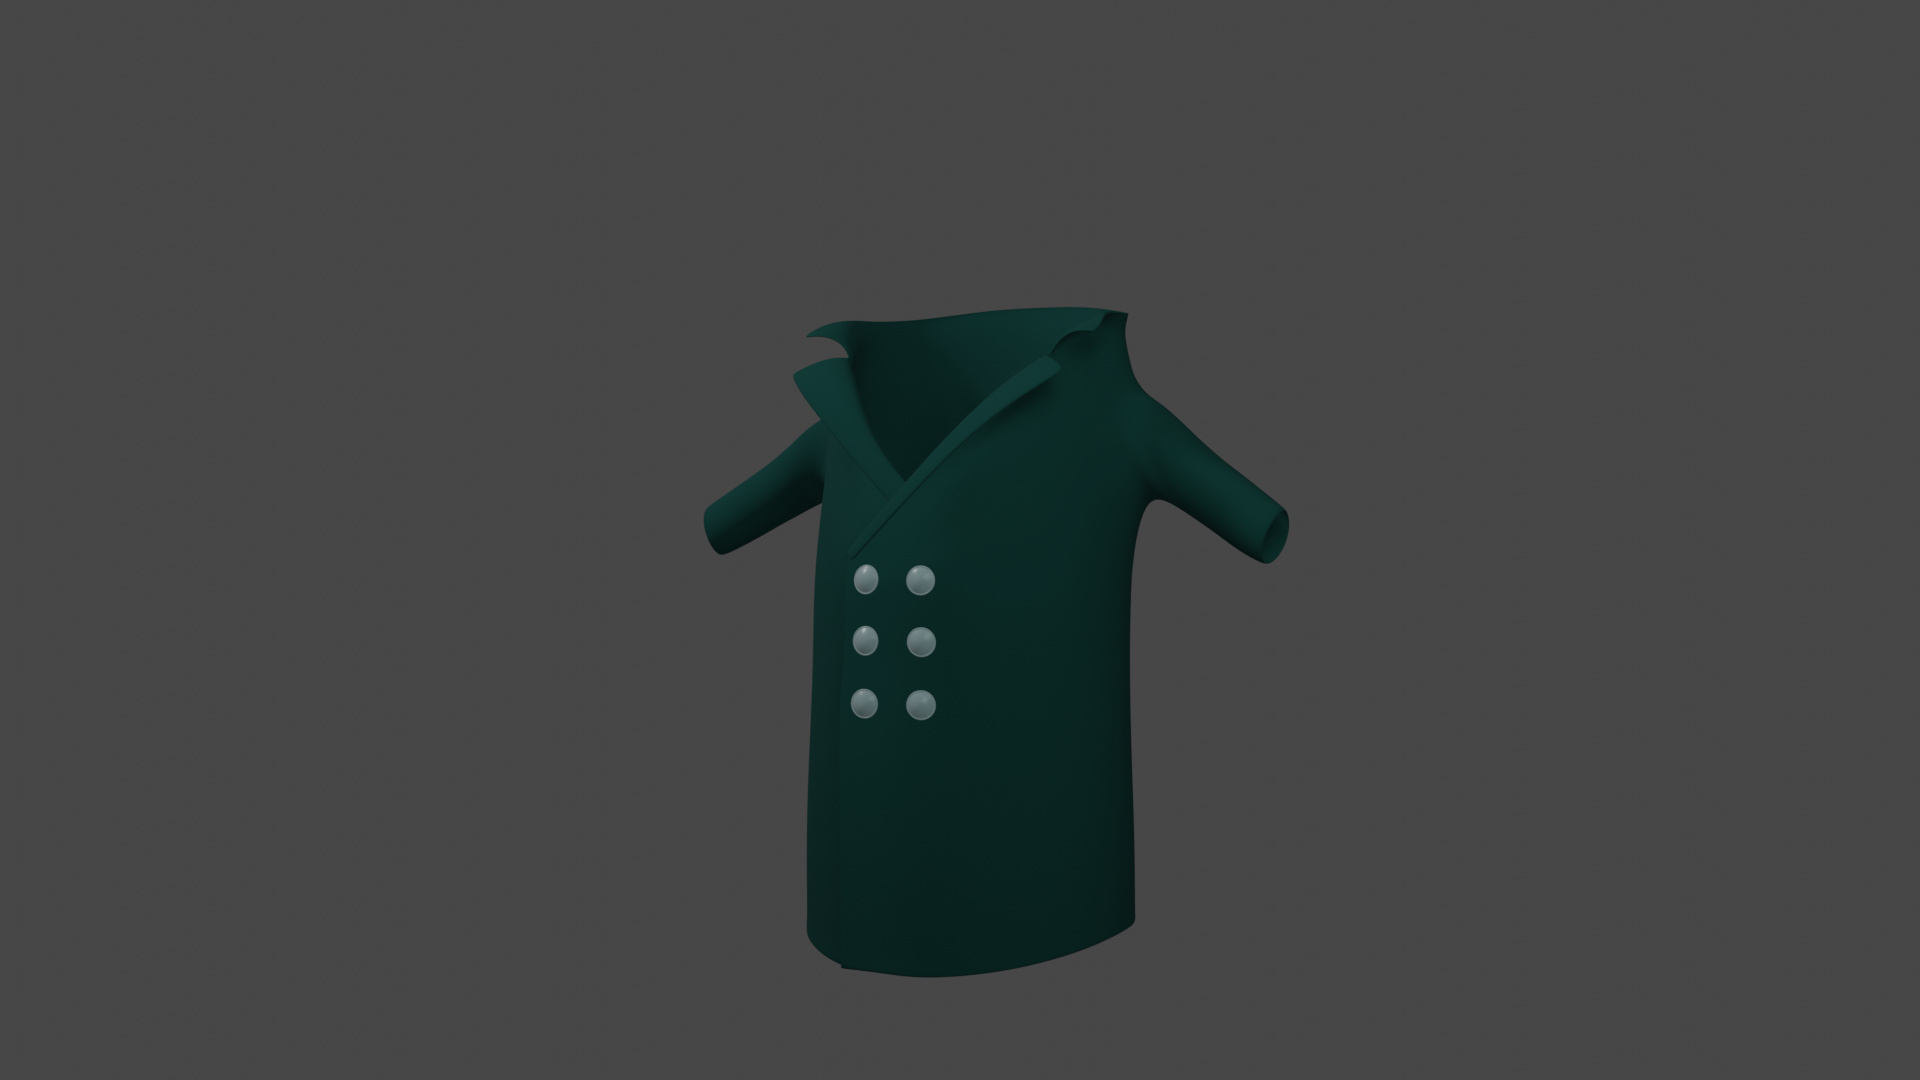
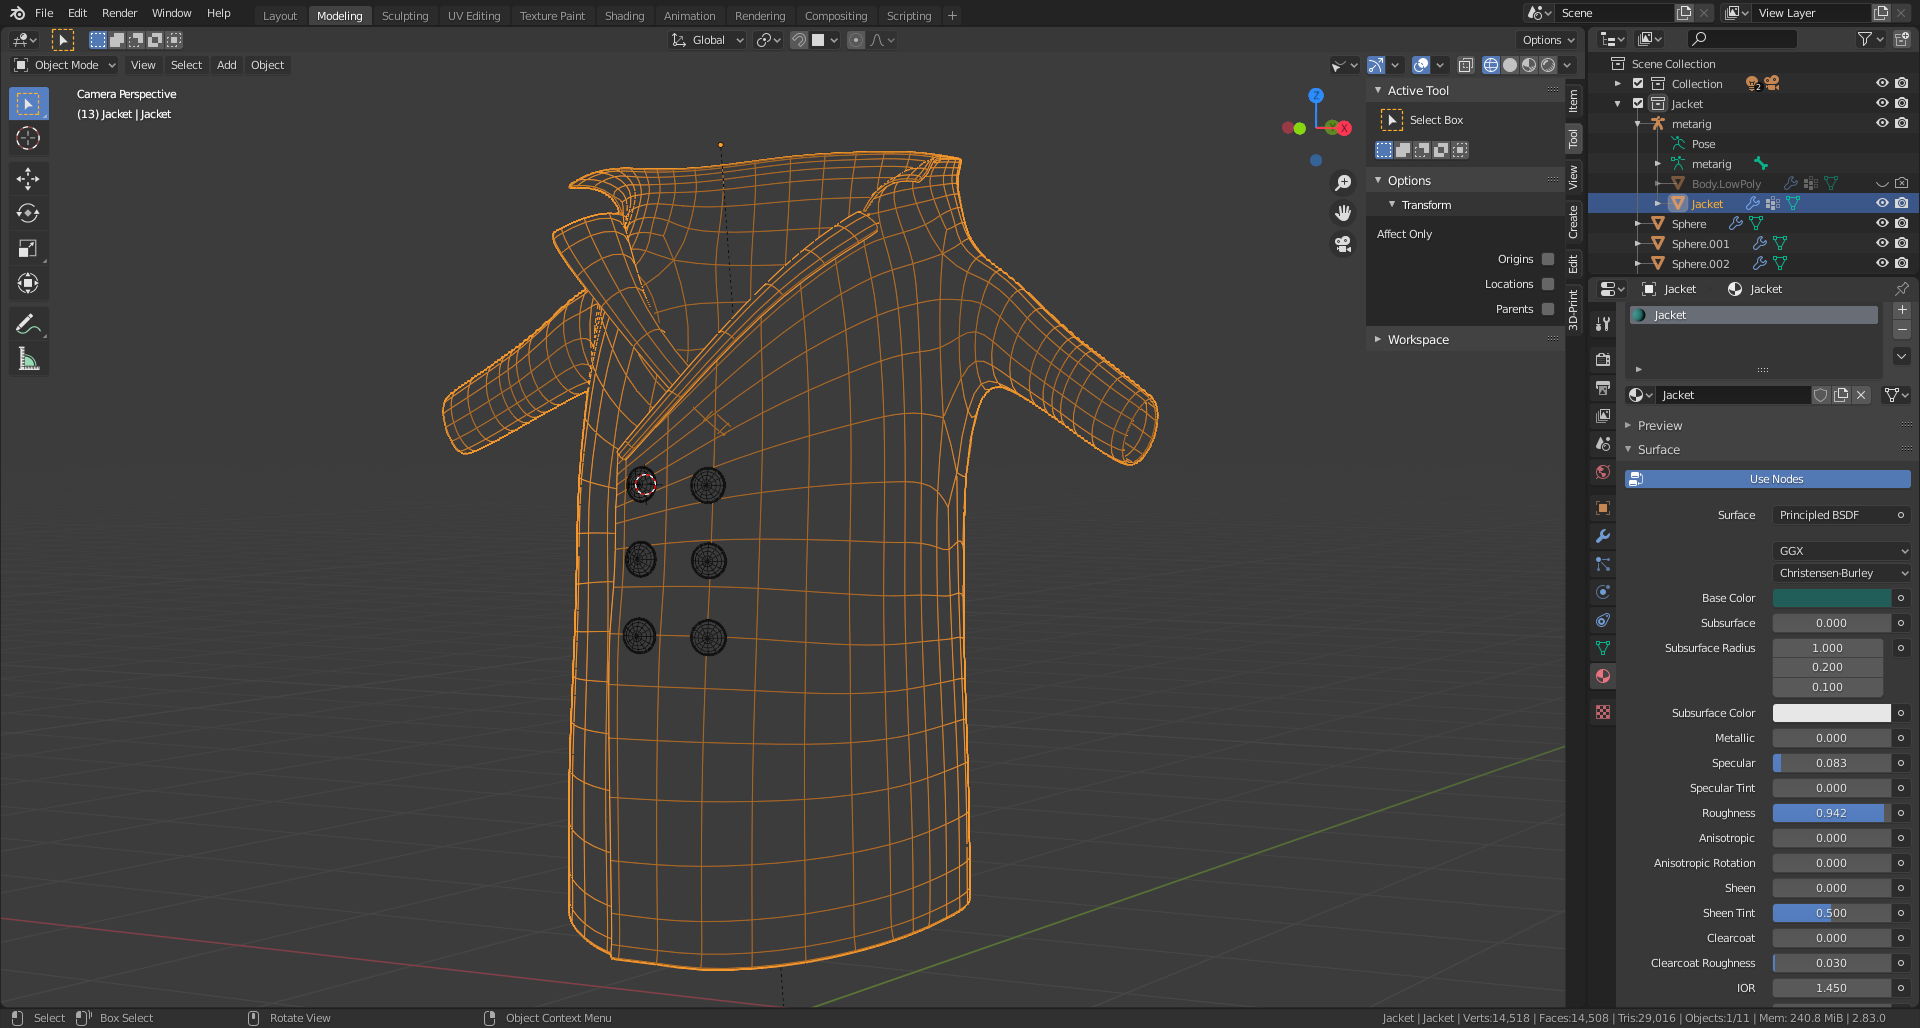
I decided to go for the blue office guy.

3 Likes

So I created first, using grease pencil, a front and side sketch.

And a block model.

3 Likes

The sculpting itself was minimal. And maybe doable by just tweaking edges and vertices.
But its also part of the learning curve. Redoing what was learned.

Using Matcap to get a shiny surface for better smoothing.
Feet not needed, I go for shoes. Hands simple, less work.

5 Likes

I decided to do a manual re-topology. Just to learn from the process. Trying to make correct edge loops, handling mesh poles.

I didn’t succeed in all aspects, but a next time I’m better prepared.
Like deciding upfront where a pole is needed, and where these three loops are coming together.
Instead of solving it on the fly.

2 Likes

Now, with a low poly version. I can add a armature rig. I choose a basic one from Blender.
And spent a lot of time to fit the rig, because not all created weight maps where good.
Also, in the final rig, I tweaked the weight map by hand.
This process of manual weight map tweaking, makes my computer slow. Even at low poly vertices.

2 Likes

And this is my basic model. Until this moment I forgot to check my reference image …
So problems raised. The eye sockets where problematic. Because the head was too spherical.
The legs where complete different, but I didn’t change them.
So I tweaked the model again, using sculpting on the low poly (no dynotopo).
I decided, if needed, to create a high poly from this low poly.

4 Likes

My goal is to work with Eevee, I hope to win on render time performance.
But Eevee has it difficulties, like shadow and glass. But I managed to get these eye, using a tutorial.
No image textures needed!

See Create a Procedural Cartoon Eyes in Blender 3D 2.8 - EEVEE

4 Likes

To see how the rig works with other attributes on the puppet, I added some objects.
Goal is to add more clothing accessoires later in the project.

I still like the original better (I see eye lids) … oh man, I need to look more at the reference image … learning curve …

examp

7 Likes

So I final pose. Before I go to the next phase …

I used the node Brick texture. Rotated the back wall a bit. Giving a strange feeling to the overall composition.
(No textures are harmed in this production)

10 Likes

Very nice work sir. That’s pretty cool, and it didn’t take you long to get it accomplished. :slightly_smiling_face:

1 Like

Great cartoon man.
You noticed the eyelids, eyebrows, variation from your reference, but it does not have to be an exact copy it is your own man. A belt can be added still.

Not being that keen on sculpting as yet, with such a simple shape why did you not just model it, rather like the retopo in the first place?

1 Like

Next step.

5 Likes

5 Likes

Basic boots, with box modeling technique.

6 Likes

Basic backpack.

7 Likes

Very sparse geometry. Still looks good in that style. It looks like the lace holes are not actually holes right through the boot? Saving geometry, covered by the lace itself?

Your backpack roll cheats! concentric rings, not a spiral. No one will notice. :grin:

Well … someone did. :wink:

Yes, and also the boots will be cover by a long coat (next project).

Didn’t thought of that. You start with a simple shape, thinking about the shape, adding details …

I have still a problem to solve and that is the huge vertice count in the lace.

I want to delete the N-th edge loop. I know there are functions (plugins) which can do this.

Modifiers Remesh and Decimate doesn’t work that good.

2 Likes

To be fair I only noticed the lace hole due to seeing the wireframe. no one seeing the final thing will ever notice.

The centre of the pack roll also needs to have a fold or some such, not a dome, cap like. Making it spiral should create that anyway. But again in this style it may not matter, my viewpoint style is always more realistic.

The laces are a vertex count problem. You cant even remove the sections not on top of the boot as they show up too in the openness of the leather.
However, if you look at the slight curved length closest to the x axis red line and compare it to similar stretches of the lace further up it has considerable less loops, so I suspect there are a lot that can be dissolved out. Only the tight turns may need so many as there currently are. Even so I suspect you might well halve them too.

I decreased the lace vertice count by 50% using the function “Select > Checker deselect”.
Which allows you to deselect the nth vertice, edge, face.

This is the long coat object. Rigged to the body armature. It worked but due to the stretching of the mesh. The vertex weight isn’t correct anymore. I need to fix this when combining all the loose objects.


5 Likes

Most items complete. This is an integration test to see how all is fitting together.

Is see some issues. But its quite complete. Don’t want to add details, keeping it simple.
It’s difficult enough. The most thing I’m worried about is the rigging. Maybe more vertices for better weight control. But also slowing down my PC.

8 Likes

Privacy & Terms