Very odd results for baking models

I am not getting anywhere close to good results for cycles or blender render.

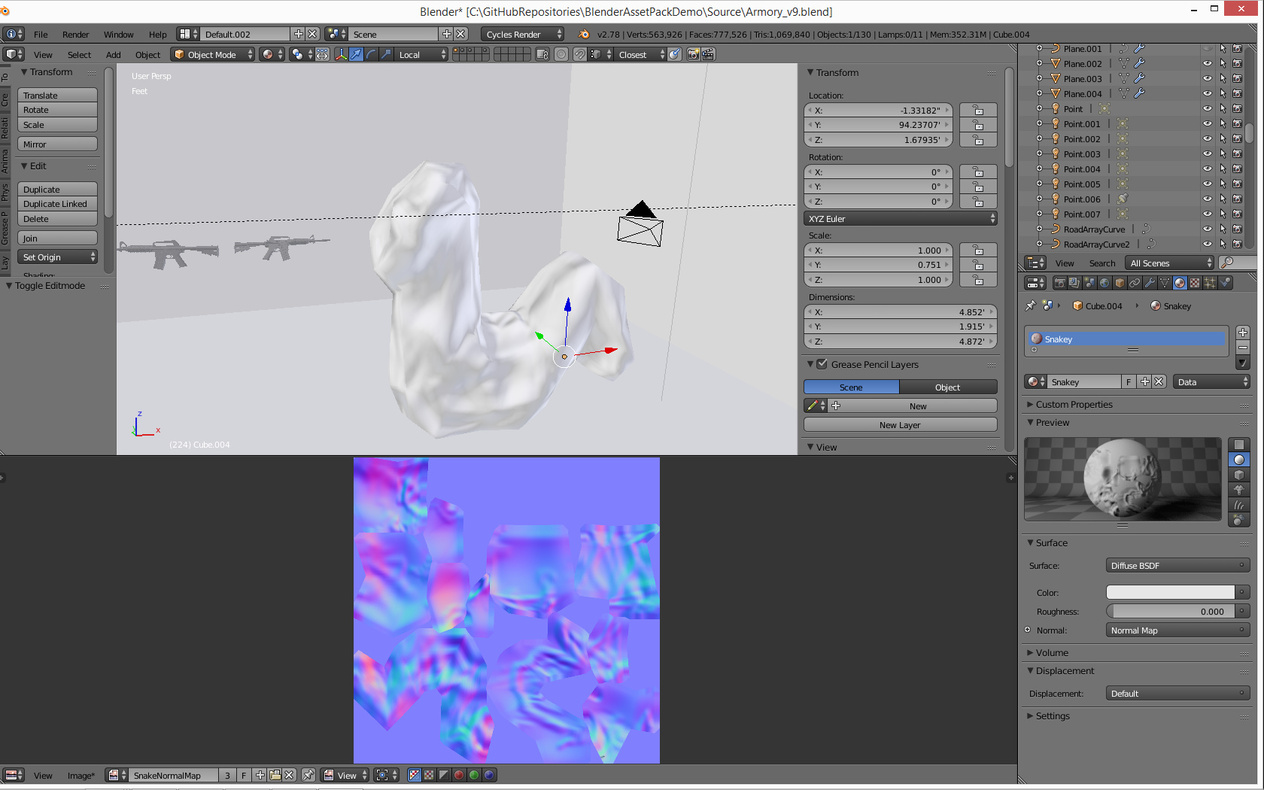
For some reason I can’t even see any results in cycles render. The lighting doesnt effect the normal map.

I don’t know why Mike never mentioned anything about Blender render, but its easier to tell whats going on there.
Cycles and Blender generate differnt normal maps. For some reason I can’t even get either of them to produce the same results each time.

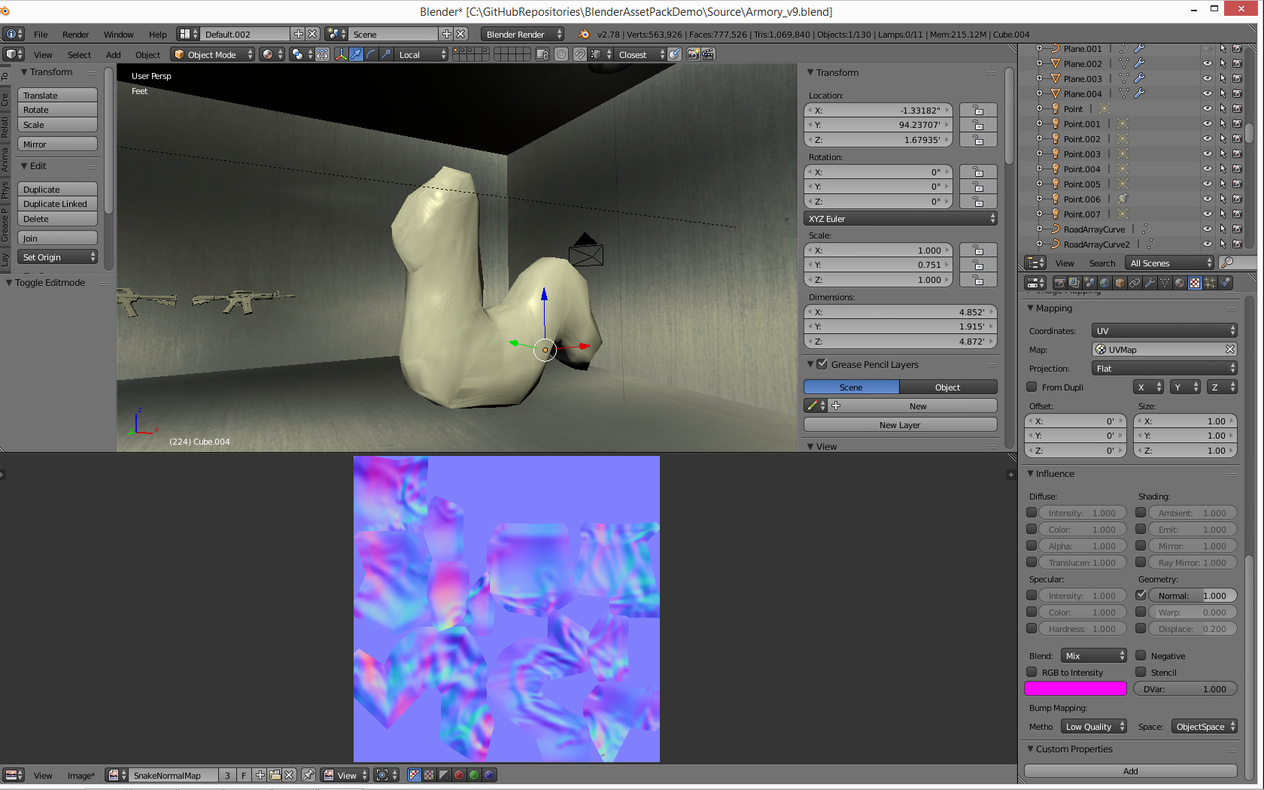
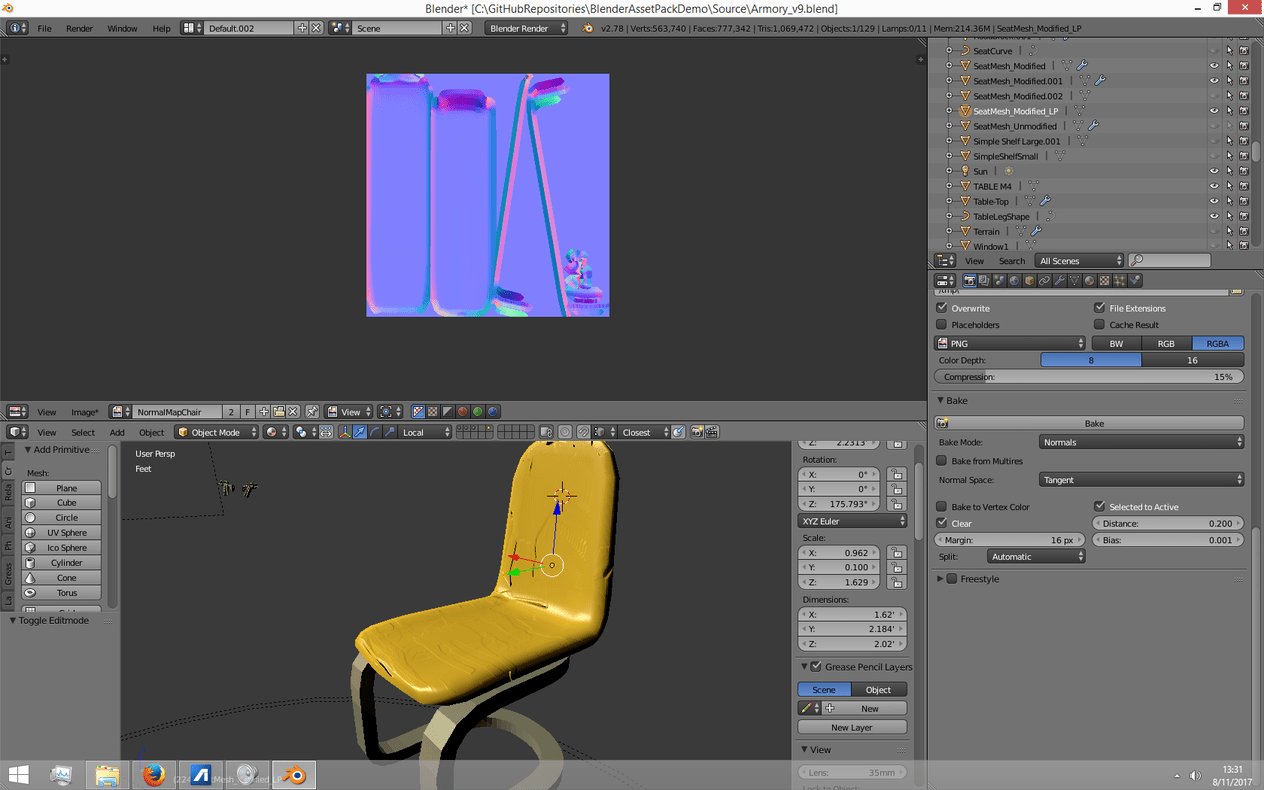
I went through differnt problems, but for one way or another, despite having similar models, even when I get what i think is at least a somewhat valid normal map, the problem is excentuated mostly here when shown in Blender Render

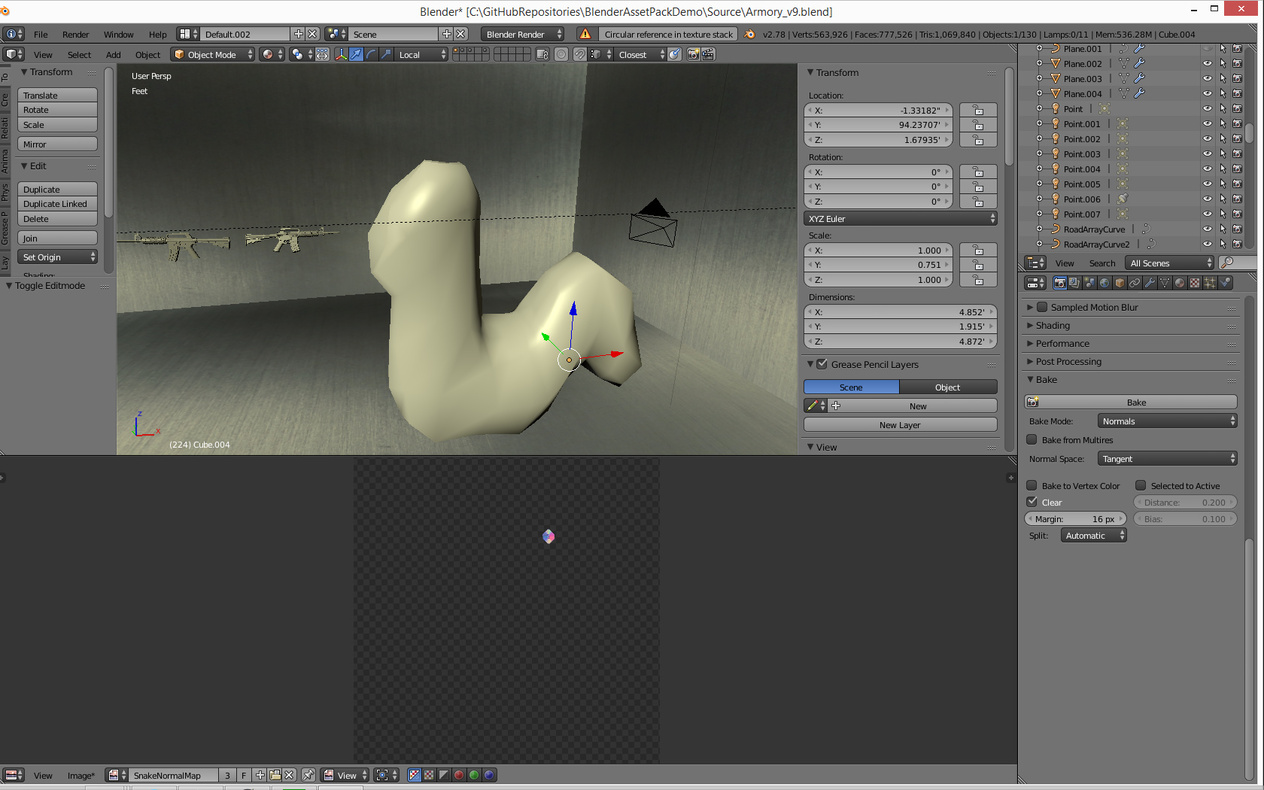
For some reason cycles is telling me it cant even bake it anymore cuz it cant find an image.


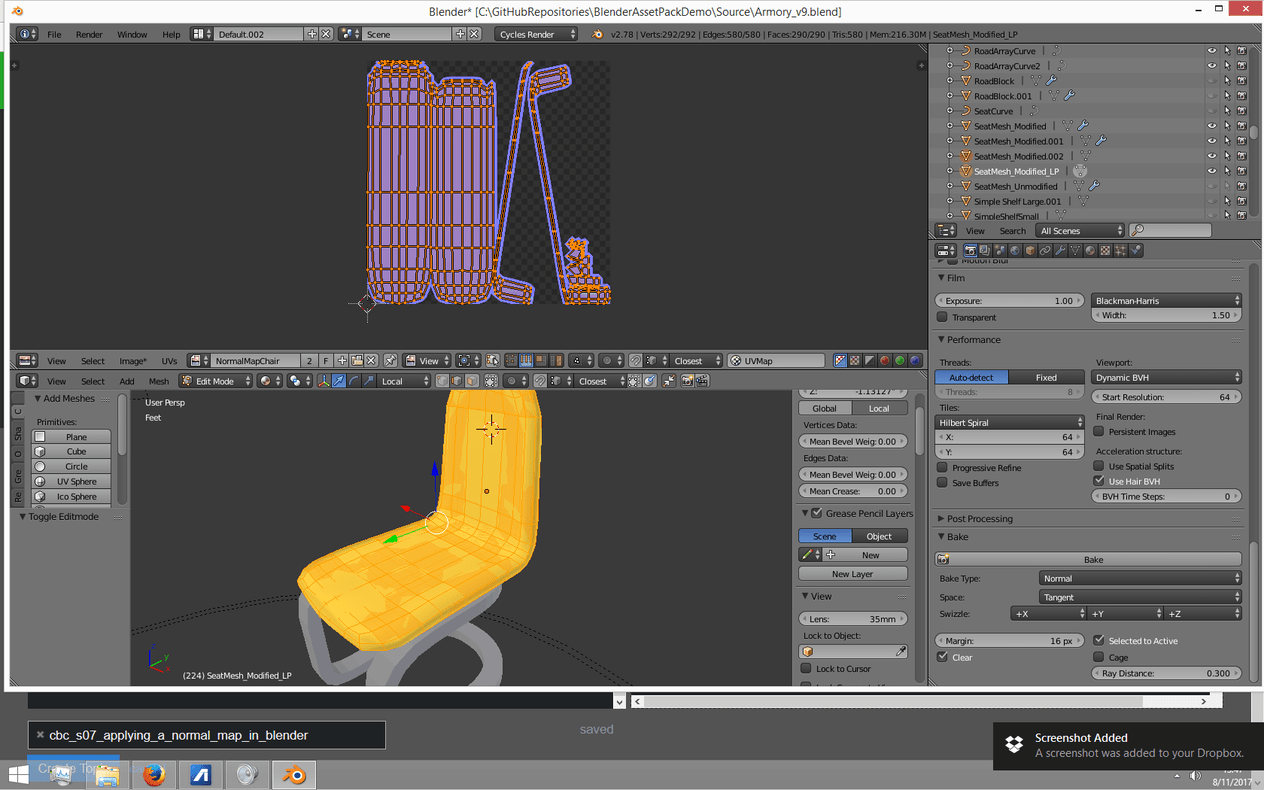
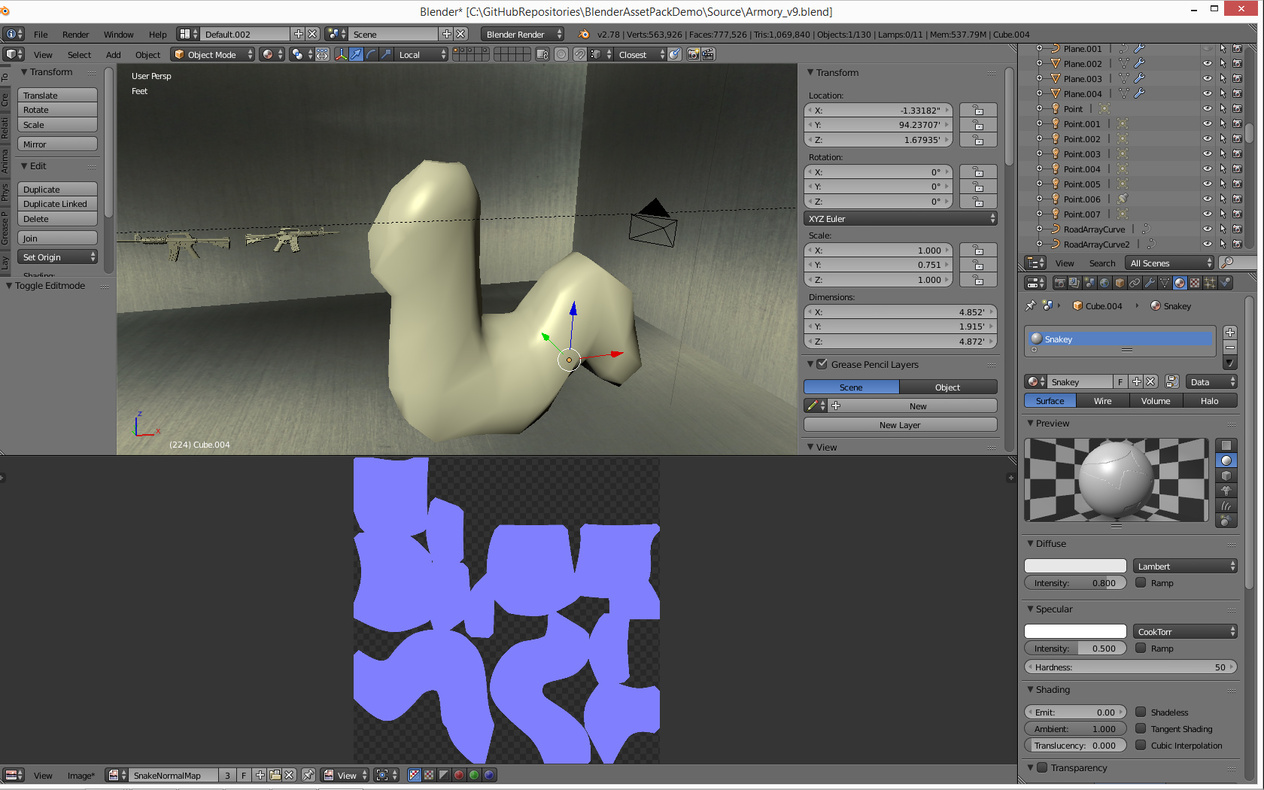
^but that demonstrates how the UV is laid out

Ive gotten SO many problems now, its completely ridiculous. and not worth backtracking any further to post screens of.

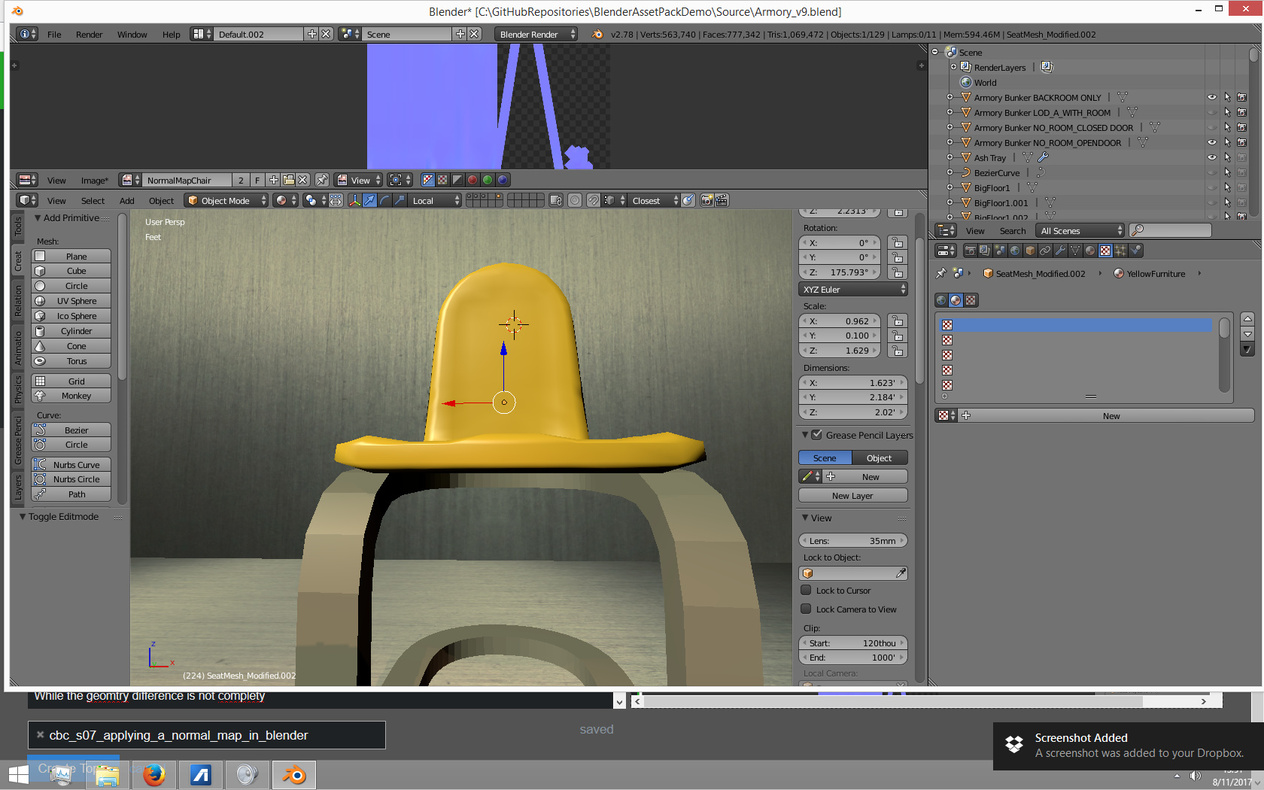
This is what the high poly version of the model looks like:


Yeah the results are so discouraging I didn’t even really want to post about it.
I dont think these lectures are sufficient as any sort of normal mapping tutorials.

But if anyone has a clue as to what’s going on in that first Blender Render screenshot, It would help give me a clue as to what is needed maybe.

Hi Steve1222,

You probably know (since you wrote it too) that lighting do not effect normal map. Why, because normal map is an image containing x,y,z information about the surface normals.

Baking normal maps in cycles is a little bit more tricker. This is how you do it: you need to have a material for that object you want the normal map to be baked to (lowpoly). Then you need to have unwrapped the object (naturally). In the UV image editor when unwrapping, create a new texture of desired resolution and give a name you recognize (chair_n.png for example). Then switch to nodes editor add an image texture but don’t map it to anything. Select your chair_n.png as image. Next select your highpoly model, and next shift click your lowpoly model so the last clicked becomes as active. Then on you just bake the normal like you have in your screenshot (selected to active checked). Voilá! Normal map becomes baked into the chair_n.png. And remember to save the image if you are happy with it. The trick here is that you need to have selected image texture node where cycles bakes the image into (in the node editor).

I am assuming you have geometry in the HP model you are not seeing in the bake, right? Few things to remember when baking (these might not be your problem but anyhow) HP and LP objects need to have same scale and location. I usually apply scale, rotation and location to be sure objects are exactly on the same spot and sharing the same scale. Before baking I usually also apply modifiers so I am sure I am seeing what I am getting. I understand this might not be desirable since you cannot go back when applied but you can always just bake the map and then revert your file to stage where modifiers are not yet applied.

I can also see that you have applied some ray distance, this usually helps specially with sharp edges. I am not sure if this was not problem.

I hope these tips help you forward. If you could provide more information what is your issue, I could maybe better try to understand the problem :slight_smile:

Cheers, Jax

2 Likes

It might have had something to do with the rotation not being applied.

In the later lecture he had us doing the same technique again. For some reason I was getting a blank result from blender render after the bake. When i changed to cycles, provided I had selected to active unchecked (this setting didn’t carry over from blender render -_-); it seemed to work when following Mikes method.

But when I change back into Blender render to use the normal map, it had that jagged look for some reason, not looking like a normal map at all.

Cycles Render:

Blender Render:

For some reason when I bake in blender render, I get this nasty result:

But Mike does not use Blender Render in the lectures.

Side note, I just noticed when use nodes is turned on(blender render), it renders the map in the right layout, but there is no surface detail:

because of this I think perhaps the multi-res modifier is having something to do with the faulty render, however this still does not explain why the normal map is not working in blender render …
gah…

Privacy & Terms