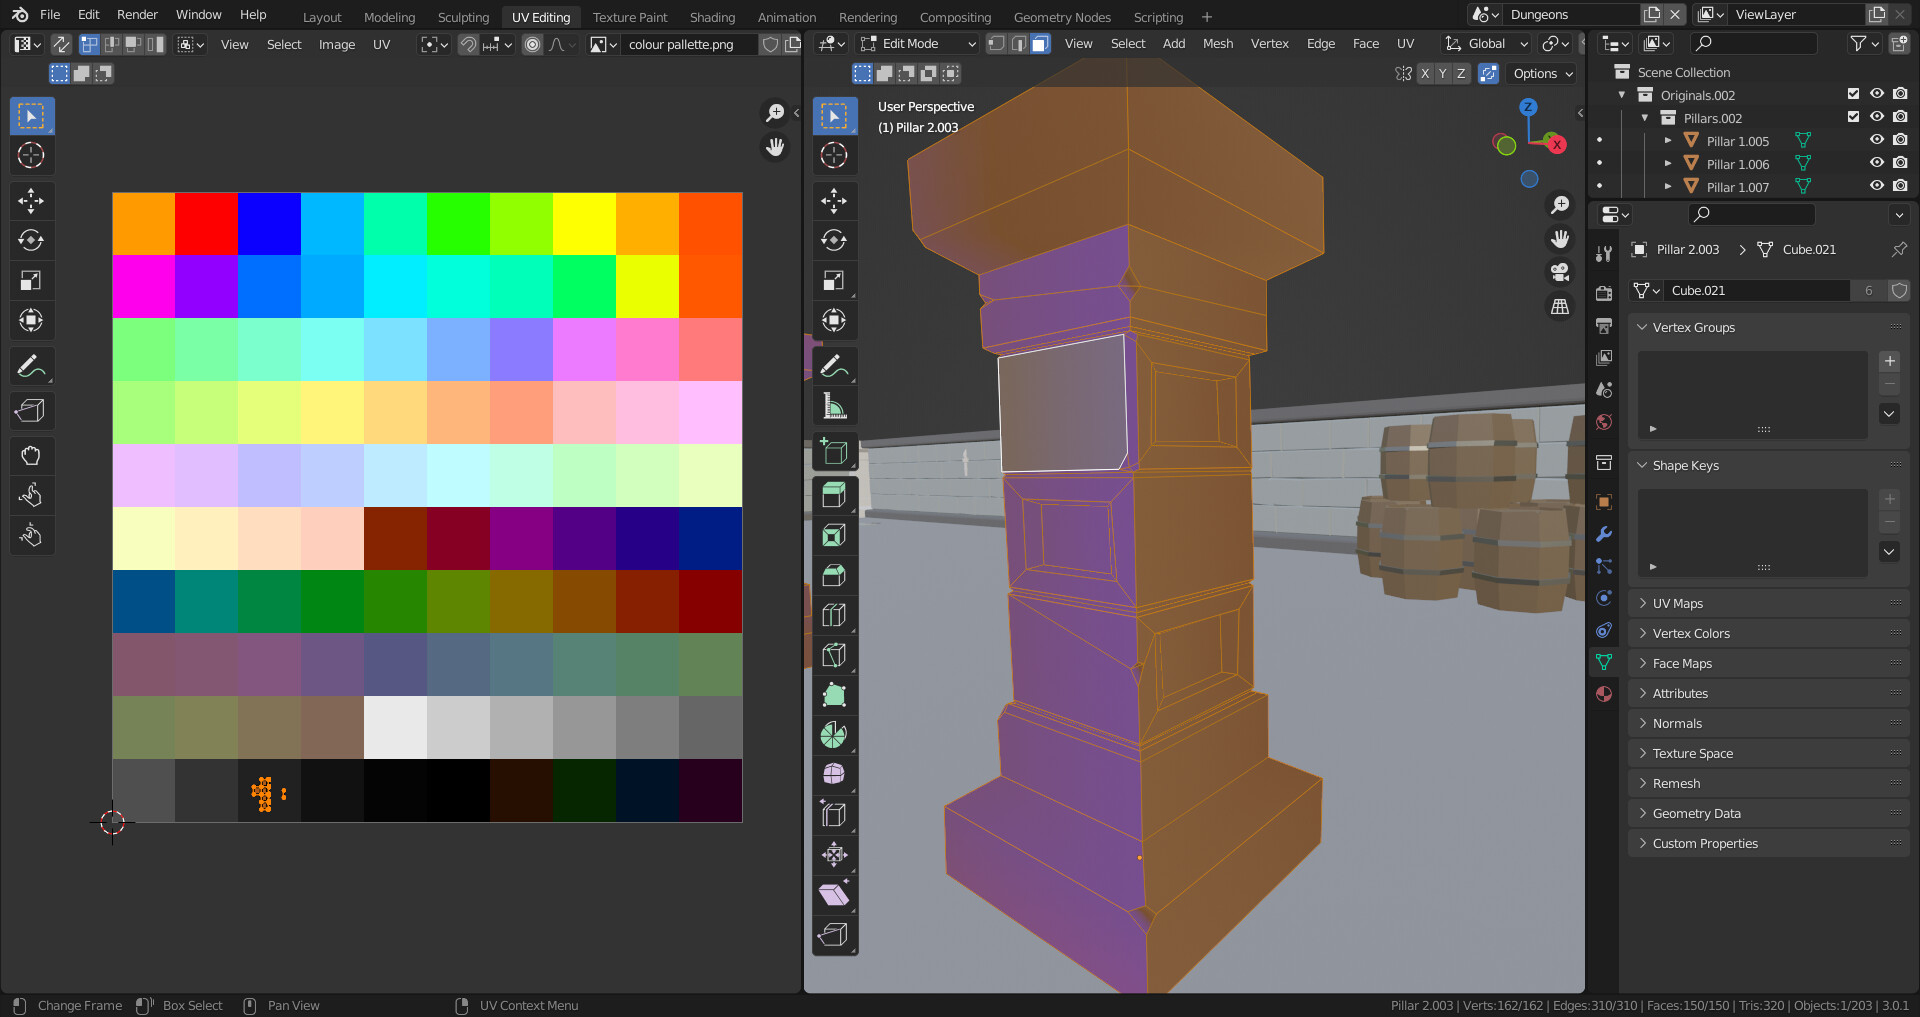
As you can see in the picture all points are on the same grey tile but some faces have a different colour.
I tried moving around points in the UV editor, scaled all to 0, tried different faces, different objects. Don’t understand why I have this issue. Cant find anything on google
Those colour atlases can be absolutely tiny. Try scaling those UVs right down to a dot.
1 Like
I tried everything, just watched the lecture a second time in case I missed something. Downloaded the scene from the resources and it’s the same.
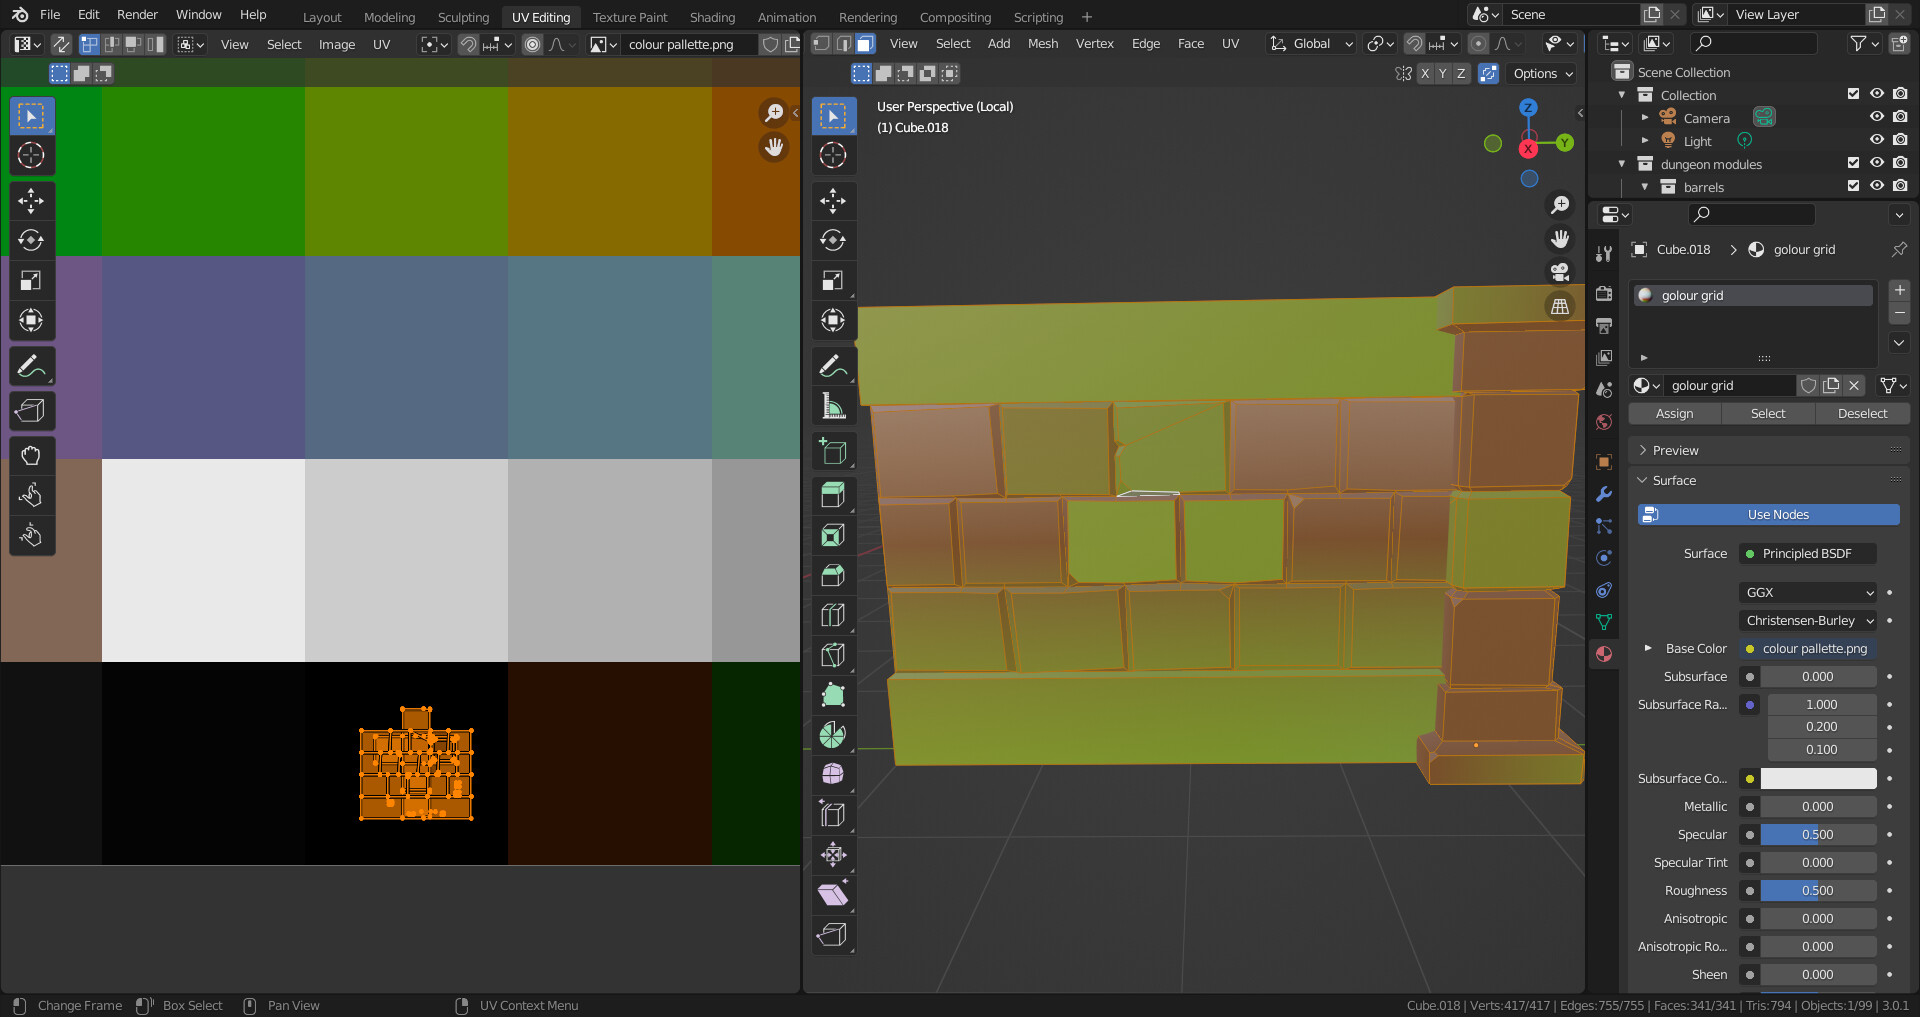
As you can see in the first picture all points are on black but different faces have different colours.
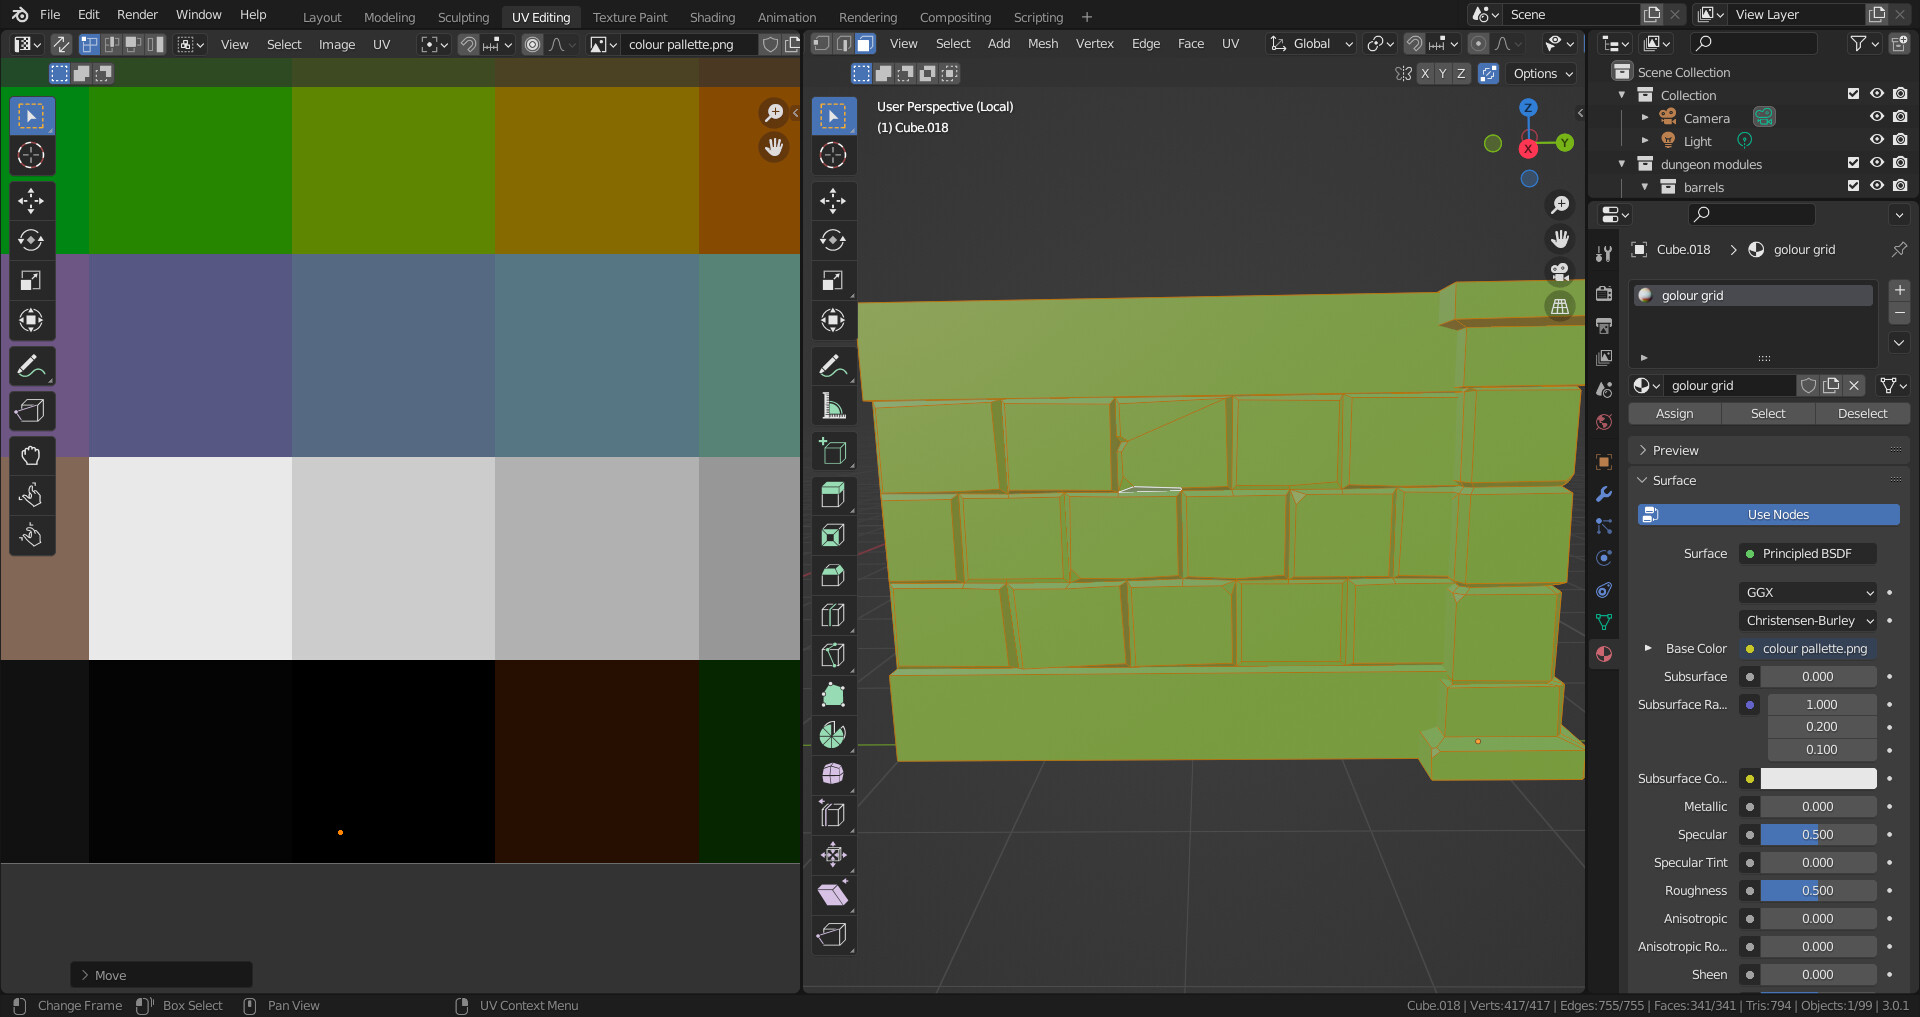
In the second picture, I grabbed them all with shortcut A and scaled them to 0.
Using this technique they will have the same colour but still, there are different colours on the black square. In the picture in the lower-left corner, the colour is green. Colours are different depending on where do I put dots on the black squares. This is true for every single colour on the texture atlas. All colours seem to be random or have an offset
i had similar problems, I just messed about until it came out right. Moving the uv about looking at the result rather than the UV view.
You could try a fresh unwrap?
Check the normals are right and scales applied, usual checks.
I suppose it may be the extreme scaling is causing some inaccuracies in the placement. Yours looks offset to the green/yellowBrown area.
Perhaps someone else will have another idea?
1 Like
As you want to do the UV thing, Just select one face at the time, place and scale it to the right color at your UV color map. Did something similar with a keyboard to get all the sings up there. See my image.
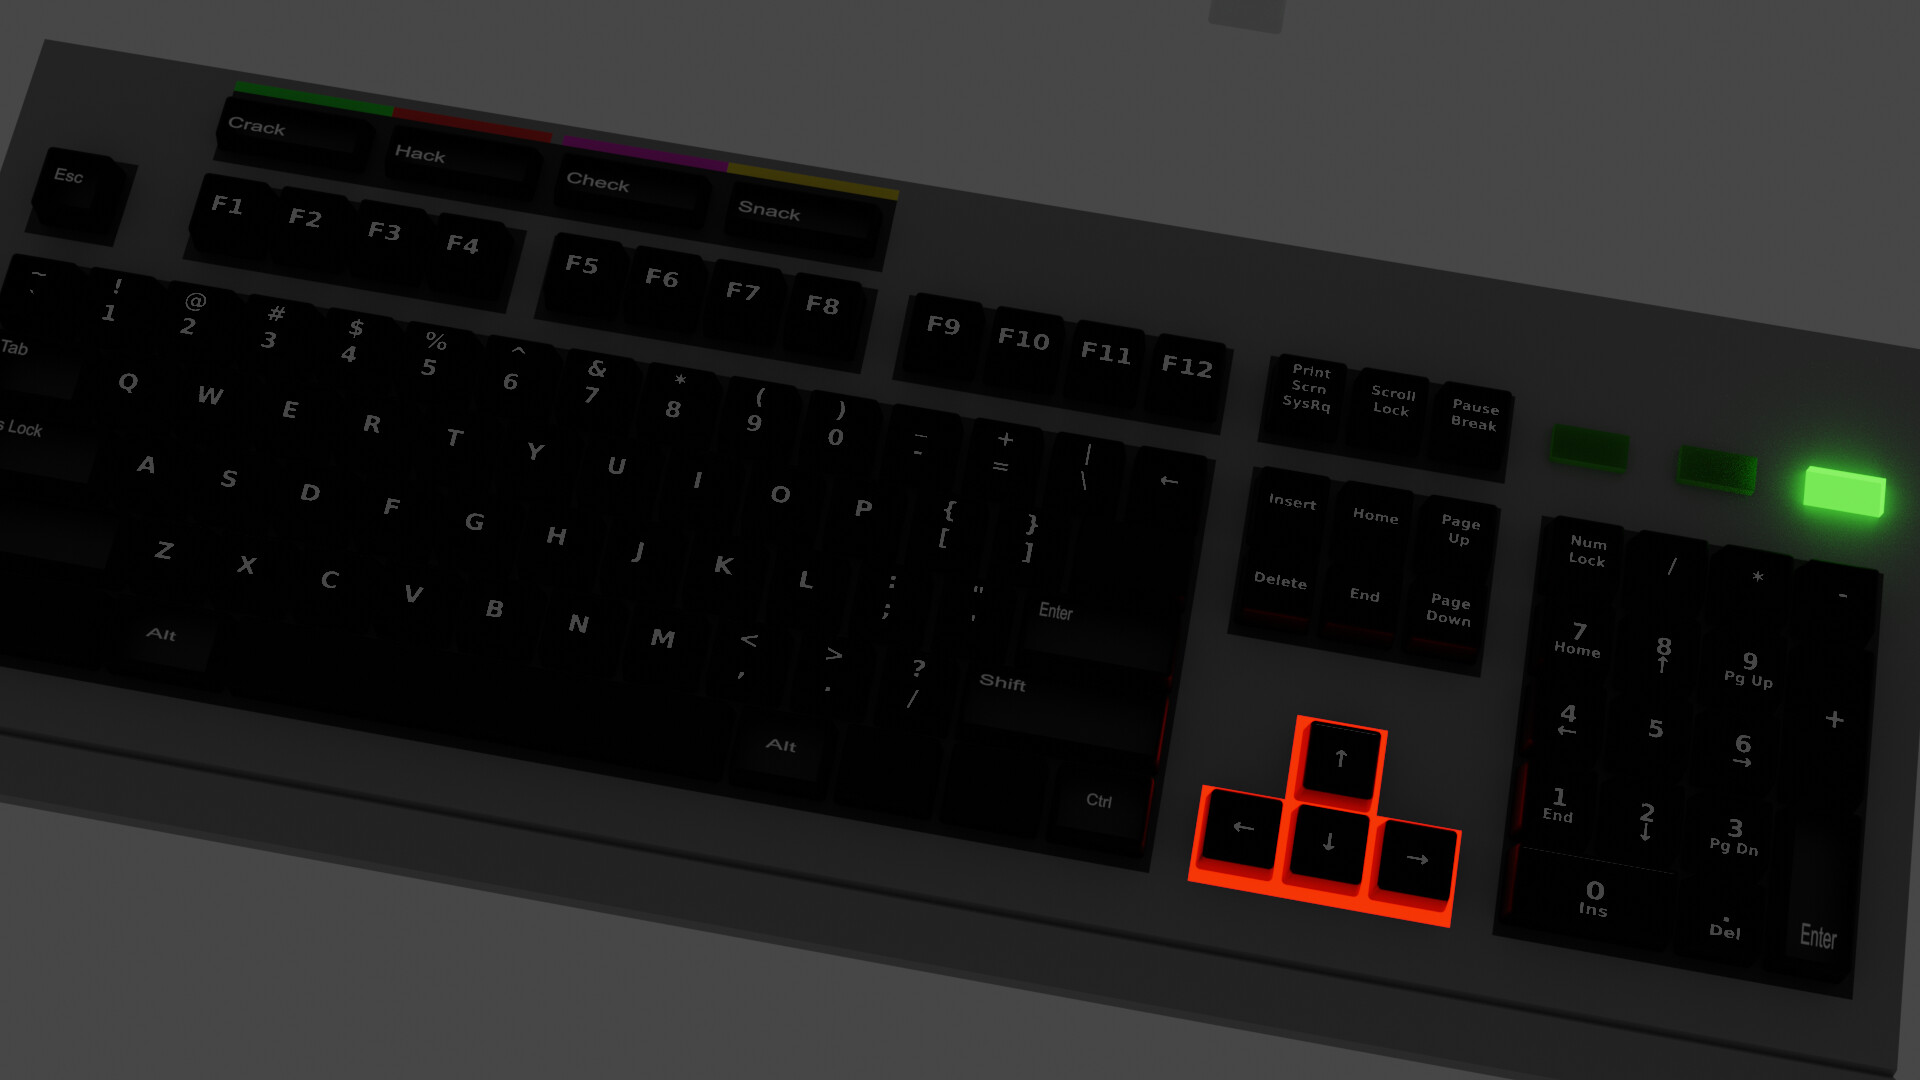
Number one with some humor touch
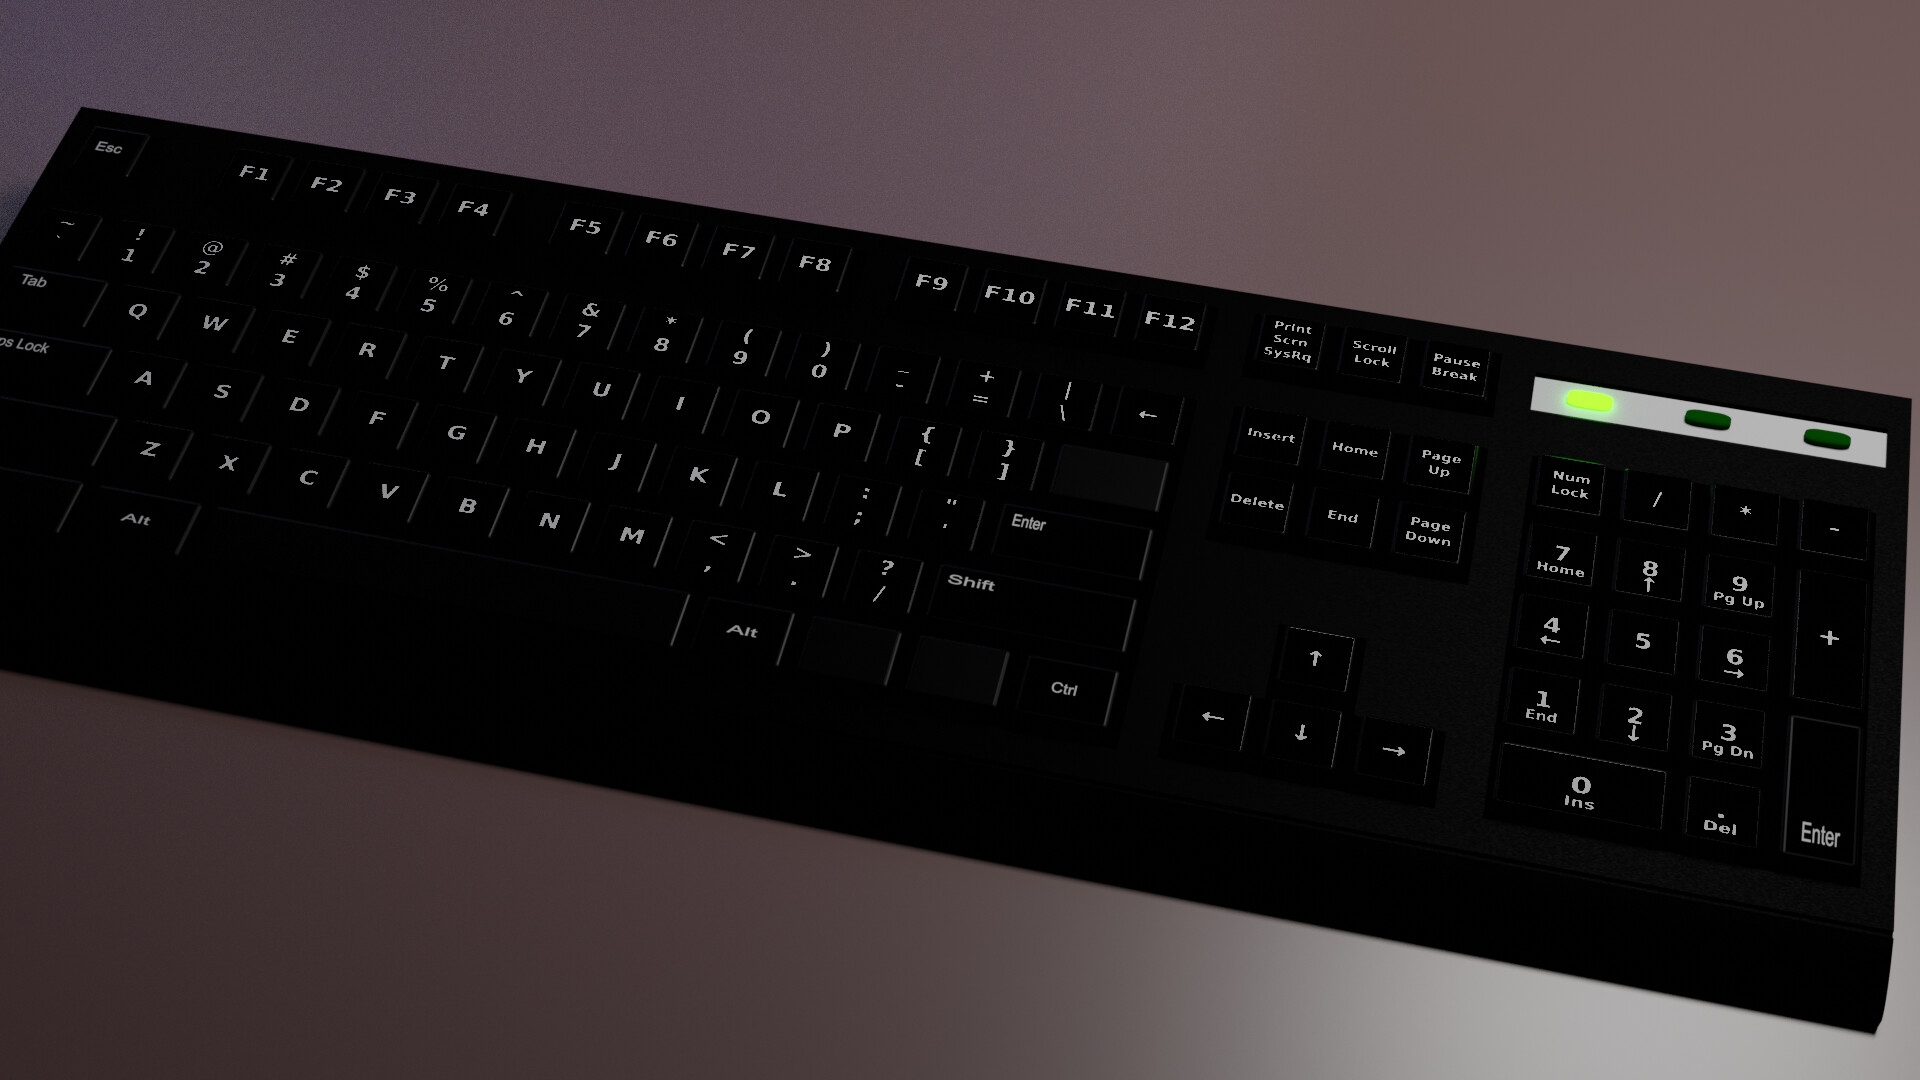
And number two.
Takes a lot of time and practise but it’s worth it.
Rendered with Evee.
2 Likes
This is the problem of UV.
Would you like to check on the UV that you had done? o may be you would like to redo the UV.
2 Likes
- Do you use texture mappings?
- I see you are using Blender 3.0.1! probably Blender does things different and or a bug. Use a different (2.9) Bender version.
1 Like
I was following some tutorial a few weeks ago and it worked like a charm. Then it just stop and since then it’s like this all the time. I wonder if I clicked something and set it up that way or it’s a 3.0.1 update. I have downloaded the scene from resources and it’s the same
1 Like
Then, it seems to be a possible bug. You may would like to check on these documentations
1 Like
On the texture node I changed from linear to closest and it seam’s to work. Did I missed (twice) this part in tutorial?
2 Likes
I don’t really remember the lecture now.
Some seven Months Back when I was learning, I got stuck with the Pyramid. I went through the lectures for 11 times and have done 10 workings on Pyramid. I didn’t got the point.
In this forum, I asked and some answers gave me hints. I went successful in 11th attempt.
It’s basically a learning path, and there are many ways attaining the same goal.
Over time, everyone develops ones own way of working, and everything is right if the result is arrived at.
I could have asked for your working files, but I am working on 2.93. Your file would not open. But then, it is good you solved your own conundrum. Will go miles!
3 Likes
Yes I do agree with you. Its better to try figure out it on your own than just get others to troubleshoot for you. I had this problem before and decided to leave it for a while. Looks like it worked
3 Likes
We must try solving issues at our own end, but at the same time we must ask to troubleshoot when we are learning. This is how the cycle of learning consummates.
For every new learning Path, the Brain takes it’s own time grasping the logic behind the skill. Once, the brain gets the logic, things become flying. Till then, the grind must go on!
3 Likes
This topic was automatically closed 24 hours after the last reply. New replies are no longer allowed.