Hello, I need Help
I want to add “root” bone in my skeleton (i need it for Unreal Engine)
but first I need to rotate it and facing down, same as other bones and then parent it
how can I do it?
Hello, I need Help
I want to add “root” bone in my skeleton (i need it for Unreal Engine)
but first I need to rotate it and facing down, same as other bones and then parent it
how can I do it?
You’re showing us this in POSE mode.
You need to go in EDIT mode (orange).
if I change something In Edit mode (Rotation or Location) don’t persistent. and when go back in Pose mode all change value are returned back.
Be sure in POSE mode, you reset everything to it’s default transform.
Select all the bones, in pose mode with A. Then, hit: ALT R to reset all rotations, ALT G to reset all translations, ALT S to reset all scales.
Then in EDIT MODE, rearrange your bones. Or add bones.
After that, go back to POSE mode add set-up the pose.
You can can save POSES in blender, but I think the armature must be the same.
I did it as you tell me but it is not help me.
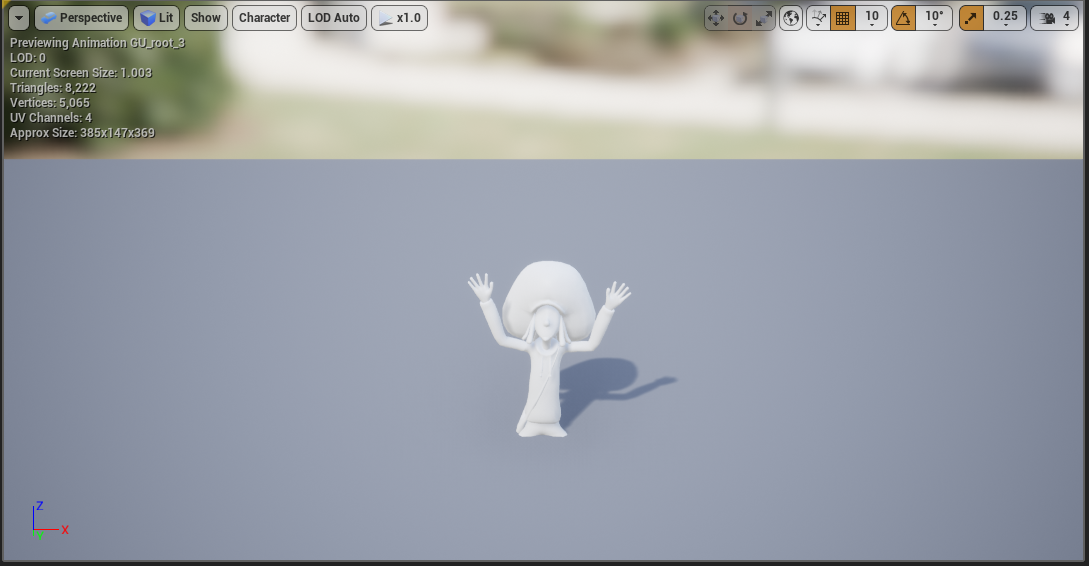
my really problem is that I want to export animation into Unreal and it’s required “root” bone. I add the root bone in a vertical as it is above in screenshot. Such case Animation is correct in Blender but if I export it to Unreal, get weird result
then I thought that root bone must be horizontal as other bones and it solves problems.
I lay down the root bone in way as you told me and it correct problem 1 not 2
what did I wrong?
I understands your problem, but difficult to explain.
Lying on the ground is just an property change in unreal? Rotate puppet X-ax or Y-ax? 90 degrees.
I don’t know if this can help you, but searching for importing blender assets with smooth faces to Unreal, I fond this: Primary Bone Axis: X Axis and Secondary Bone Axis: -Z Axis - Matches Epic’s official skeleton bone orientations. Hope it helps.
Edit: Also z and x axis are the same in Blender and Unreal, y axis is -y in Unreal.
thank you guys for response. I have tried all of this already, I try Zaxis -Zaxis, -Yaxis and every possible combination, but not work,
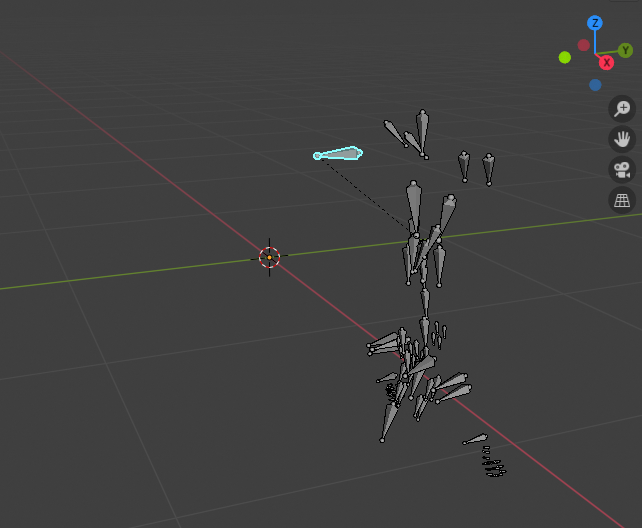
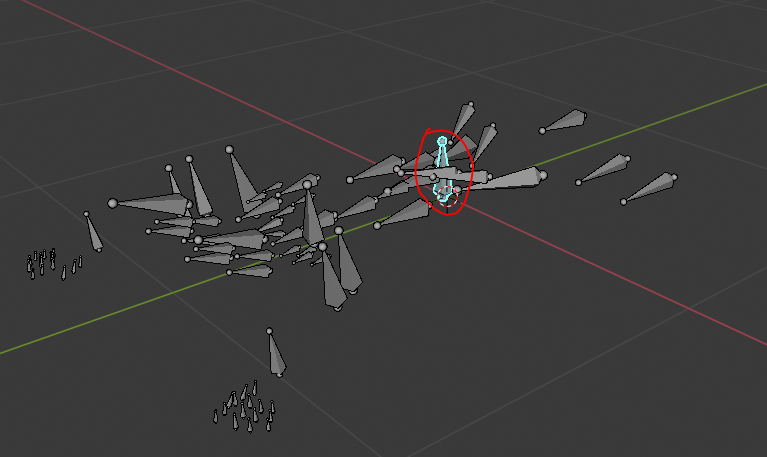
last I try to rotation root bone such way
I have not any idea
Did it export well without the root bone? What about the scale? And what is the name of your armature?
Edit: https://chronicdev.io/devlog/ue4-blender-and-back Look the armature problem and the Epic Scale (end of article)
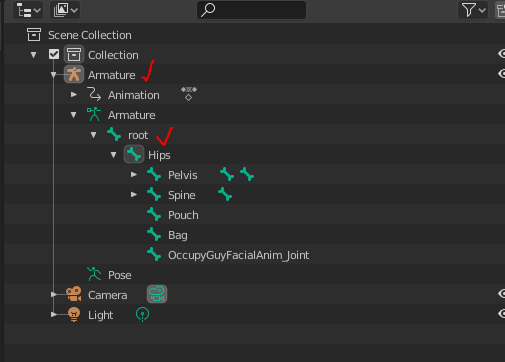
Here is my skeleton:
I try all of that but not work
what is different to change Transition in Edit mode and Pose mode ?
Did you do this tip?
If you create any armatures in Blender, make sure to rename them. The default name, “Armature”, causes a conflict when importing into UE4. (The root of the skeleton gets removed.)
yes I know. really I don’t need skeleton I have separate T-pose in Unreal with “Root” name. now I only need correct animation
Sorry, I misunderstood.
Then the only thing I know about exporting animations from blender to unreal is that it is better to do without the mesh. First export the mesh without the animation and then export the animation alone.
Yes I am trying this
First I am download T-pose and Armature rename Root
then download animation and add root bone because all Hips keyframes transfer into root bone because Unreal allow me rootmotion.
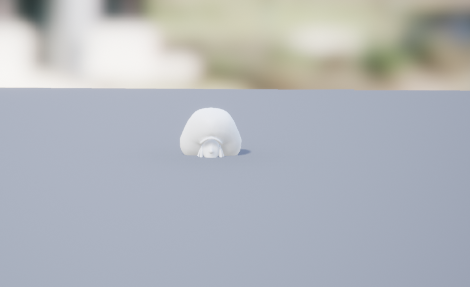
but can’t correct animation and have such weird result
Just an idea because I don’t really know why it is behaving like it does:
Have you tried to export changing the Armature name to something that is not a word like root? Perhaps Unreal mixes up that word with the root bone.
No, Unreal don’t allow to import such Assets.
if you have skeleton mesh with root bone, animation must contain root track to match each other.
thank you for help.
I grid of this Animation at all, but it some mysterious why it does not work? and how can fix it at last?
I have watched a video about this where the guy solved the same problem, but in that case Blender version was 2.79 this version has motion capture, which has not 2.81. here the link:

pleas watch if you have time and may be understand more than I.
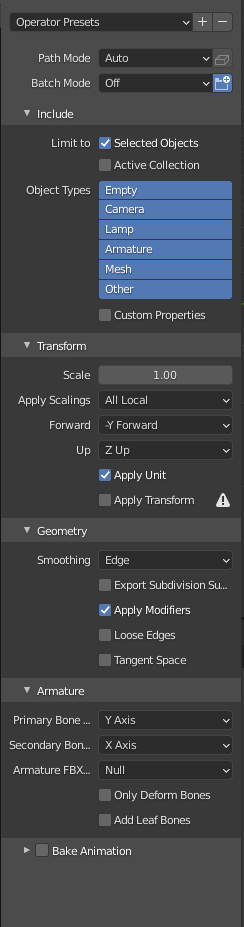
Ok, now I understand your problem. I have download a T pose and a swimming animation from mixamo. Then I have imported the T pose to blender and added the root bone (without any rotation!). Then I have exported it and I have found my first problem. It only works if you select all the T pose in the scene collection (Armature, Pose…). The export I used is:
I imported in Unreal uncheking the import animation check.
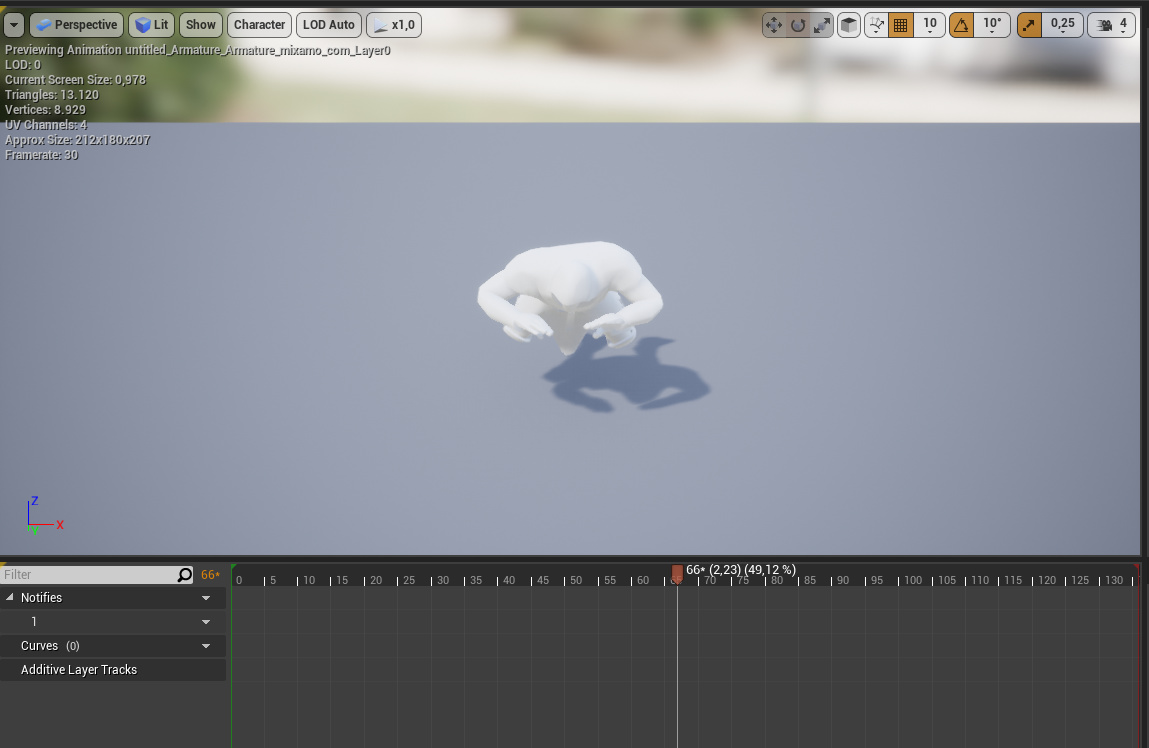
Then I deleted my T pose from blender because it can cause name problems and imported my animation one. I deleted the mesh, made what the video explained to put the translation of the hip to the root bone (without any rotation!), and then I sorted the Group channel manually: First, in the Dope sheet I Ungrouped the root channels (blender has put them in a Root Group), then I grouped the 3 channels with the other group (named Armature), then I put the three channels on the top of the armature group. I exported them with the same settings from above plus the bake animation check (it is unnecessary to select all the lines in scene collection in this case) and then imported to Unreal, with Animation Length set to animated Time. It will create 3 animations where not all works. You will see one that goes up if you have the root motion uncheck, but if you check it it works well.
I haven’t tried physics, so I don’t know if there will be a problem with the bone size.
sorry, which three channels do you mean?
can you explain more explicitly?
I only changed the translation of the root bone because I think it is the only properties that have to change for root motion. So I have only three channels from it (x, y, z), but if you changed more properties (rotations…) you will have more channels.
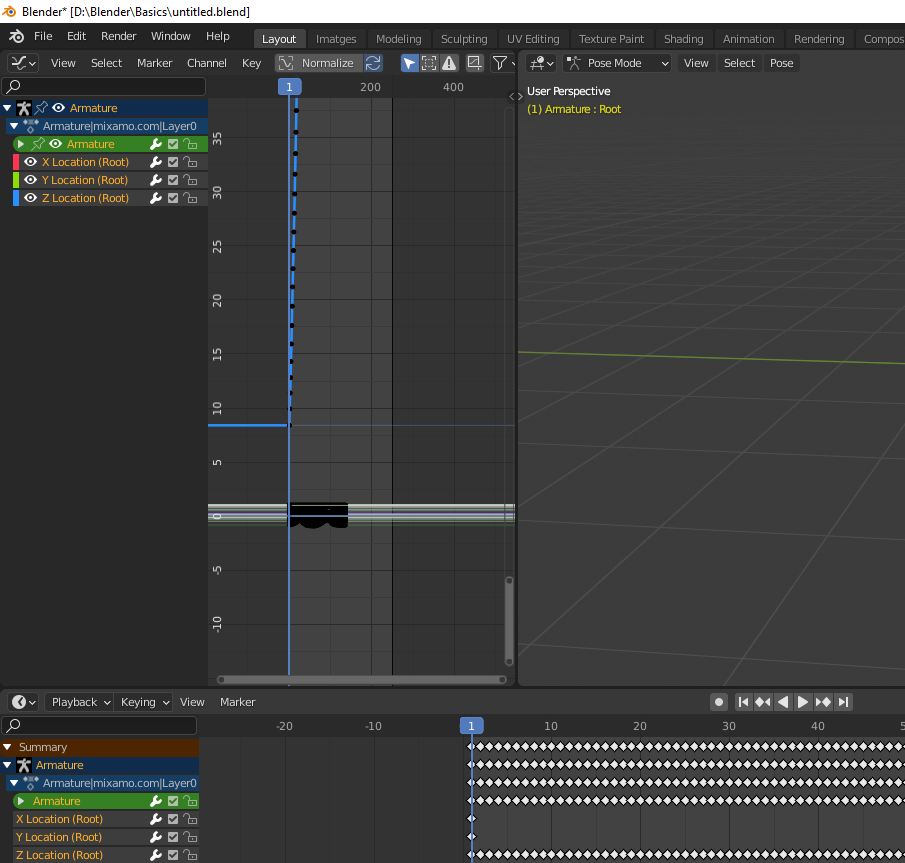
This 3 are my channels:
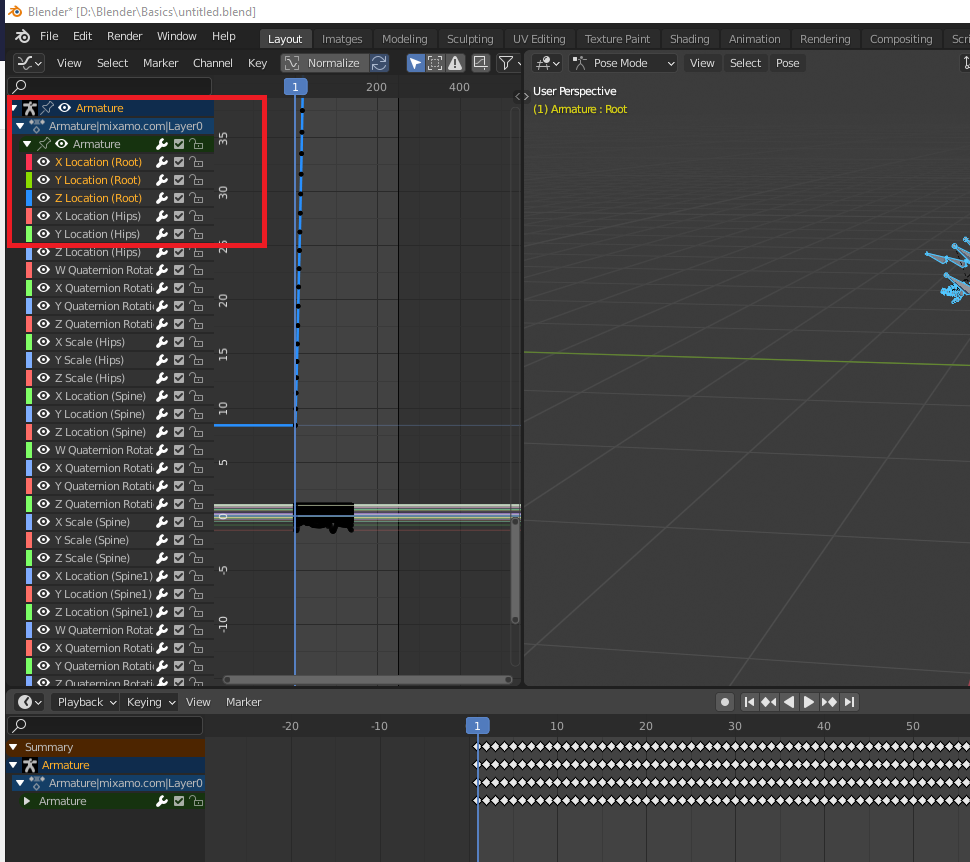
That will put the 3 channels at the end of a new group. Rename it to Armature, then, click the root on the Layout windows to select the three channels (this is for not having to go down the list to search for the channels), select them, rightclick and Move > To Top. Then, if you select all the bones, you will see that the root channels you changed at the top of the list:
Hope it helps.