Hi folks, I got to lecture 50 “Tuning and Exploring” and decided to make the move to low poly style for my terrain, as it was my intent for the overall art style. This turned out to be a good move, as the LP terrain required some tweaking to be navigable.
Some key steps in the procedure might be useful to someone else. My tools of choice here are all free and open source. Krita for paint/image manipulation and Blender for 3d.
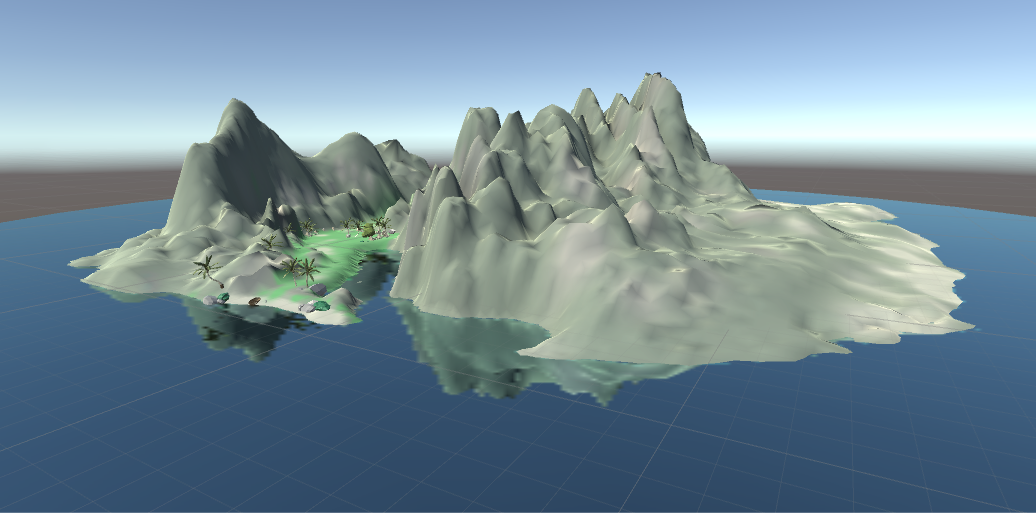
Here is a screenshot of my initial level design set on a mountain island, using the Unity terrain editor.
The first step to getting this to Blender is to select Export Raw from the terrain settings and take note of the bit depth, byte order and dimensions.
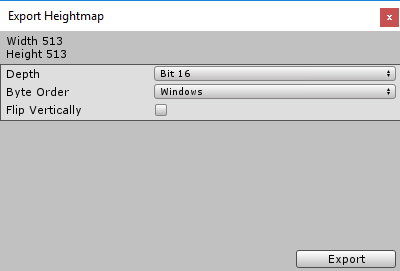
When you select Export, Unity will create a file with the .RAW extension. To be recognized by Krita, this must be changed to .r16 or .r8 depending on the bit depth.
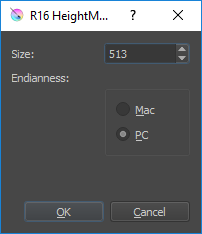
Open the file in Krita. You will need to specify the size and endianness to be the same used during the export from Unity.
Save the resulting image as .png. Here is mine.

I’ll be brief on the steps within Blender. I subdivided a plane to 512x512 , applied the displace modifier using the terrain .png file; then UV mapped it and colored it using a palette texture.
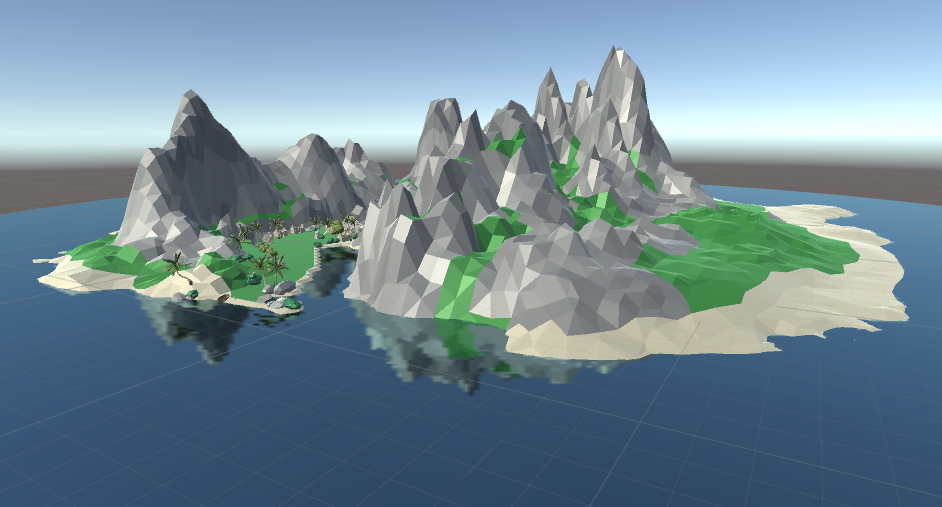
I then dragged the .blend into my Unity assets, dropped it in the scene, added a mesh collider and marked it nav-static. Here is the result.
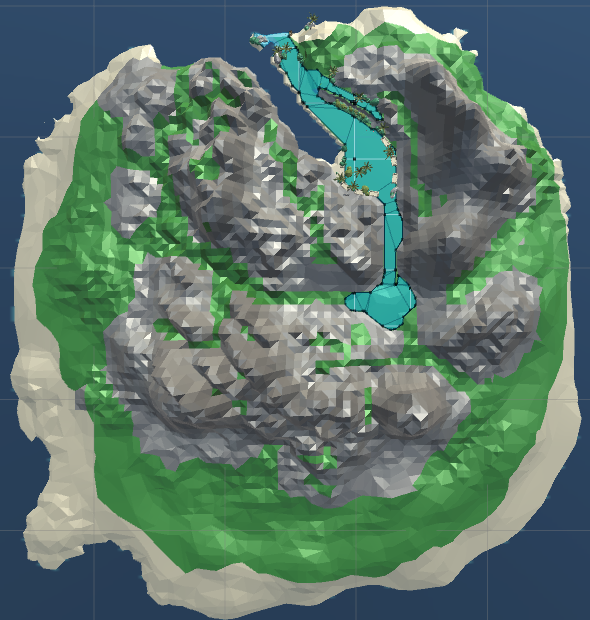
However, navigation mesh generation was taking a long time and creating areas in irrelevant parts of the island. Back in Blender, I split the mesh to seperate the areas I wanted to be walkable. The walkable mesh is marked nav-static, the other terrain is not. Here is the resulting nav mesh.
Hopefully, this saves someone a bit of time.

