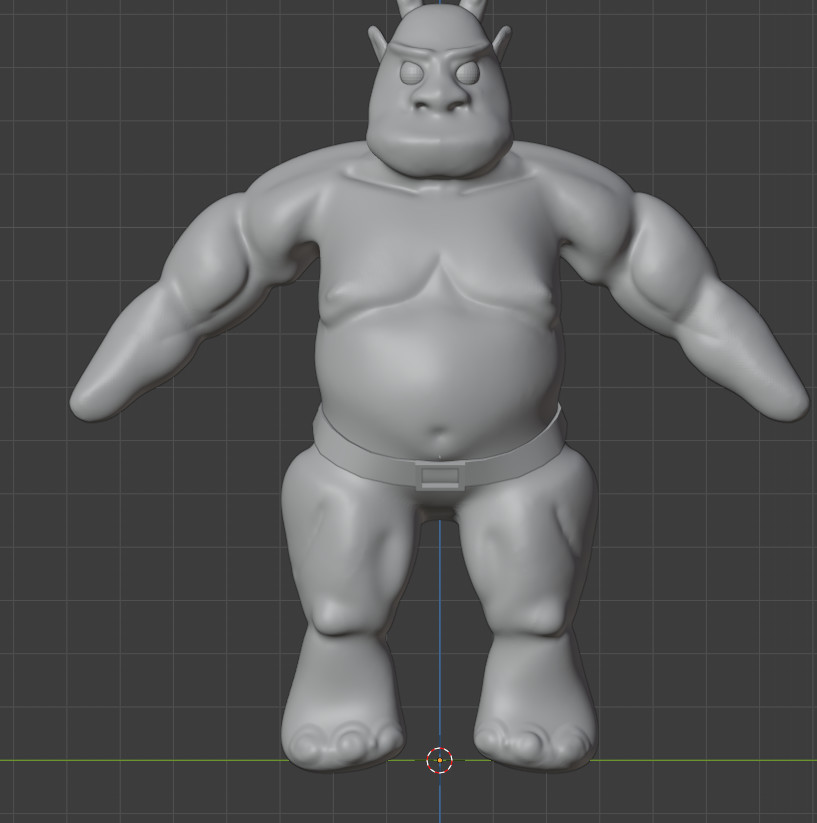
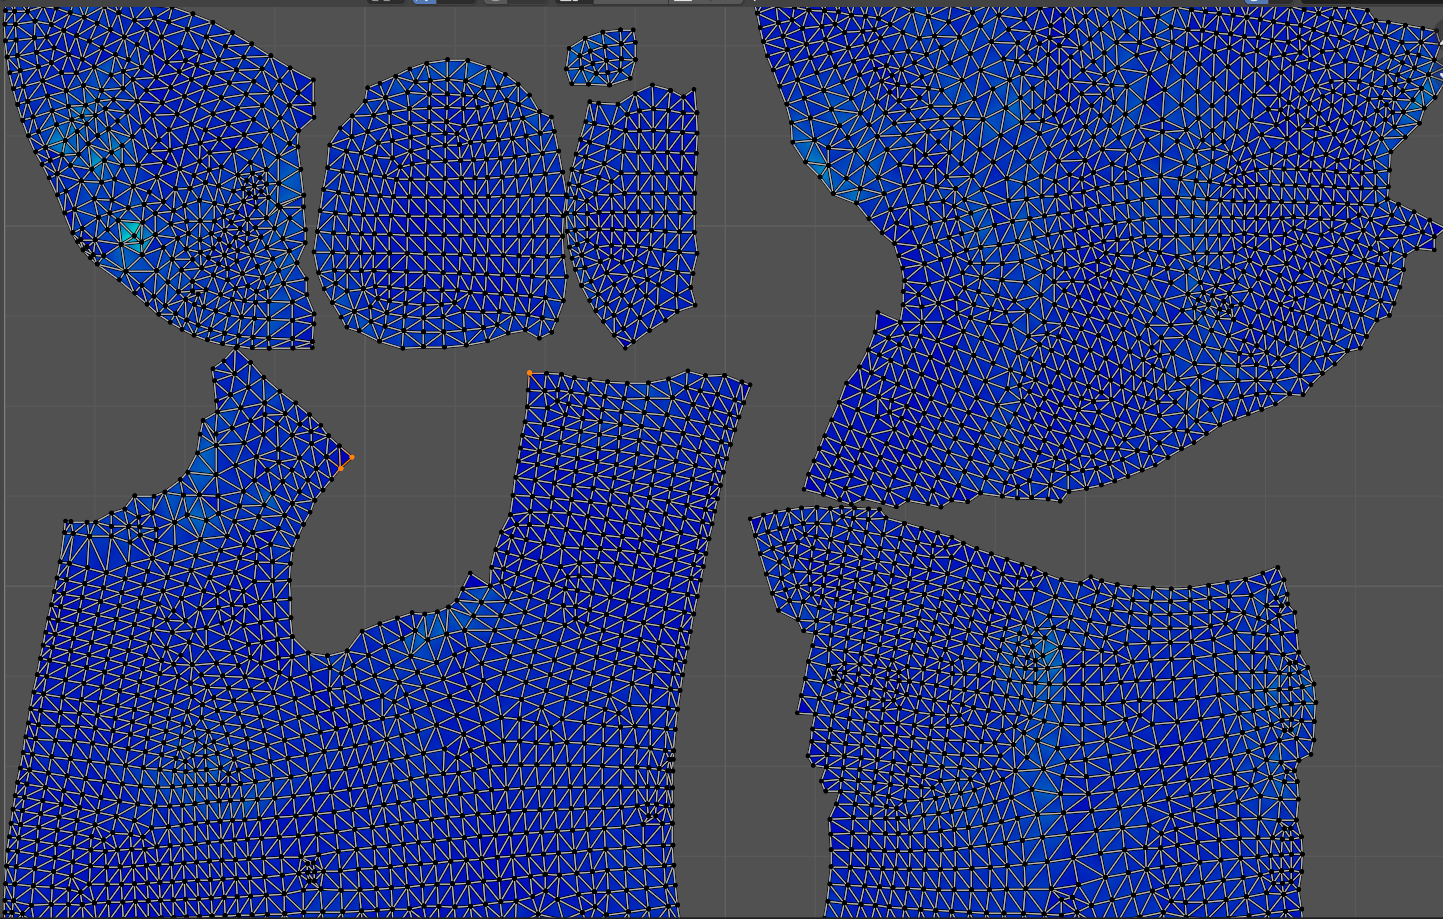
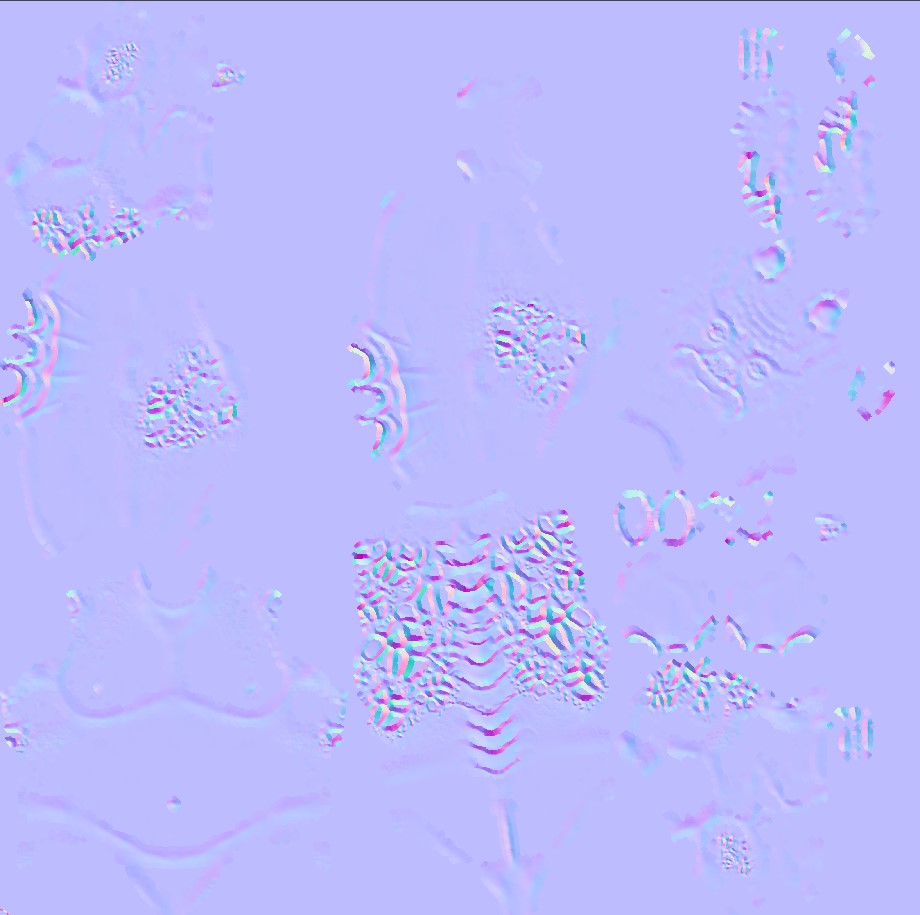
Correct me if I’m wrong but it looks to me like you have used Voxel remesh to retopologize your orc.
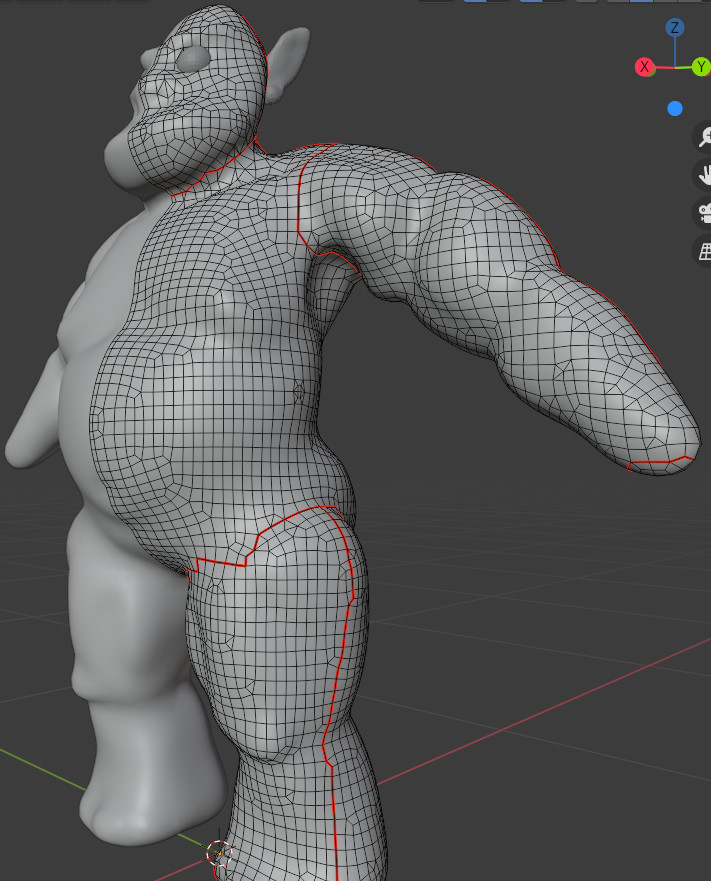
The reason I think this what you did is because the direction of the edges are perpendicular along the X and Y and Z world coordinates and also because the polygons seem to be of a similar density throughout the retopologized mesh.
I know retopology is often a task which many find difficult and cumbersome and tedious at first but manually retoplogizing is something I think every character artist should invest some time into learning. Edge flow and face loops are something that help every area of the character creation process that comes after after the sculpting of the character.
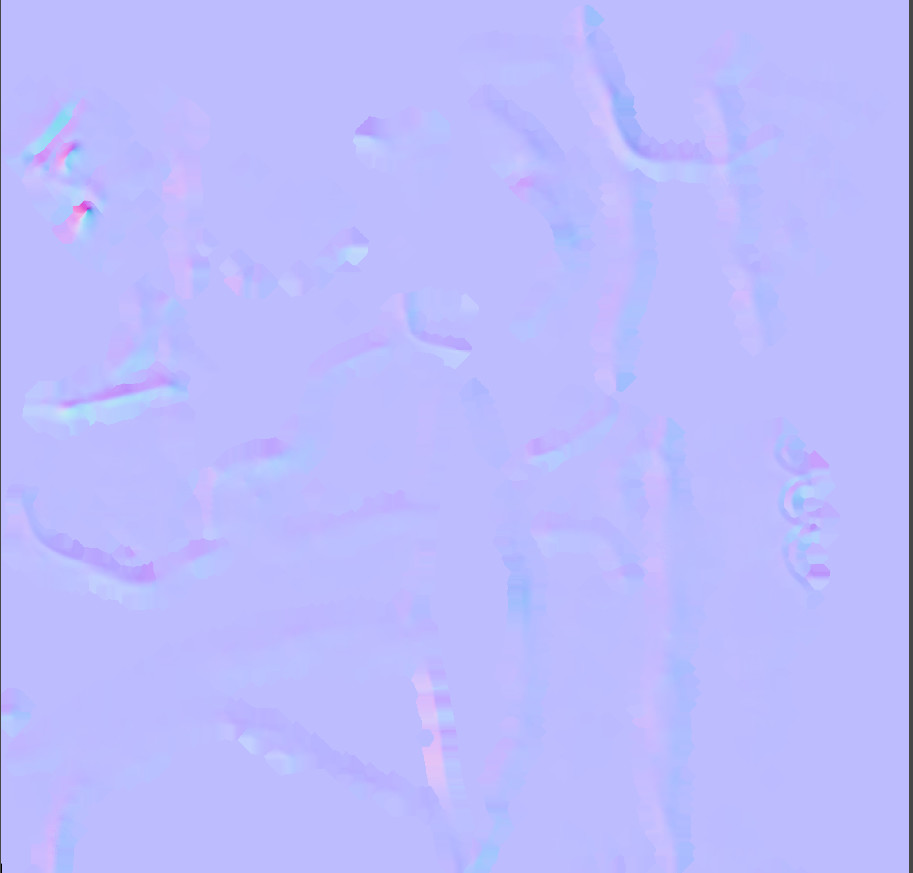
It helps the baking and texturing, so the mesh follows the high poly version a little closer meaning that the normal mao doesn’t have to do much of the heavy lifting to ensure the shading looks pleasing.
It helps retain higher detail in high detail areas such as the face and hands and manages the density in simpler regions of the character such as the torso and limbs. This can be managed via manual retopology.
It also helps with the weight painting of your character mesh if you have logical and conforming face loops and saves a great deal of time, frustraion and confusion in weight painting.
Good topology will also help the deformations of the character look pleasing and retain the correct amount of volume.
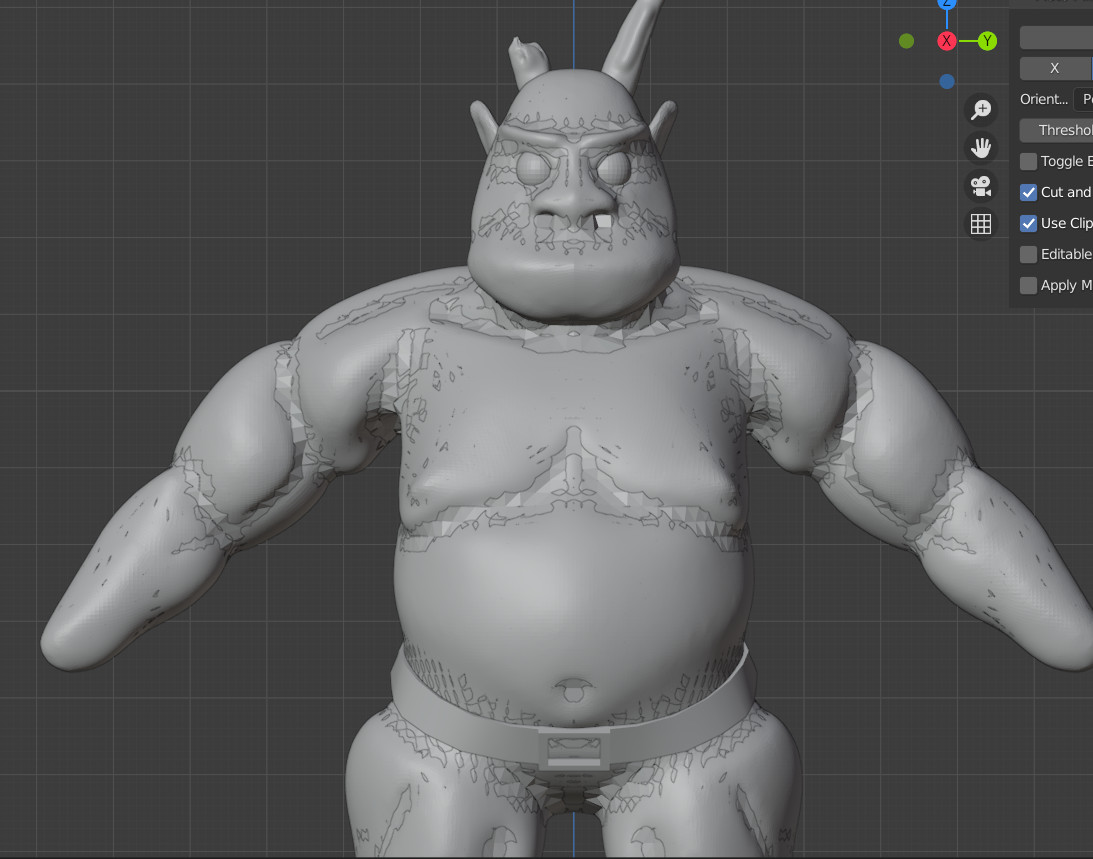
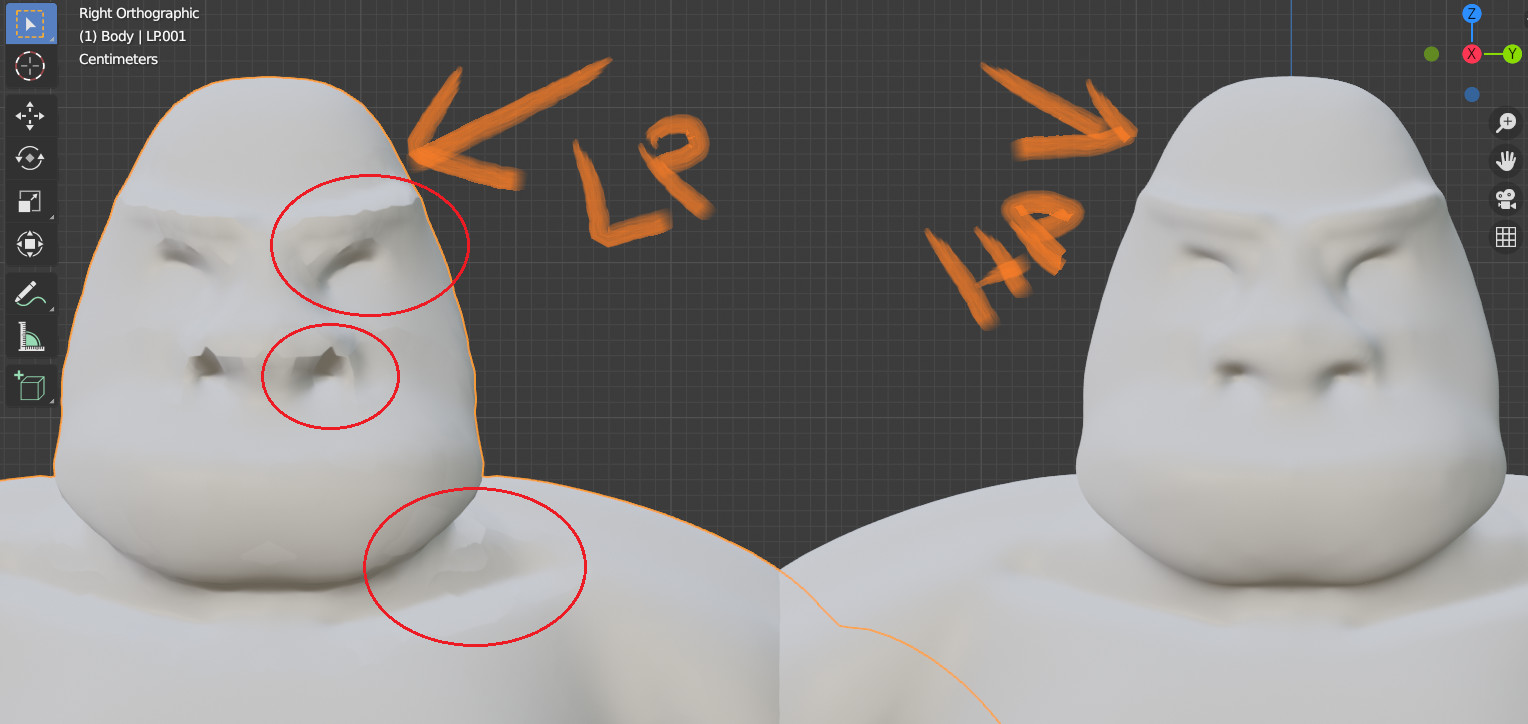
This explains why around the nose, there’s just not enough geometry to bake the normals and why the shading looks harsh. Other areas as well will suffer from this.
I’ve done quite a bit of retopology in blender and feel like just getting confident with it now so if you like I can maybe give you some pointers on how to efficiently retopologize if you feel that might help and show you a couple of things that I dsicovered and which help me in blender. Let me know if that interests you!