Stem for a Lamp aka Headache

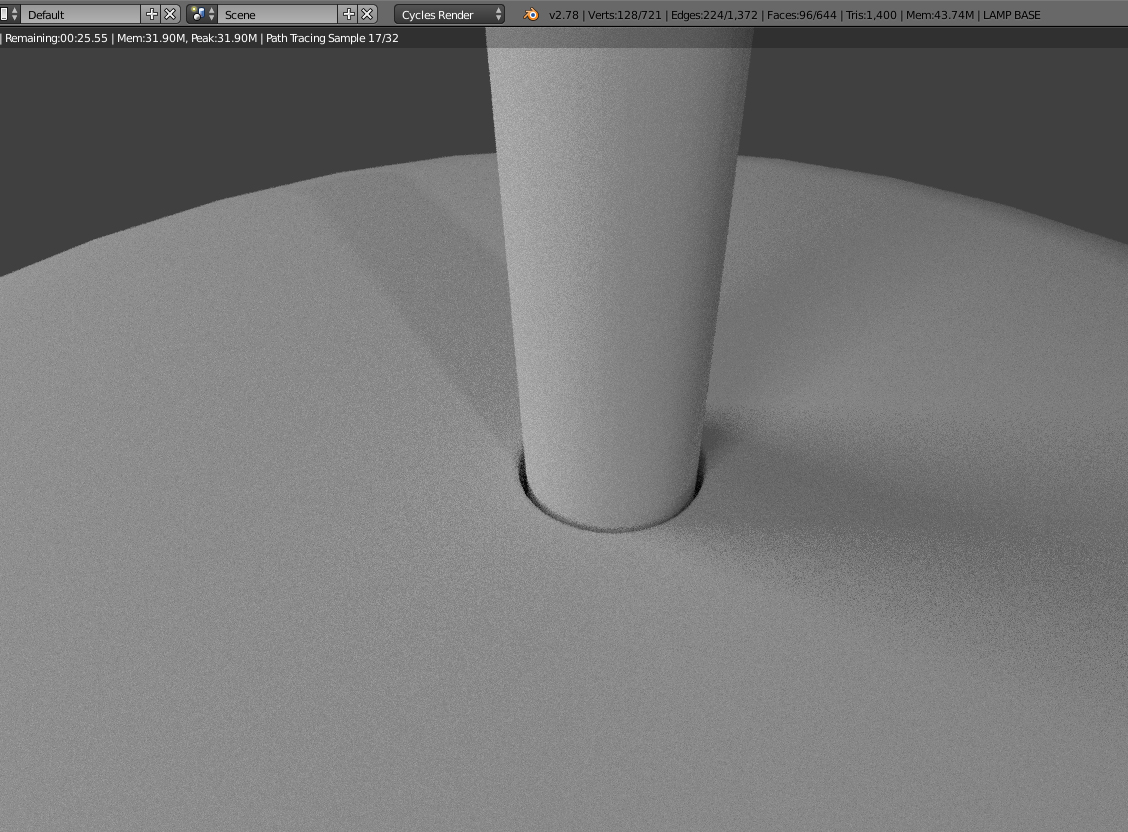
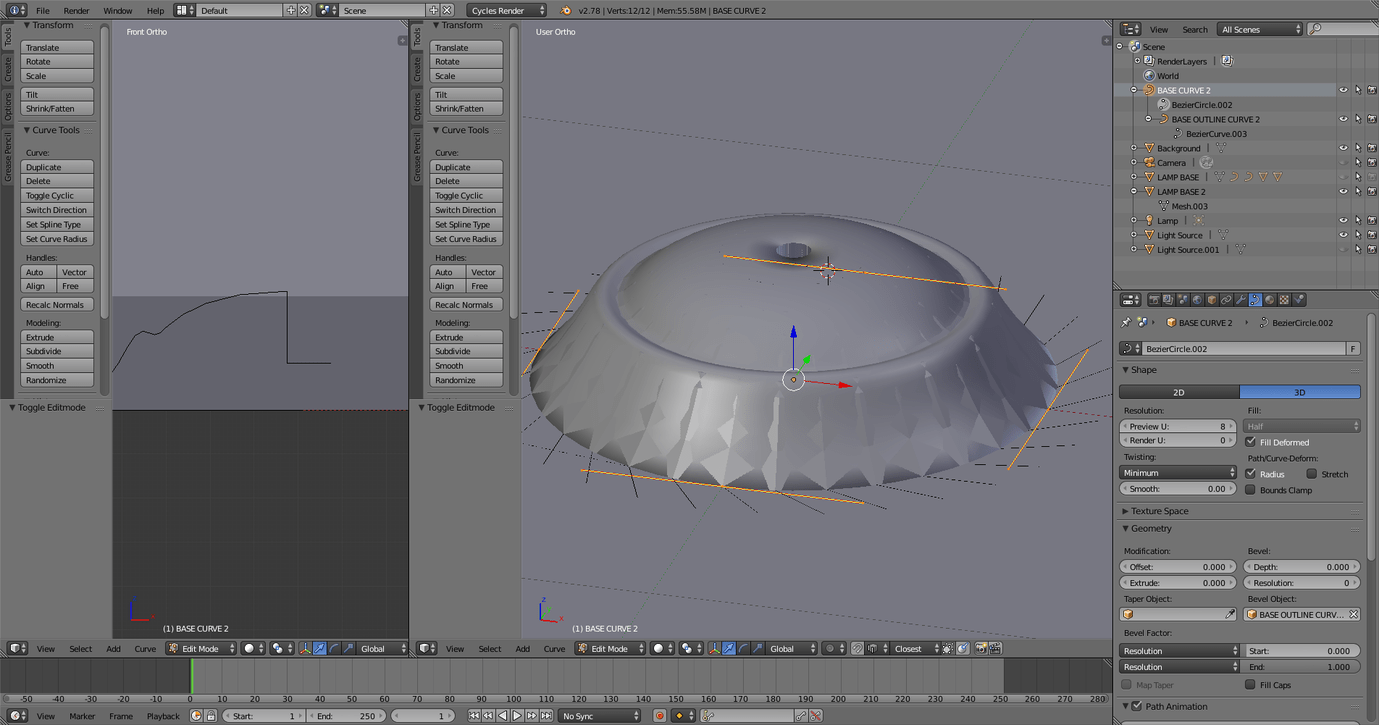
Started off with this nice image and quite enjoyed the moulding process with the bezier handles etc, but what came next (making the stem) was a tad headwrecking!

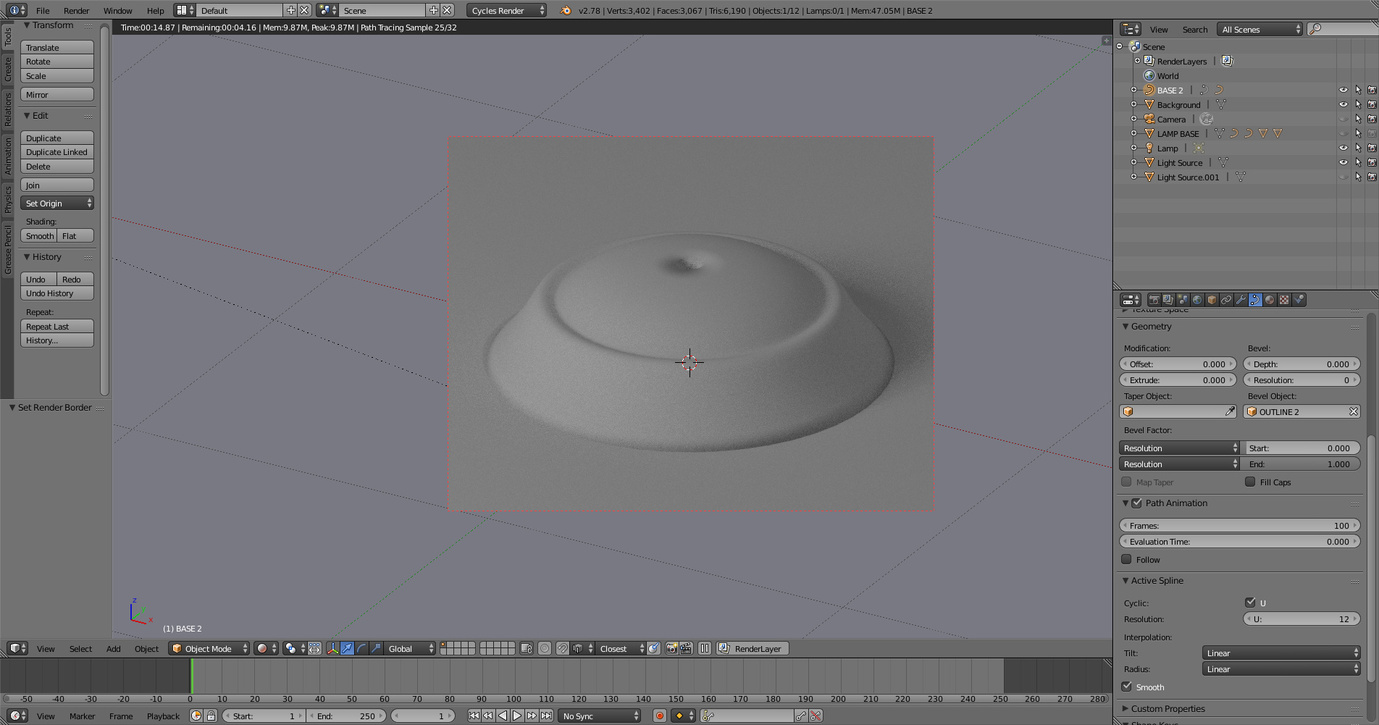
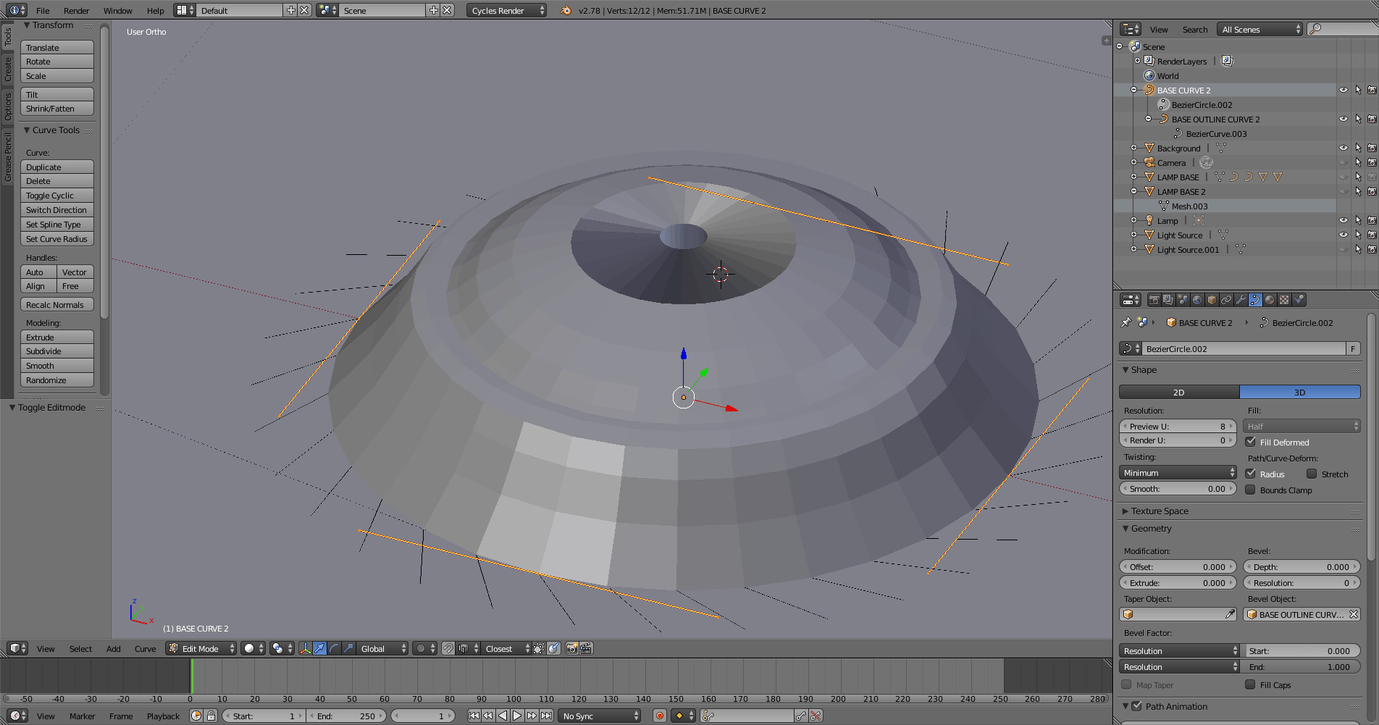
I got through this lesson in one piece but the confusion started once i started to create the mesh object from the curve. The part about undoing the history and then redoing the same thing (with ‘Keep Original’ turned on) was just a headache and i spent ages doing and redoing. That being said, perhaps my workspace and the number of items in my ‘world’ had increased beyond my current ability to manage things…
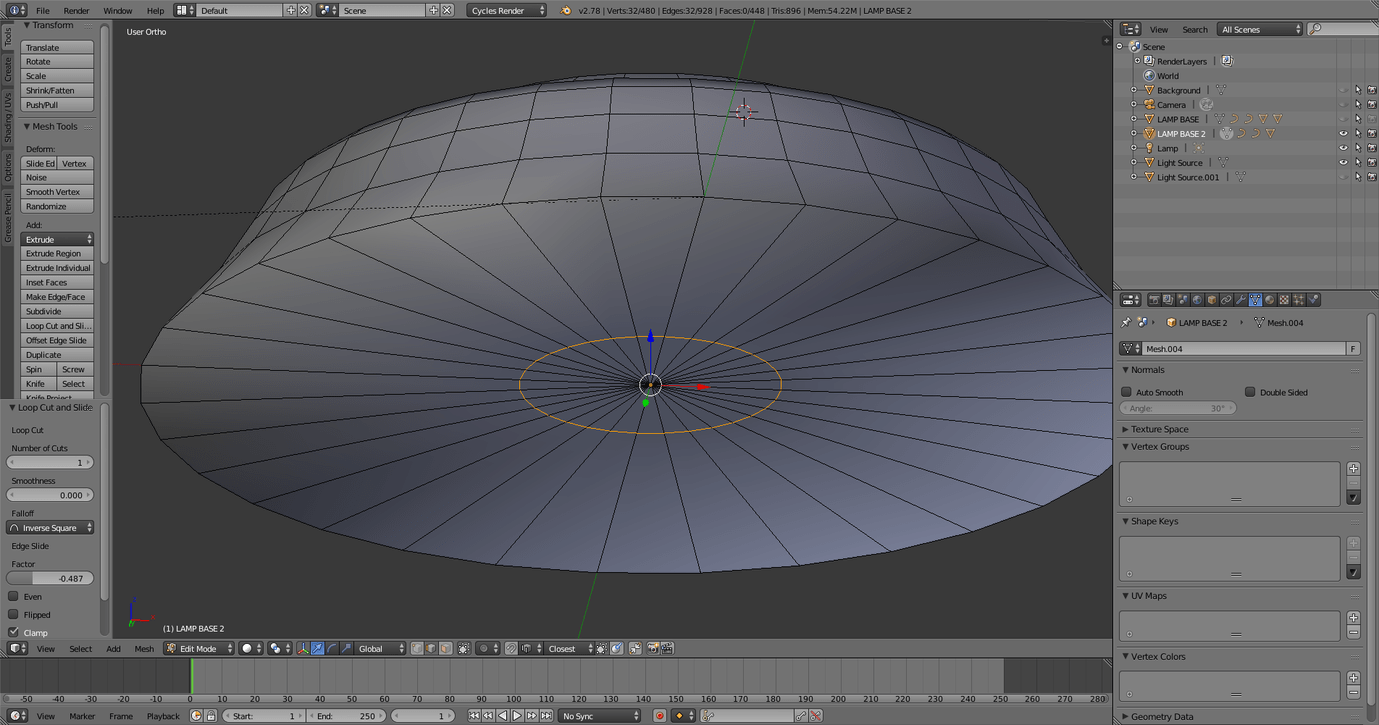
I also felt that the teacher in this particular part of lesson (105-107) was also having some trouble with his model. Is it just me??? Anyone else feel similar? I know I certainly need to revise this lesson again, but I think this lesson/video could be reviewed by the teacher again at some point too.

For the Stem challenge in lesson 107, I made the stem first without the help of the video.

In my first attempt, I inset the face at the innermost part of the stem, simply extruded all the way out, and then finally created a simple bevel around the edge where the base meets the stem.

This is a redo of the previous stem, but this time I did it the same as the lesson.

Even though the result looks almost the same, the method is quite different, including duplicating the inner face, separating the object, then extruding outwards, and adding the bevelled edge… not too difficult… but… after doing this I realised something was wrong with the faces and edges on the top of my stem.

For some reason they were all crossing over each other in multiple layers making it practically impossible to organise or even get a smooth curve because some edges were missing, resulting in little crevasses along the side of the stem.

Not quite sure at what point I went wrong but i’ll certainly need to review this lesson again.

Hi John,

I think the issue has arose during the creation of the base itself and somehow when converting it to a mesh it created doubles.
The issue with the lecture is actually an issue with the blender version in that if you dont do it the way Michael does it does not actually do it properly at all.

@Michael_Bridges

Had to go back and remind myself which faces he said to use for creating the stem and I recall that if you don’t line up the curve perfectly it creates a mess with those faces. I got around that by deleting the faces generated by the curve and creating a new set. I had to do it the hard way at that time but its really simple

  1. Delete the existing faces
  2. Select the edge ring and create an n-gon face (F key)
  3. go to the Mesh menu to Faces and select “Poke Face”
  4. OPTIONAL: delete every other edge to turn the fan into quads

This will generate a clean set of faces for you to create your stem from

1 Like

Thanks, that gives me something to watch out for. I’ll take a bit of extra care when I convert the base this time. I’ll redo it today and post up my results later on. Hopefully I’ll have a better result after reviewing :v::fist:

Great thanks alot for the tips!
I spent a long time deleting extra edges and faces that seems to come from nowhere. I finally created a new face but the strange crevasses along the side of the stem remained, probably from the bottom of the stem during duplication. I’ll give it another go today and post my results later on. Cheers Capricas!

REDO Begins… starting with the base using bezier curves the outline and path as close to the video as I could. Very nice shape… super important to convert the bezier handles to vector for those nice angles, particularly when approaching the hole at the top of the base where the stem will errr… stem from!

Successfully converted my curves into a mesh object. The undo/redo part when converting is a bit of a nuisance to be honest but more of a little irk once you get your head around it!..
One other thing I found interesting was comparing my triangle count (in edit mode) against the video, before tidying up the geometry … even though I followed the lesson closely, I have 2,592 triangles but in the video the mesh has 4,704…
How?

From Lecture 106 … reducing the triangle count doesn’t seem to be going well. The default is set at 12, I’ve reduced and played around with both the base curve and the base outline curve, but as you can see in the image here, anything lower than the original 12 seems to distort the nice curves out of shape, so i will have to reset to my original converted mesh… reducing the triangle count in this way doesn’t seem to be working out for my model.

My attempt to reduce the previous triangle count solved… it appears my lamp base and the base curve are both in view in the previous screenshot which is why I was getting a very wierd deformed shape…

In this new triangle reduction, i have done the same but hidden my lamp base from view. Now, when i reduce my triangle count i am getting a more accurate shape…

However, this time when I converted the curve to a new mesh it did not disappear but immediately created the new mesh item without any messing about with the history undo. Why?!

Unlike the video, I’ve noticed that the bottom of my base doesn’t have any edges, so just to remain consistent with the video I’ve added an edge loop here.

In persepctive mode from the inside of the shape, compared to the lesson the stem of my shape appears to have some additonal faces and edges extruding well outside the circumference of the stem … not quite sure what to do with this because it doesn’t feature in the video but I’m gonna try to simplify it and clean up what should be the bottom face of the stem (from inside the base)

So my previous inner stem looks nothing like the one in the video (with less faces and a very messy looking additional face with extra edges), so i had to go back and manually reconstruct the internal stem again just so I keep try to remain consistent with the flow of the video lesson. (ie: removing the extra face and edges, recreate a new edge from the vertices, then fill each of the new shapes to make a face, and finally use the loop edges to create 5 faces around the stem as can be seen at 11:20 ) Any one else run into this problem?

…And hey presto! I made it through the otherside with finished stem and bevelled edge! Go me!!

Only slight difference now is that the top face of my stem has just one flat face compatred with the lesson where there are multiple faces and edges. This happened because i needed to delete the additional messy faces/edges on the stem from inside the base before extruding.

Apart from that, I’m feeling alot more knowledgable, and relieved to have gotten through it (and from that perspective I’m glad that it forced me to revise the lesson as well as being overly-reliant on following the video)
I still think the teachers need to revise this part of the lesson (105 - 107) , regardless of what version of blender they are using, the lesson needs to be clear, which it wasn’t from my perspective.

1 Like

Thanks John, I have gone through your post and am looking at what I can easily do to make it clearer.

Did you manage to find where you tripped up? Looking at your thread it looks like you were trying your best to imitate the lecture exactly. The issue with doing this is that one small difference in my model vs yours can cascade it to many more further down- this isn’t to be feared of course, more so embraced :slight_smile:

It can be challenging to fix a mid section lecture without causing follow on problems where the model changed how it was back to the previous one in following lectures so specfics would be great :slight_smile:

Hi Michael… thanks for getting back to me.
I think my main difficulties arose because i was trying too much to mimic your every move in the video. As a newbie the littlest inconsistency threw me off and as a result i found it difficult to continue with the rest of the video knowing that I hadn’t completely solved the task before moving on.

I’ve since resolved the issue, ‘‘in my own way’’ :slight_smile: i suppose is the best way to phrase it! :slight_smile: basically it boils down to the bezier curves and the initial outline made from it.

In this lesson (106) I found the section 8:50 - 10:40 most confusing, particularly because the problems i was having (as above in the thread) weren’t being addressed while following the lesson, and at the same time you were have some issues of your own aswell, so it was quite difficult to get through it on my first attempt.

Overall though I’m really enjoying your lessons and I’m getting alot of satisfaction from the course. Thanks alot for that!

1 Like

Privacy & Terms