Hi everyone,
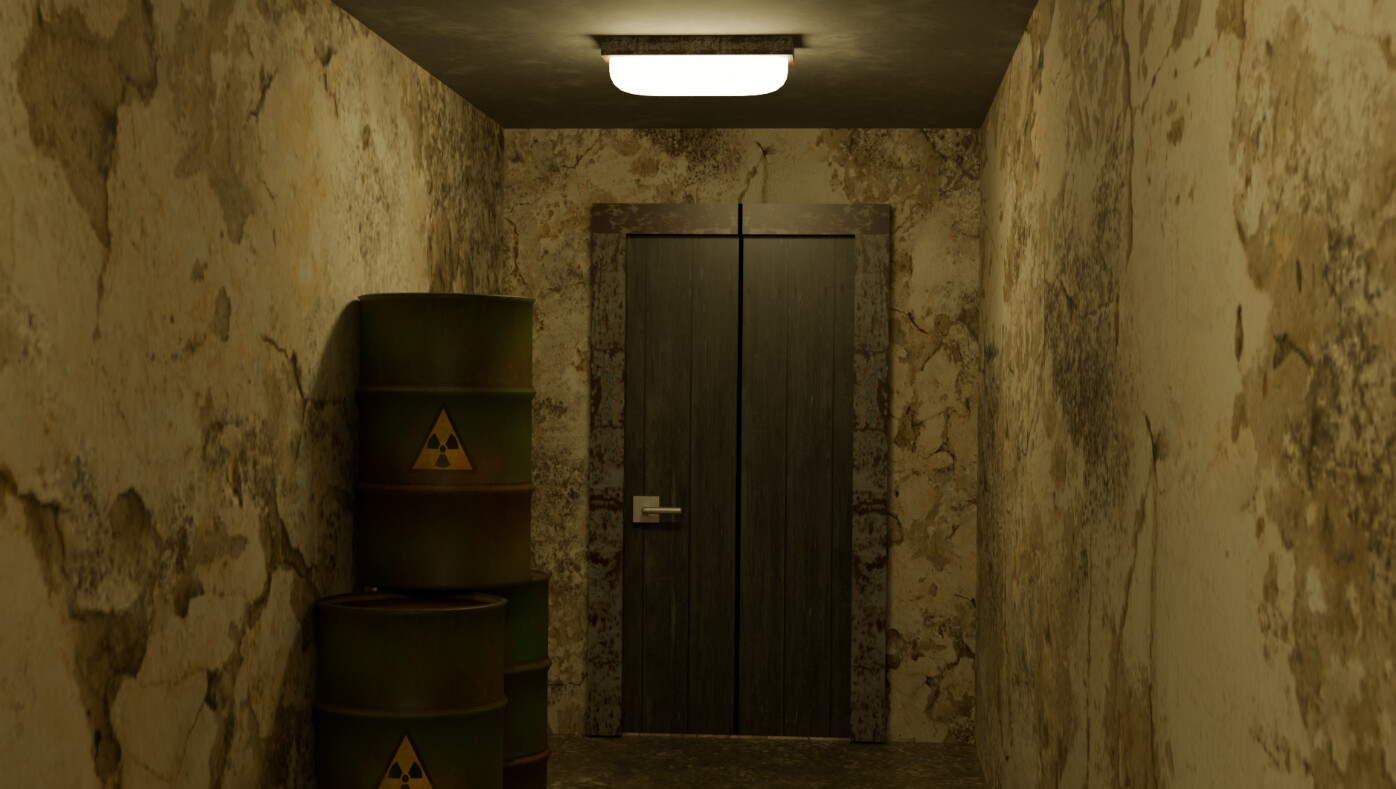
I’d like to share my results from Section 3: “Spooky Corridor – UV Mapping.”
Please see the final render below:

Challenges & Solutions
1. Joined Meshes & Origin Confusion
A few times, objects were accidentally joined into one mesh. I resolved this by going to Edit Mode, selecting everything with A , then pressing P > “By Loose Parts.”
However, I forgot to reset the origin. To fix that:
- Enter Edit Mode → Select all (
A) →Shift + S→ “Cursor to Selected” - Go back to Object Mode → Right-click → Set Origin > Origin to 3D Cursor
Still wrapping my head around the cursor/origin relationship.
2. Lamp Flicker
I tried animating a flickering light, but spent too much time on it. I’ll revisit this once I’m more comfortable with animation.
3. Door Split Issue
Just before rendering, I noticed a black line and a split in the door. It turned out to be overlapping geometry. I moved the door and frame parts slightly to avoid collisions.
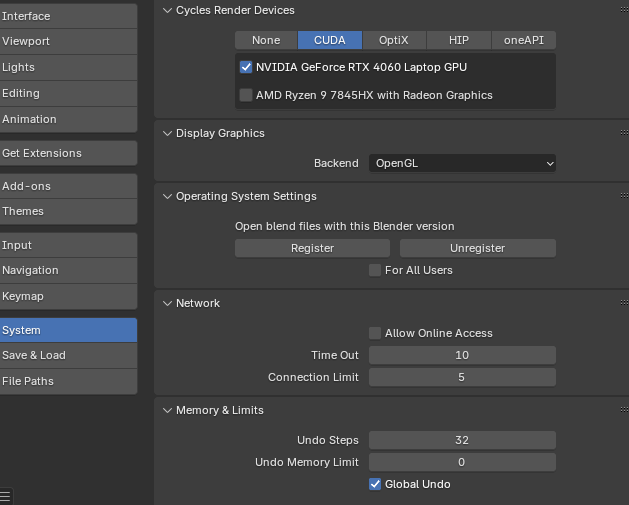
4. CPU Rendering Crash
My laptop kept restarting at ~15% render progress in Cycles. I later realized it was set to CPU.
In Edit > Preferences > System , I enabled GPU Compute (NVIDIA GeForce RTX 4060) to prevent overheating and crashes.
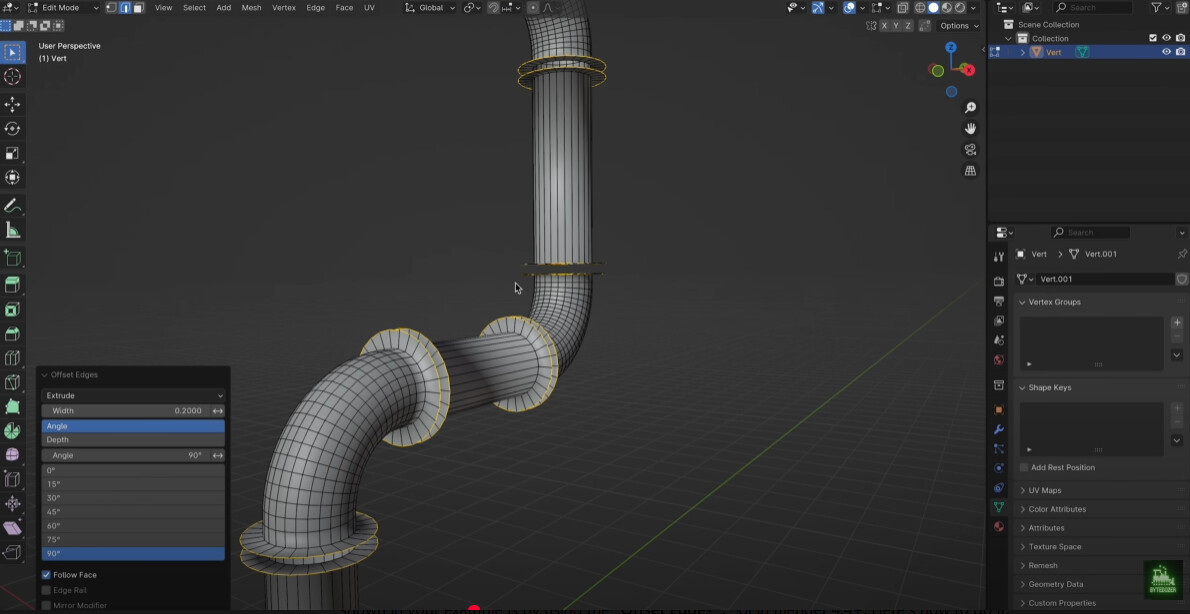
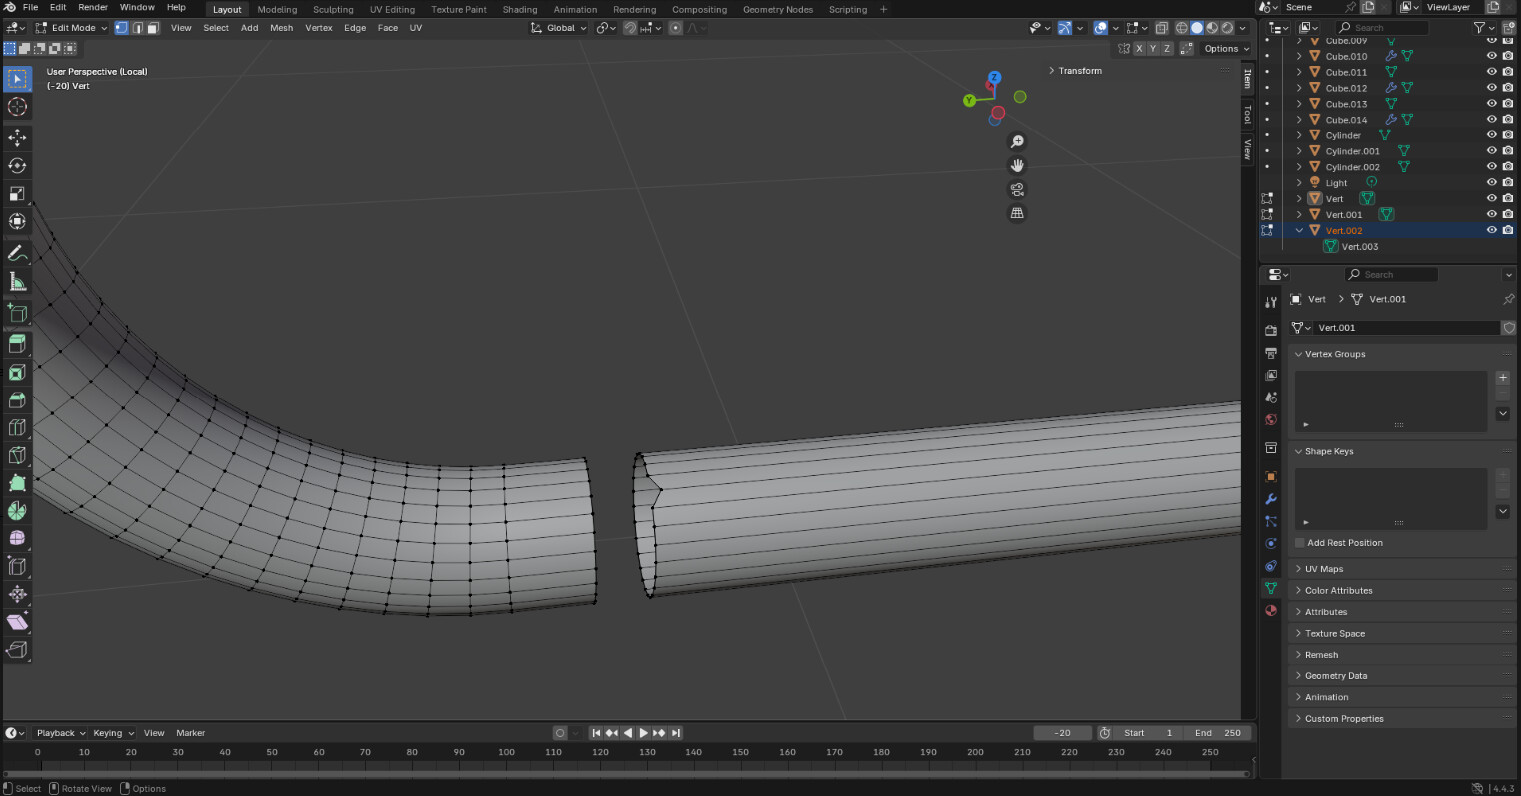
5. Bonus Pipe Modeling (2-Day Deep Dive)
As suggested in the final lesson, I added a custom element — a pipe. It took time to understand due to the fast tutorial pacing.
Here’s what I learned:
a. Single Vertex Creation
Blender 4.4.3 doesn’t have a native “single vert” mesh option. I created a plane and deleted three vertices. Still, the origin was tricky, so I installed the Add Mesh: Extra Objects add-on.
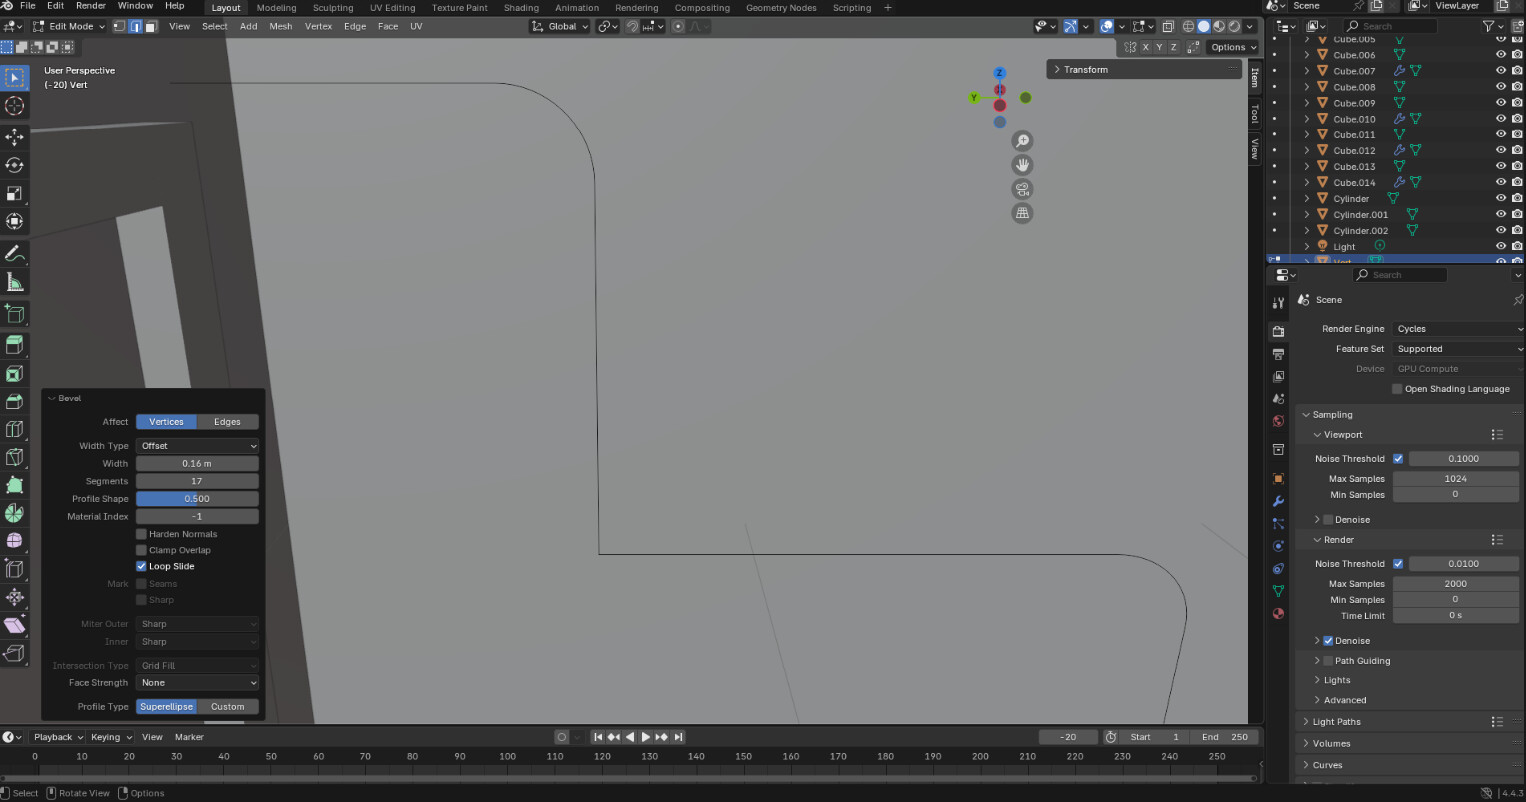
b. Beveling Errors
My edge bevels bugged out initially. I redid the process:
Edge Select Mode → Select →Ctrl + B→ Adjust — and it worked fine.
c. Curve + Bevel Method
I discovered a quicker way:
Object Mode → Right-click → Convert to Curve
Then in Curve Data Properties > Geometry , increase the Bevel Depth to form a pipe.
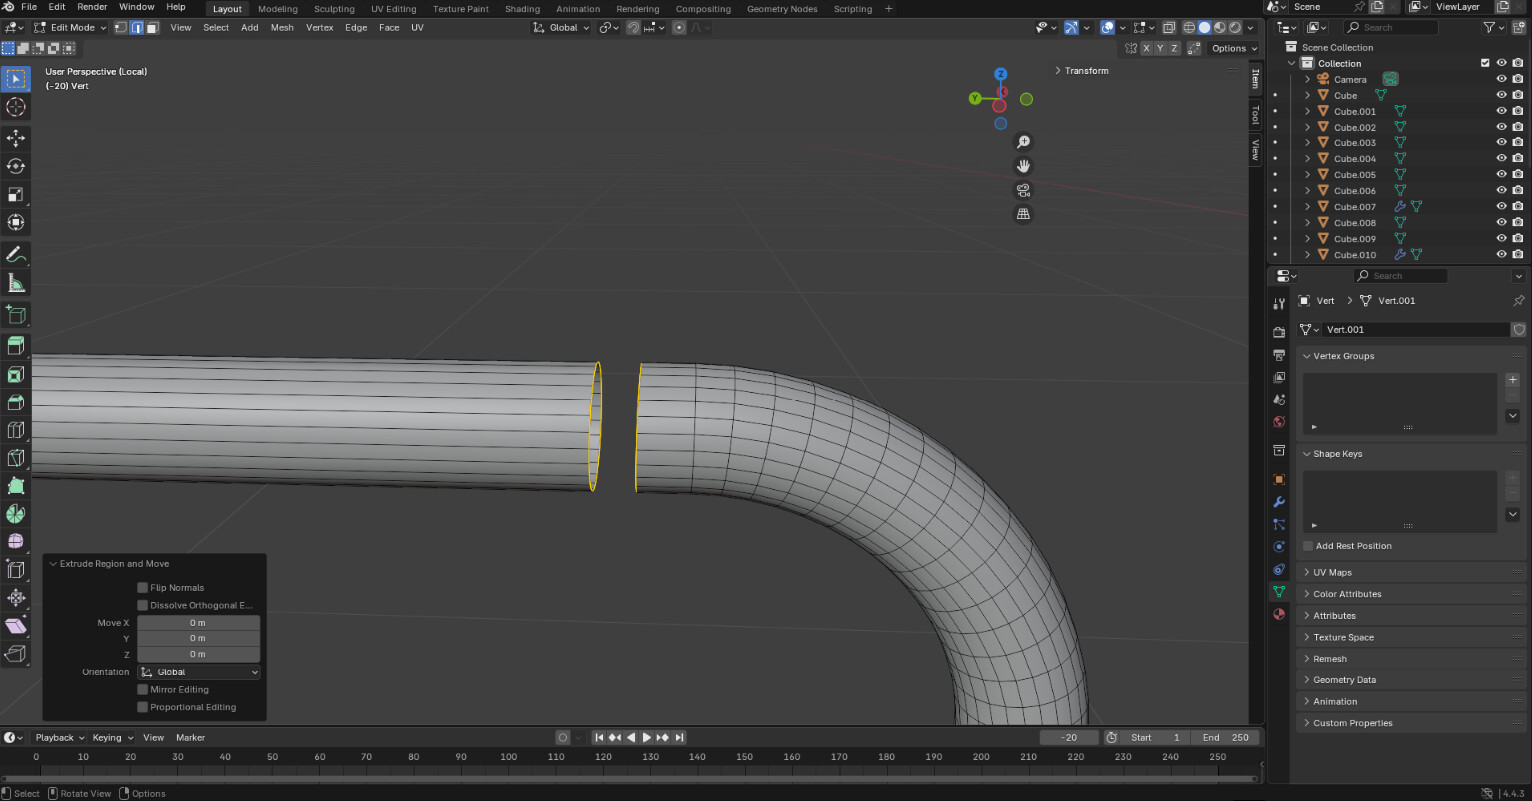
d. Creating Pipe Rings
To fake the Offset Edge function (which I couldn’t find), I used Extrude + Scale to make rings. Since initial cuts weren’t uniform, neither were the results.
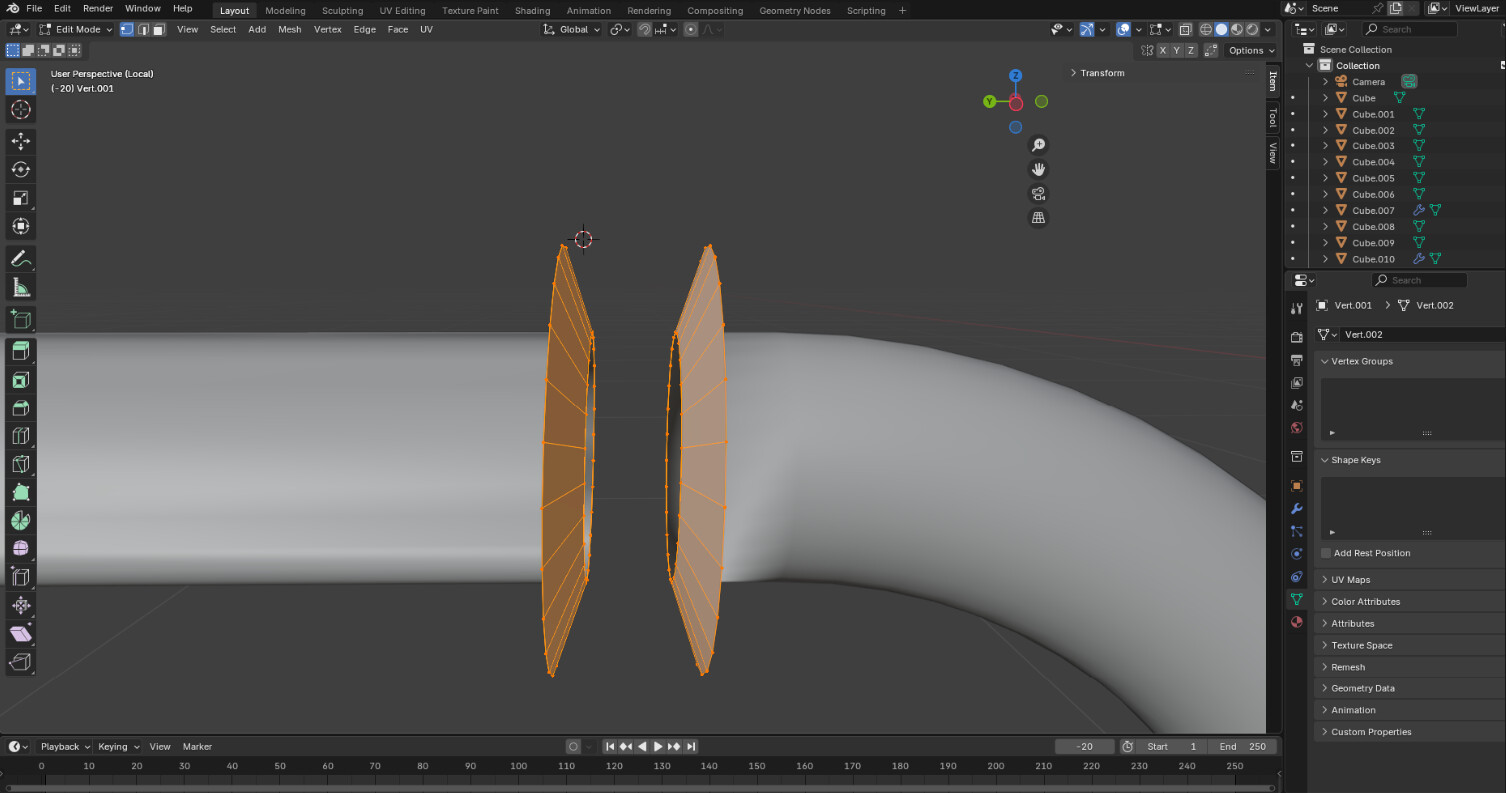
e. Connecting Rings
Used Bridge Edge Loops with:
Alt + Left Clickon one loop →Shift + Alt + Left Clickon another →F3→ “Bridge Edge Loops”
f. Mesh Cleanup
Some issues were resolved by manually cutting, deleting, and repositioning faces.
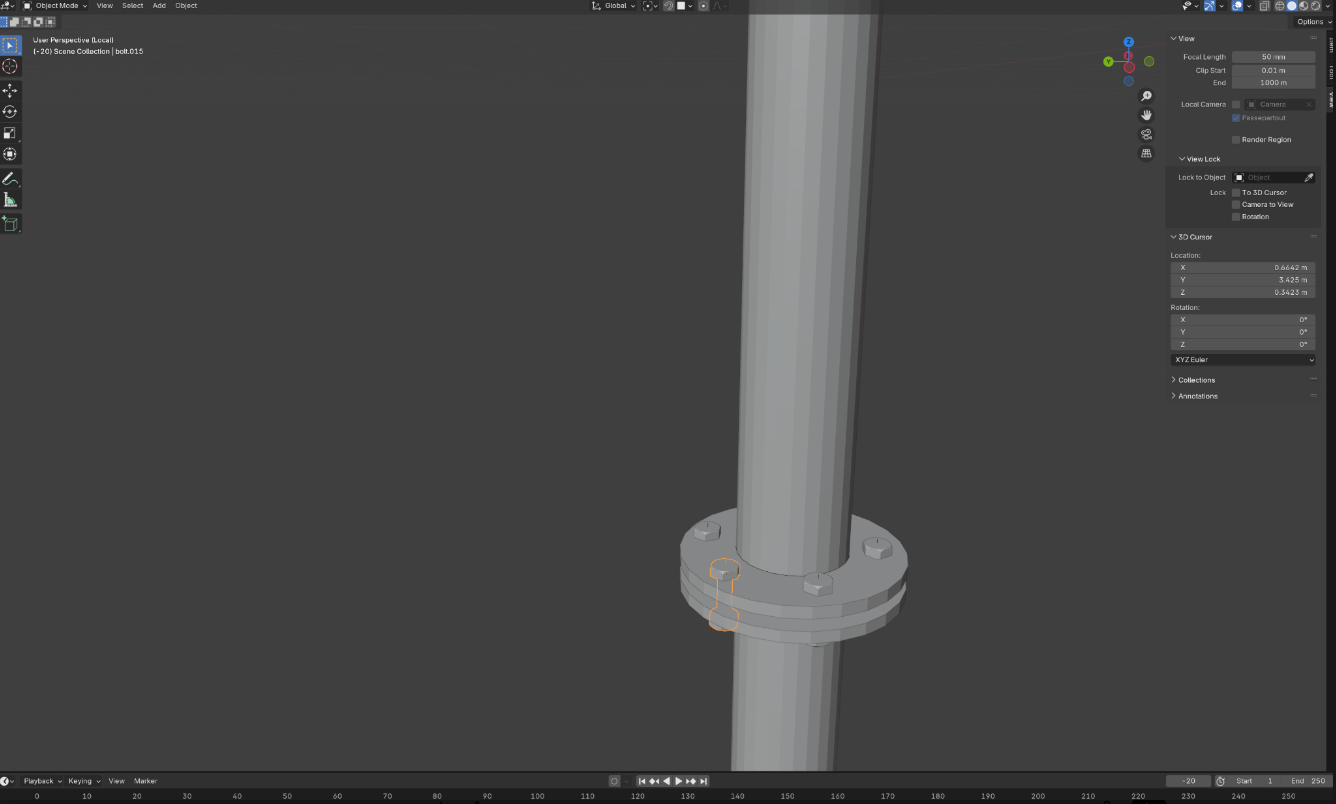
6. Bolts & Instances
I used the BoltFactory add-on to generate bolts — very useful!
However, I struggled with collections and empties. I now understand: - A collection instance is a reference to the original — like an efficient, linked duplicate (not a full mesh copy like
Shift + D). - But even after removing empties, each bolt showed a line/vector. To fix this, I converted them all to meshes. I’m still learning how to properly manage collection instances.


7. Snapping & 3D Cursor Pivot
A great trick I learned:
Enable the magnet icon (snap) with “Face” as the target .
Set the 3D Cursor to the pipe center → In Pivot Point settings, choose 3D Cursor → Shift + D to duplicate and R to rotate around it. Very powerful for precise placement!
 Conclusion
This chapter was full of practical learning. I made many mistakes, but also developed better problem-solving and Blender navigation skills. My main takeaways:
- The 3D Cursor + Pivot system is powerful (but unintuitive at first)
- Instancing is more efficient than duplicating meshes
- Don’t ignore your system settings when rendering
- Keep iterating — even messy attempts teach you a lot
Looking forward to the next section — and to seeing your spooky corridors too!