
During the snapping tool lecture and in order to increase my familiarity of the Blender tools, I tried to repeat the example of joining the 3 cubes. The problem occurs when I snap the third cube and then move it upwards and replicate your ducting. My cube simply moves upward despite clicking on the join button when snapping. The number of vertices does not drop either as per your example. Am I overlooking some key combination or otherwise?
Secondly, would like to make the comment as complete beginner, I follow the key combinations that appear on the screen avidly, but this facility does not appear consistently as you do a sequence of keys. For example, how did you get the ‘mesh’ pop-up menu to appear on the screen?
Thanks
You might have figured these out by now but, as I stopped for a few weeks to let it settle and run the lesson again, here it goes.
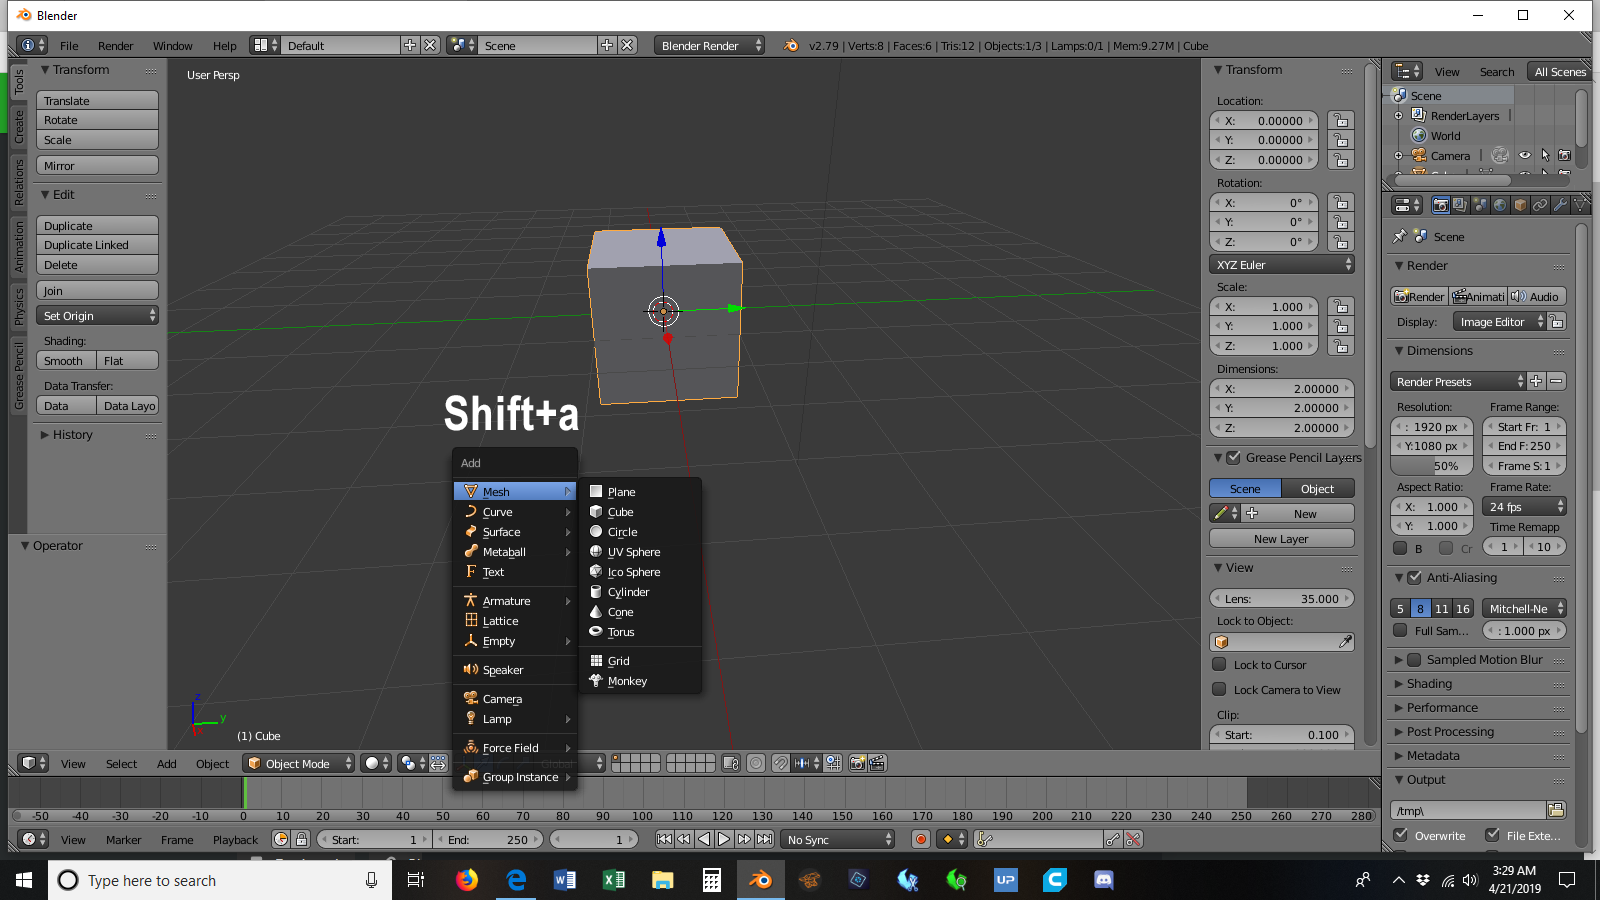
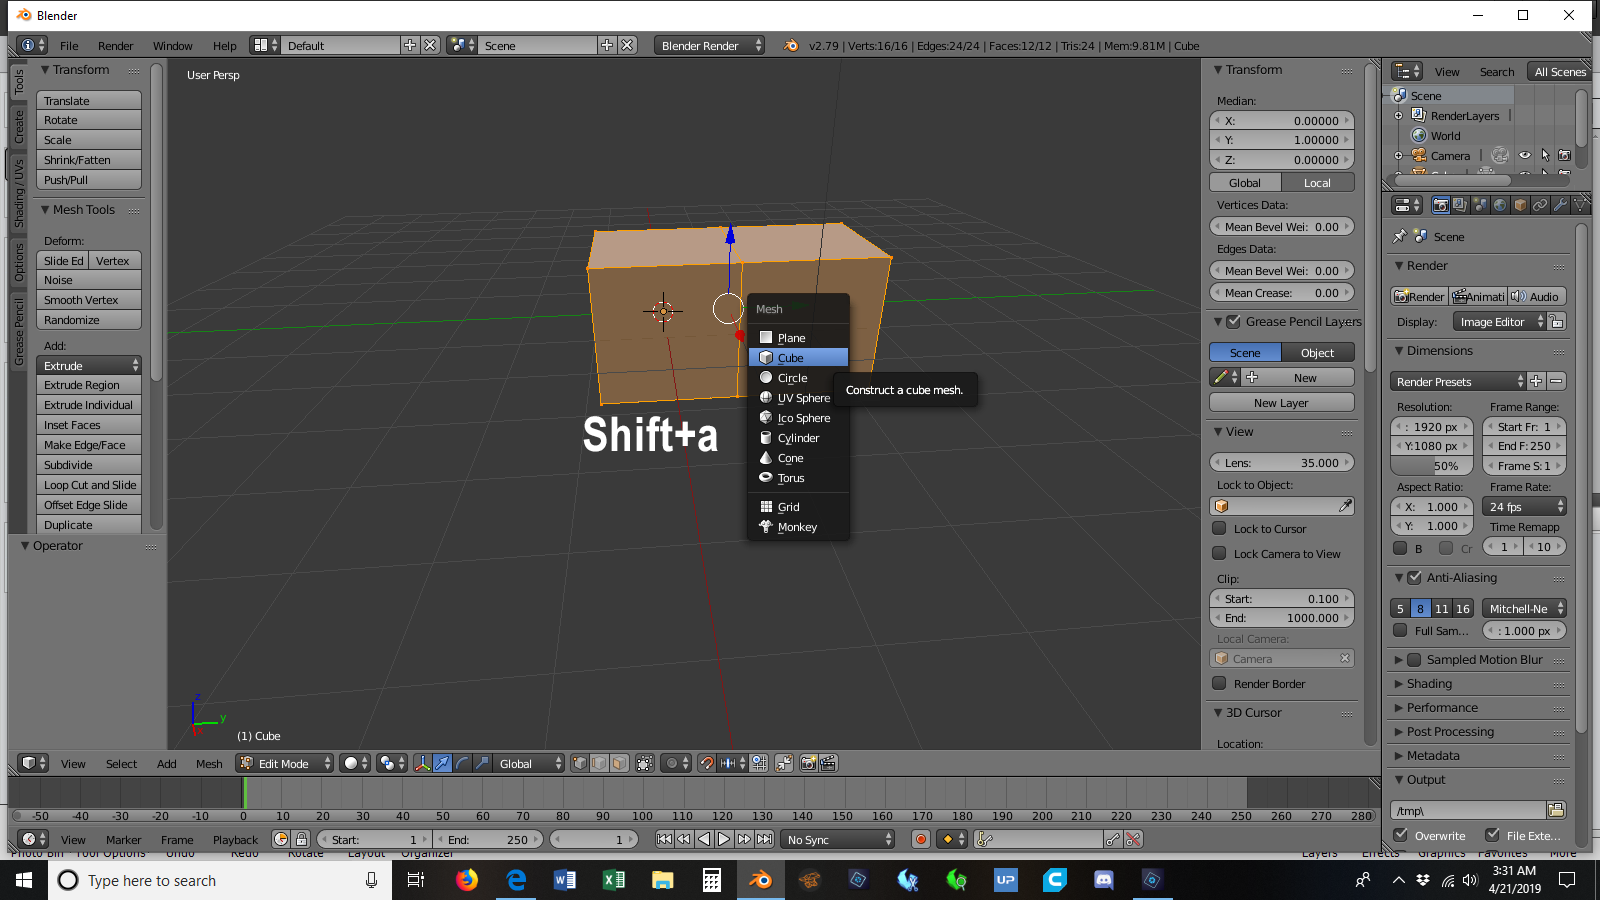
From opening; create a cube: Ensure cursor is in the 3D window, press Shift+a then select Cube in pop-up window, now there’s one cube within another.
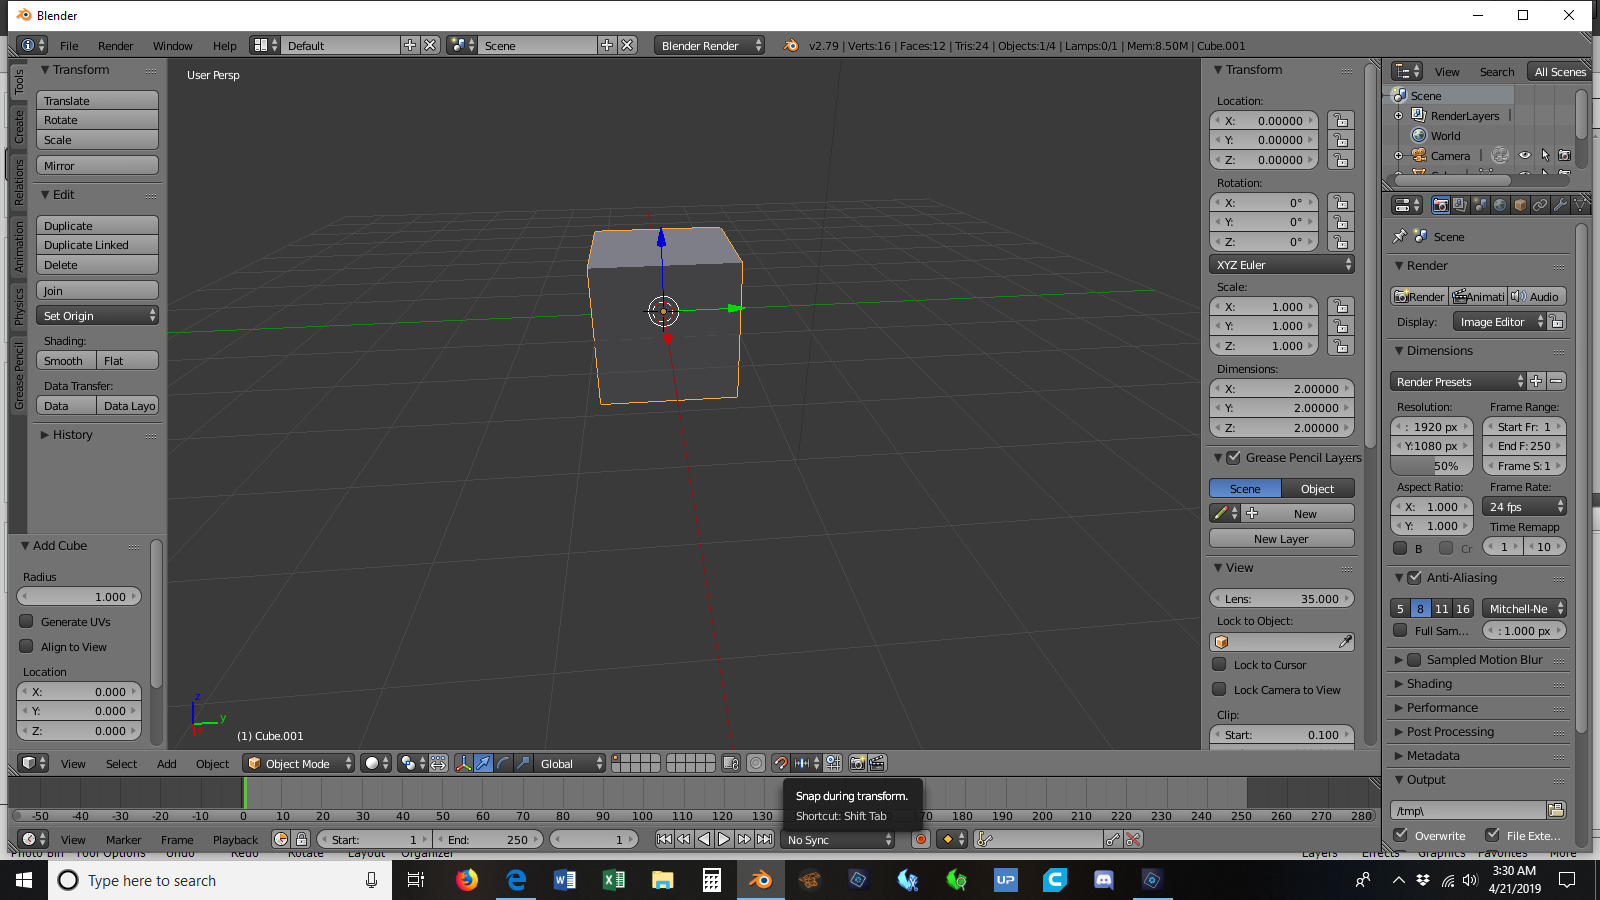
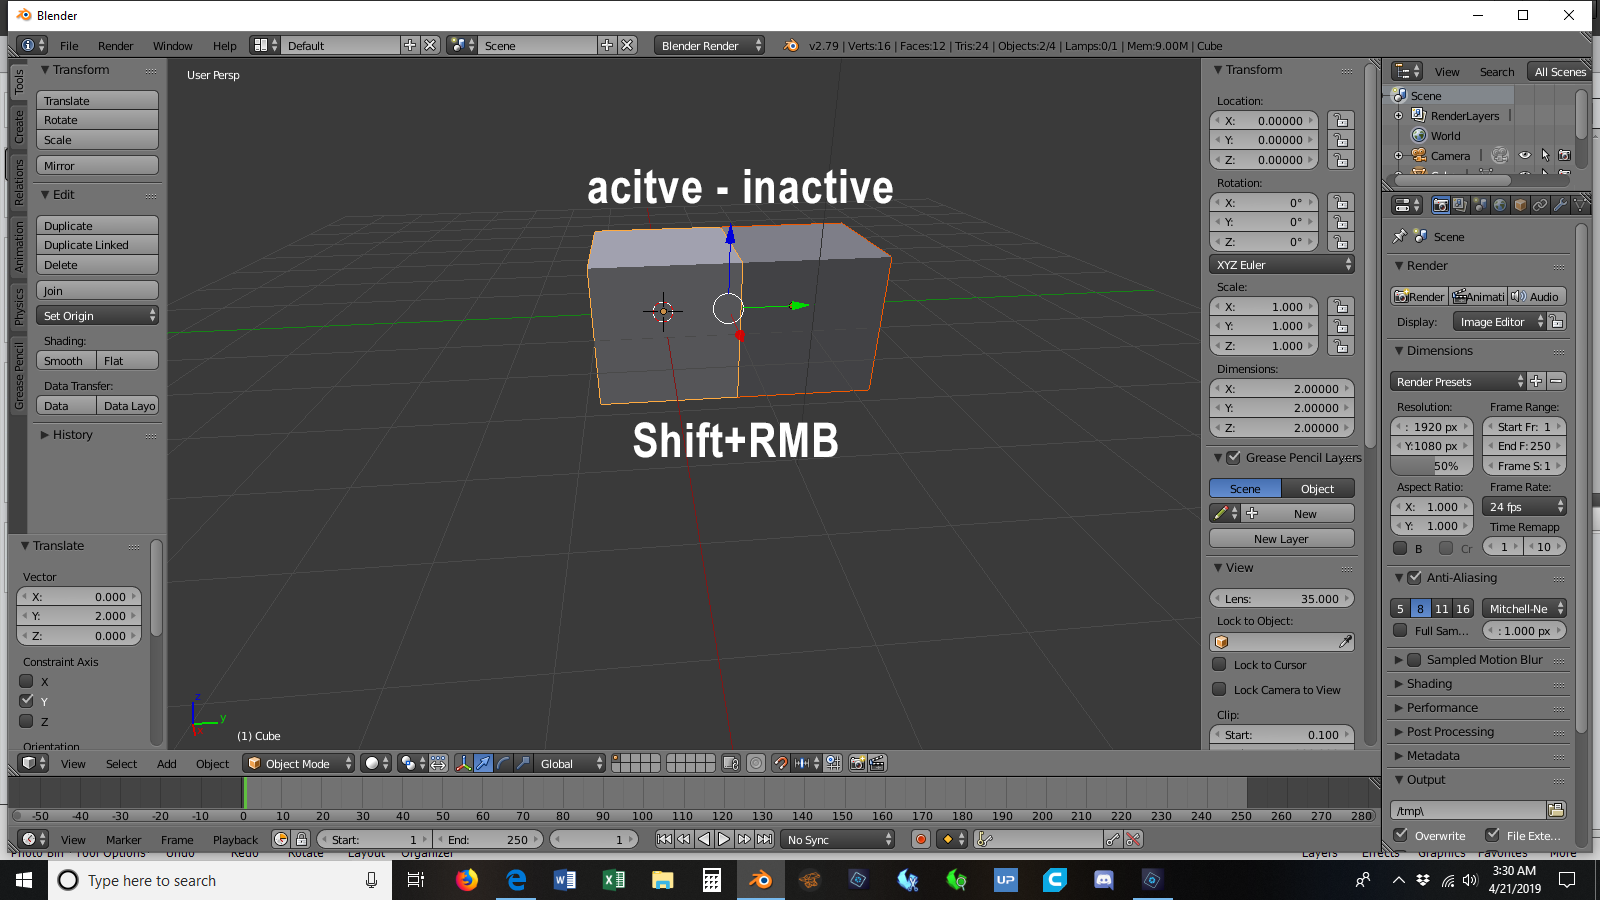
Click on Snap during Transform then pull new cube to align with original in a double length.
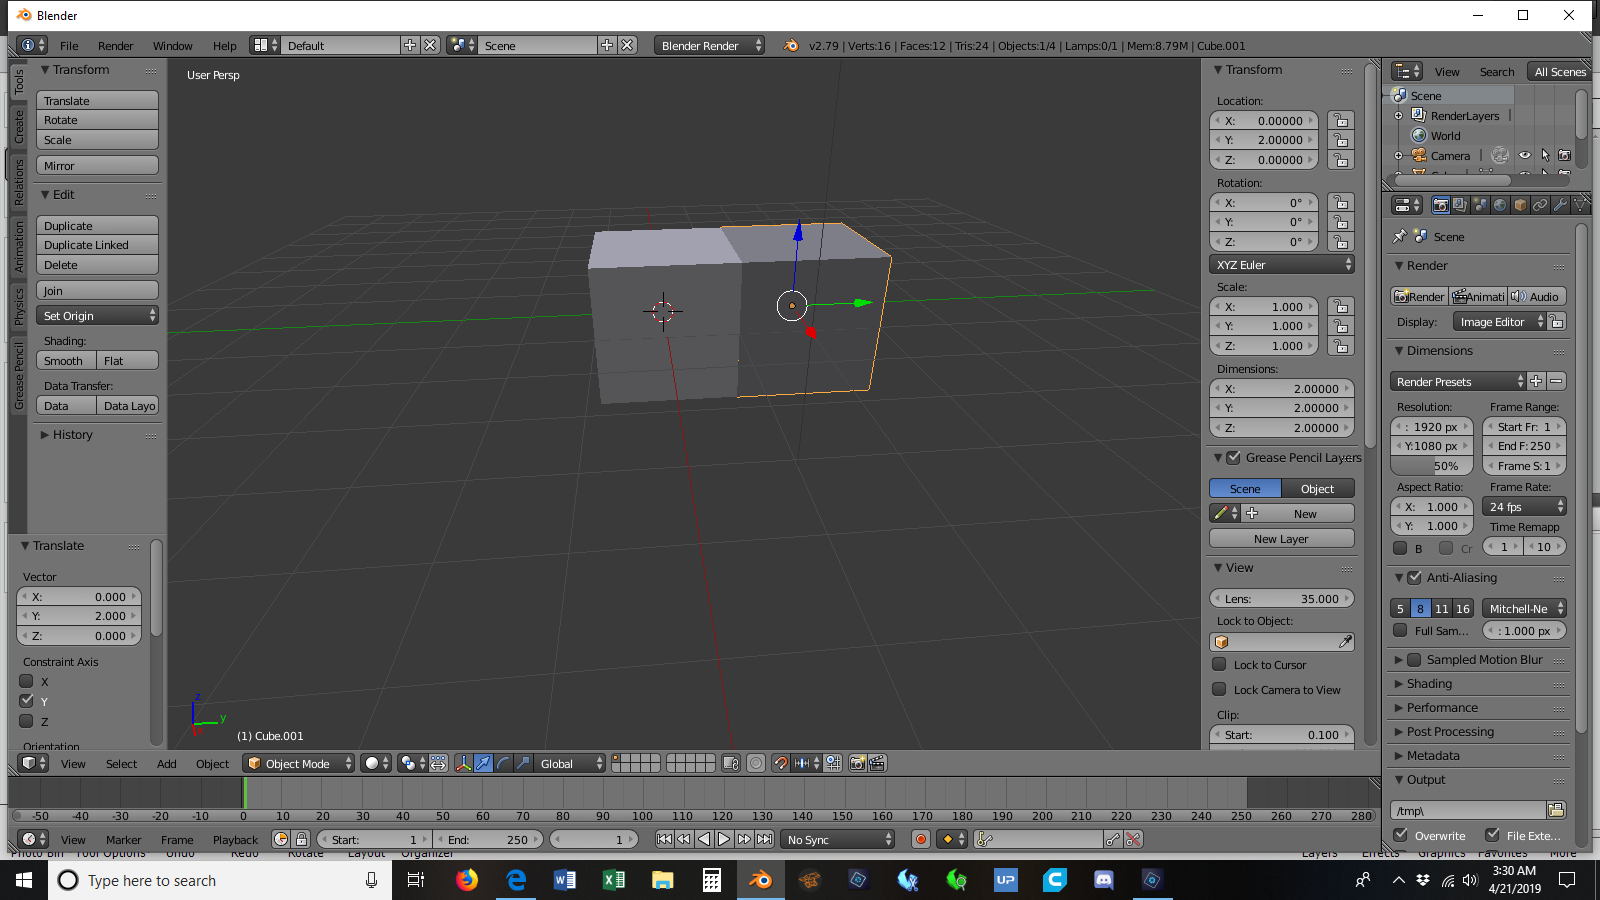
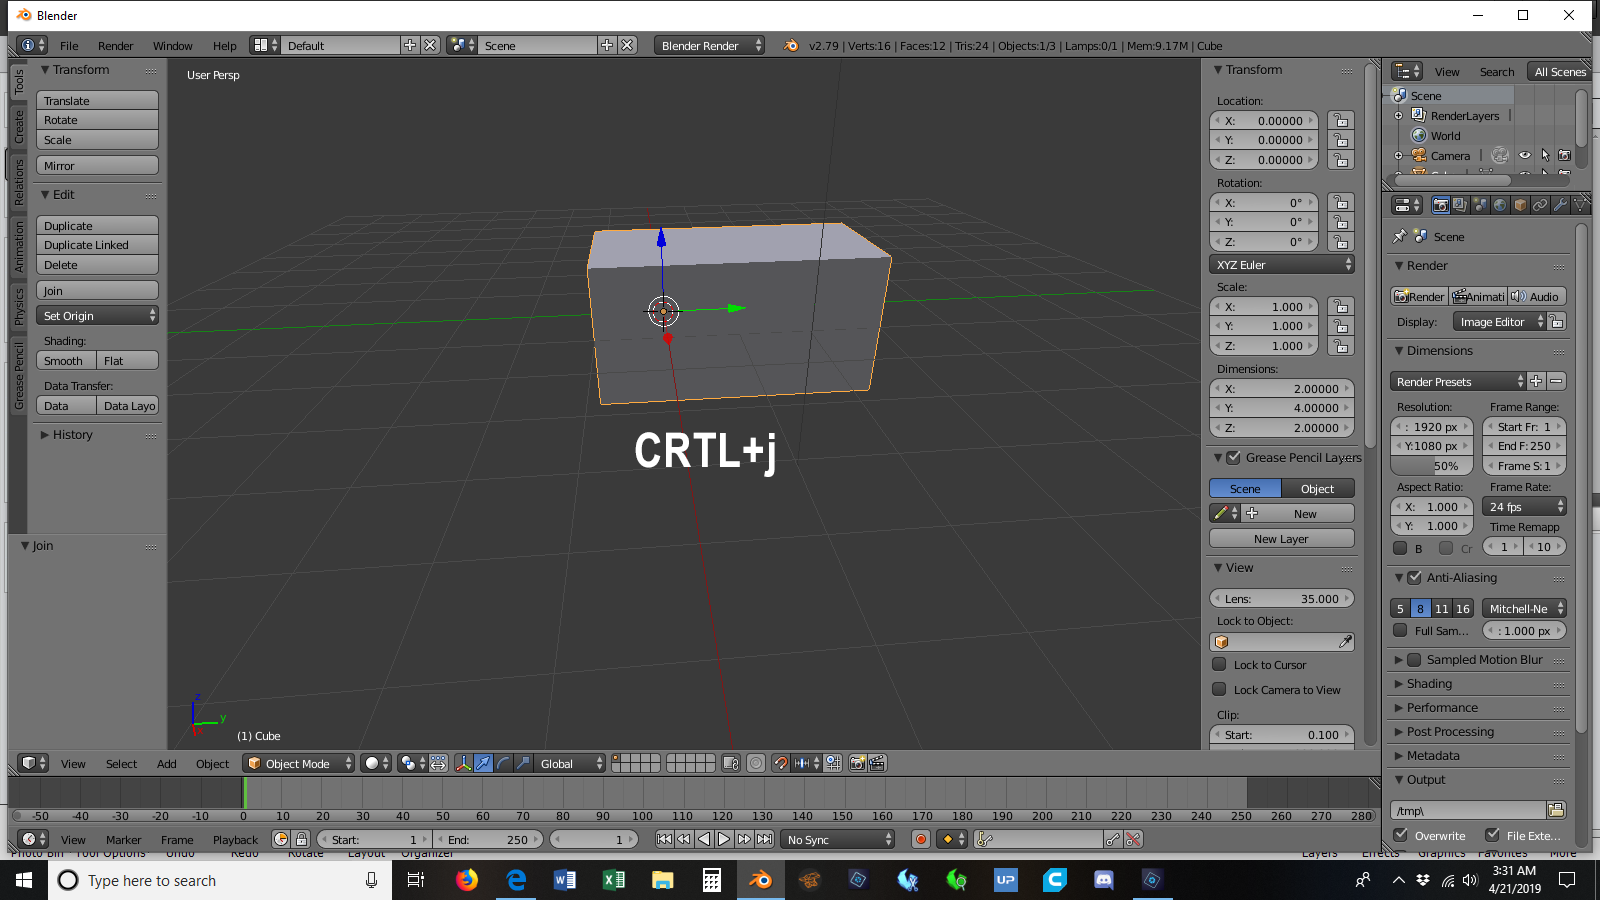
Shift+RMB to select both cubes then press CTRL+j to join them.
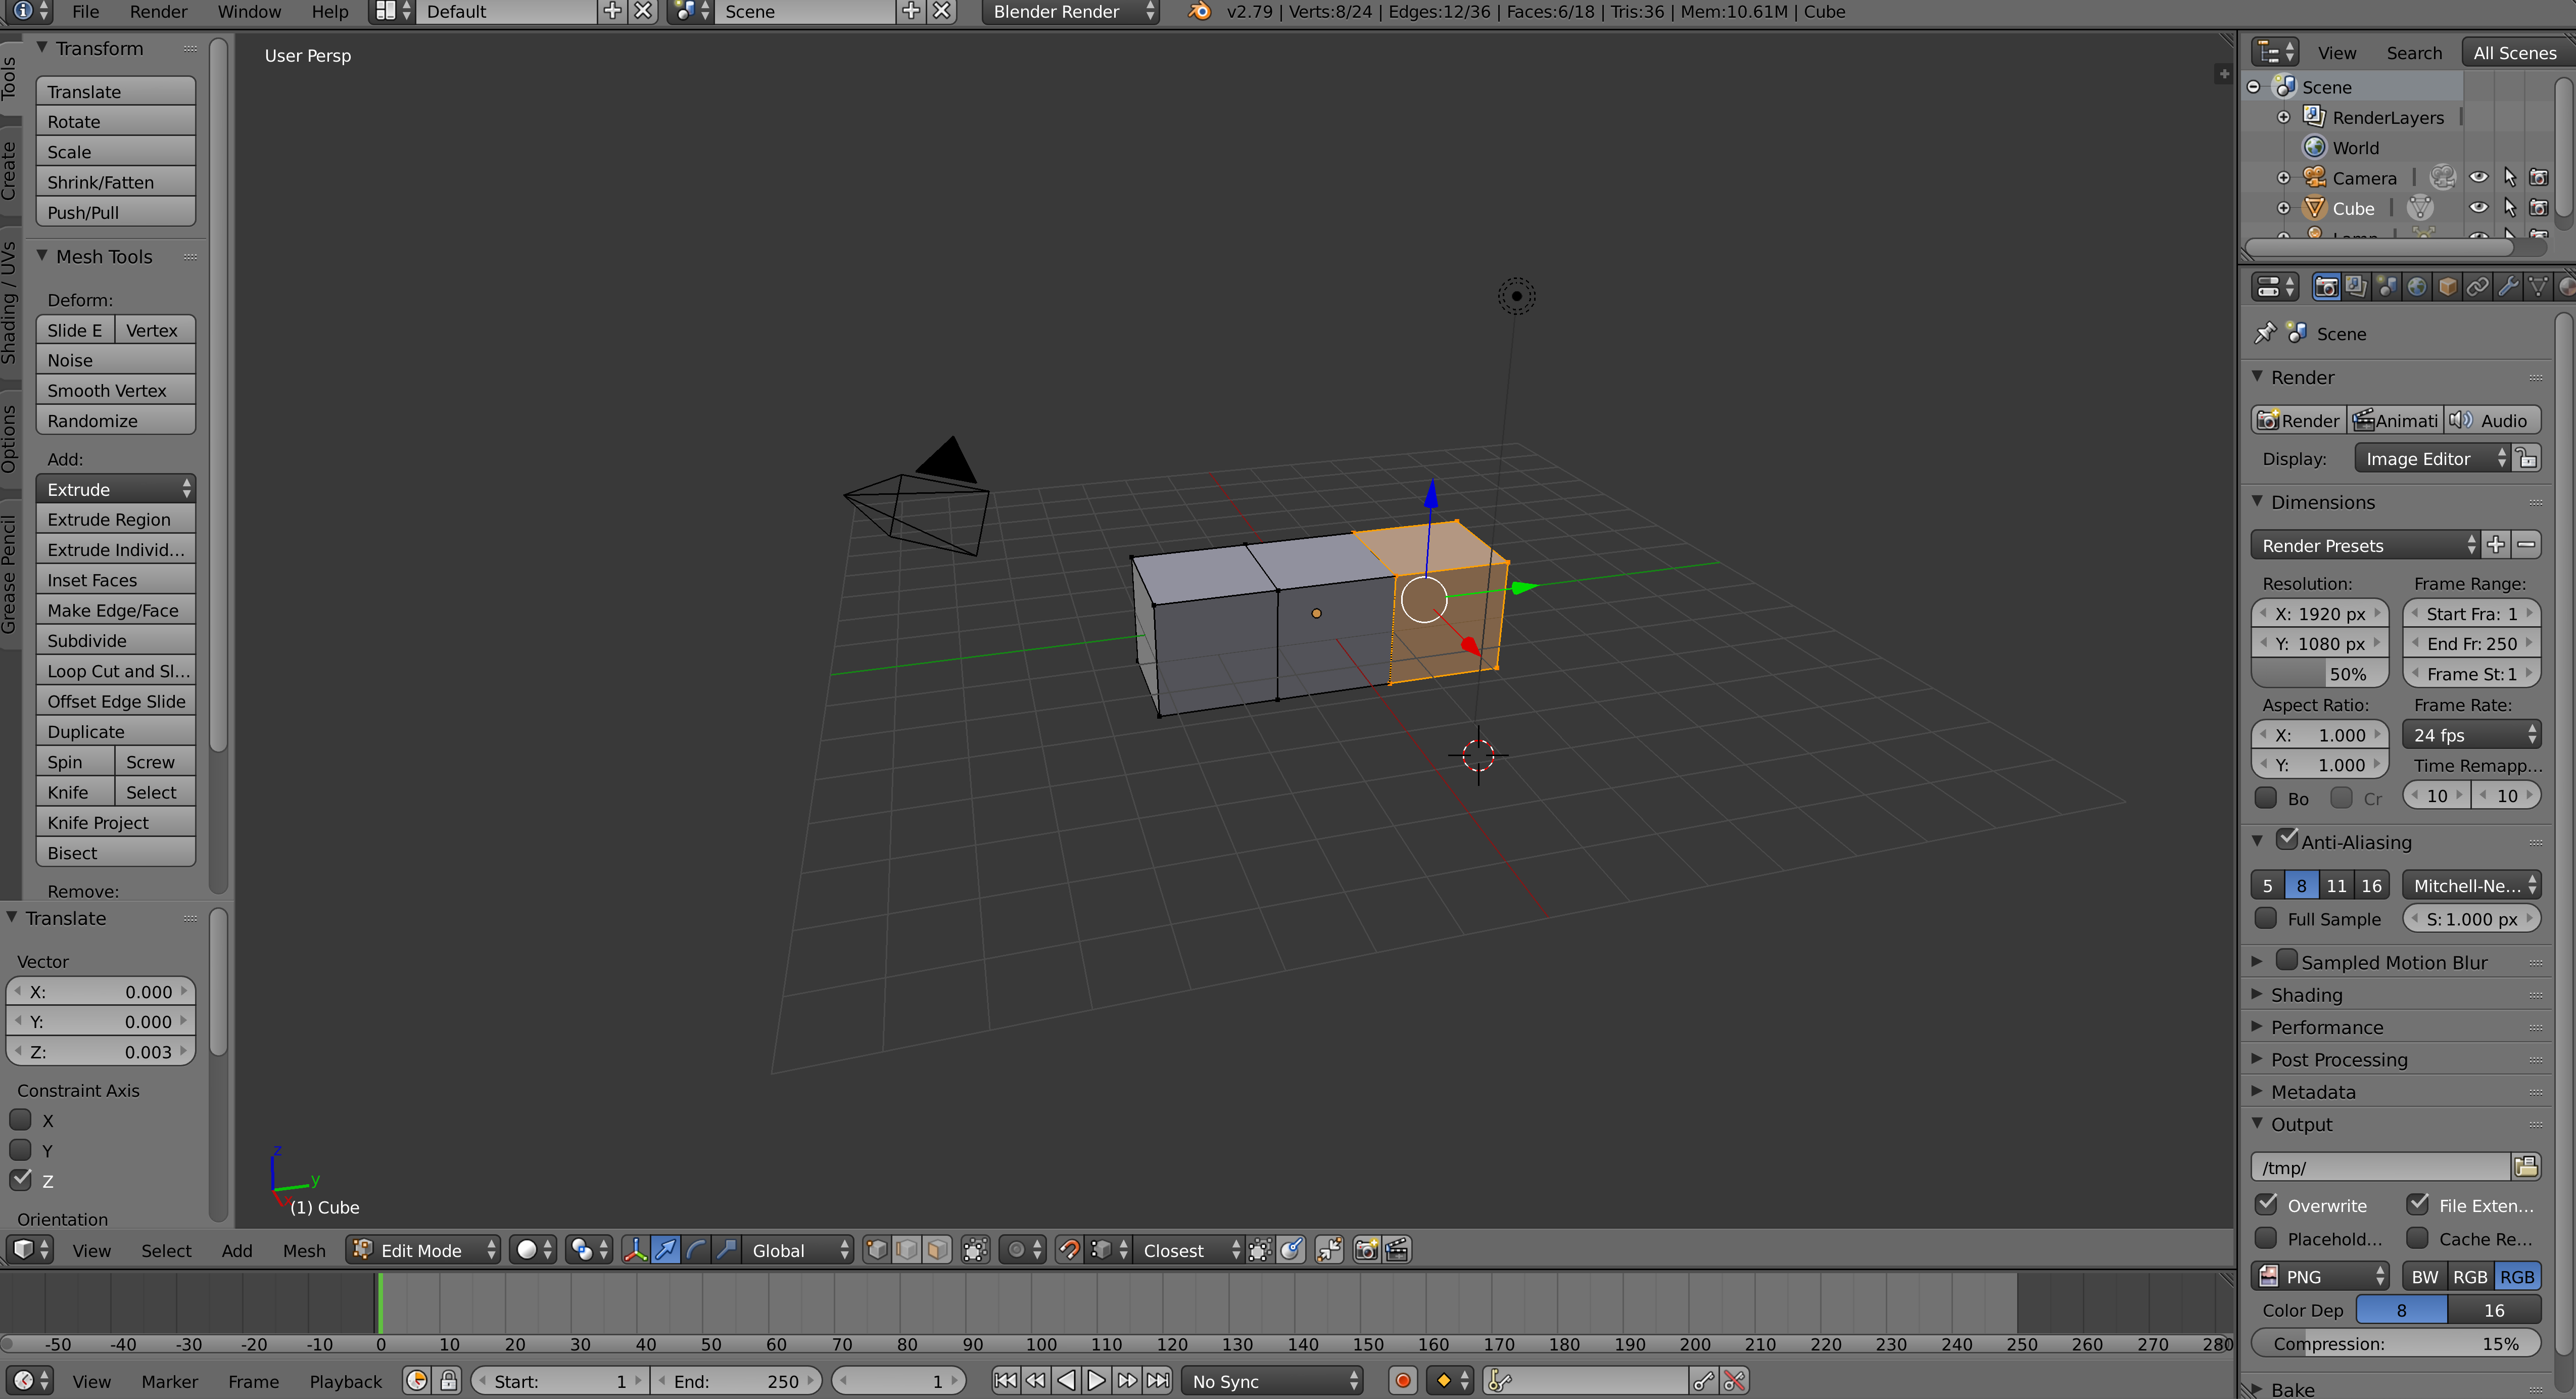
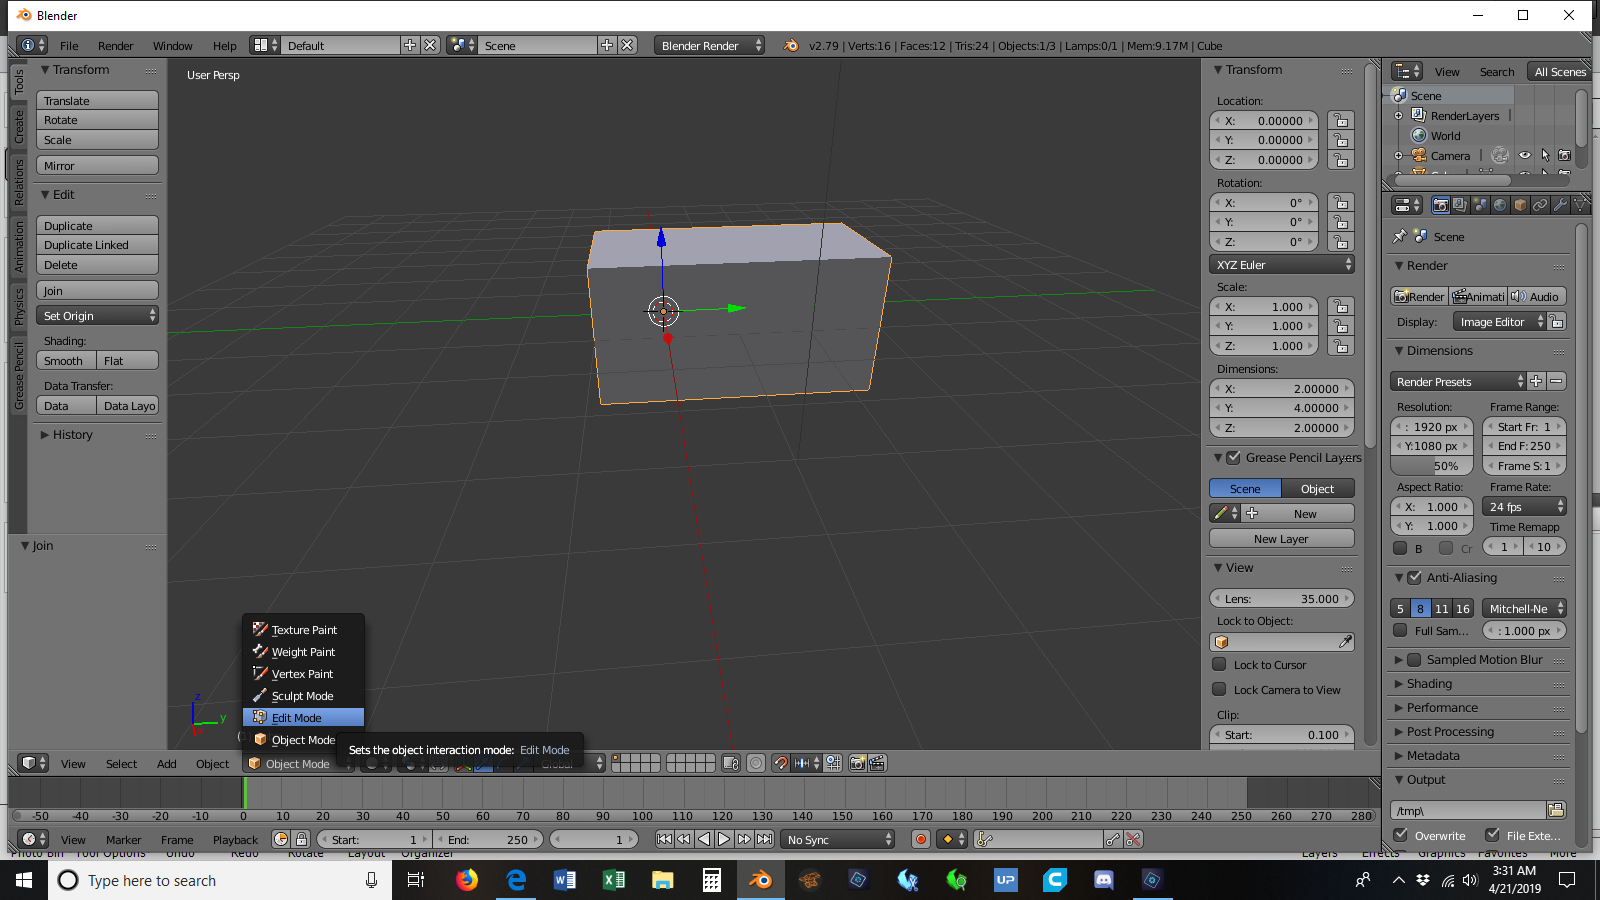
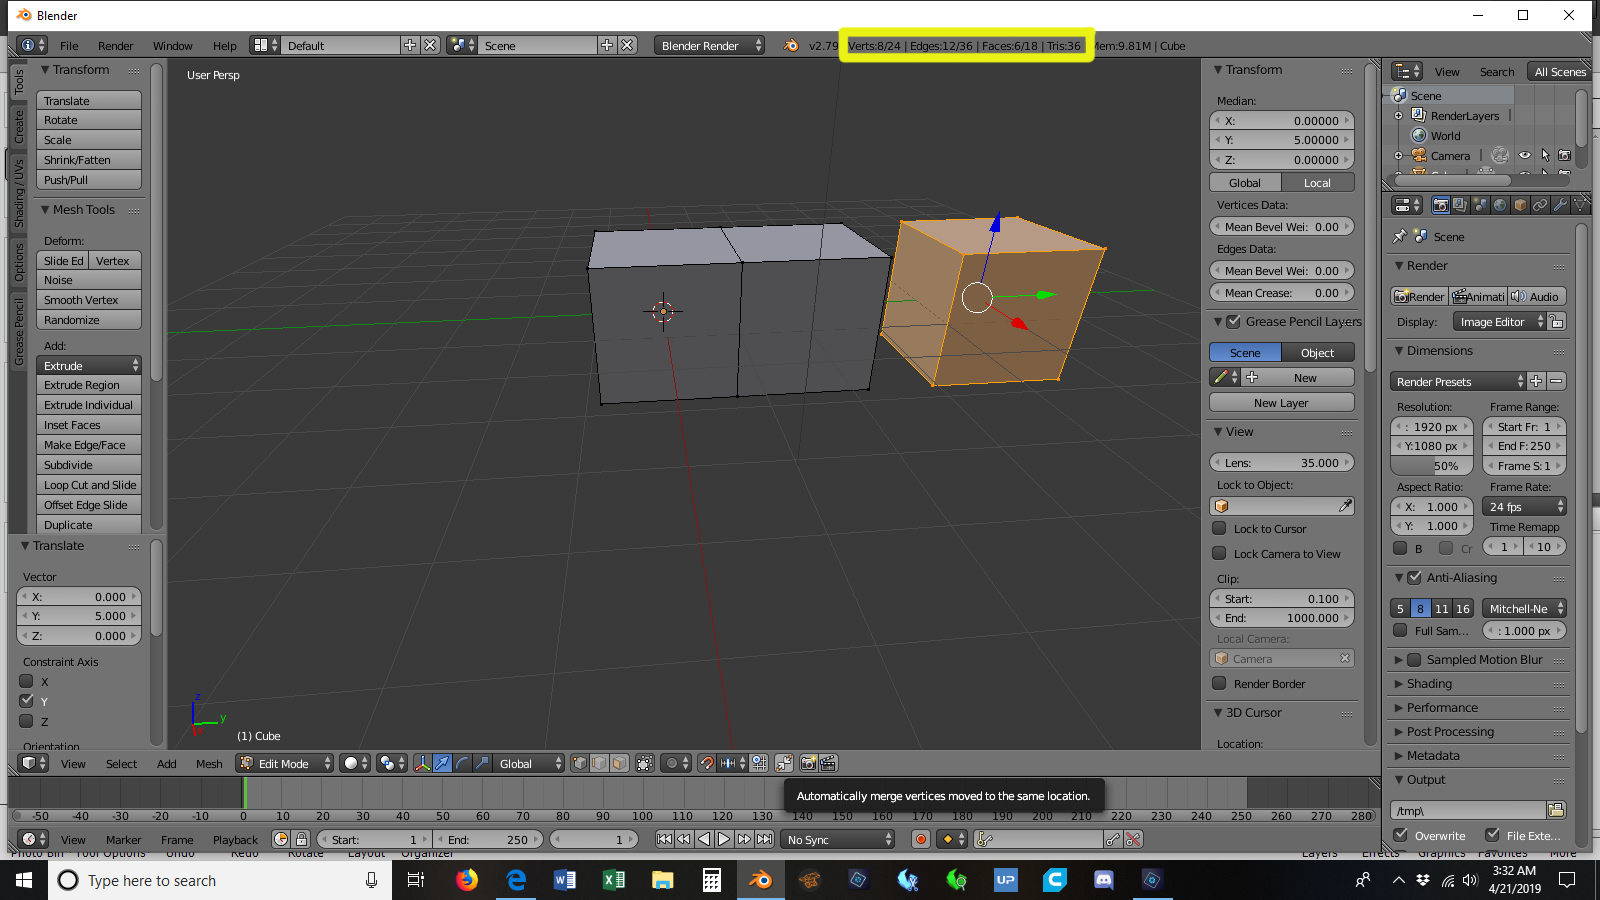
Click Edit Mode, press Shift+a, select Cube then move it on the Y-axis.

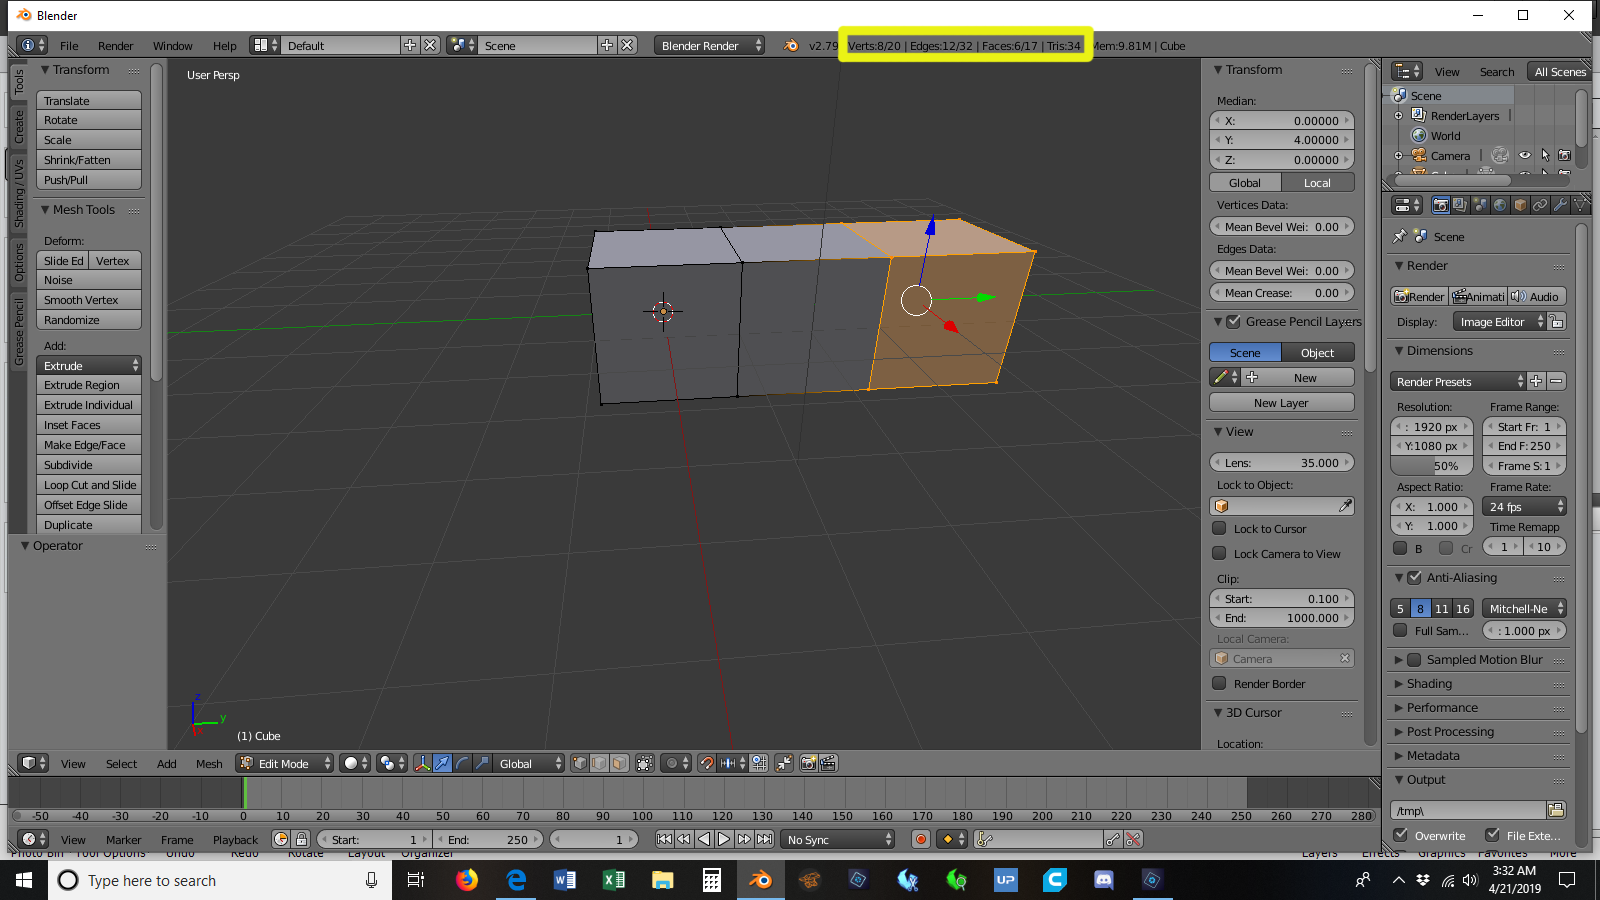
Now click on Automatically merge vertices then bring the new cube back along the Y-axis till it snaps to the double length cube. You can tell if it merged by the number of total vertices, faces, and Tris drop
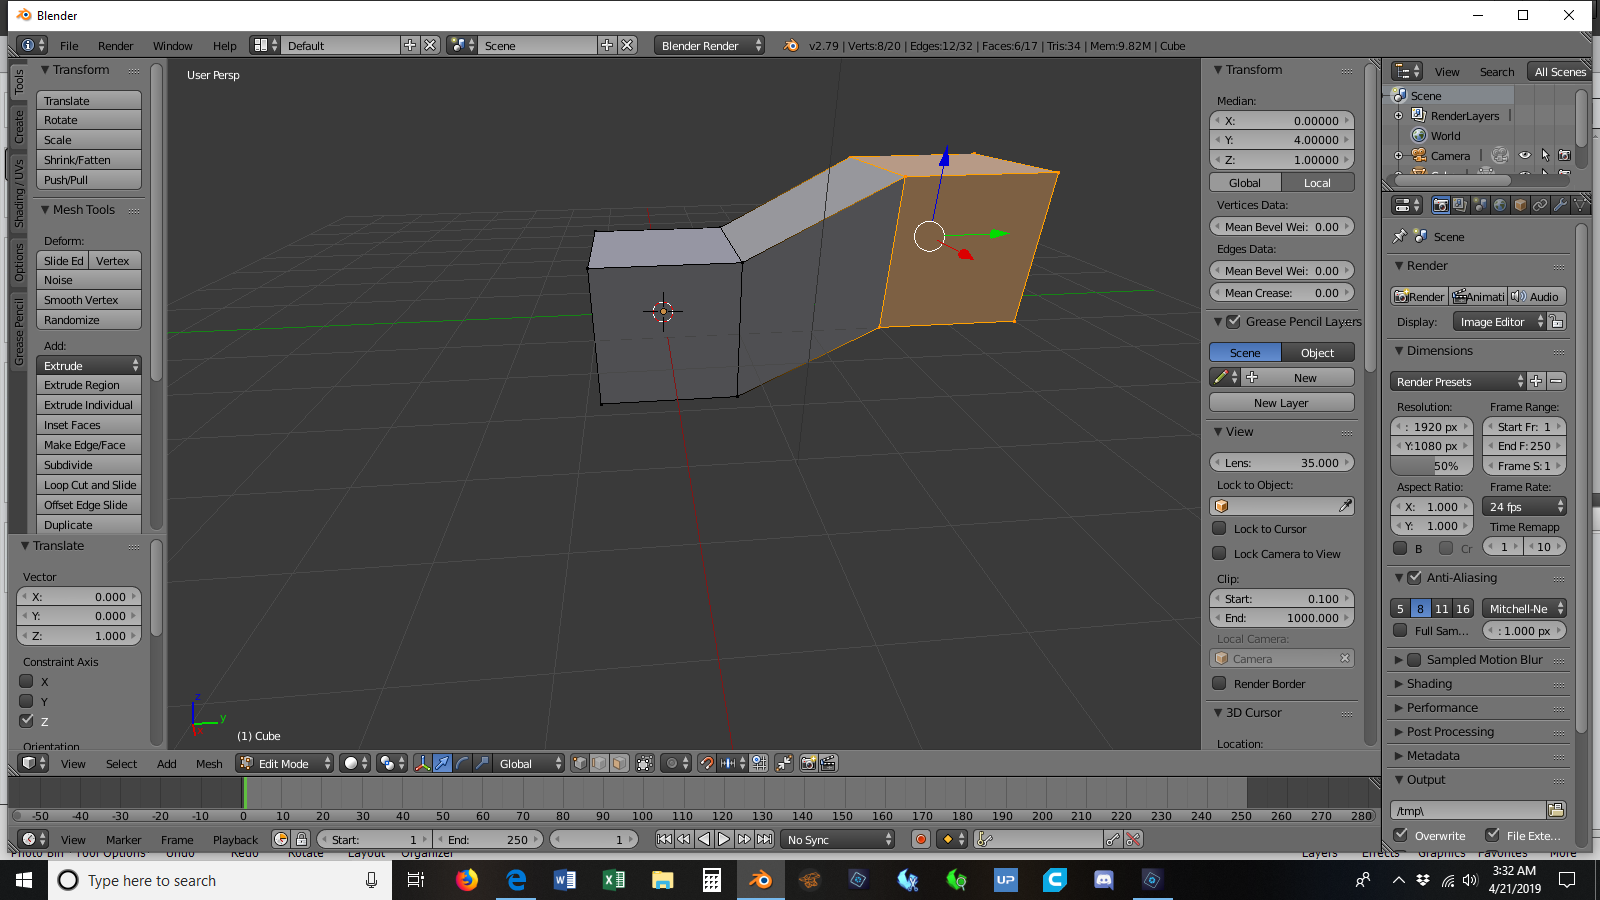
Now when you move the end along the Z-axis you will have that duct look that Mike was able to make.
Add/Mesh is Shift+a while in the 3D window. All the short cuts have to be used in that window to work there. I took me a bit to remember/find out that was so. 