Thanks for checking out my work and please leave any suggestions for improvements you might have! ( I realy like and try to aplly those to make my future work better!)
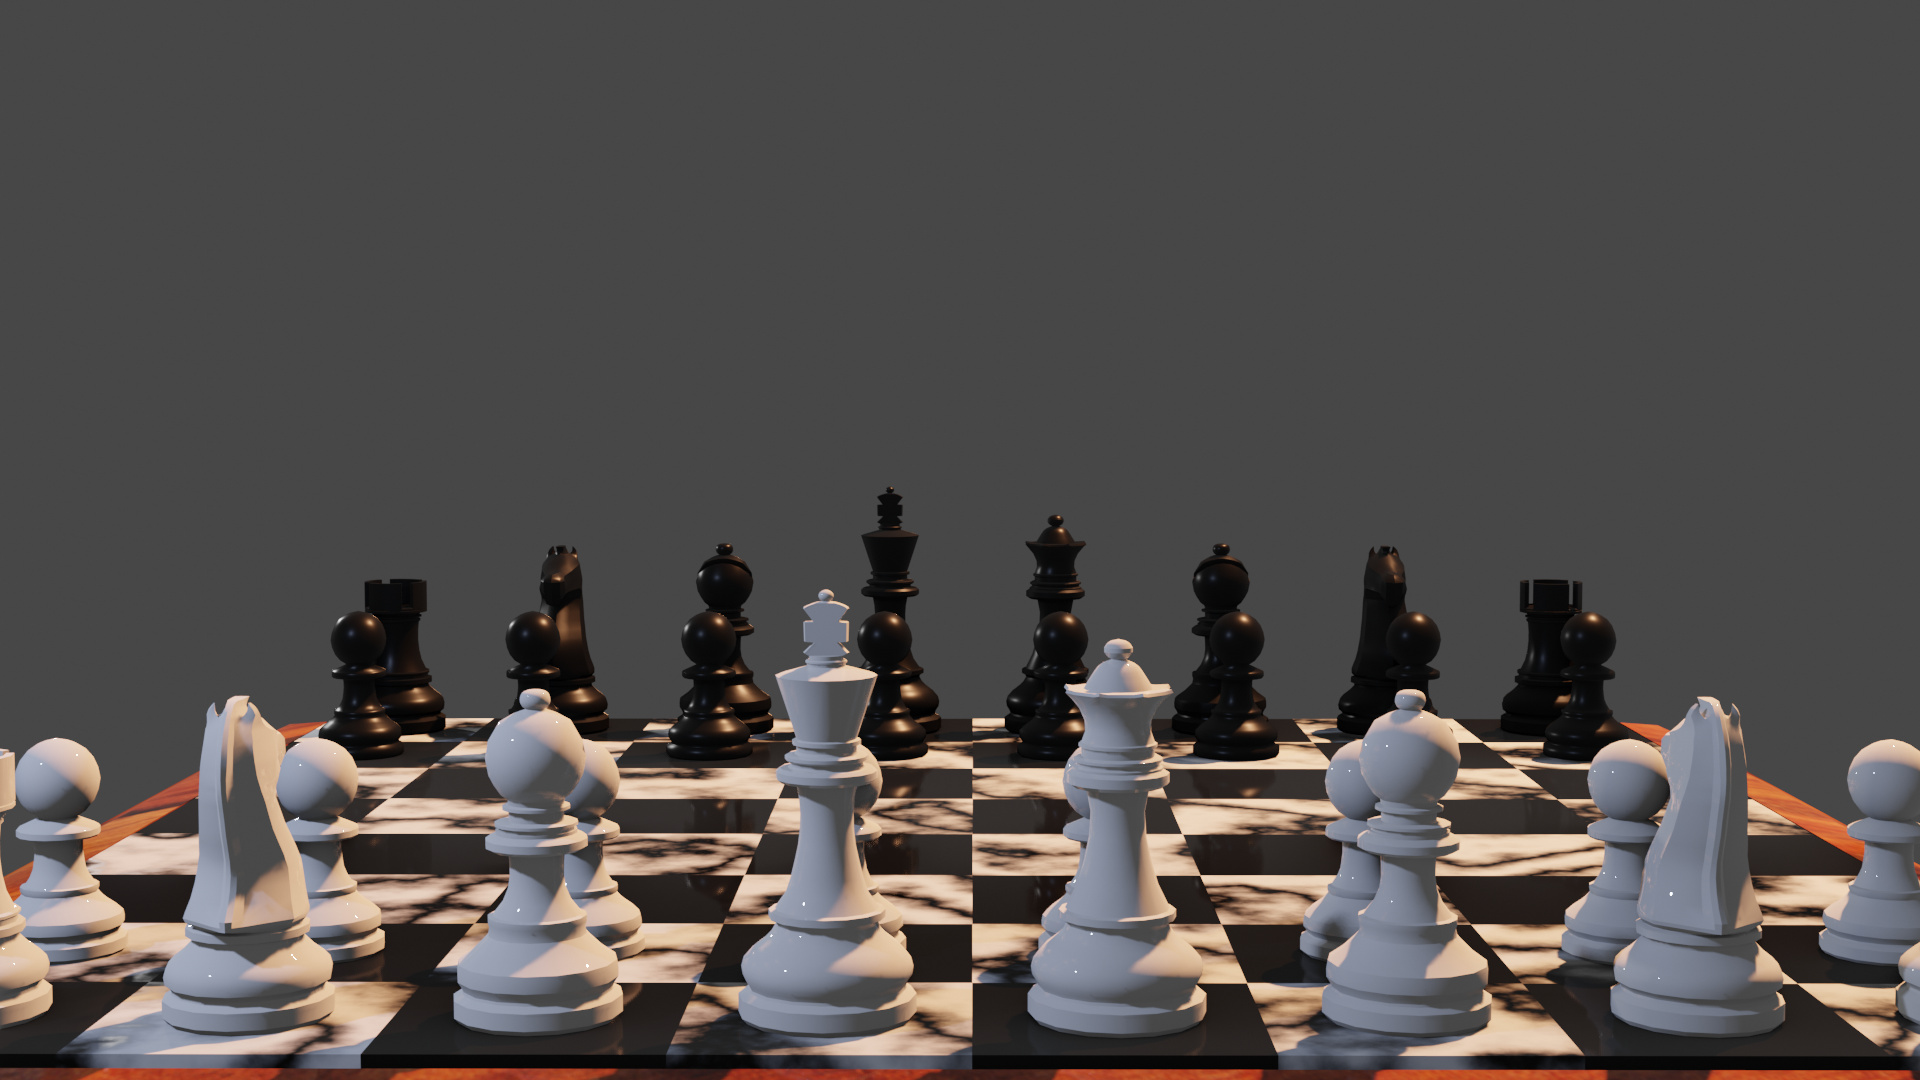
I understand the urge (need) to work with lights. And to be creative with them.
But there is also a thing like too much.
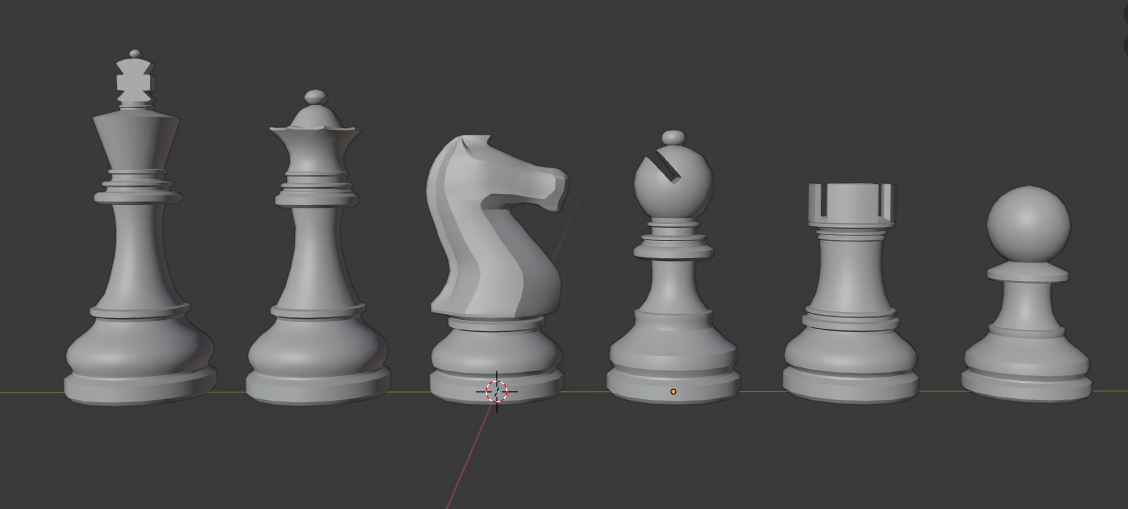
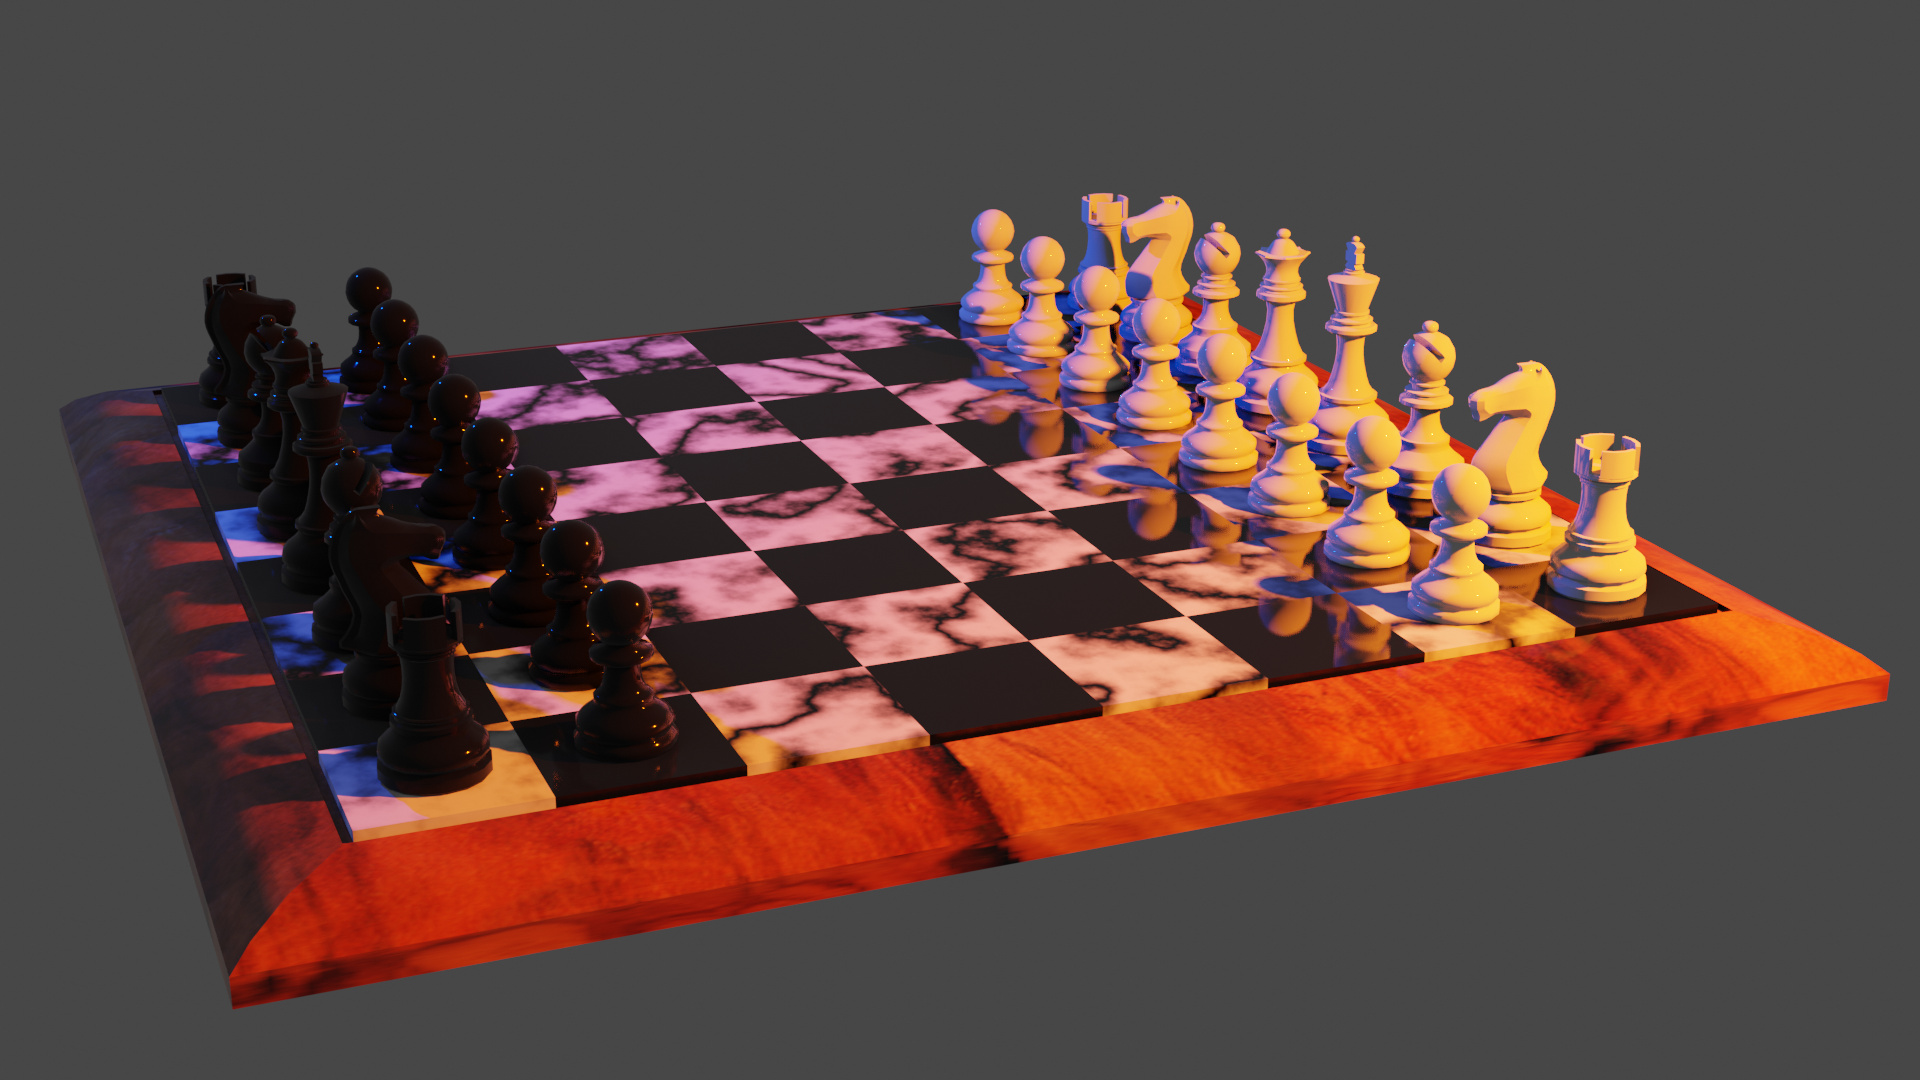
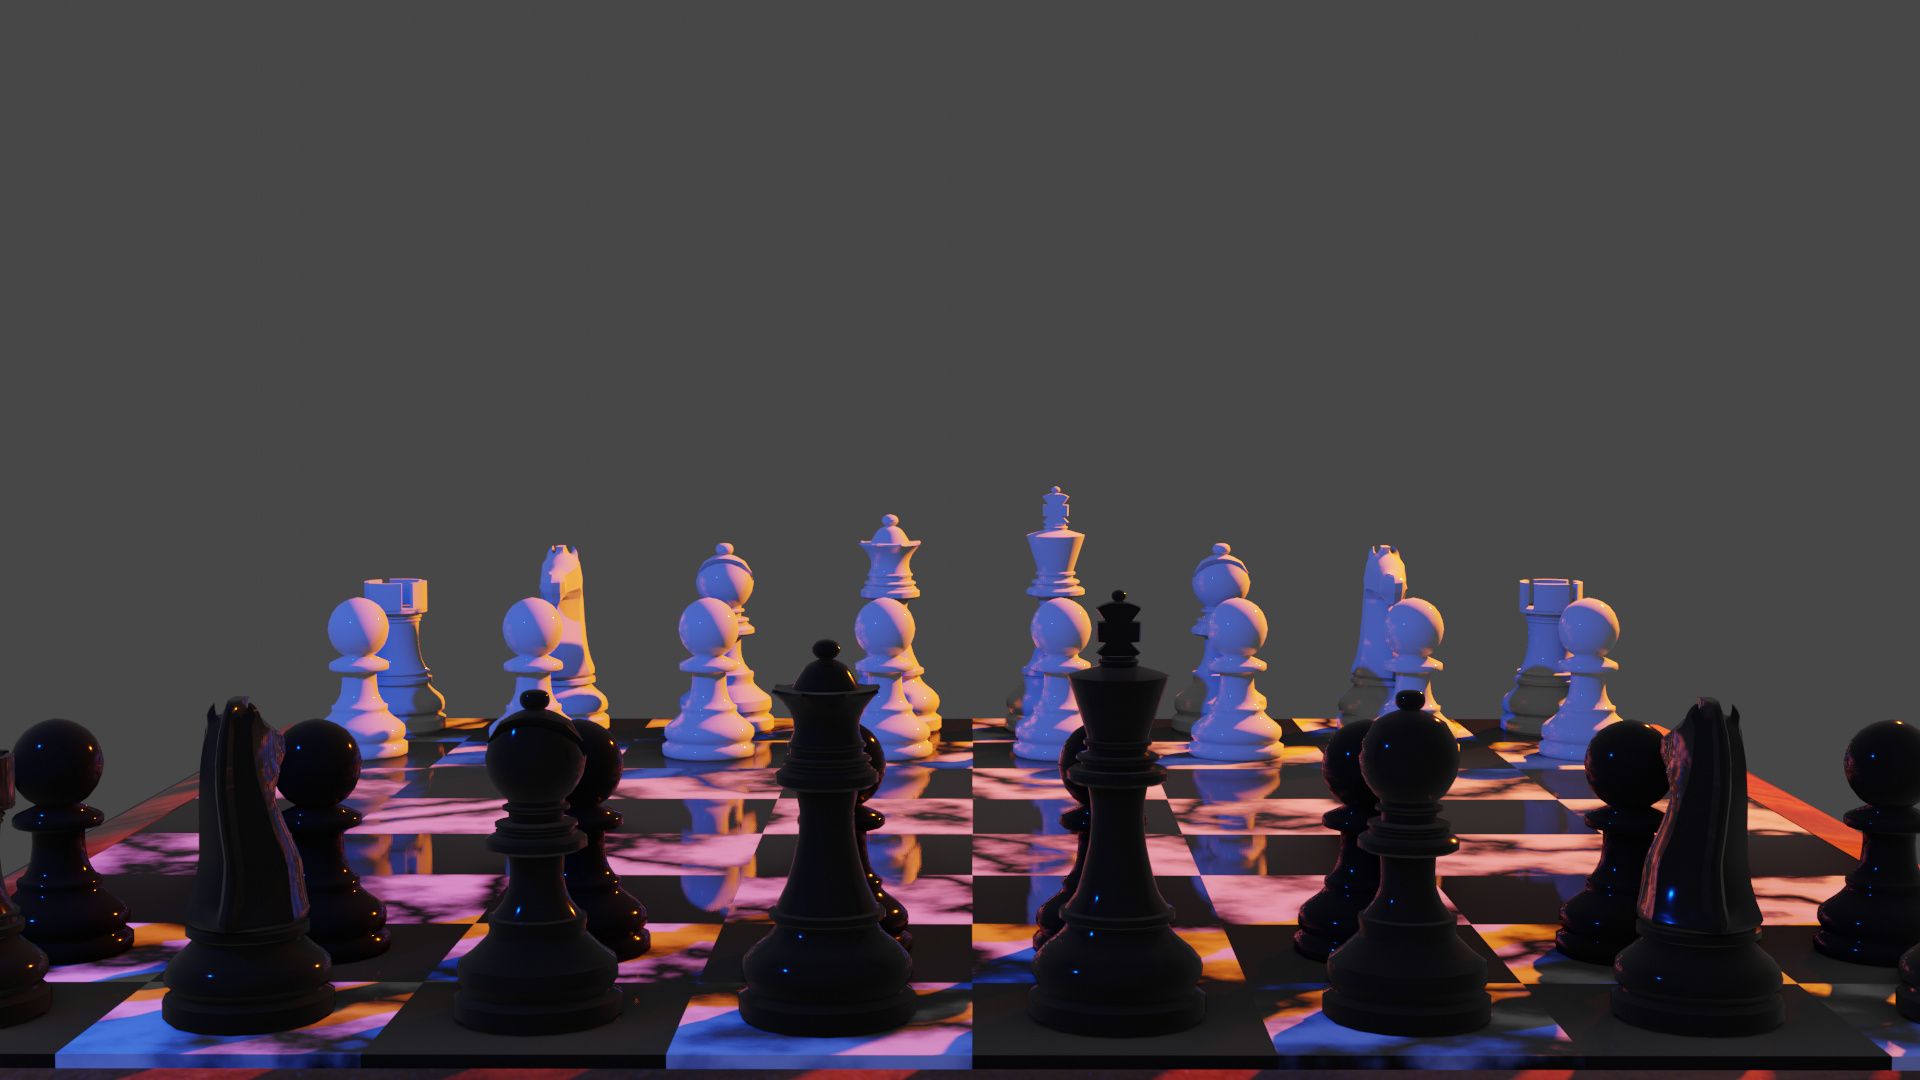
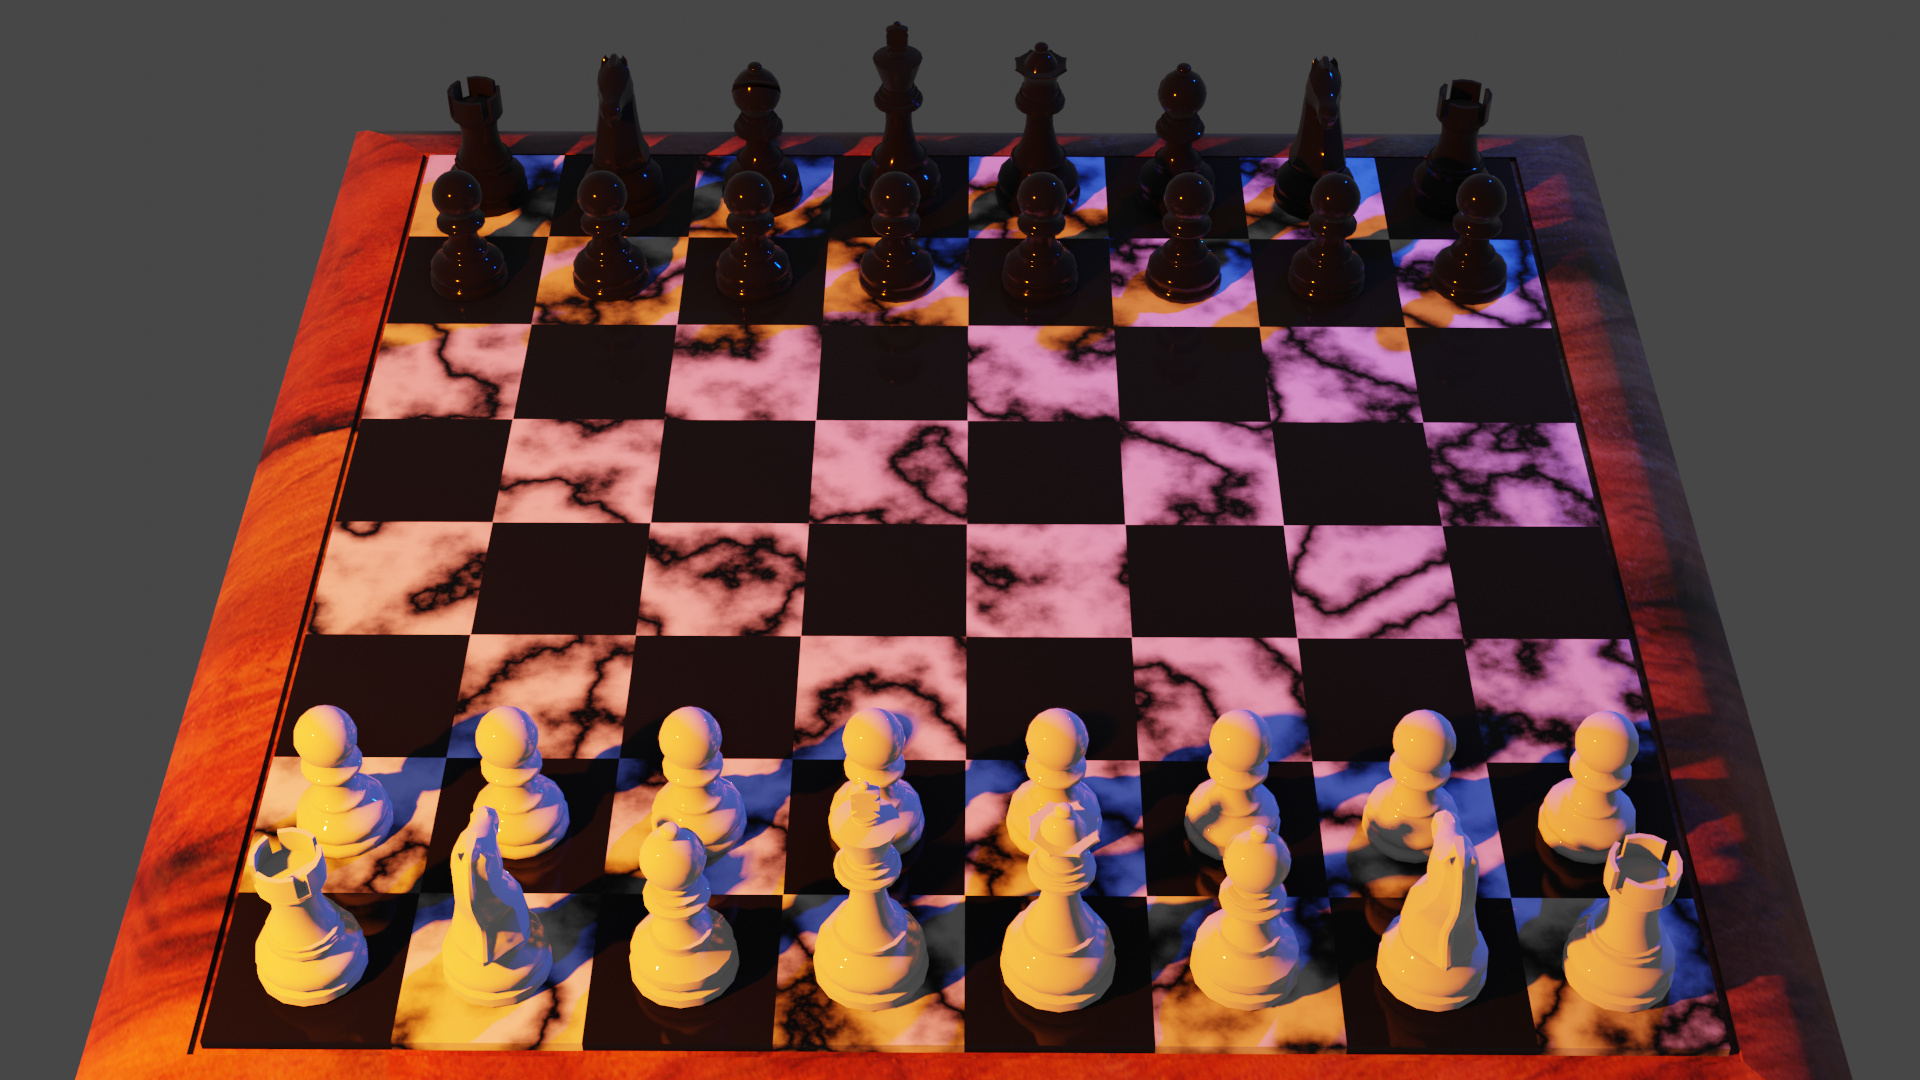
You’ve created such a nice stylish set.
But the lighting used, diminished the look.
I agree with you, I do think the lighting was a bit too much. It was done this way mostly to follow the classes step-by-step. What would you suggest for this kind of scene? I am willing experiment with different light setups!
It is a fine set. I suspect the pawns are too big for ‘regulation’, the rook is nearly obscured by it’s pawn.
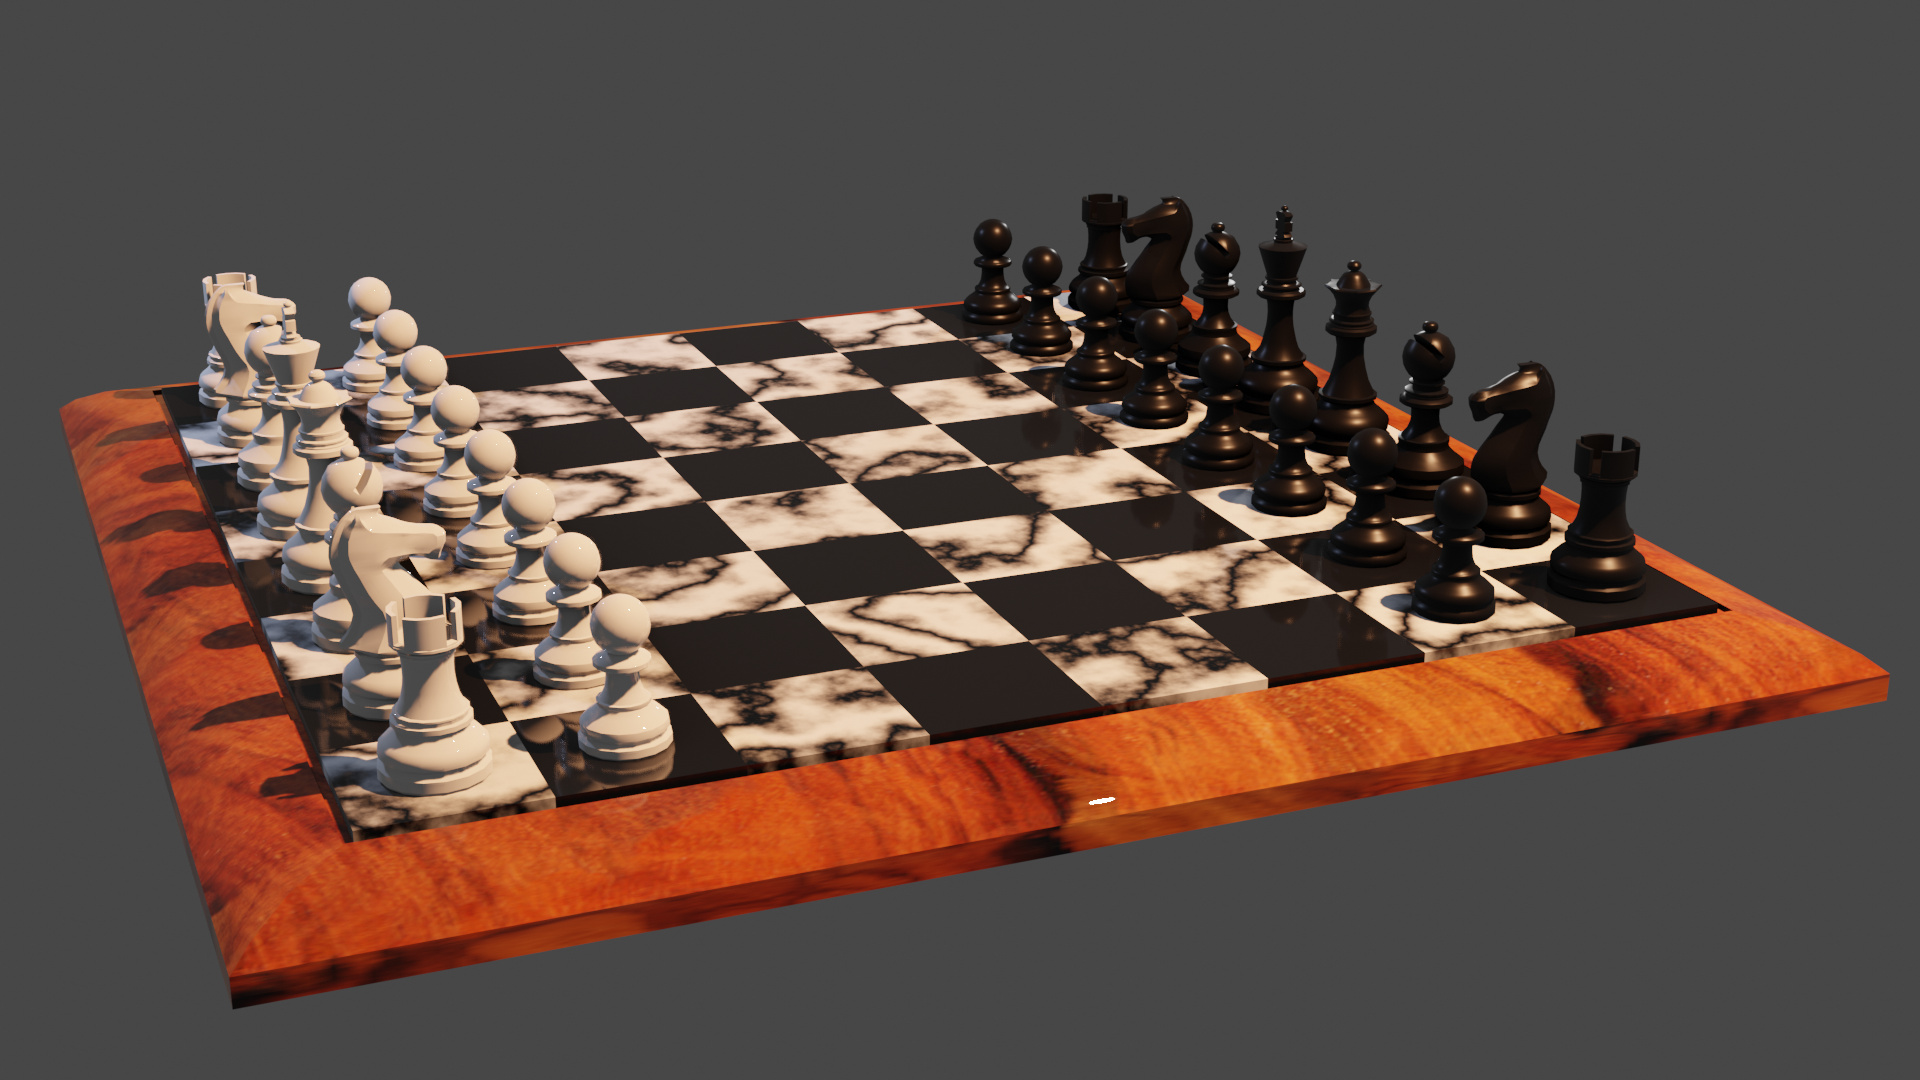
I agree with the light colouring. Personally I would need a reason to have any colour other than natural daylight. Dawn, dusk, lantern, etc. Though the course really just put it in so as to teach that it was possible, and how to I suspect.
Hi,
Hopefully you are still active, but can I ask what you have used to design these? and what formats they are available in?
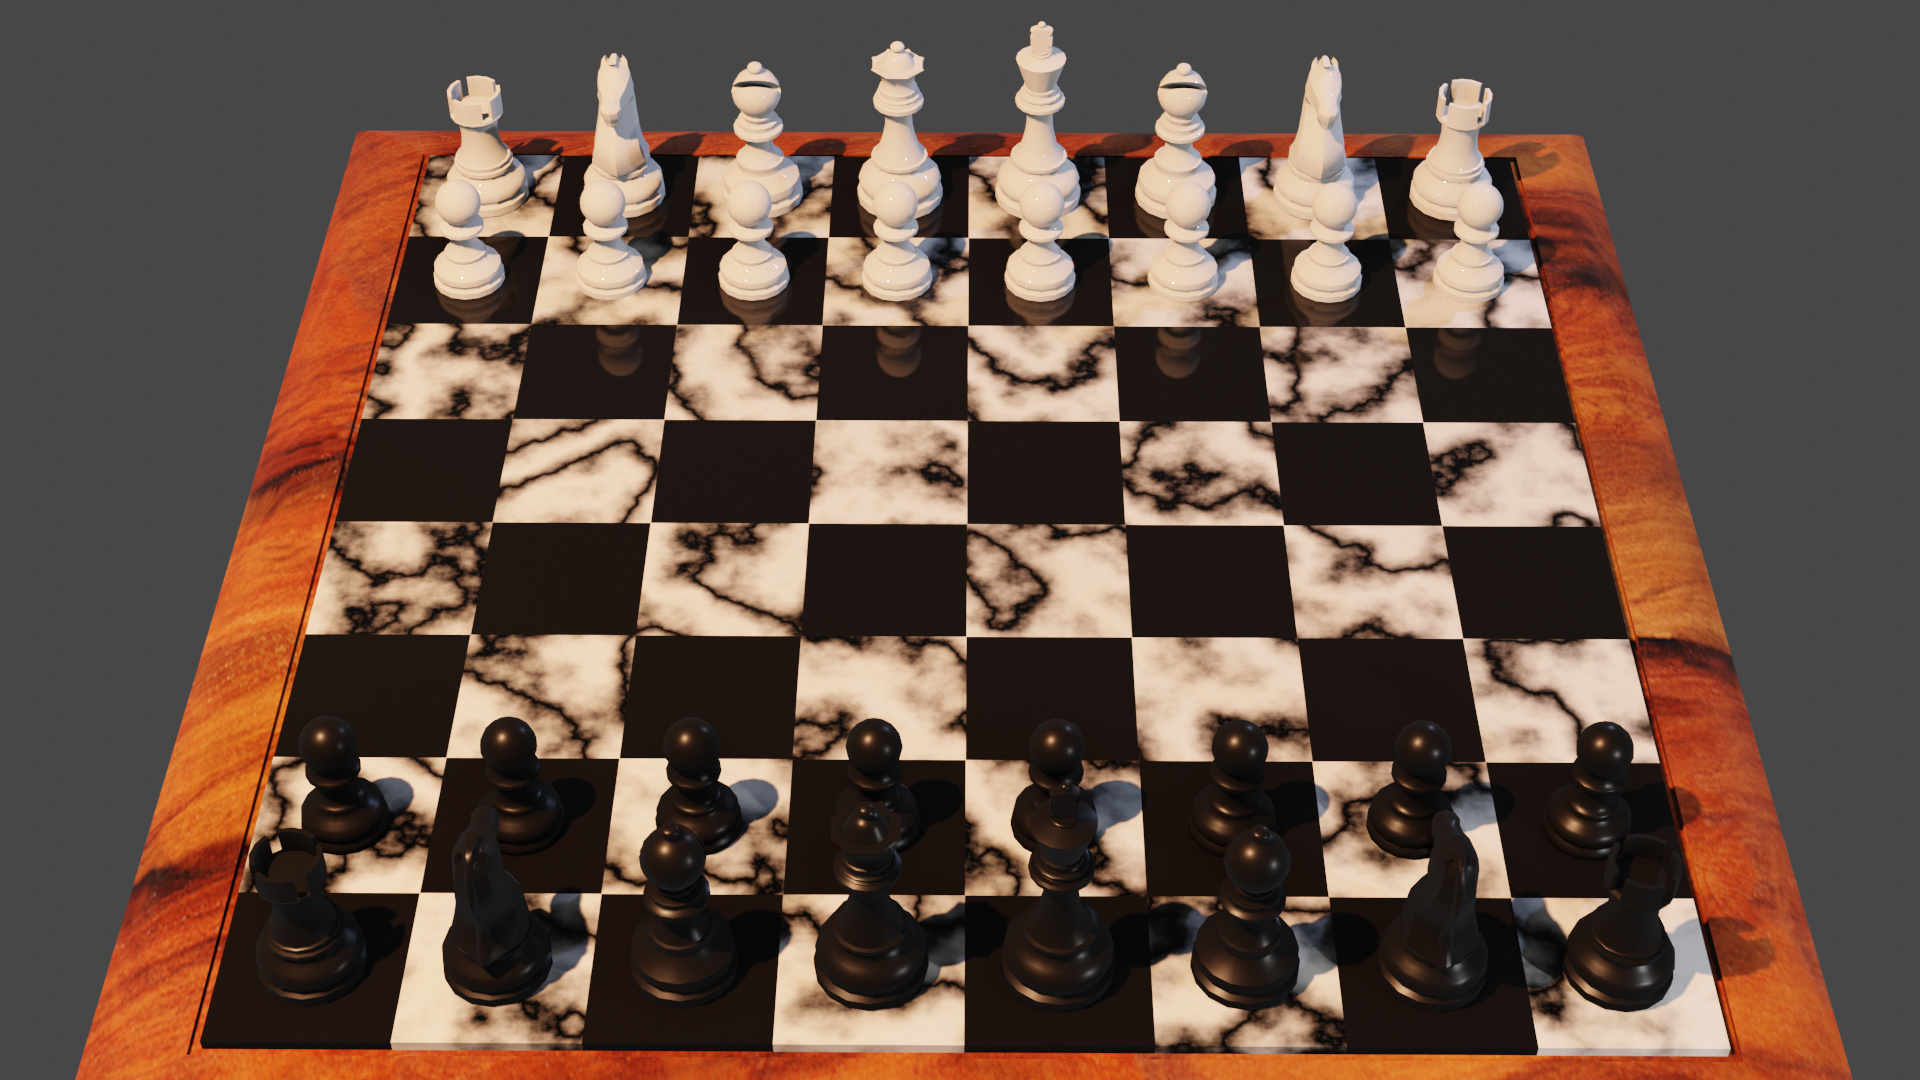
I’m looking to 3D print a chess set for a garden display and this set is stylish plus looks suitable to print without too much complexity.
Thanks
It was made in Blender That is what this forum is about. It was a lesson that was part of an earlier version of the related course on how to use Blender.