So starting with question 1 we get to talk about the fun of the 3D cursor
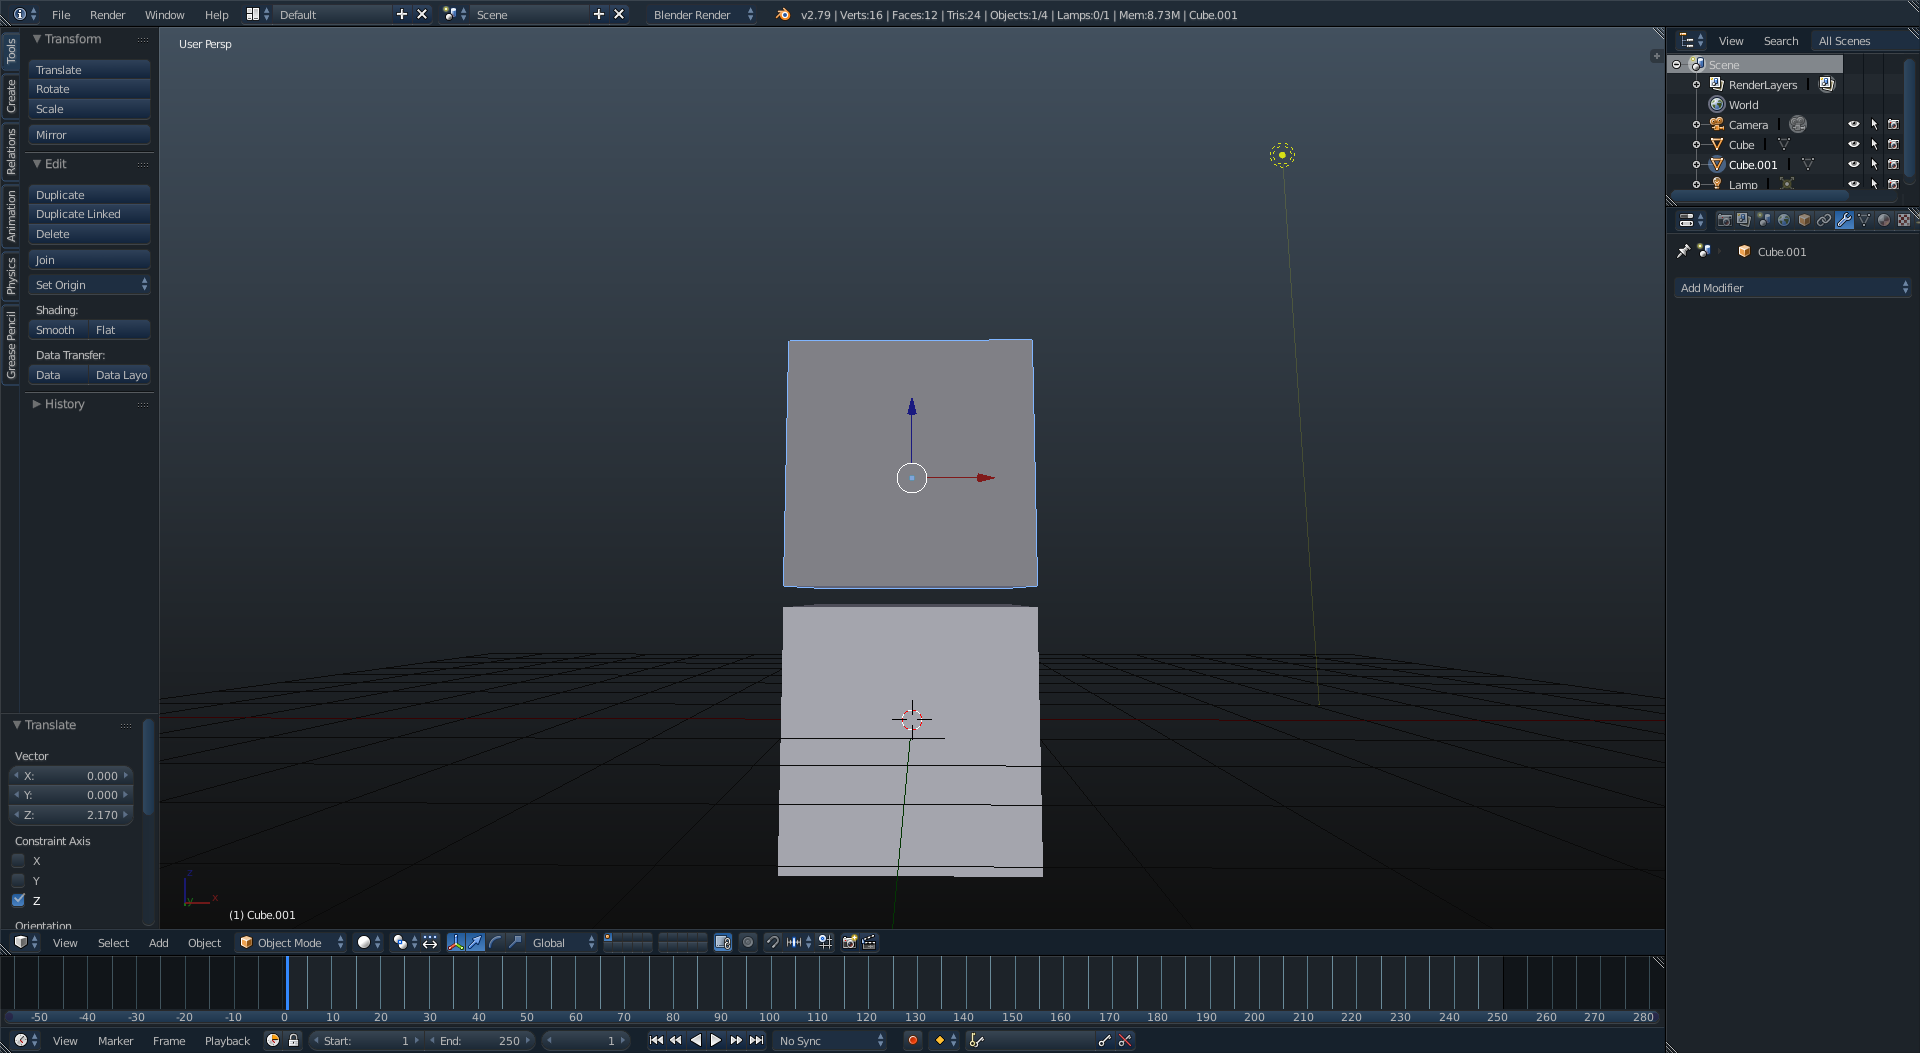
For the sake of example we have two cubes aligned, but not touching perfectly.
Select one of the two objects you want to place and press tab to go into edit mode.
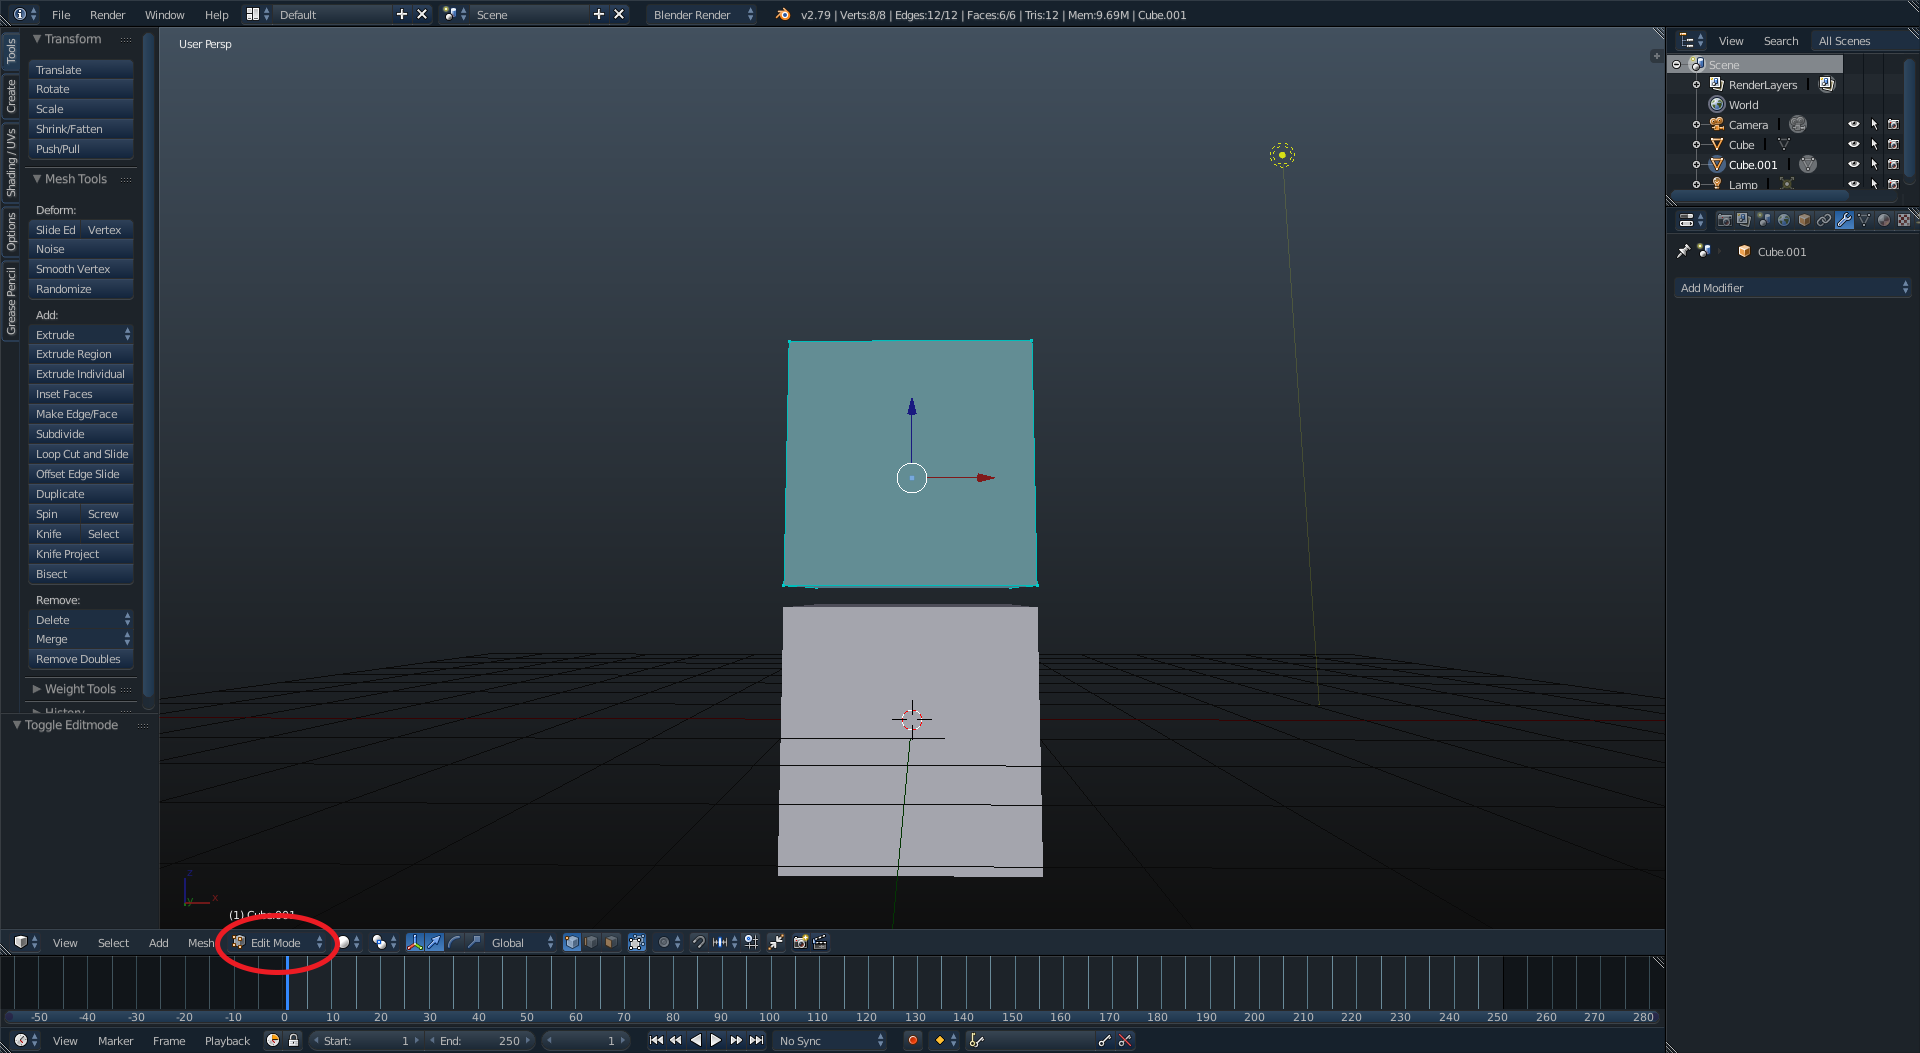
Then you will either want to click the face selection tool on the 3D view header
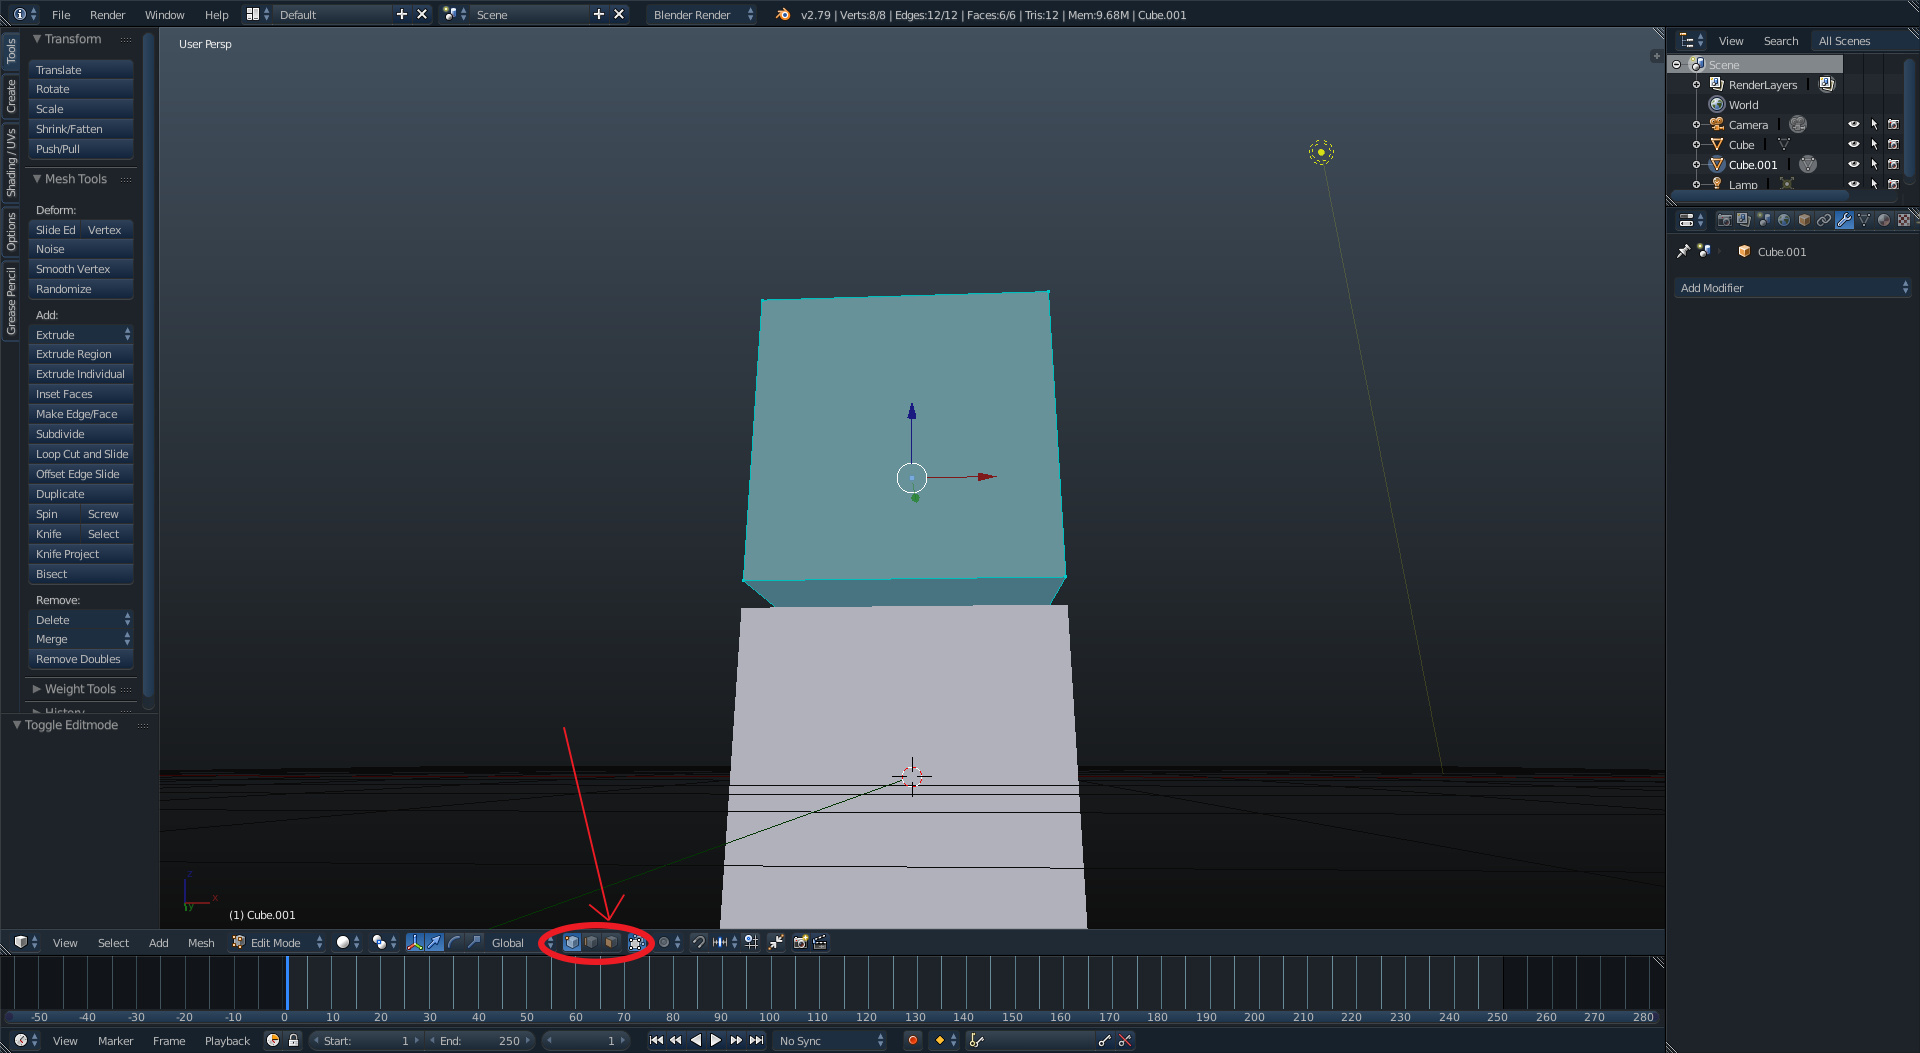
or while in edit mode press ctrl+tab to bring up a menu with the same options.
Next you want to select the face of the object you would like to touch the other object (Which on my screen will be highlighted in blue.
Now you’re going to hit shift+S and select Cursor to selected, this will place the 3d cursor in the center of that face.
Next you want to leave edit mode with tab again, and click on the set origin menu in the tools panel and you’re going to set the origin to the 3D Cursor
Then you want to repeat steps one through 4 so that the 3D cursor is in the center of the face on the second object
Now you will want to reselect the first object you edited, use the shortcut shift+S once more, and click on Selection to cursor
And boom, two objects aligned perfectly.
Hopefully this was an effective description of this process, and I would like to get to your second question if nobody has answered it yet.