
Here’s my attempt at the section 1 primitives challenge, a waterfall scene with trees and bushes. It took me about 40 minutes to finish and I’m quite happy with the result as far as looks are concerned. Although I think the way I made this scene is fairly impractical for any application since there’s several thousand objects in there.
Below the image you can read how I put it together if you’re interested. Would be glad if someone has any advice on how to do things in a more practical way. Or maybe someone can even find a useful tip in there. Writing it down took me half as long as making the scene. Whoops!
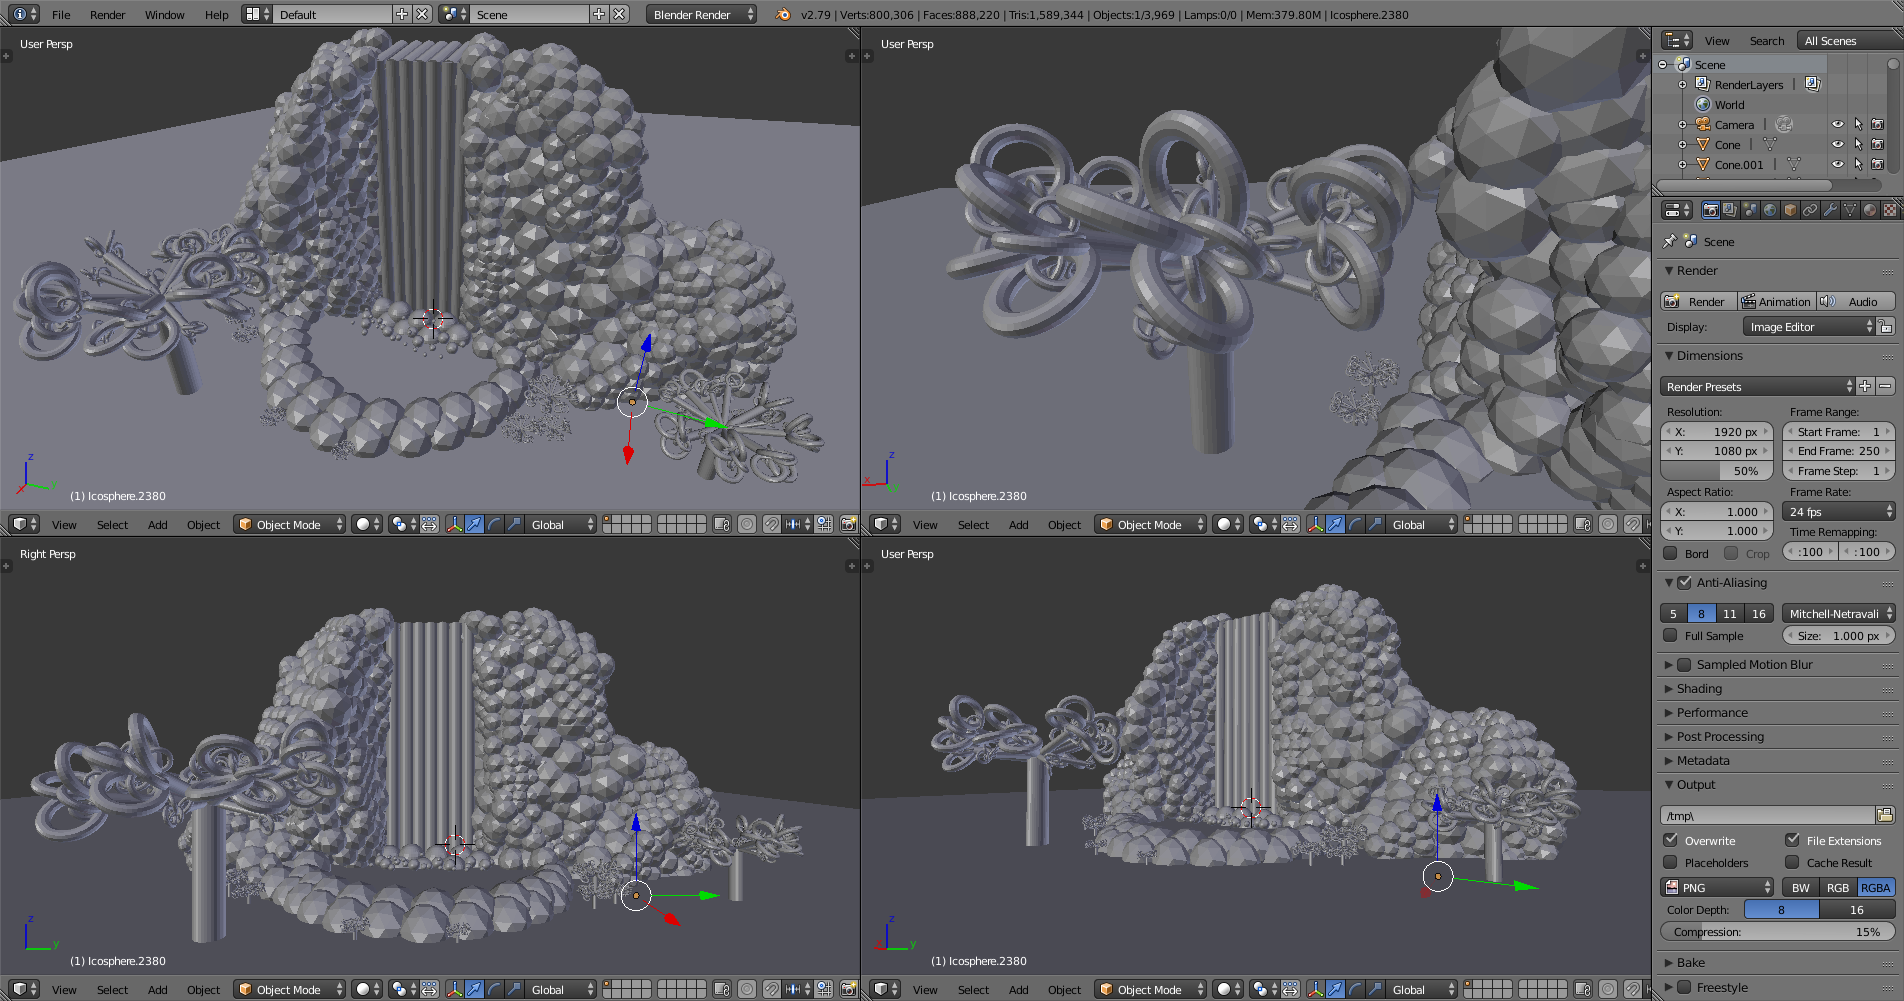
Rock formation:
- I placed a bunch of icospheres (about 12 I guess) which intersected each other.
- I duplicated that patch using Shift + D (which I picked up from a YouTube tutorial before starting this course)
- I moved the new patch to the side of the first patch, intersecting a small section of the old patch.
- I copied the entire combination of the new patches, scaled, moved and rotated it slightly before connecting similarly.
- I repeated this process untill I had a hollow rock-like strucutre of a lot of icospheres. There was a small hole left which I covered by moving some bigger sphere right on the edge of the hole.
- The final rock formation is made up of 4 copies of that hollow unit.
Waterfall
- I stretched a cilinder from top to bottom, then duplicated and moved it in side view to create a row of identical cilinders to form the water falling straight down. (This was done in sideview because the front of the waterfall ended up on the side accidentaly while placing the rocks)
- Duplicated the water, scaled it in the z-axis, moved it to the top and rotated to create the top part of the water so it wasn’t a sharp edge.
- Made a fairly wide but flat cillinder to form a pool at the bottom.
- Copied one icosphere which intersected the pool. In top view I repeated this process to make a ring around the pool.
- Copied the ring, moved it down and forward a bit to make the ring of rocks around the pool more solid.
- Added and duplicated uv spheres at the bottom of the water to create a splash effect, scaled and moved around in groups to create a spread.
Trees
- Made a cilinder, duplicated it in place and canceled movement.
- Added a cone to the top of the cilinder.
- Moved it to the side, then moved it to the top of the first cilinder (trunk) using Shift+S (selection to cursor (Offset)). Tried copying selection to cursor first which moved both the cilinder and the cone to the same location but didn’t keep their combined shape. Moving with offset is a great functionality!!
- After moving the first cilinder+cone branch in place I duplicated and rotated on the z-axis with set amounts (180, 90, 45, 22 degrees) to make branches all around. Scaled them in groups of 4. Then scaled some individually to get the look I wanted.
- Placed about 8 torus objects to the end of one of the big branches. Rotated and scaled to get a look I liked for a leaf-like structure.
- Duplicated the leaves together, then sed Shift+S selection to cursor (Offset) to place an entire group of leaves to the next branch. It didn’t go right to the end, since the origin point was in the middle. Accepted that issue since it will probably be explained in the course, so I rotated and moved each group of leaves slightly to get it into place after placing on the branch. Writing this now I think I could fix it in edit mode if it works for multiple objects at once.
- Duplicated and scaled the tree a couple of times to use as smaller trees and bushes.
Really happy with the way it turned out for a primitives challenge, but I imagine it would be horrible to try and move things around now since it’s hard to select everything I’d want to move and nothing more. On the lookout for tips to deal with that and keep a scene more controlled than this.
So far I’m amazed with how intuitive Blender is! On to Section 2 


 Thanks Sam!