Hi all,
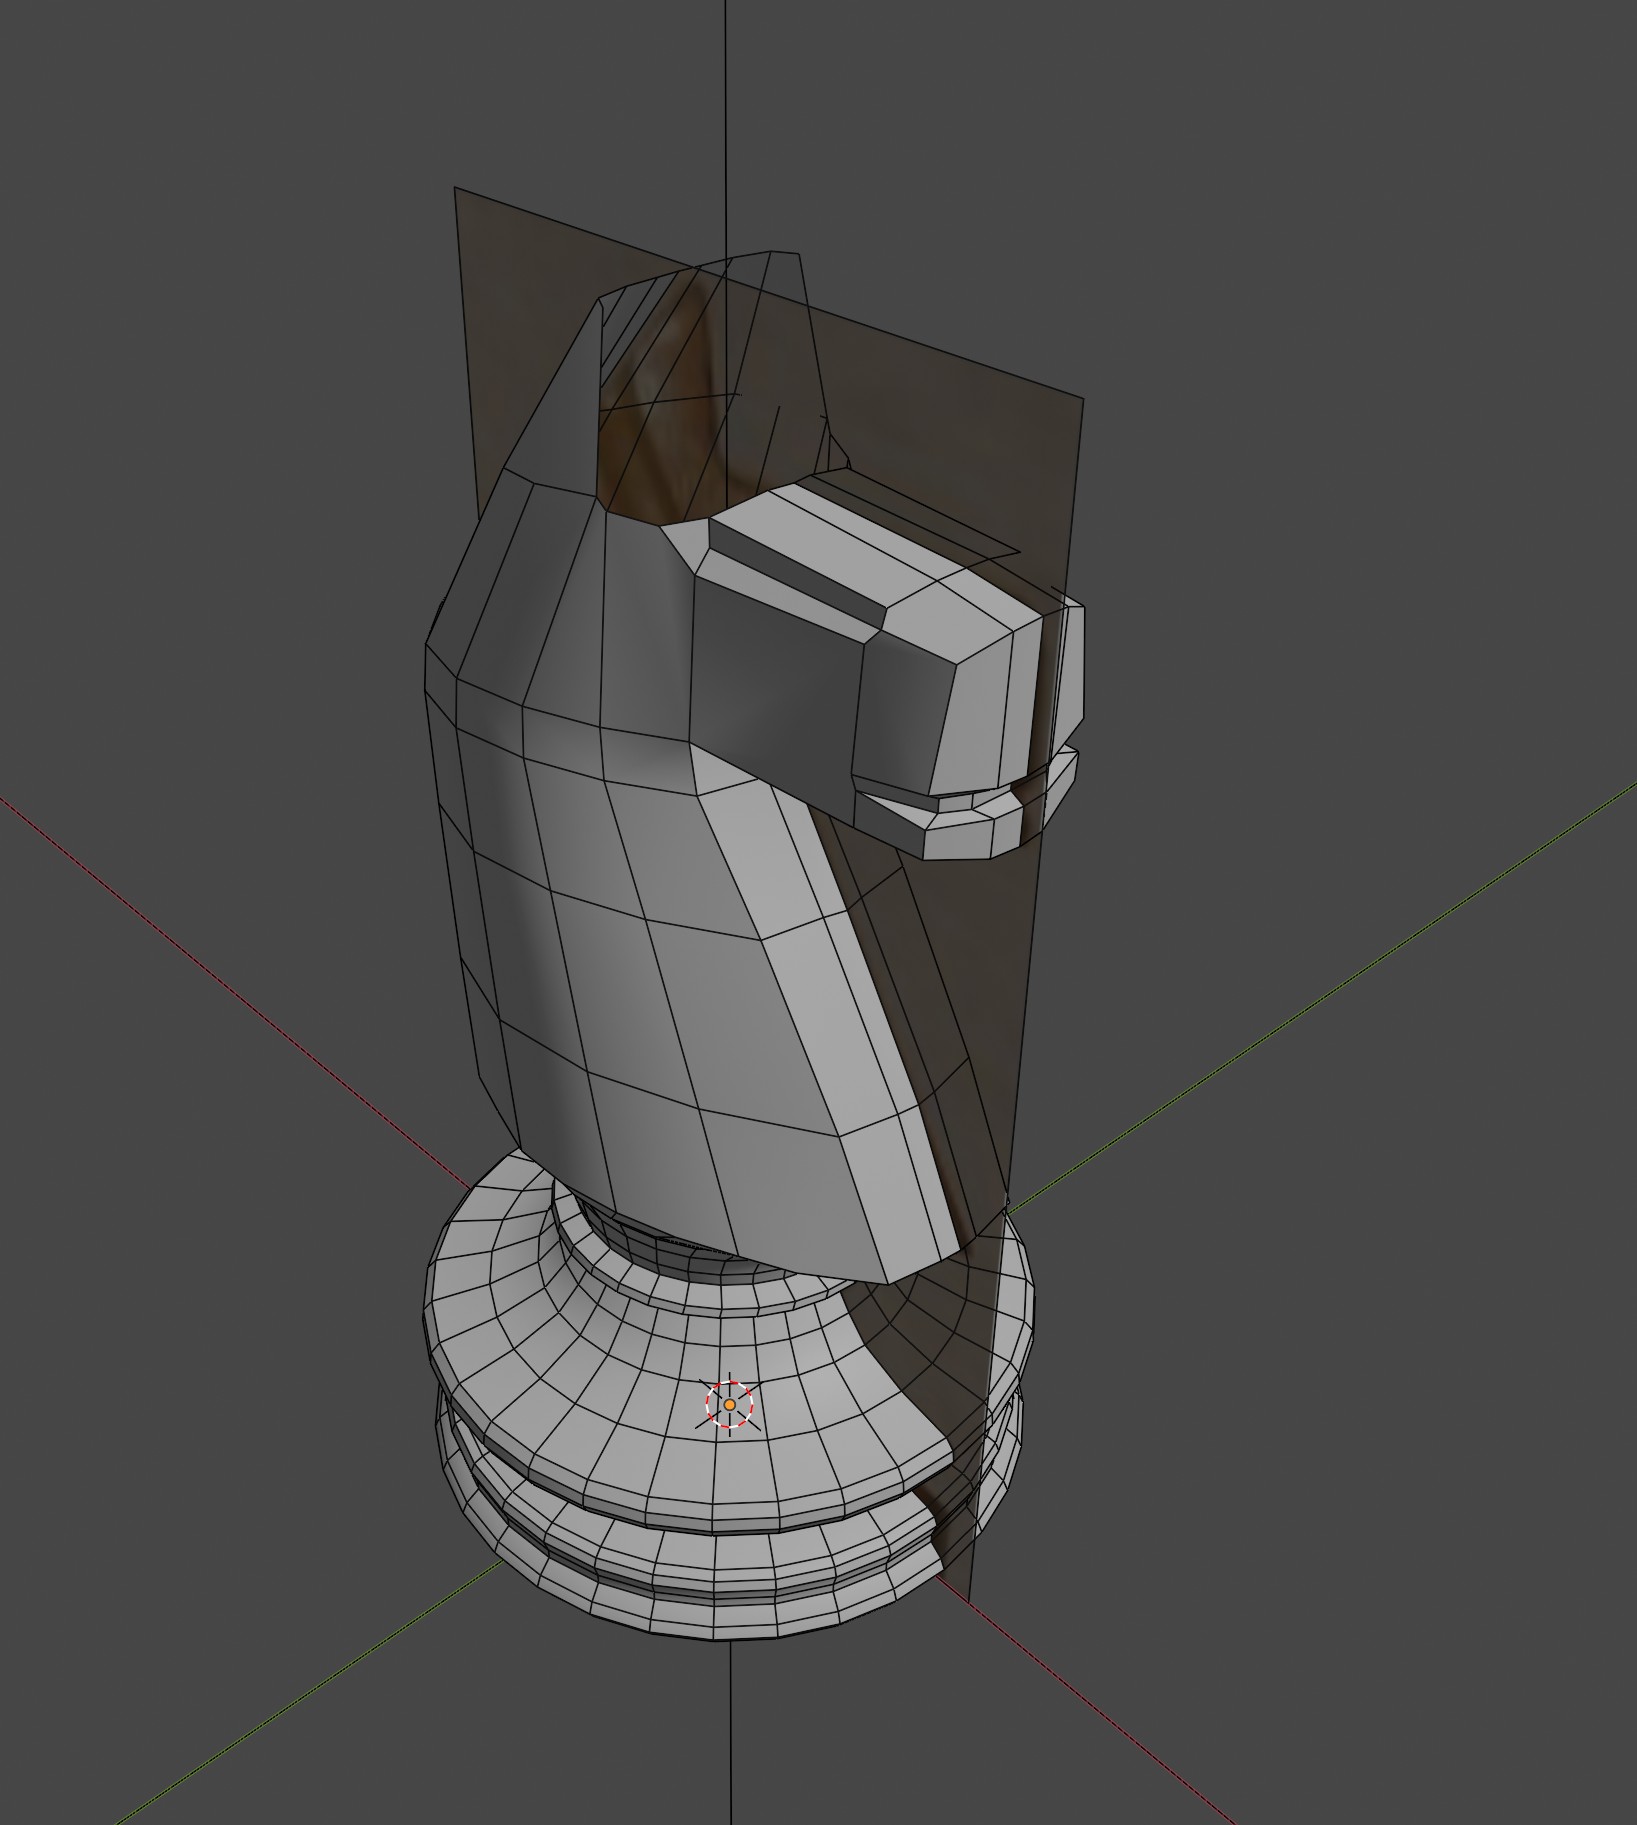
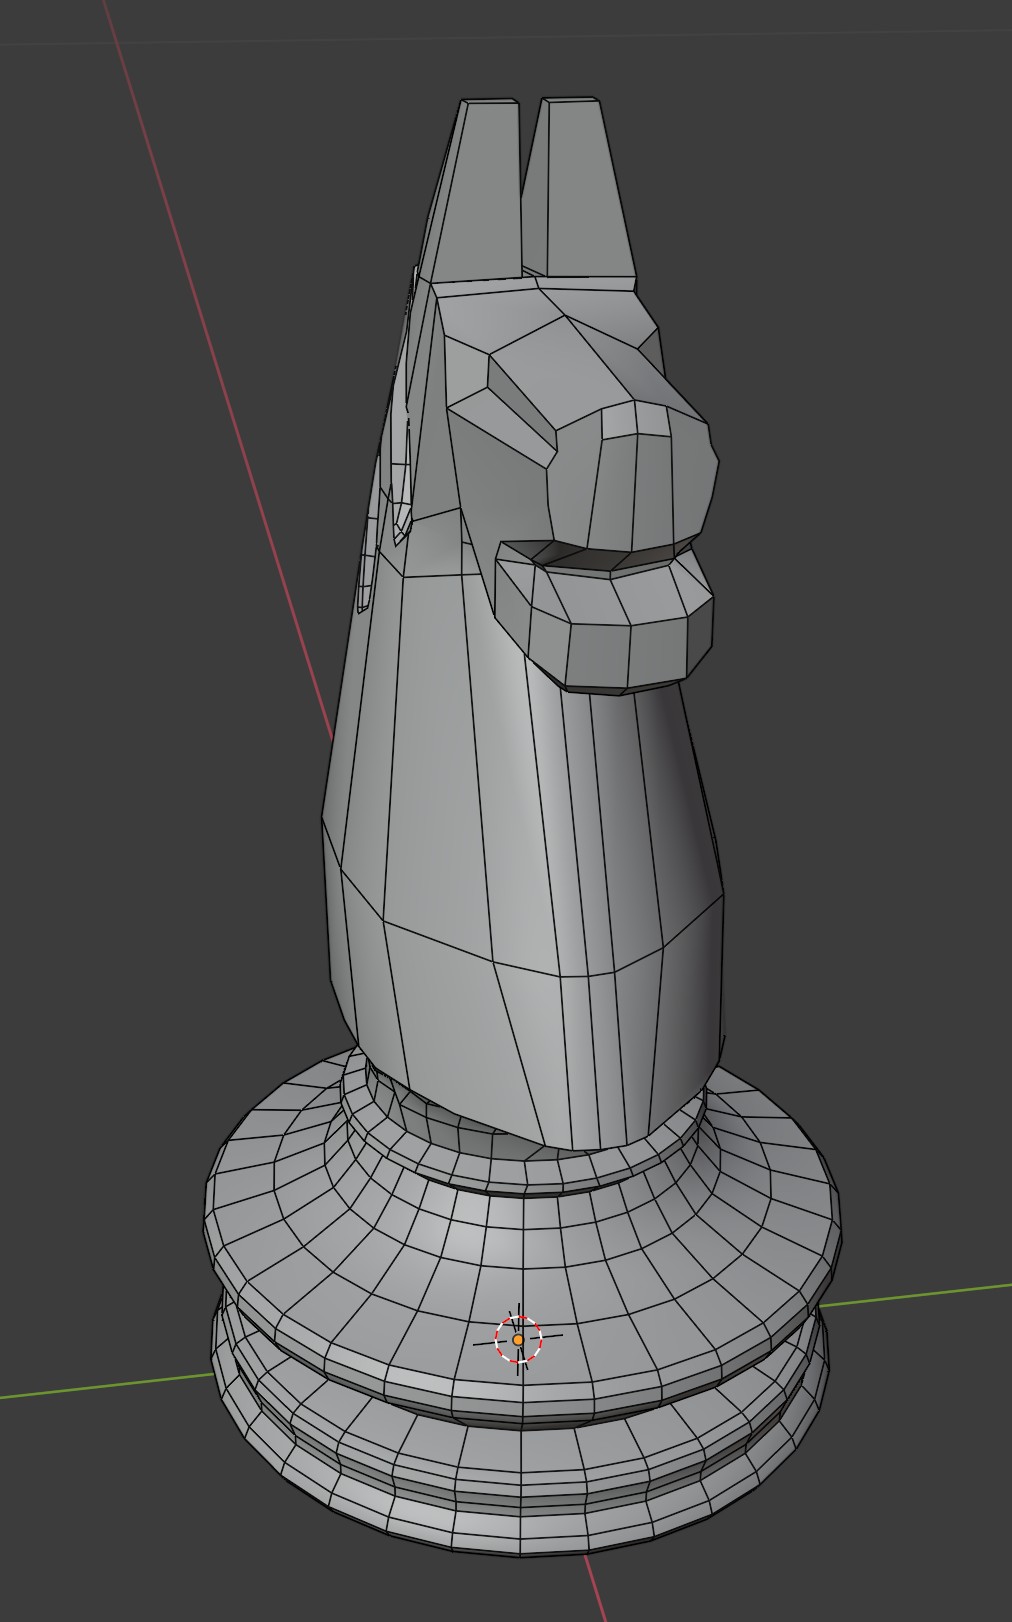
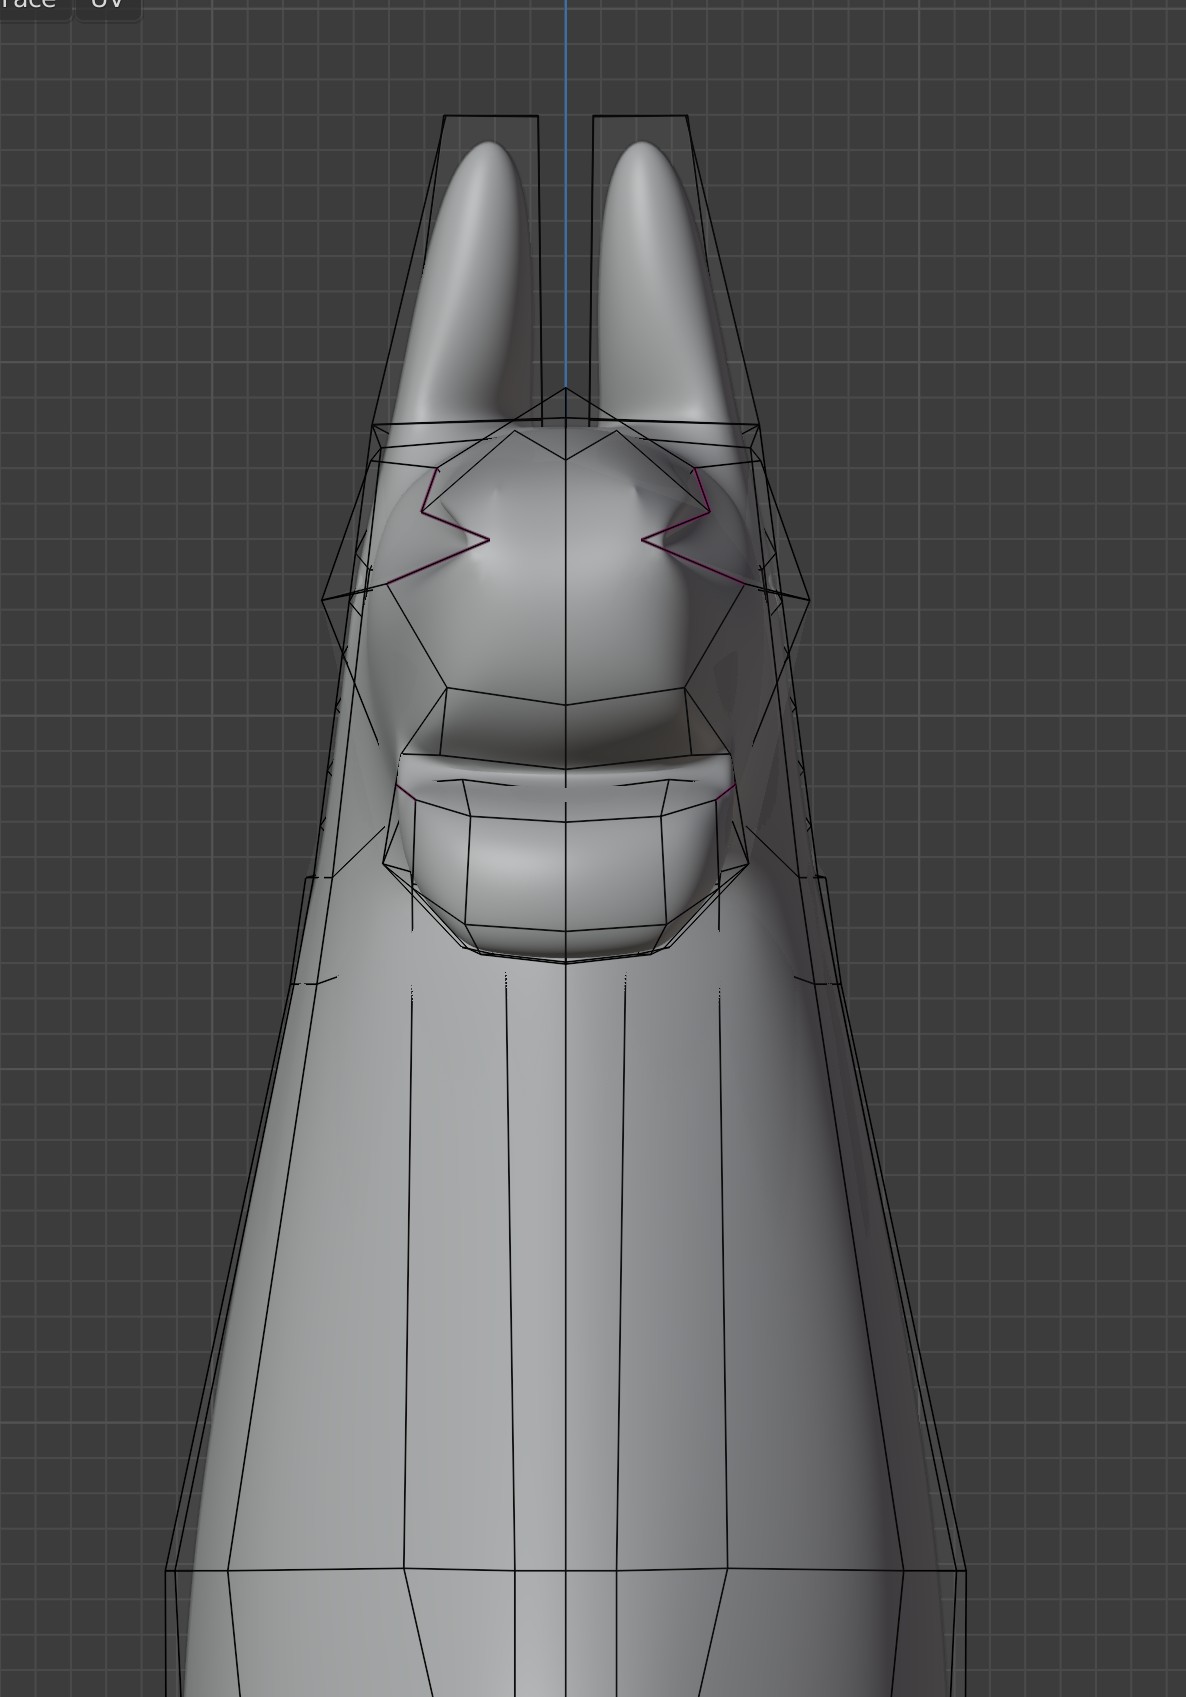
How do I close the top of his head?
I cannot reach/mark the vertices of the mirrored half head…
It closes only by a triangle in the close half (as shown in image)
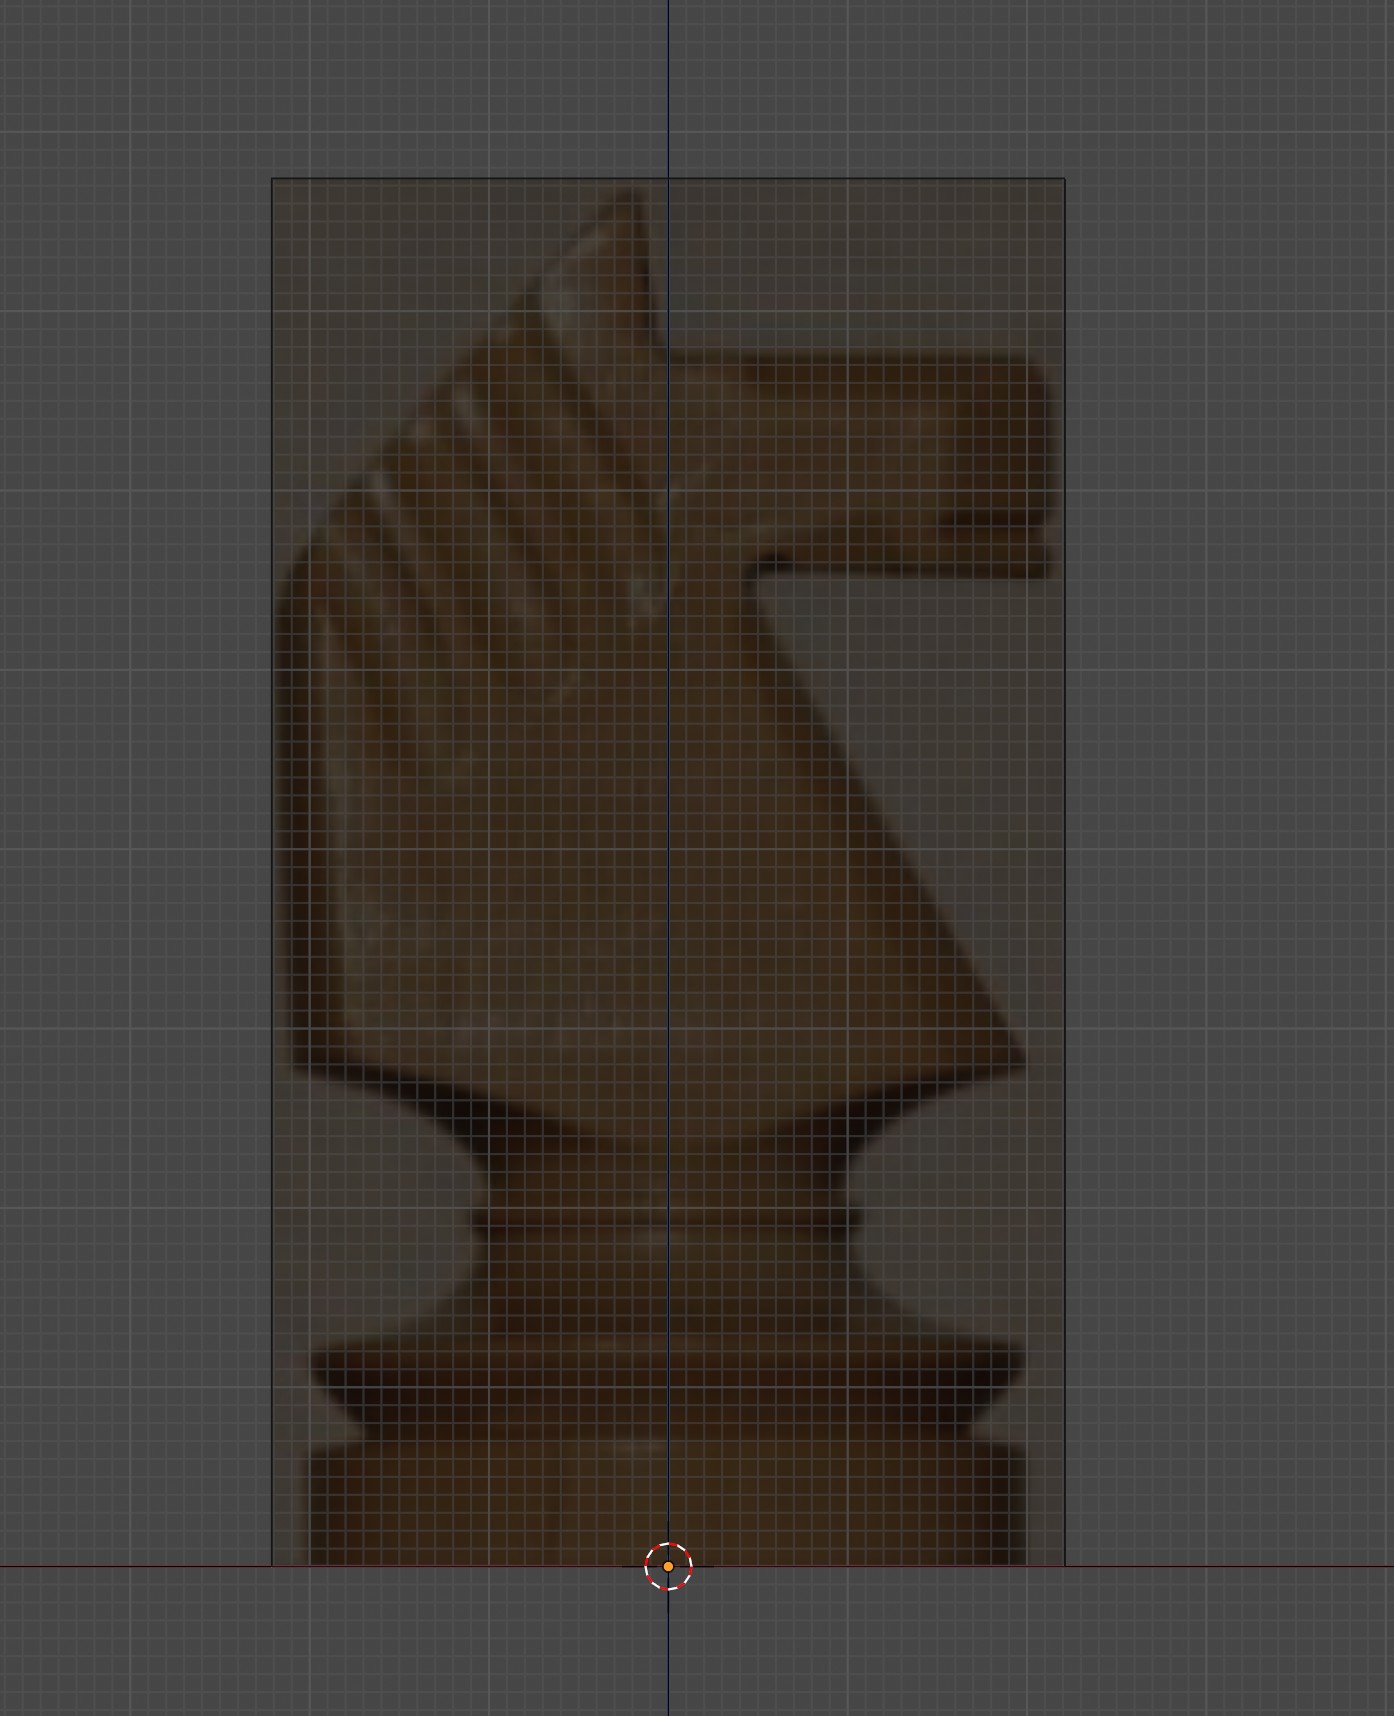
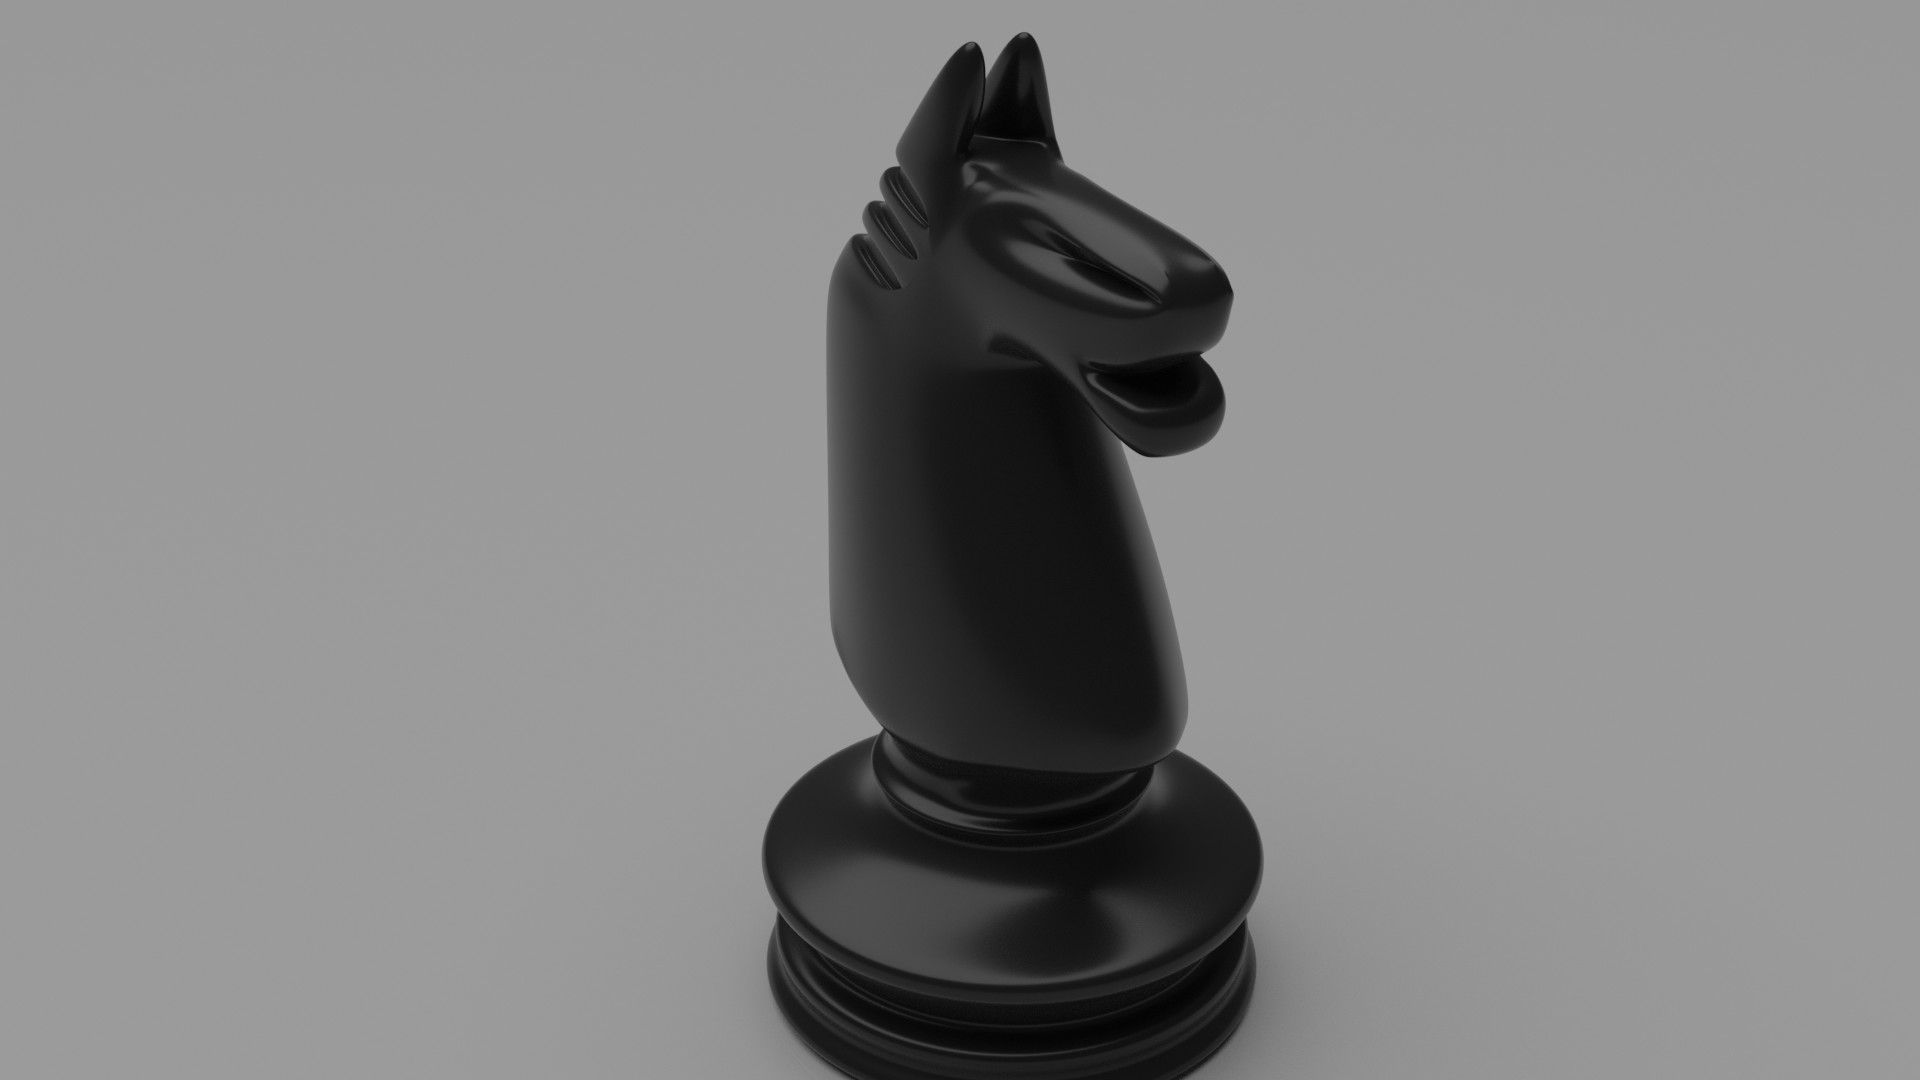
attached also the reference pic of the knight
Thanks 
Shira
1 Like
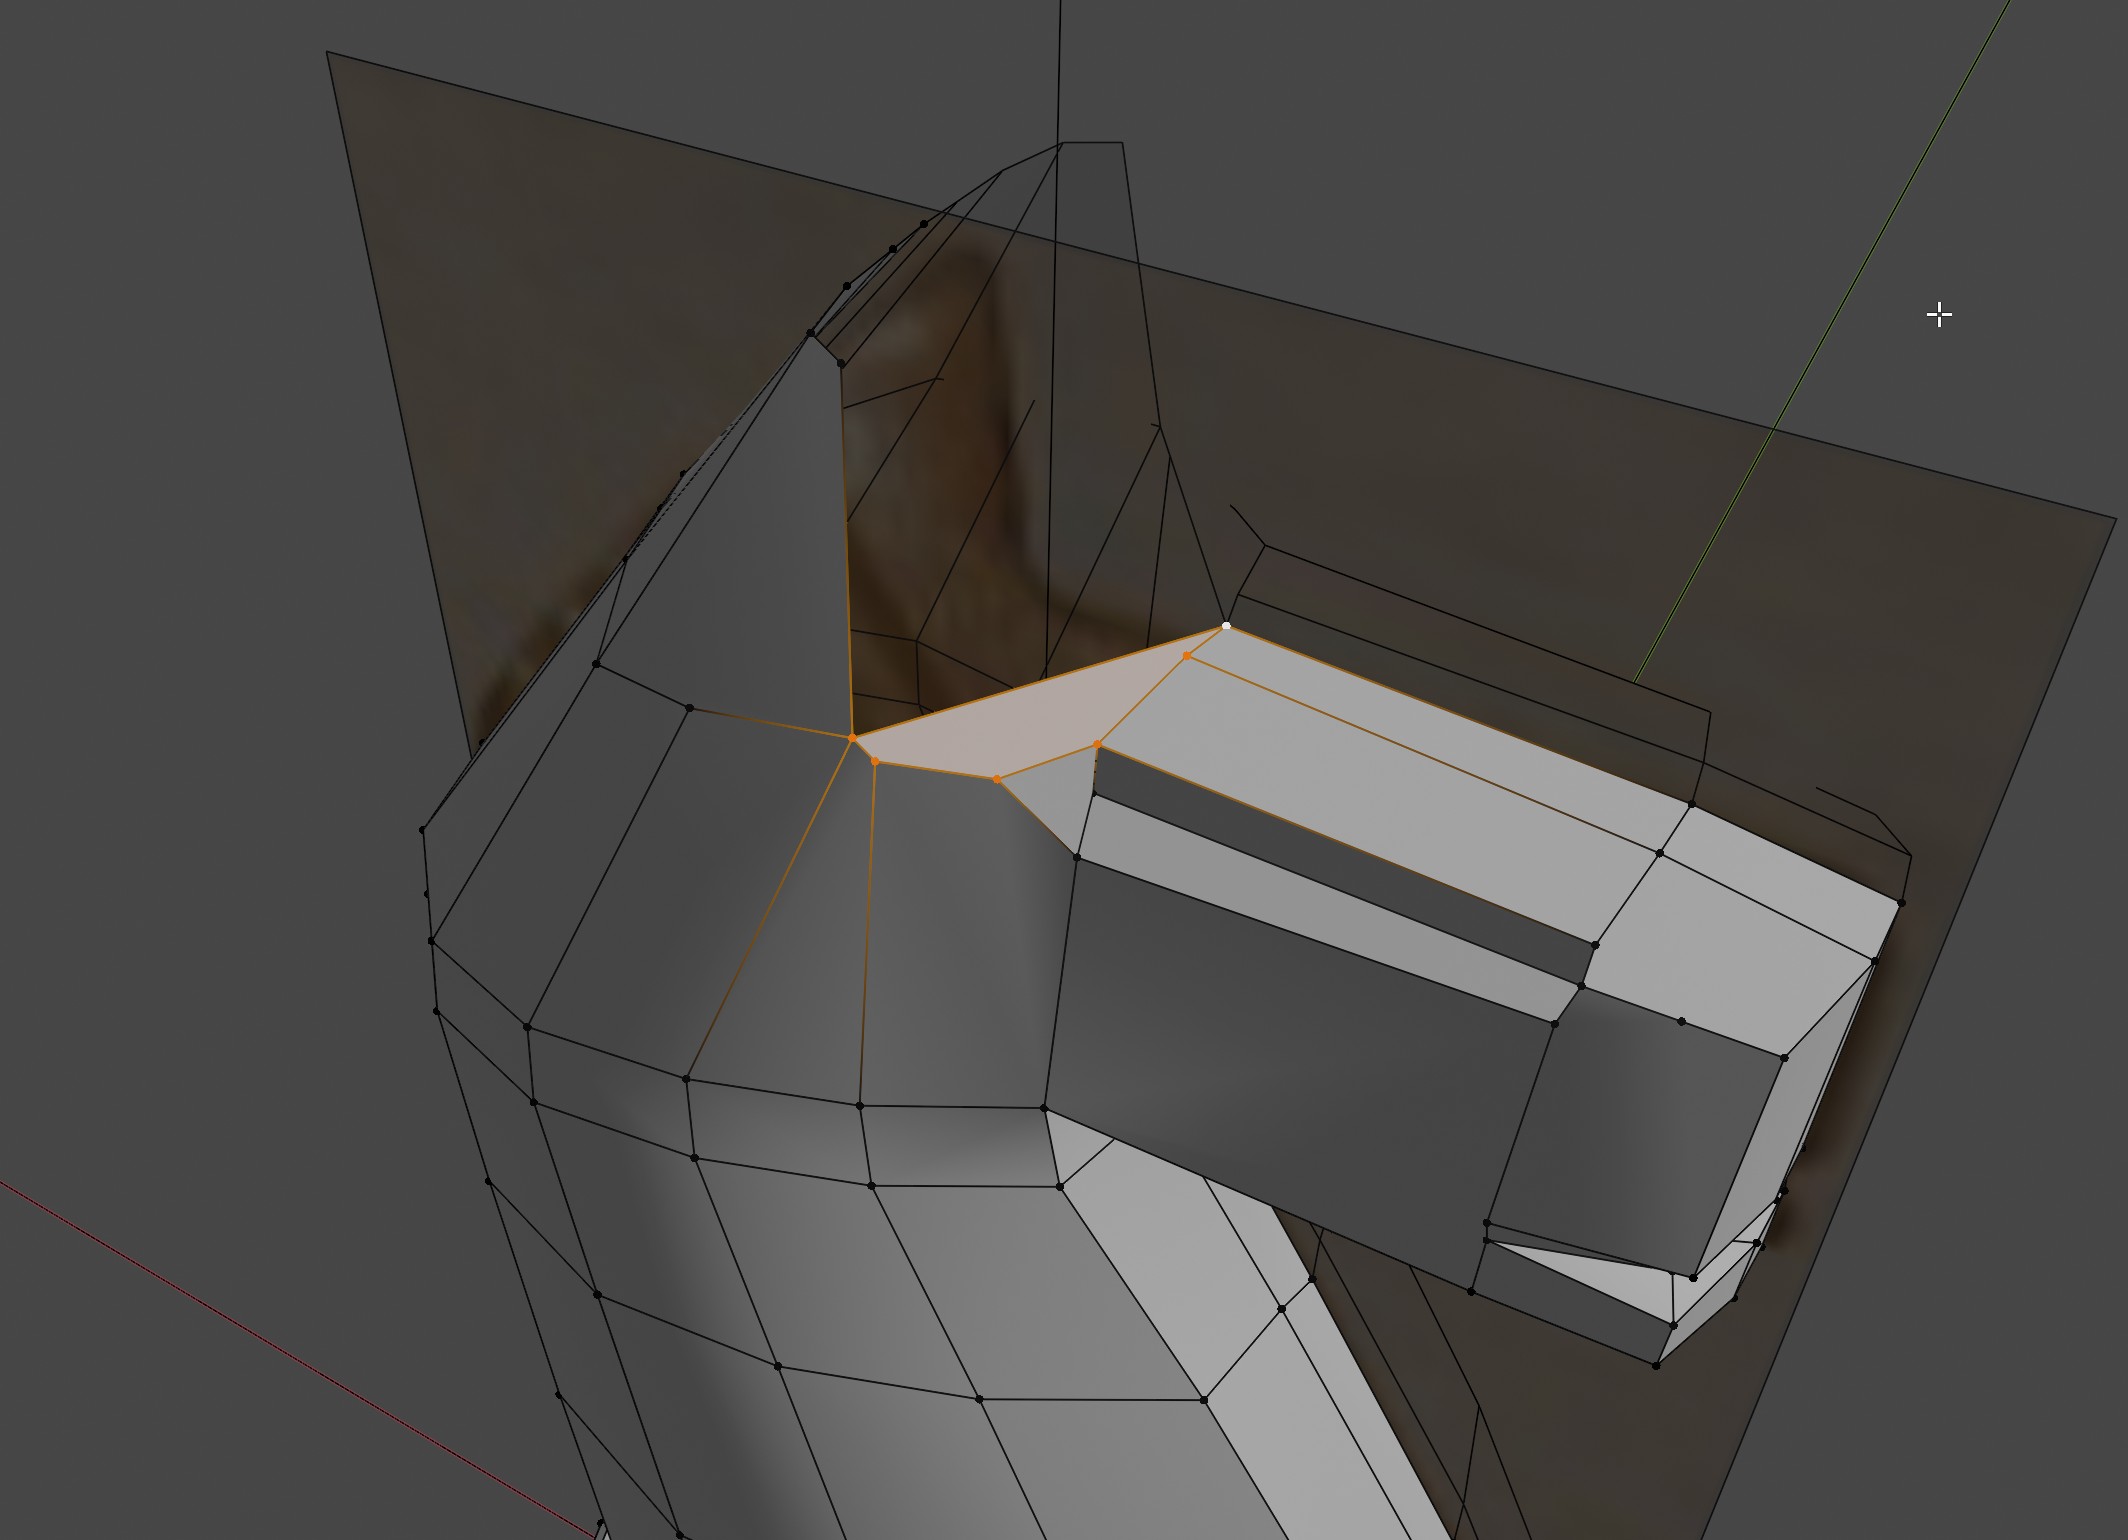
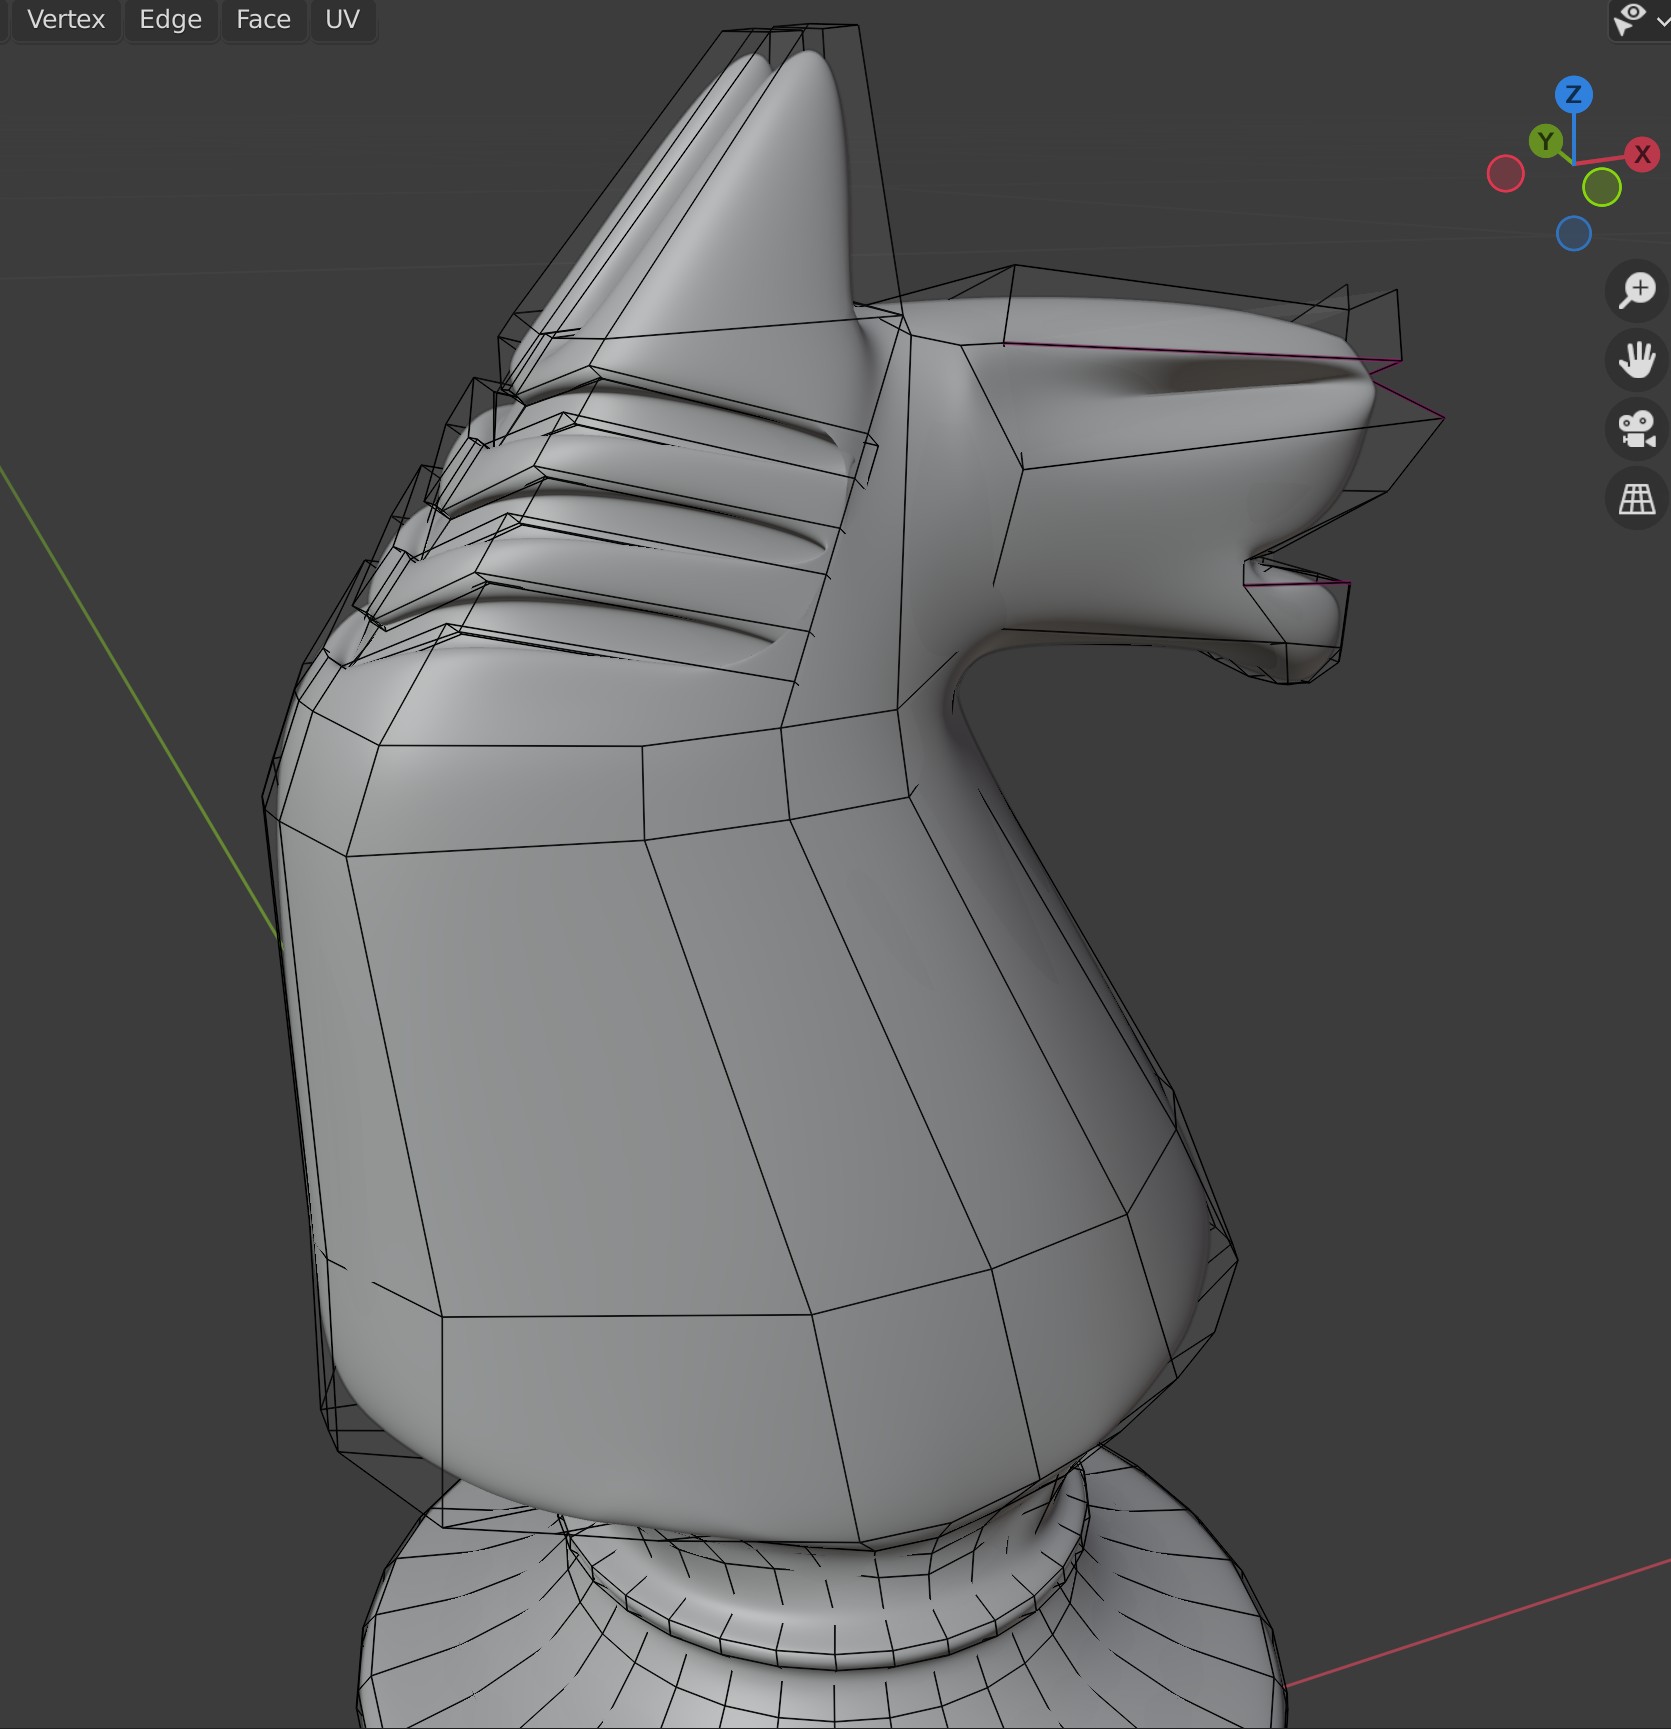
Its a fiddling about job. I would try selecting the front facing ear long edge and extruding it inwards to the mirror line clipping it to the other side. Then work on adjusting the spaces left. Practically impossible to describe in words. But you already have a few Ngons so a few triangles may not matter or may provide reshaping opportunities.
1 Like
True!
You can go into edit - vertex selection mode. Click on a single vertex, as in selected. then e for extrude. An edge will be created. In this way you can rebuild the needed mesh structure.
Select two vertices, not connected and press f for face a edge is created. Continue to make faces out of 4 edges …
This is the next step in modeling. But a tricky one.
1 Like
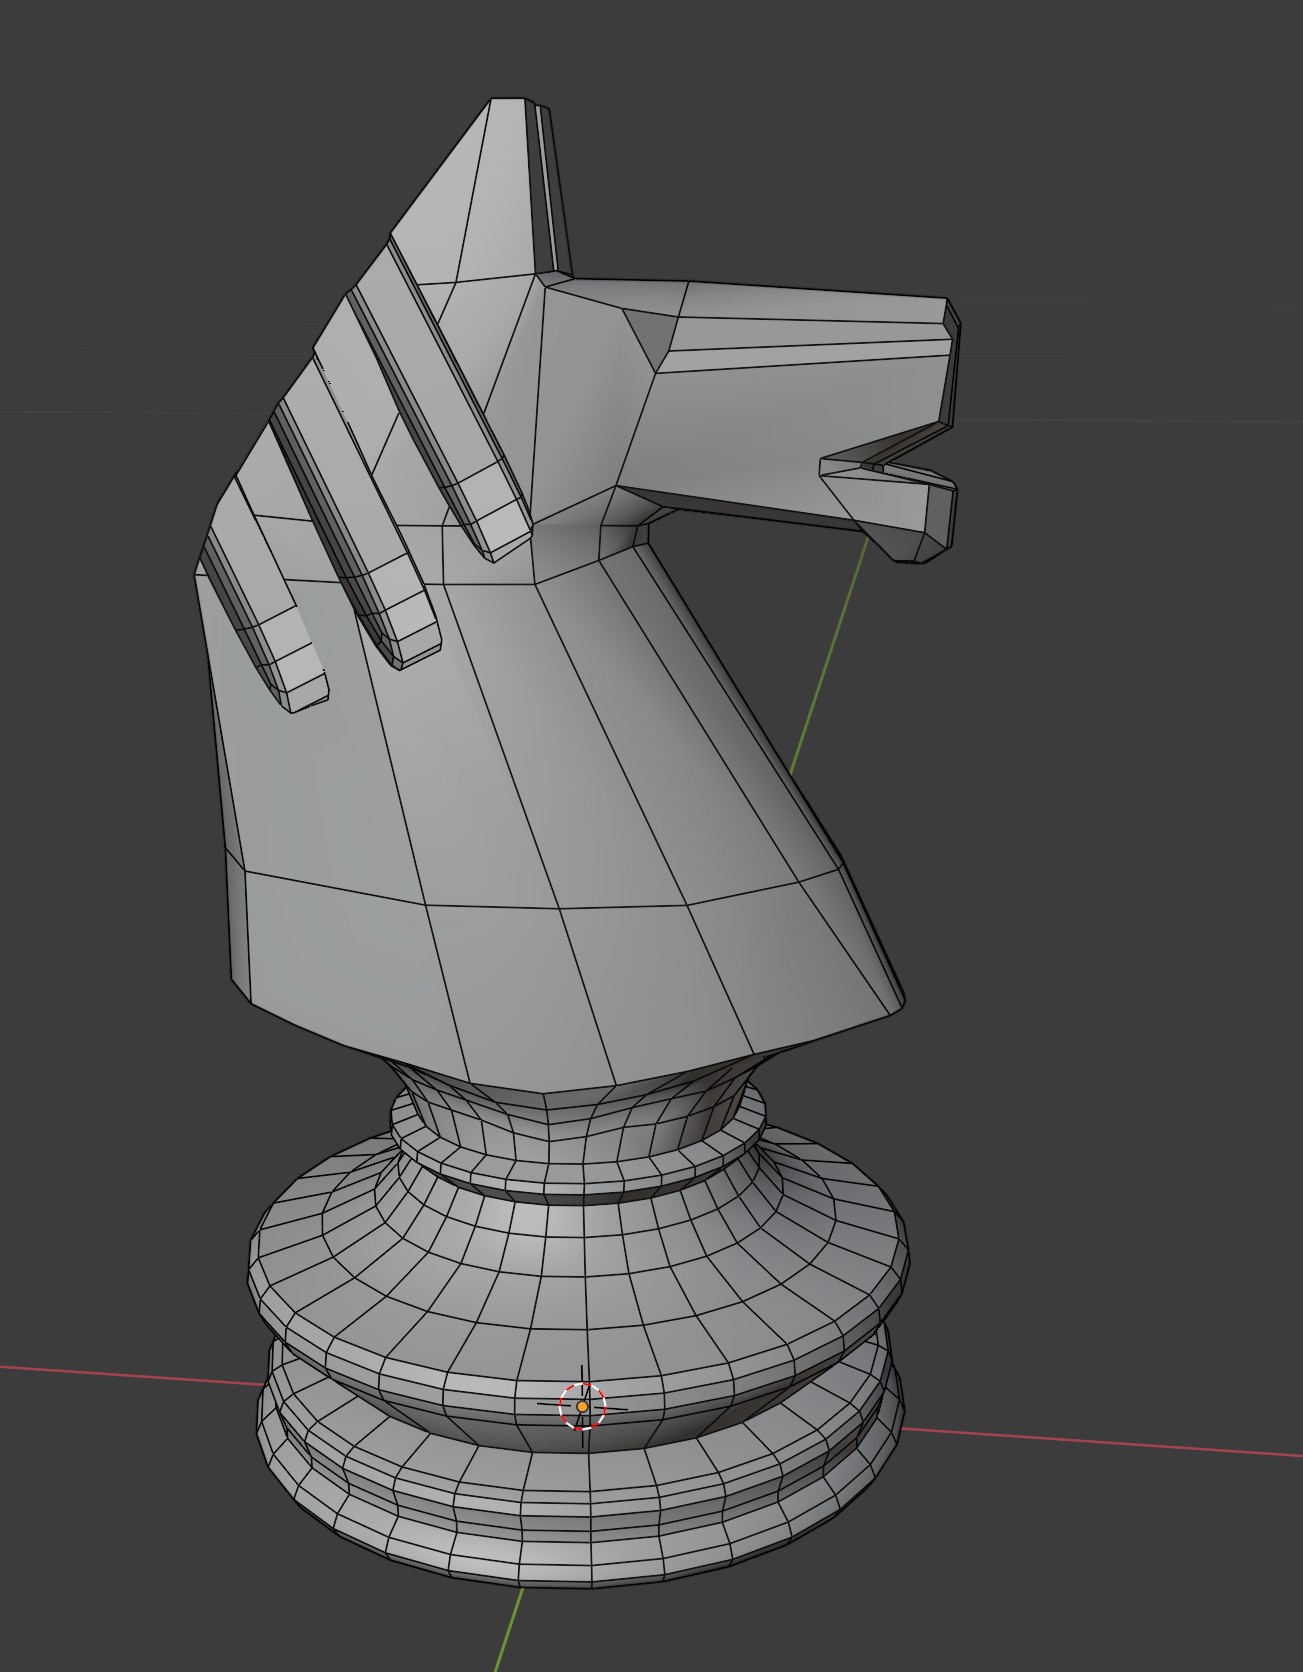
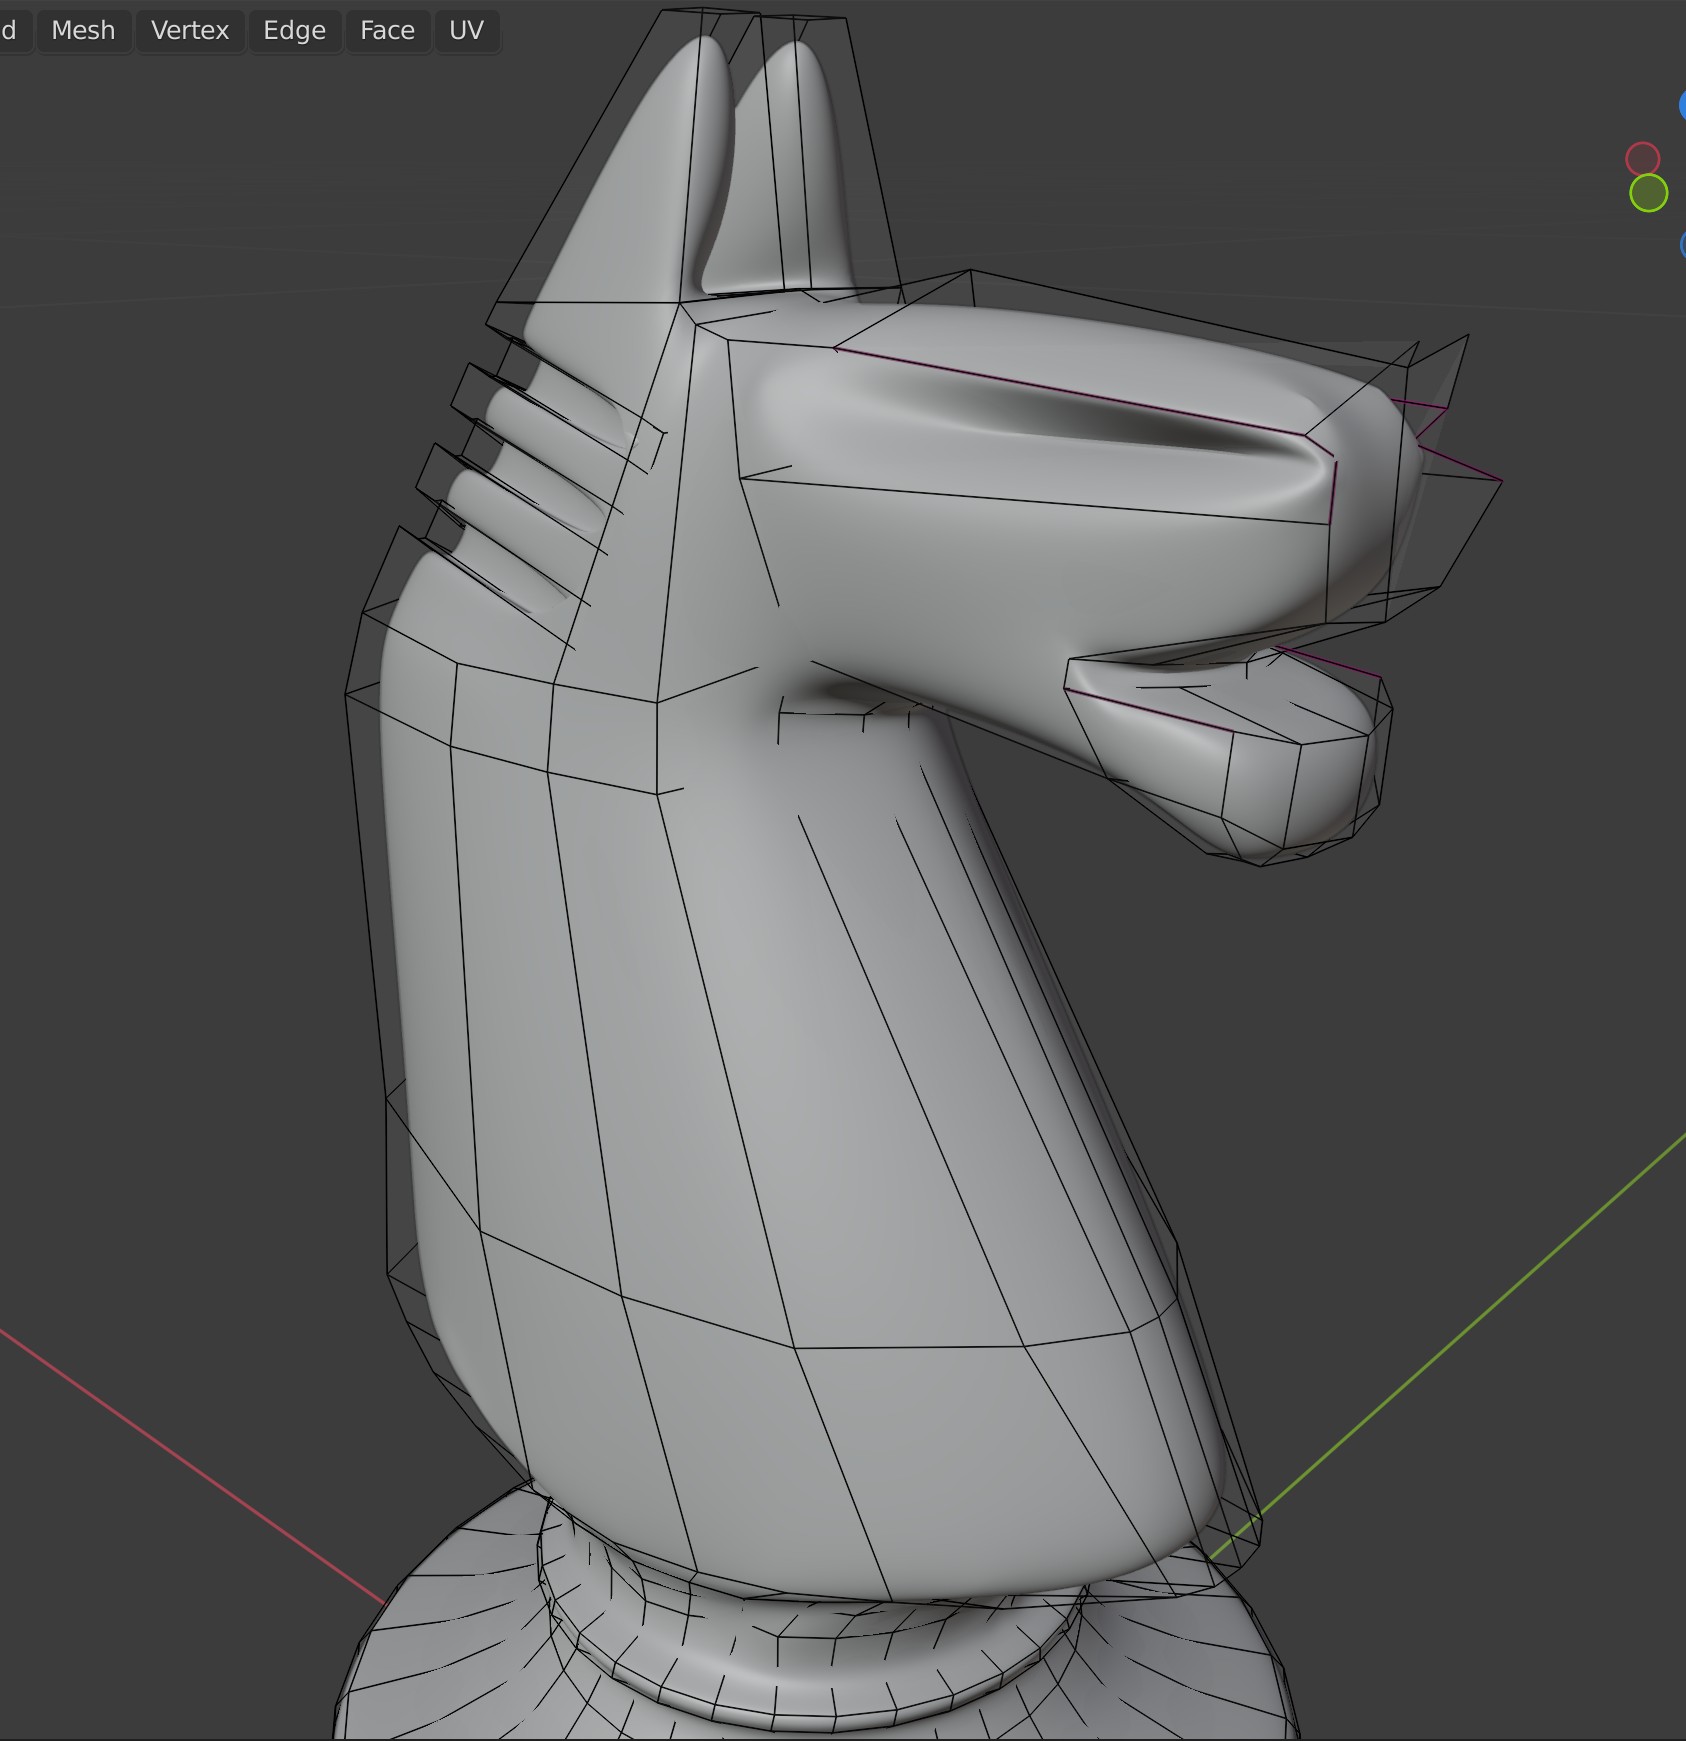
Here’s more progress with my knight…
The pattern on the neck- I did with boolean… but it didnt go well… I will need another solution for that… 
2 Likes
Looking good!
1 Like
People do have a lot of creative ideas at the beginning of the course.
Knowing some basic Blender tools and procedures, they start to create beautiful things.
But they encounter also “How to do this” problems.
If you sketched on paper or using references, you can upfront create a mesh better suited for the mesh you need. Work from rough setup into details. But it takes practice and experience to make this process work.
You are talking about “Sculpting”, but the process is called block modeling or hard face modeling. It’s a different ball game than sculpting.
What is the problem with the boolean option?
It looks harsh… or too mechanical… I think it has to be soften a bit…
Maybe by tweaking a bit the new formed edges/vertexes I can solve it…
or maybe by the brushes I can later on soften it
1 Like
You can use the bevel tool on some edges. But that can be difficult for the current mesh structure.
You can also add the bevel modifier.
And give the edges a certain degree of bevel value/smoothness.
Or go for the subdivision route, smoothing the mesh and use edge crease factor.
But maybe, those features too early in this course … the knight is just the next step in Blender knowledge.
Not particular meant to be “sculptable”.
1 Like
FedPete and NP5
Thank you so much for all your helpful remarks and advice!!
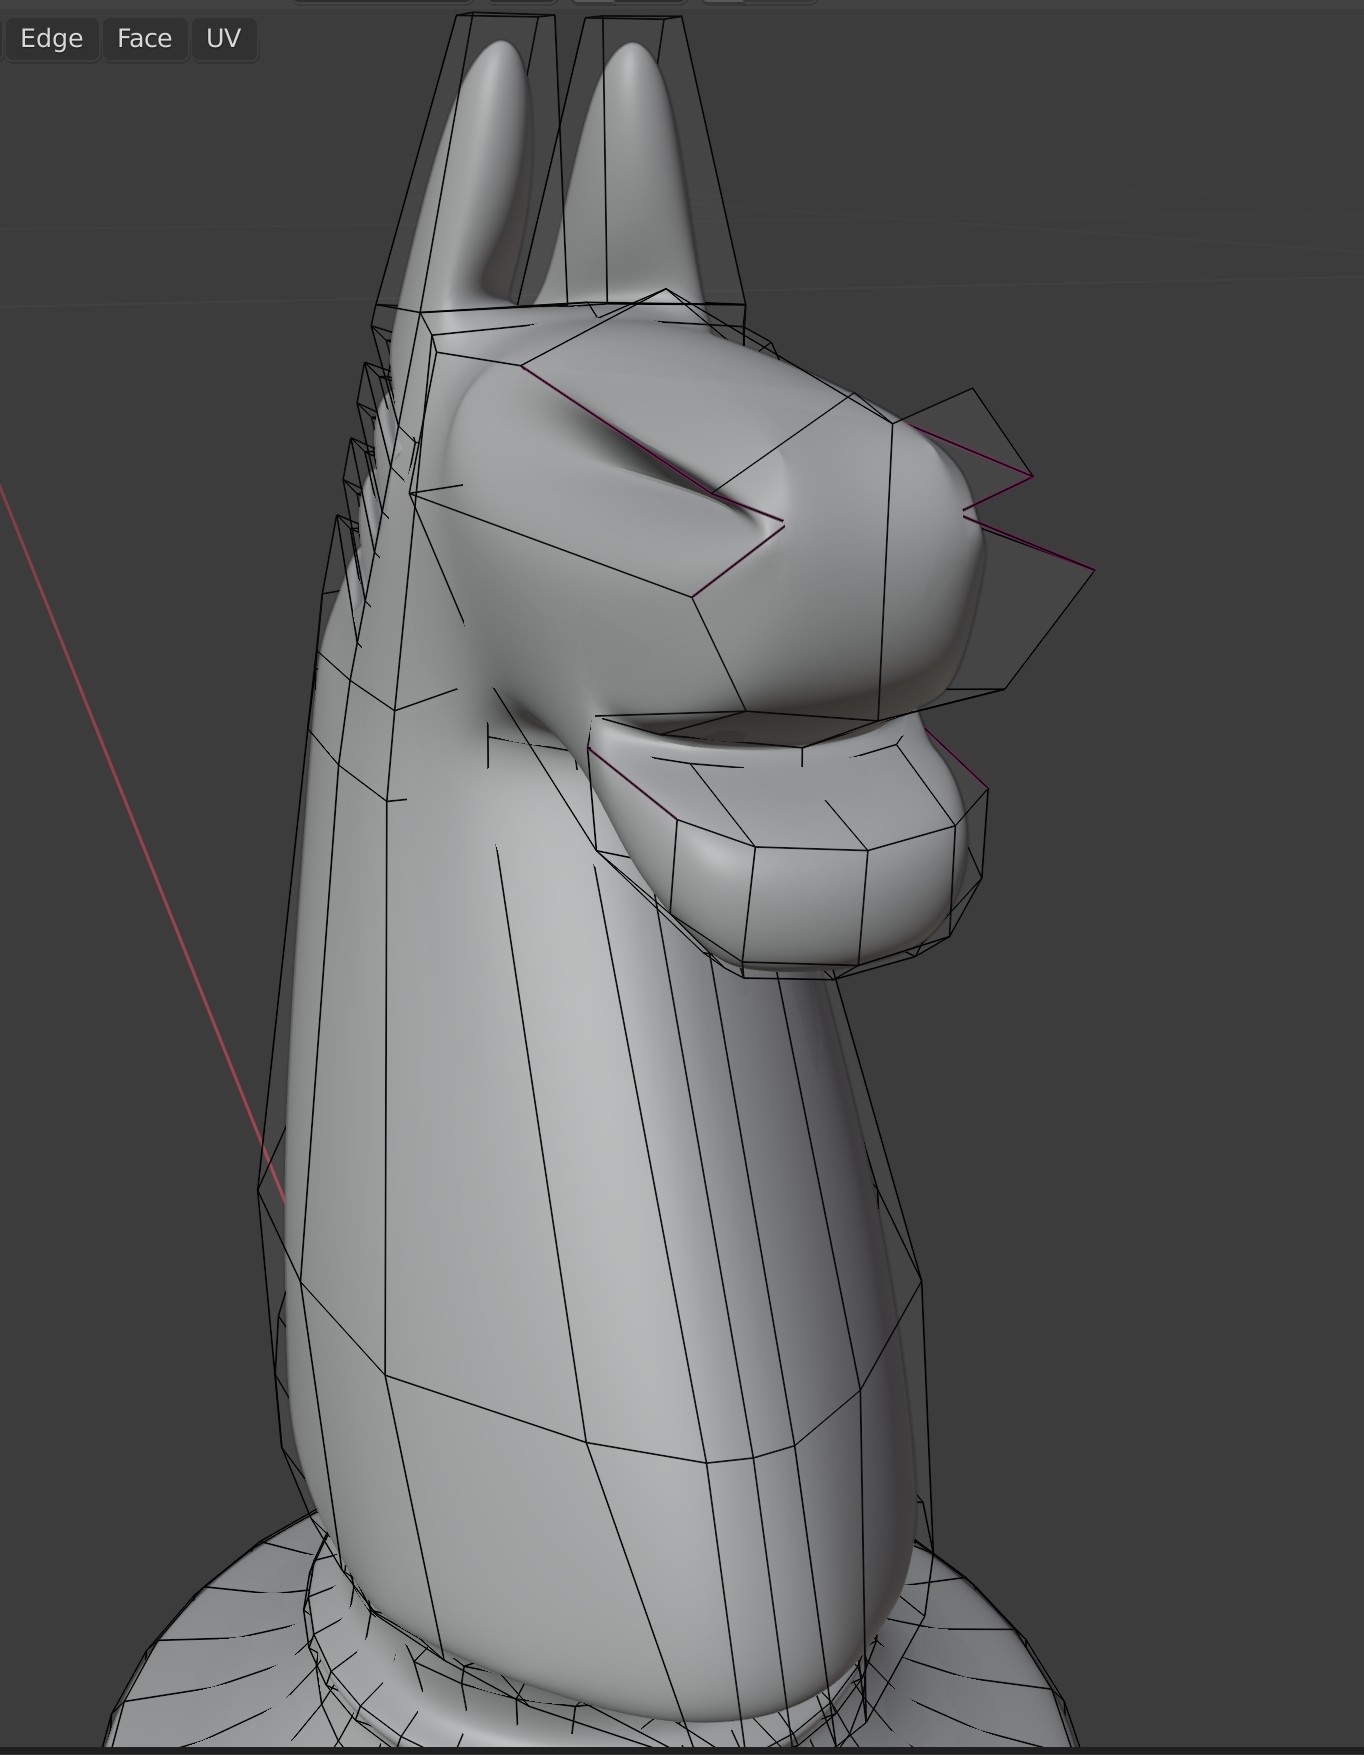
I now improved the head of the knight accordingly! 
and by altering/adjusting the crease specifications I managed to get to quite a unique shape of the over all head!
Here attached
Shira
4 Likes
Wow, looks like wood carving.
Fine piece of work!
Blender is sooo much fun, well done!
1 Like
Great end result.
Going beyond the low poly set the course uses had extra difficulty!