Scifi Project with Trim Sheets

OK, so jumping between topics :). Now I did quite a lot of research into trim sheets. The main goal for me was to figure out what people are doing and how I can do them in quite efficient way. Spent about 20h watching courses, tutorials (at 2x speed :sweat_smile:, I sometimes get deep into the weeds). Still not perfect but I think I have a workflow that works. From Blender → Marmoset for Baking → Substance Painter for extra detailing/texturing.

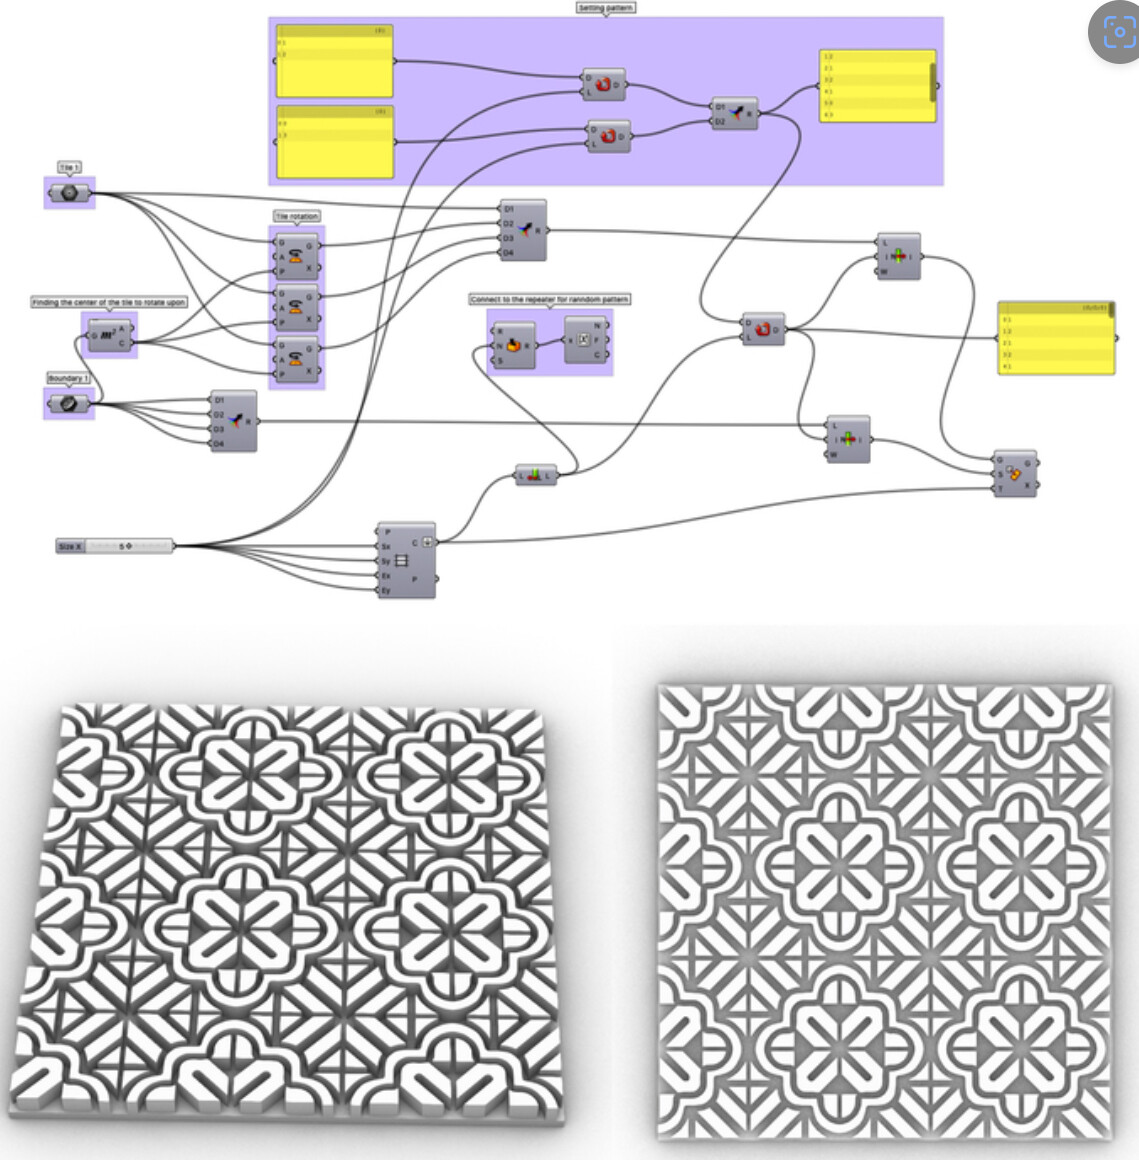
Basically the idea is to start with a plane that’s a little bit bigger then desired output plane. Here it’s good to think about texel density, Eg., if I want to have 1024px / meter TD I am setting up a plane like that:

The outside area helps me to keep everything nicely tillable.

I’ve tested baking in Blender (with GrabDoc addon), SP and Toolbag. Still toolbag gives the best results IMO.

Then the last step of texturing/detailing in SP is quite straight forward (like any other model). The difference is that it still needs to be tillable. For that instead of working on a plane I work on 3 planes that simulate tilling:

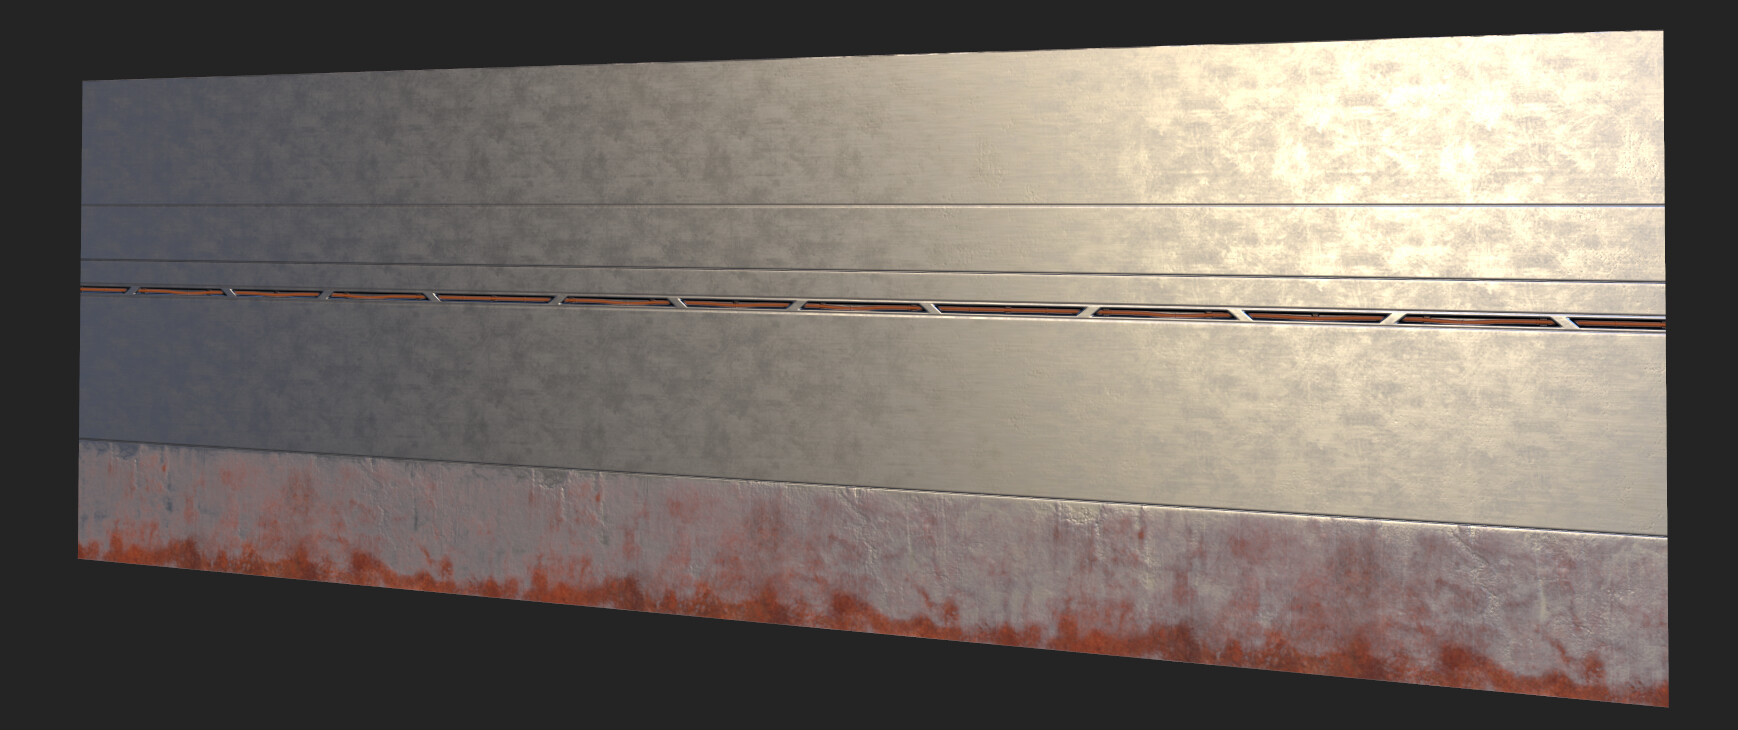
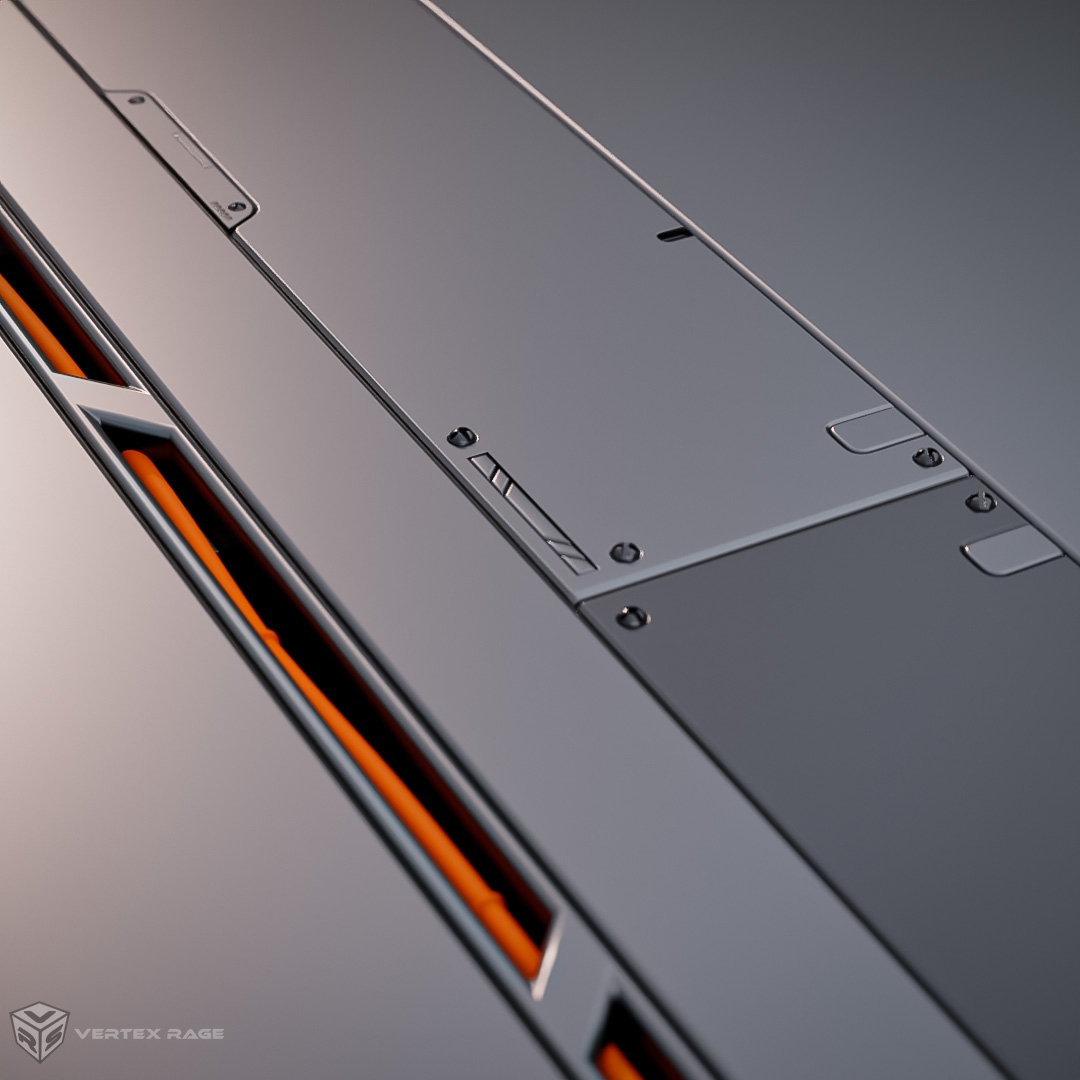
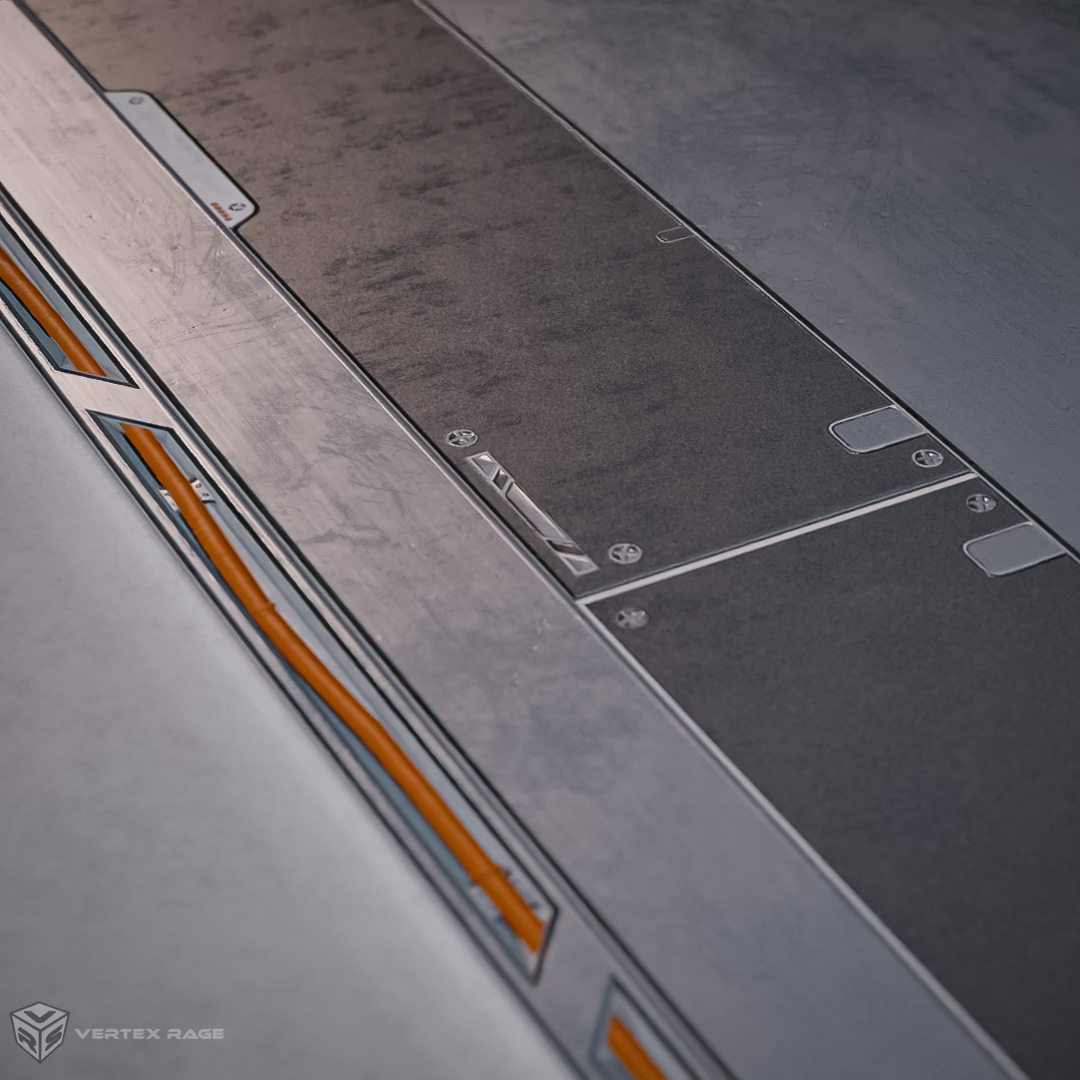
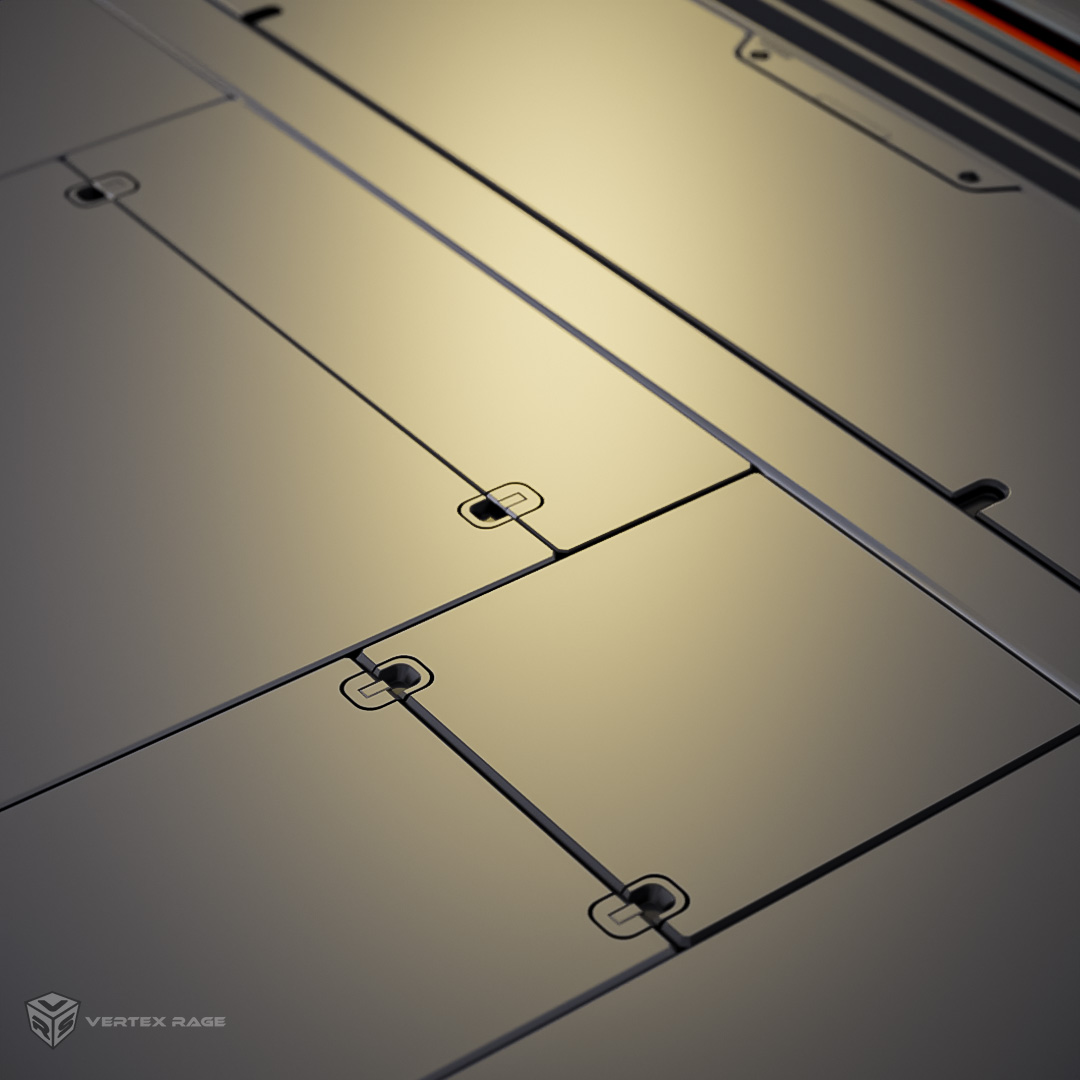
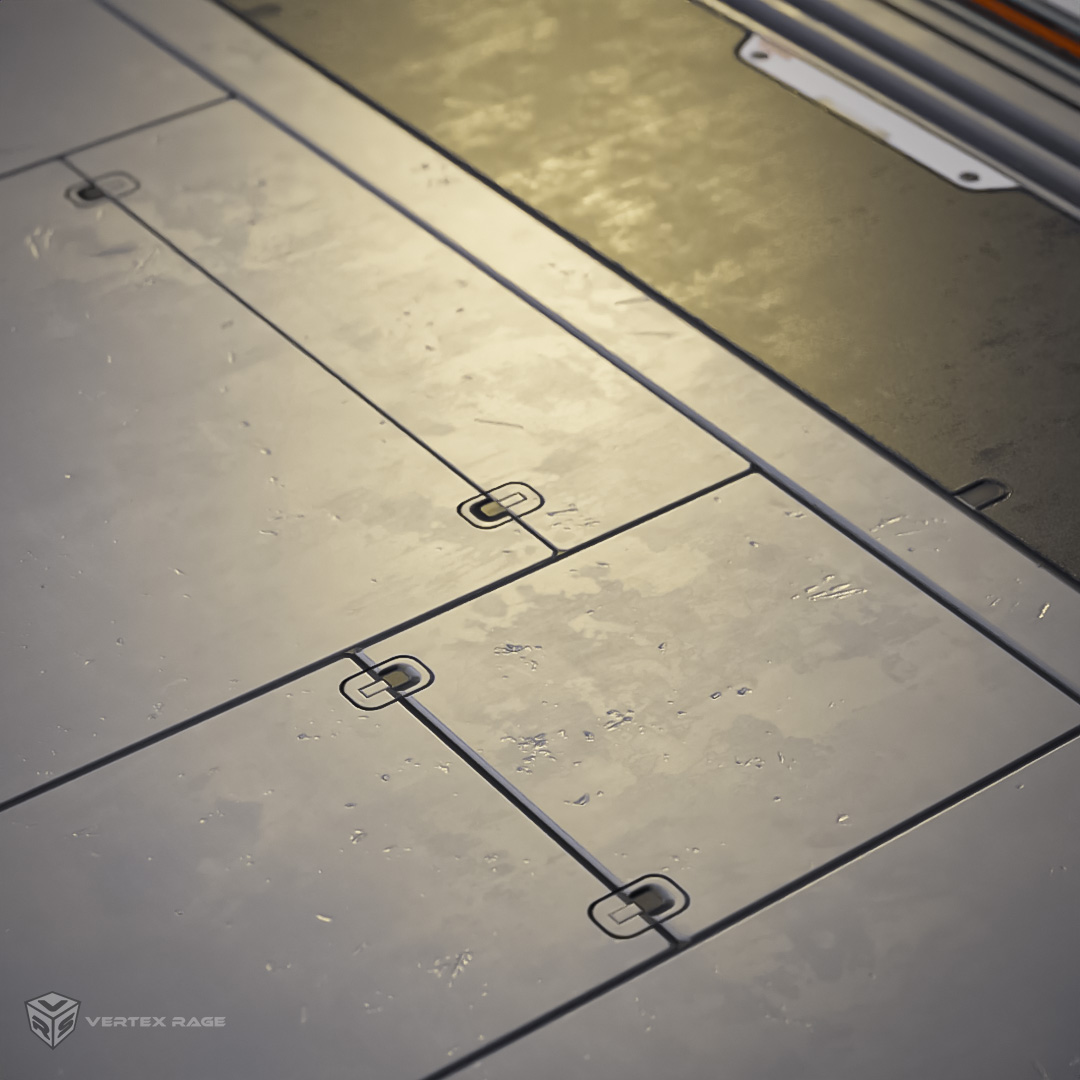
And here are my result so far. The trim is just a beginning, I would say that just the one tinny strip is mostly done.

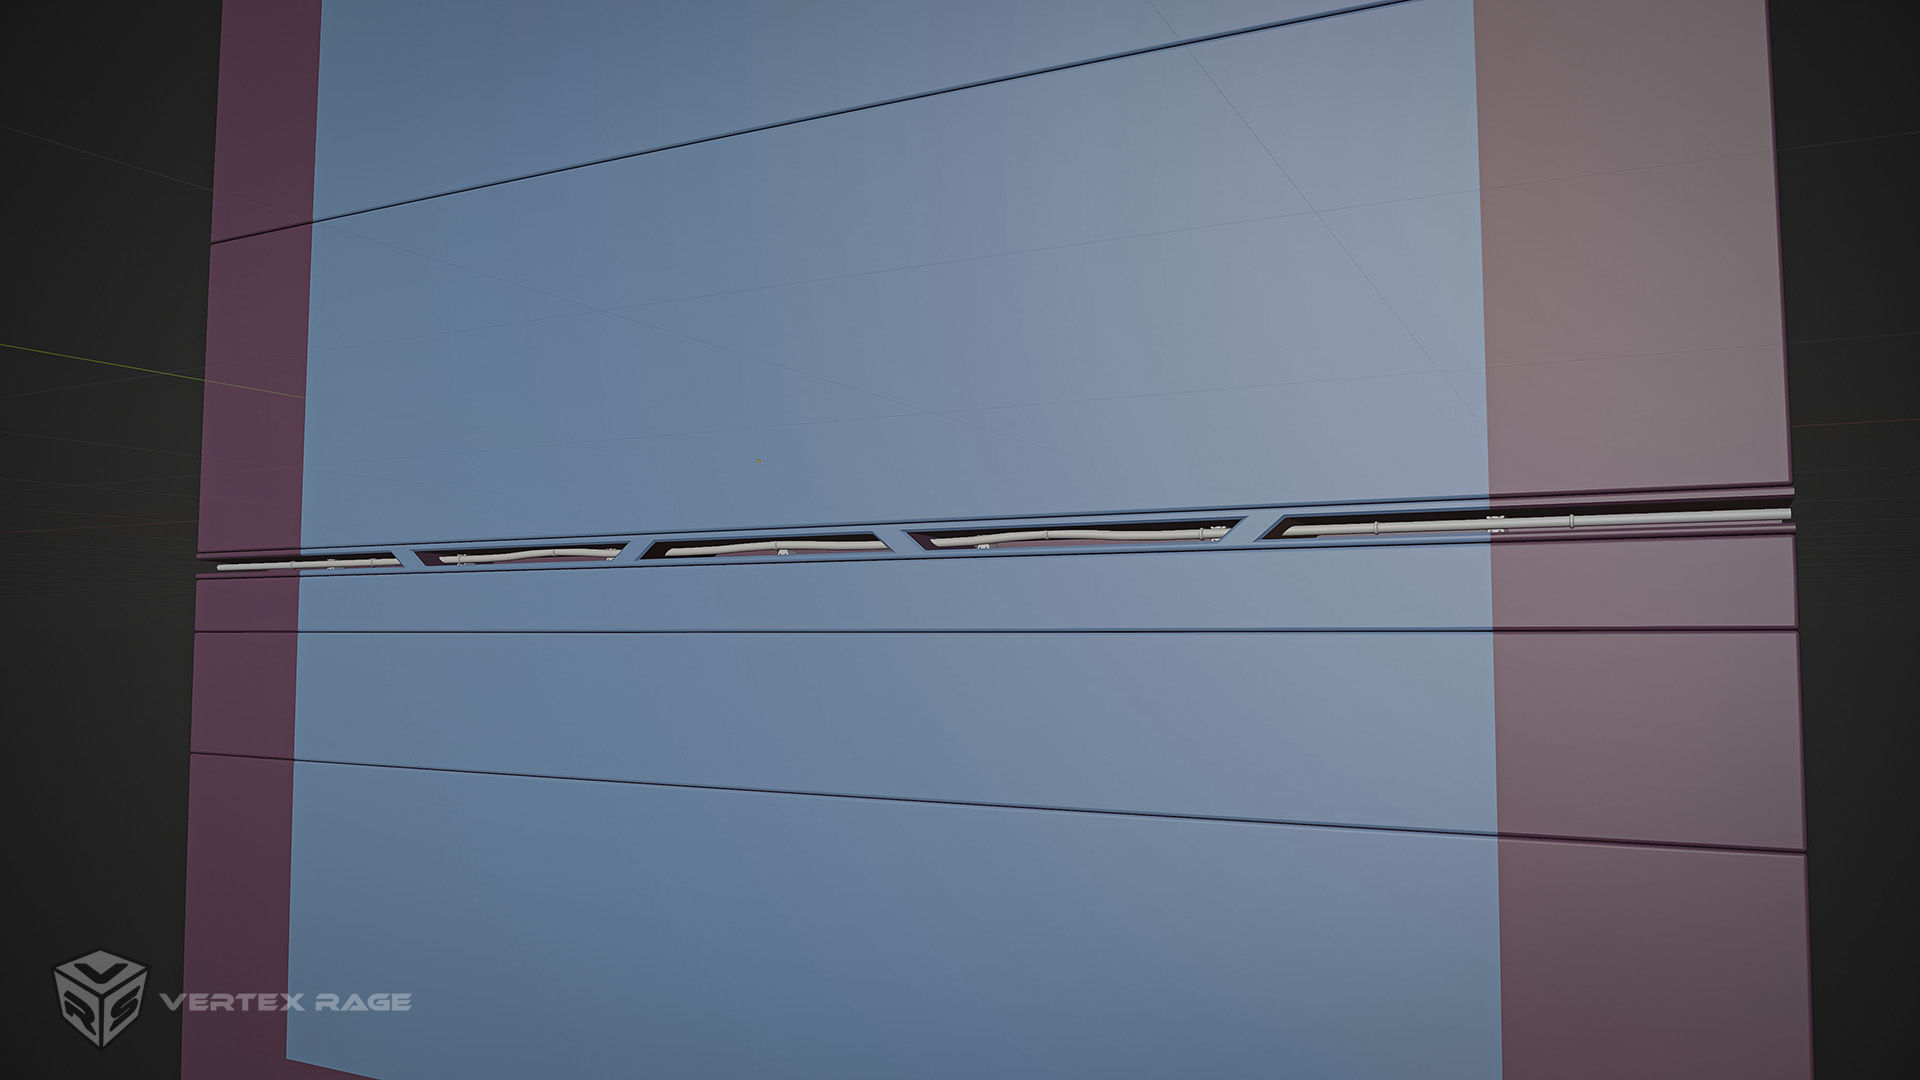
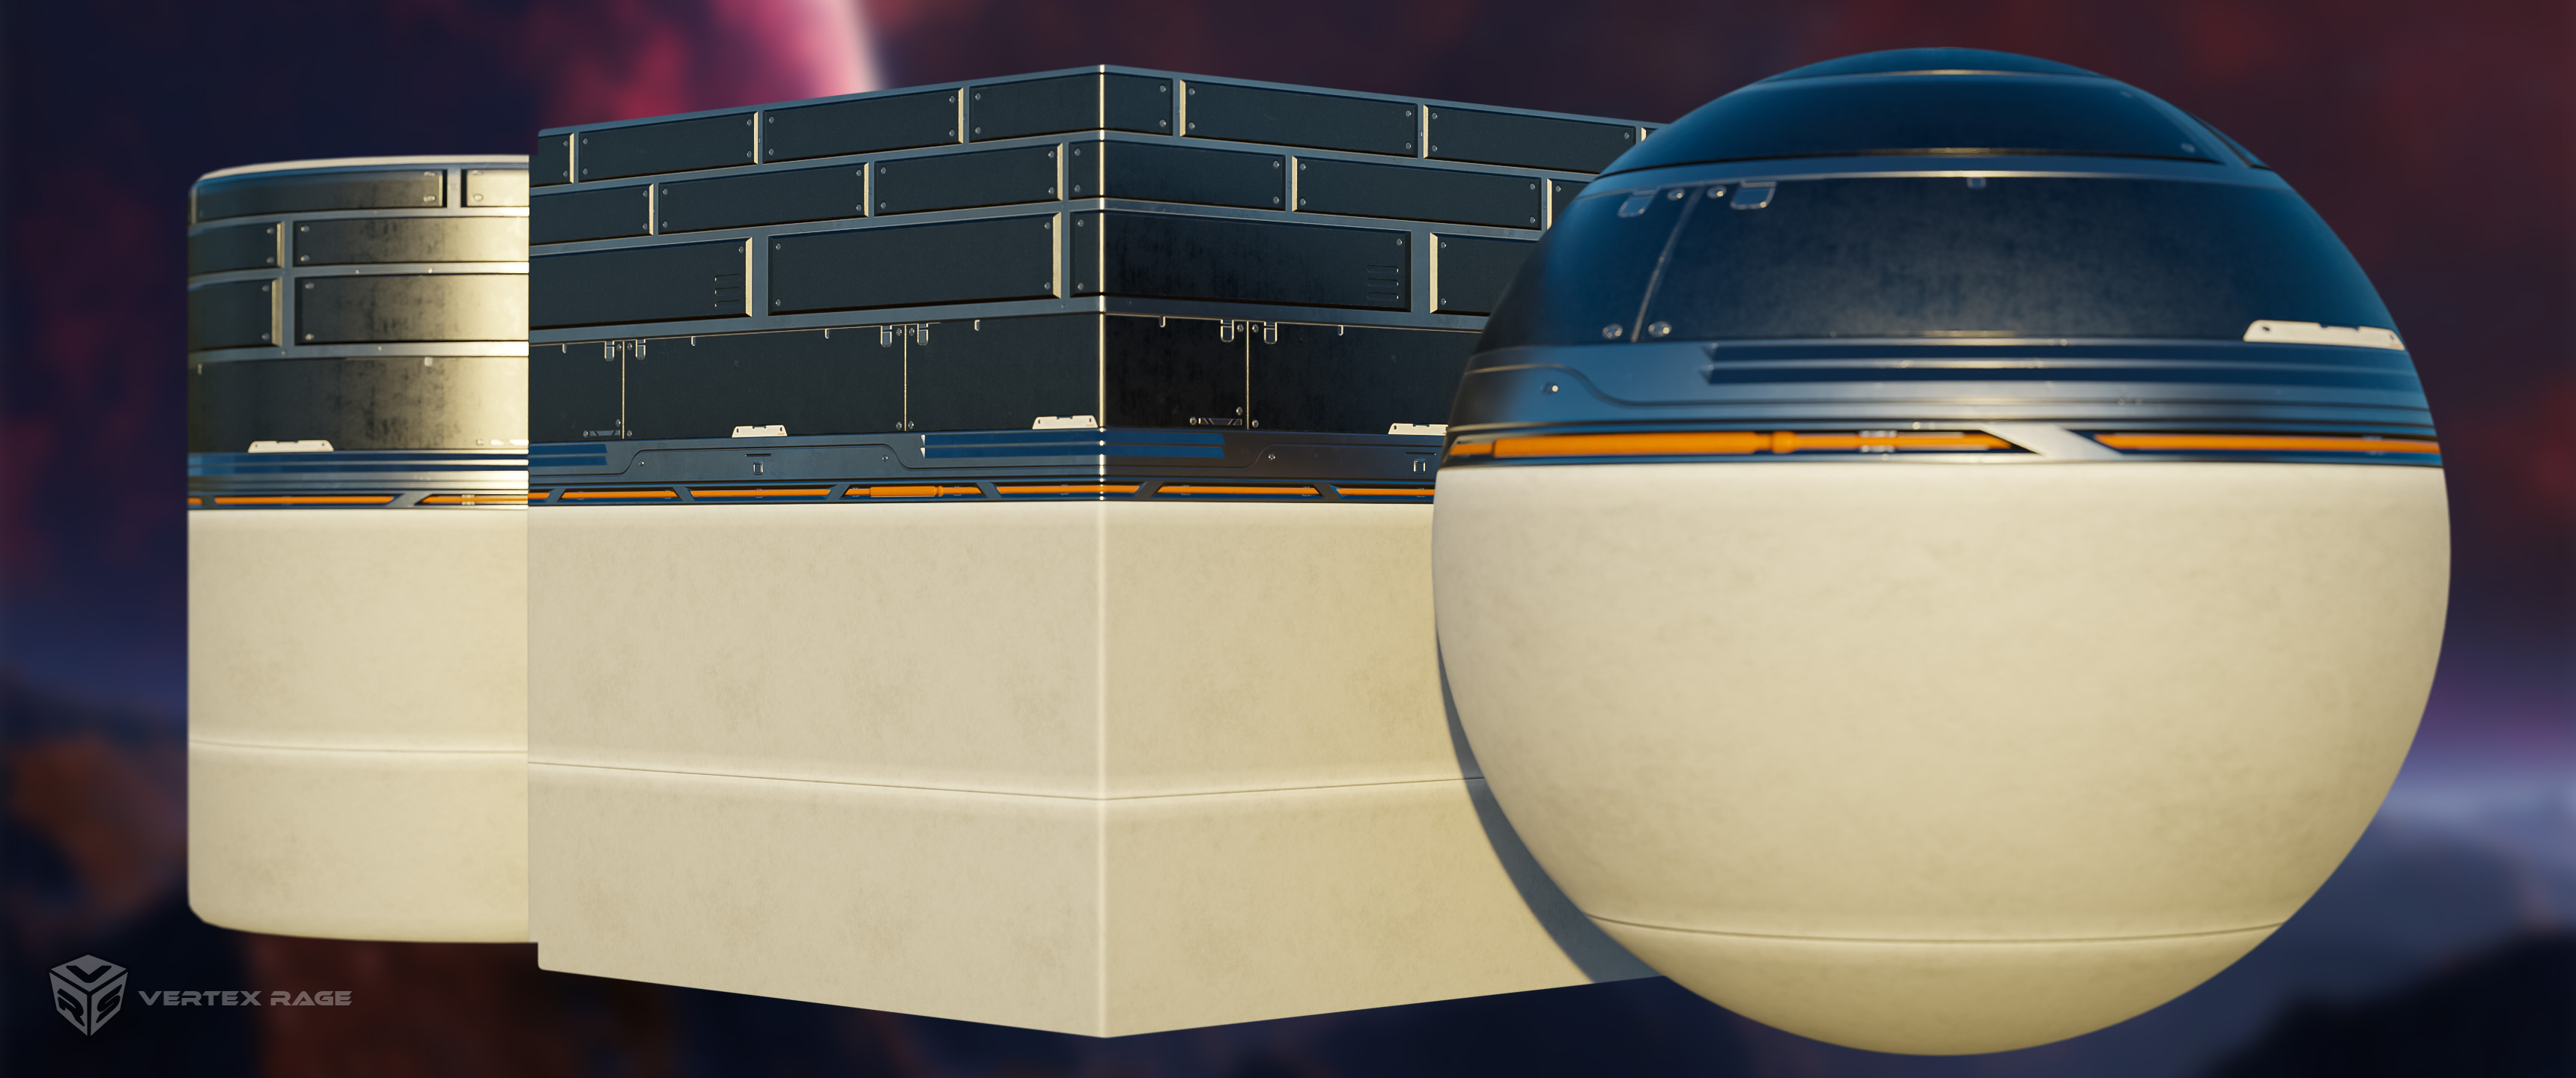
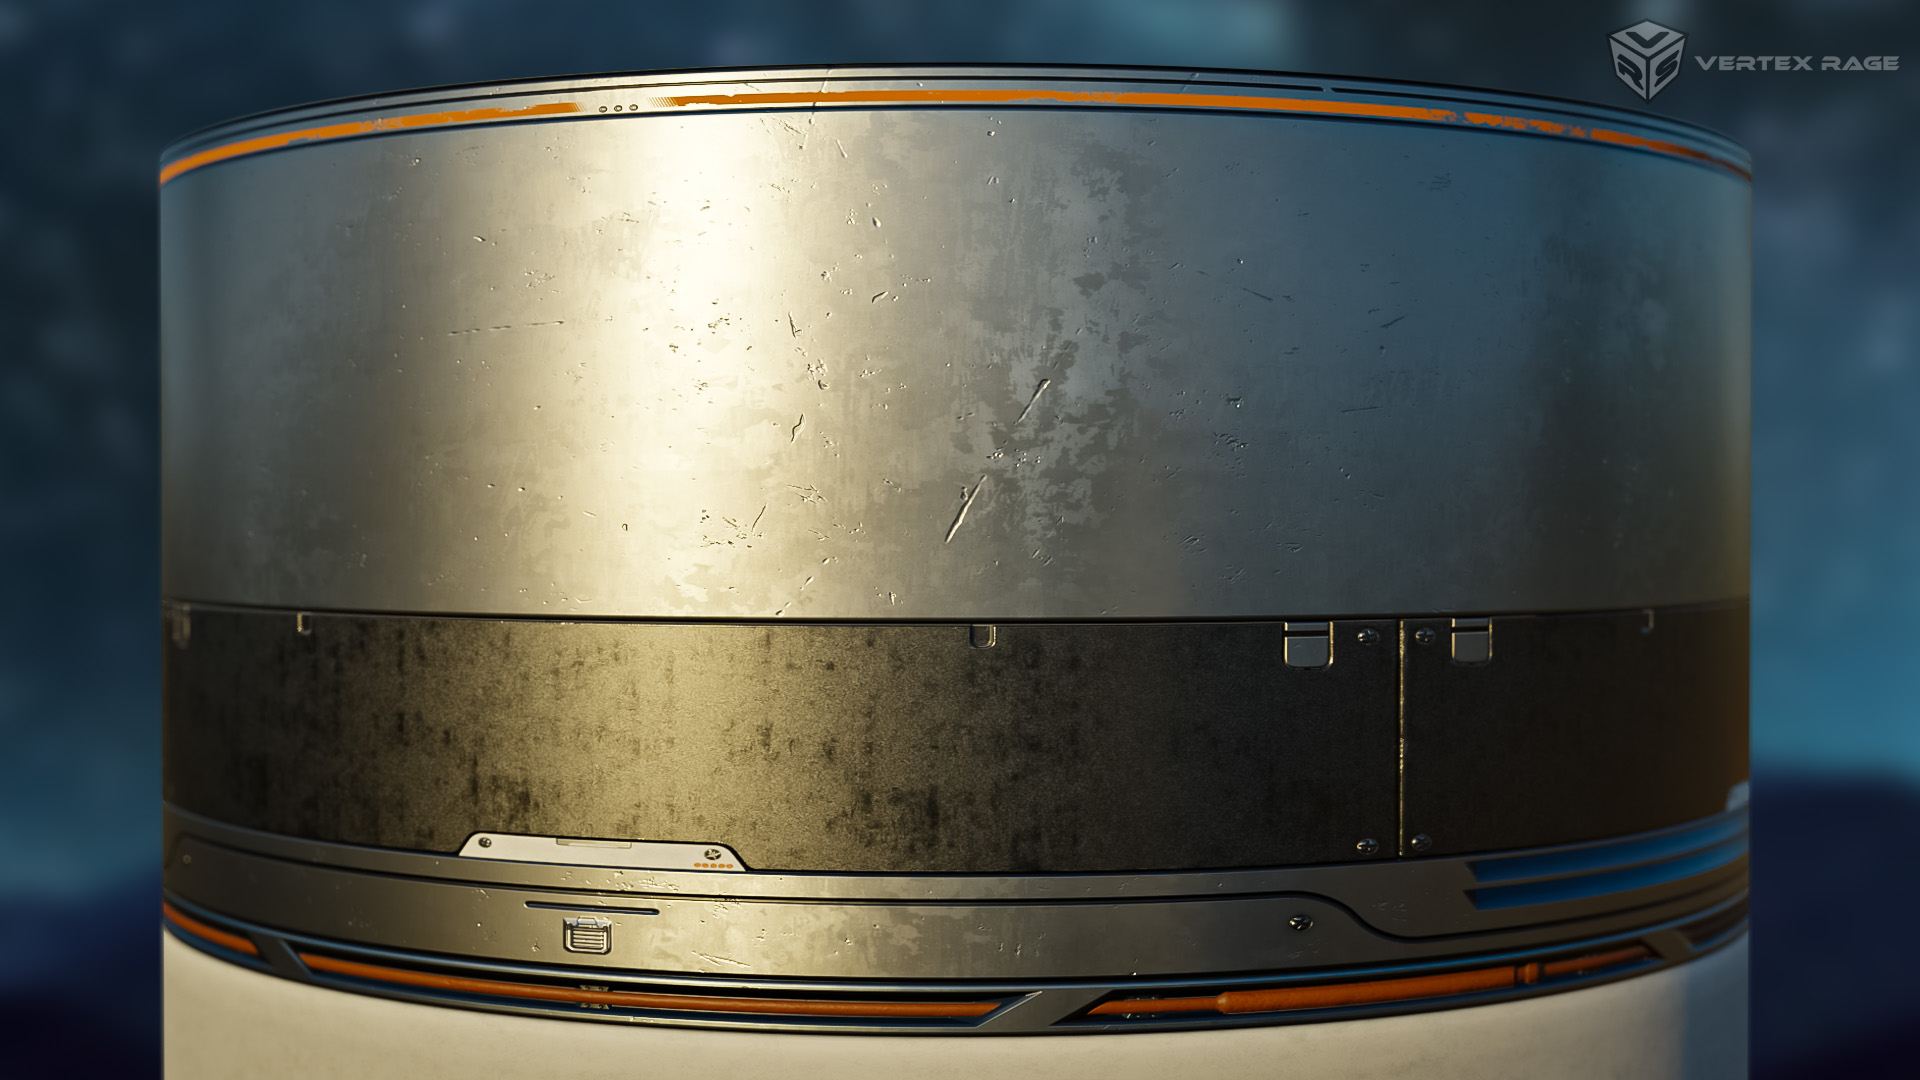
But it’s still fun to see how it looks rendered:


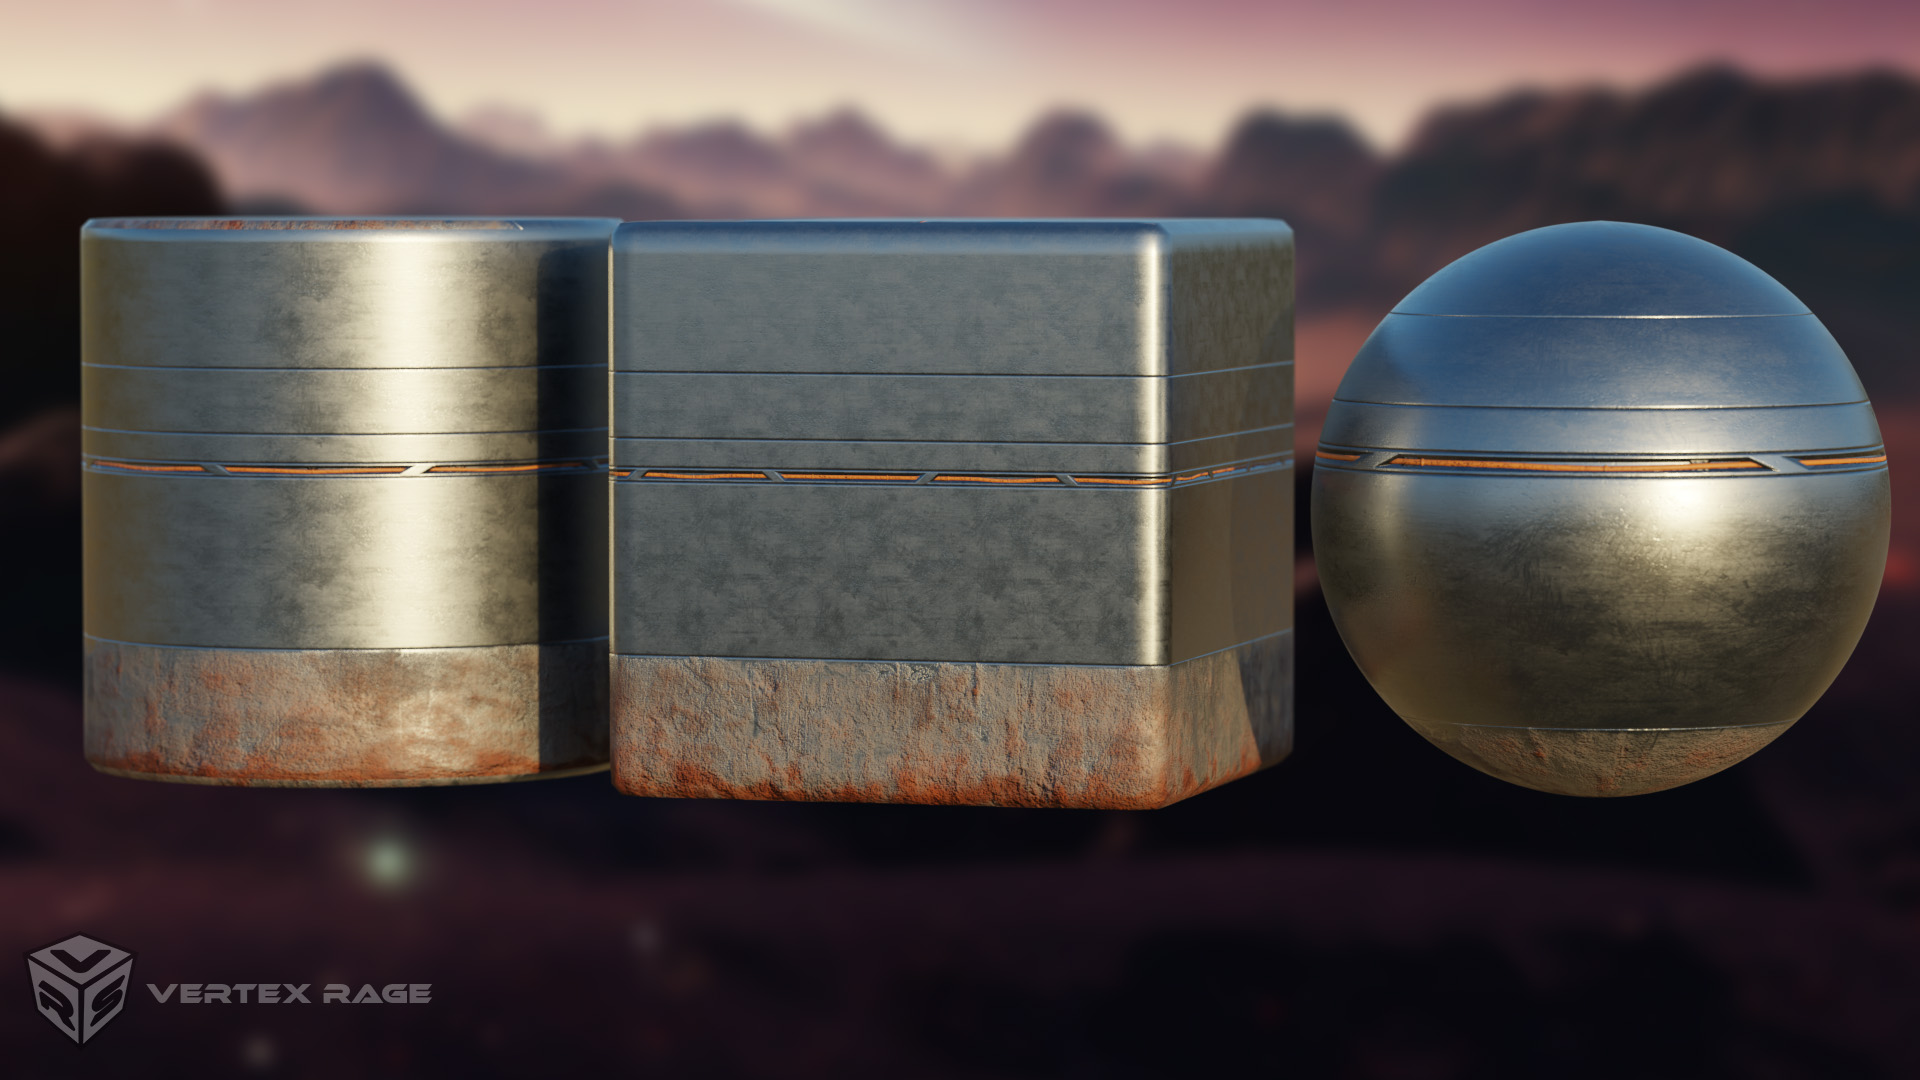
Overall I think I get the technical aspect, now I need to polish the design aspect by making quite a few trim sheets :). The first one I plan to use to texture a simple scifi storage room.

5 Likes

While playing around with trims in decal machine I made this:

I don’t know really why I made this, but it was fun :grin:

1 Like

Perfect music for this, and I like how you’ve made it interact with each of the images. :clap:

1 Like

Thanks!

Small distraction to take this screenshot, but I liked the angle :smiley:

2 Likes

So… I’ve redesigned this little area 5 or more times… Here’s is the result for now:

It’s tinny area and I had to remind myself that too much details on such area will not result in terribly crisp bake… While I was at it… I also recorded a ‘tutorial’ (or more like a discussion video about this very thing):

Also, I’ve improved my workflow with this simple script:

As I’m baking in Toolbag for quick iteration it’s quite important to have possibility to quickly swap the baked maps which this script does perfectly.

Ah, and I’ve also imported the trim to Unreal, just to make sure it looks OK (results of that are in the linked YT video).

2 Likes

Got a bit distracted with various tutorials :sweat_smile:, but managed to progress a bit on the trim sheet.

Below comparison of same camera angle: full geometry vs baked (plane) with very basic material setup.


2 Likes

It takes a while to make a trim sheet… halfway done through modelling…

2 Likes

I didn’t like the top bits, so I removed the top and started on it again. Just did 2 version of ‘construction line’ so far:

One is continous, one have some little asymmetrical ‘breaks’ to make it more interesting. Those are quite useful to cover up seams and other ‘joints’ in the geo later on when applying the trim (aside from being useful on their own as eg. panel lines). I have a little strip there (4.5cm) that I will either leave as is or paint something. So far I made a single orange strip of paint there (it will probably be replaced by something else). Here’s how it looks after baking and back in cycles (this time I didn’t forget to hook AO node :sweat_smile:)

Edit: it took way longer than I thought it would… I was pulling my hairs while baking those lines… to finally realized that I am using wrong high poly fbx file for the bake… :sweat_smile:

3 Likes

Continuing… It is time consuming exercise. I’ve spent a bit of time on shuffling things around and cleaning the mesh. The ‘joys’ of boolean workflow. But the most time I spent on design. I’ve finally settled on pattern for panel lines. Here it’s repeated 3 times (12m):

The latches are not finished yet (they took also quite a while to design and making them/applying them to the panels takes a while too…). I like though how they turned out, here’s a close up (geo vs bake):


3 Likes

Today I was checking various ways to do meshes (not objects, but those mesh-type thingies, see below, the pattern on the can). Poking faces and built in honeycomb generators are quite cool for that. Probably such patters are very easy to create in geo nodes, got to learn them at some point. Totally too much triangles for game engines (though Unreal wouldn’t care), but OK for baking.

As an ‘accident’ I made this render:

2 Likes

Or just use Honeycomb in Mesh Extra Objects the built in add on.

3 Likes

That was what I meant when I wrote honeycomb generators :slight_smile:

1 Like

Nice.
A question, how did you add the smudges? Another texture layered on top of the other? Could you share the nodes tree?

I try to build something similar.

1 Like

I’m not good at nodes in Blender… I’ve painted the surface there in Substance Painter. I think t replicate this in Blender it would be best to find some kind of grunge texture (just grayscale thing) and use it as a base for setting roughness. IMO roughness channel is the most important channel to make stuff looking really good. Alternatively you can go full procedural, and try to generate grunge map to apply to the material… but that’s IMO very difficult to achieve good/realistic results. Also, with nodes… you don’t get artistic touch (i.e., I could paint in stuff manually where I wanted them in Painter).

1 Like

Progress on top half of the trim sheet:


And the design in Blender:

Those panels took more than 8h… :sweat_smile:

Thoughts?

1 Like

Very nice.

The 8 hours comment - this is why I love the procedural or algorithm approach.

I have been using Rhinoceros CAD with the Grasshopper extension for 20 years now. Grasshopper is a graphical algorithm editor to create and modify objects, etc. and allows creating stuff like this, without drawing a single line.


Or

Node in Grasshopper to make tiles

And thank you for the pointer to look into grunge maps.

1 Like

Privacy & Terms