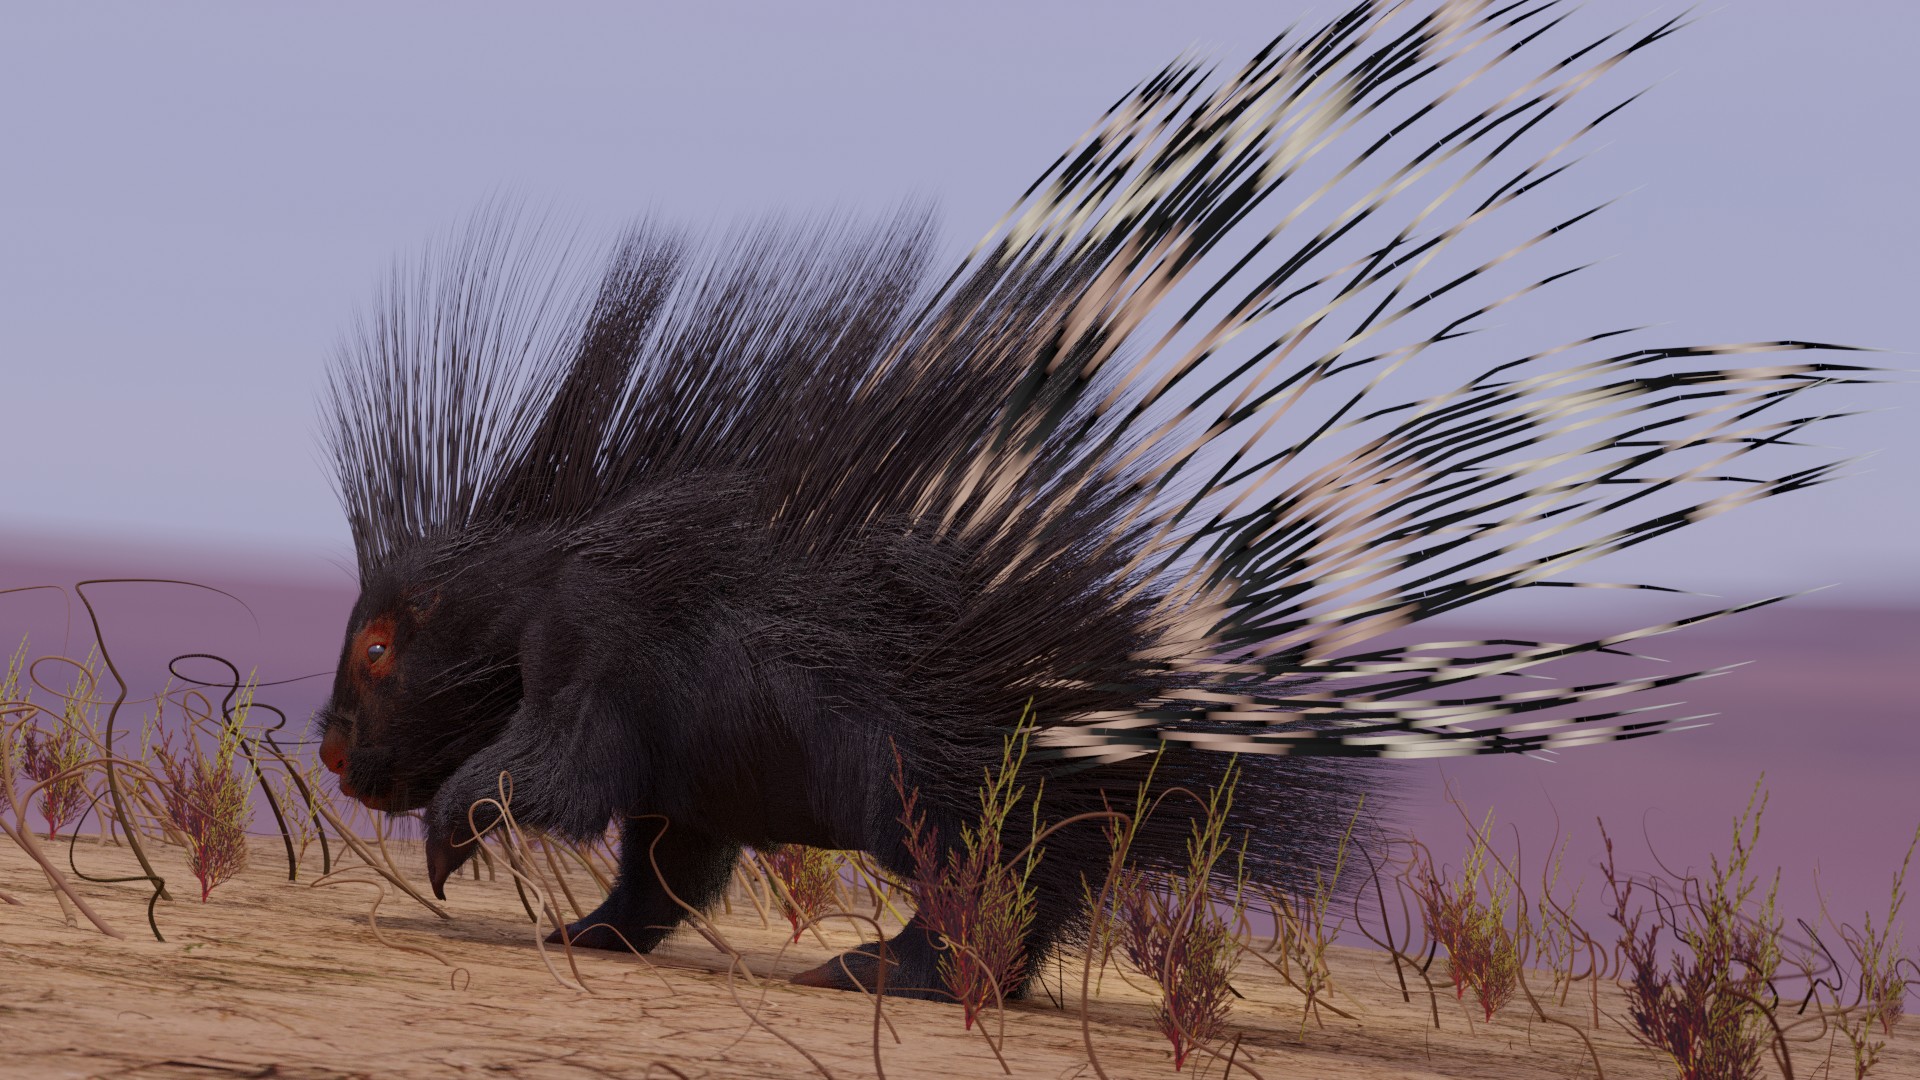
This is my final animal model for this section. I experimented a lot with hair particles throughout all the exercises, it was really fun. I still have much to learn, but I’m happy with this for now; gotta move to the next section.
By the way, I wish I could do striped spikes for this porcupine, alternating black and white on each spike, but I don’t know how to do this. So they are single colored. If anyone know how to do this, I would love to know. Thanks!


13 Likes
Great work, and choice for hair/spines to use blender hair system.
Here is how to colour along the hairs. Open image full size I hope you can read the nodes and follow. A bit messy to follow, but start with the green and red, then those other colours are just added in lengthening the mix shader chain each time.

Play about with the colour ramp sliders to alter the colours amounts on the hair. Has to be cycles render to see probably. Though odds are Eevee will do if you know what settings to flip on.
2 Likes
That’s pretty cool, NP5, thanks! I’m new to shading, so this is still a bit confusing to me. But I managed to do it like in your example:
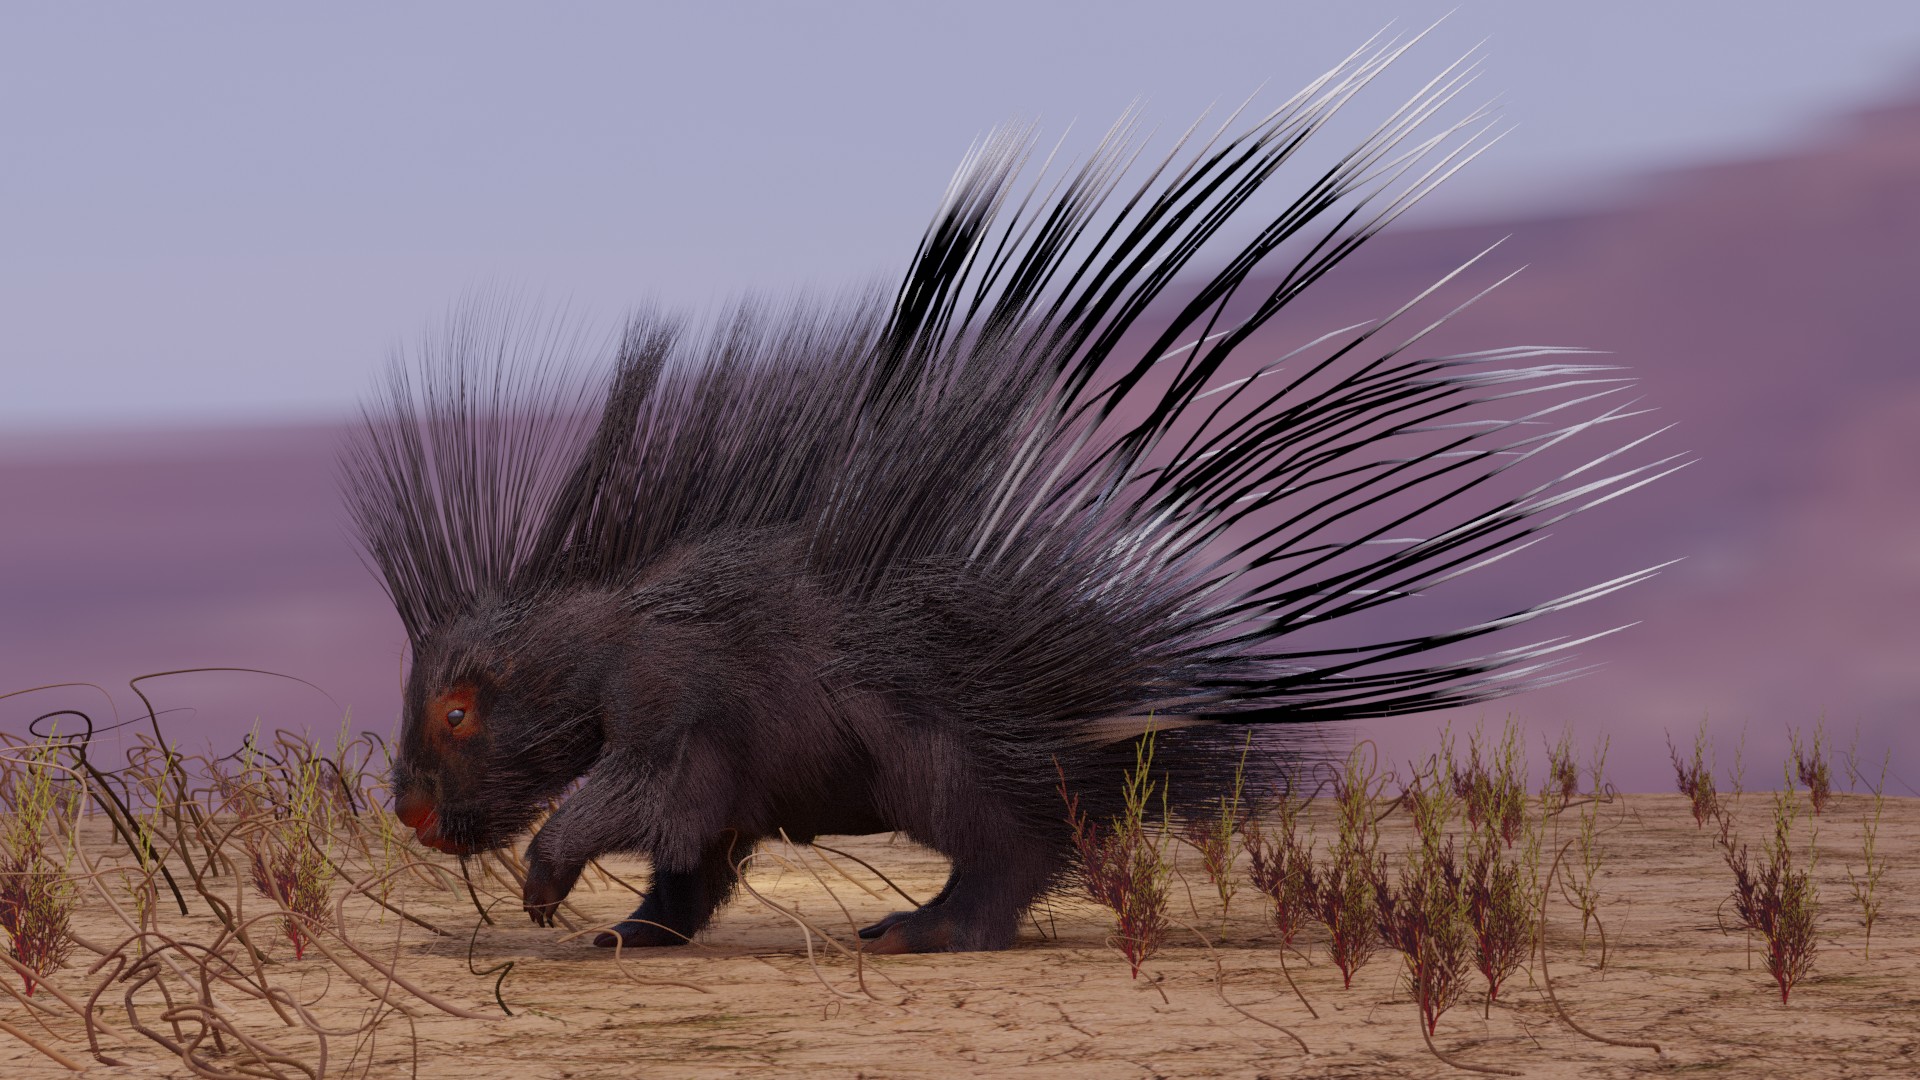
Just one question: if I wanted to do many more stripes, I would have to set up many more nodes of color ramp and hair BSDF, is this it? I tried to do this, but I’m not sure if I messed up. Maybe I’ll give it another try tomorrow. But thanks for the help!
2 Likes
Looking great!
Yes, it would seem you need to keep adding that set of nodes for each colour variation.
I only looked it up. lol It was quite hard to find a reference to. Something I had long wanted to know too, so used your request as a spur to search again. So I have no practice or experience using it. I wonder if adding more divisions to a colour ramp might be used somehow for more. Guessing, and late at night here to try playing.
May well be a way to include a gradient node to fade from dark to pale, which may be ideal for body coat hair on animals. Still, this is a start to the ideal solutions.
Edit.
Could not resist. More modern tutorial. Simpler, better.

Strangely I needed two blacks to hold open that middle bar but only one to hold the whites. But easy to manage.
Colour ramp set to linear makes the blend softer, natural, or constant for a starker change. Other modes also look softer changes actually. Play with them.
New edit, realised later that set up loses the ‘hair’ semi transparency. This am, just threw in the hair bdsf like was used in the first version, between the colour ramp and the Material Output. Seems to work. 
3 Likes
Hey! That seems awesome, and it’s a much simpler solution! Very nice, indeed. I can’t wait to try!  I’ll see it later. Nice work, NP5!