Hi all,
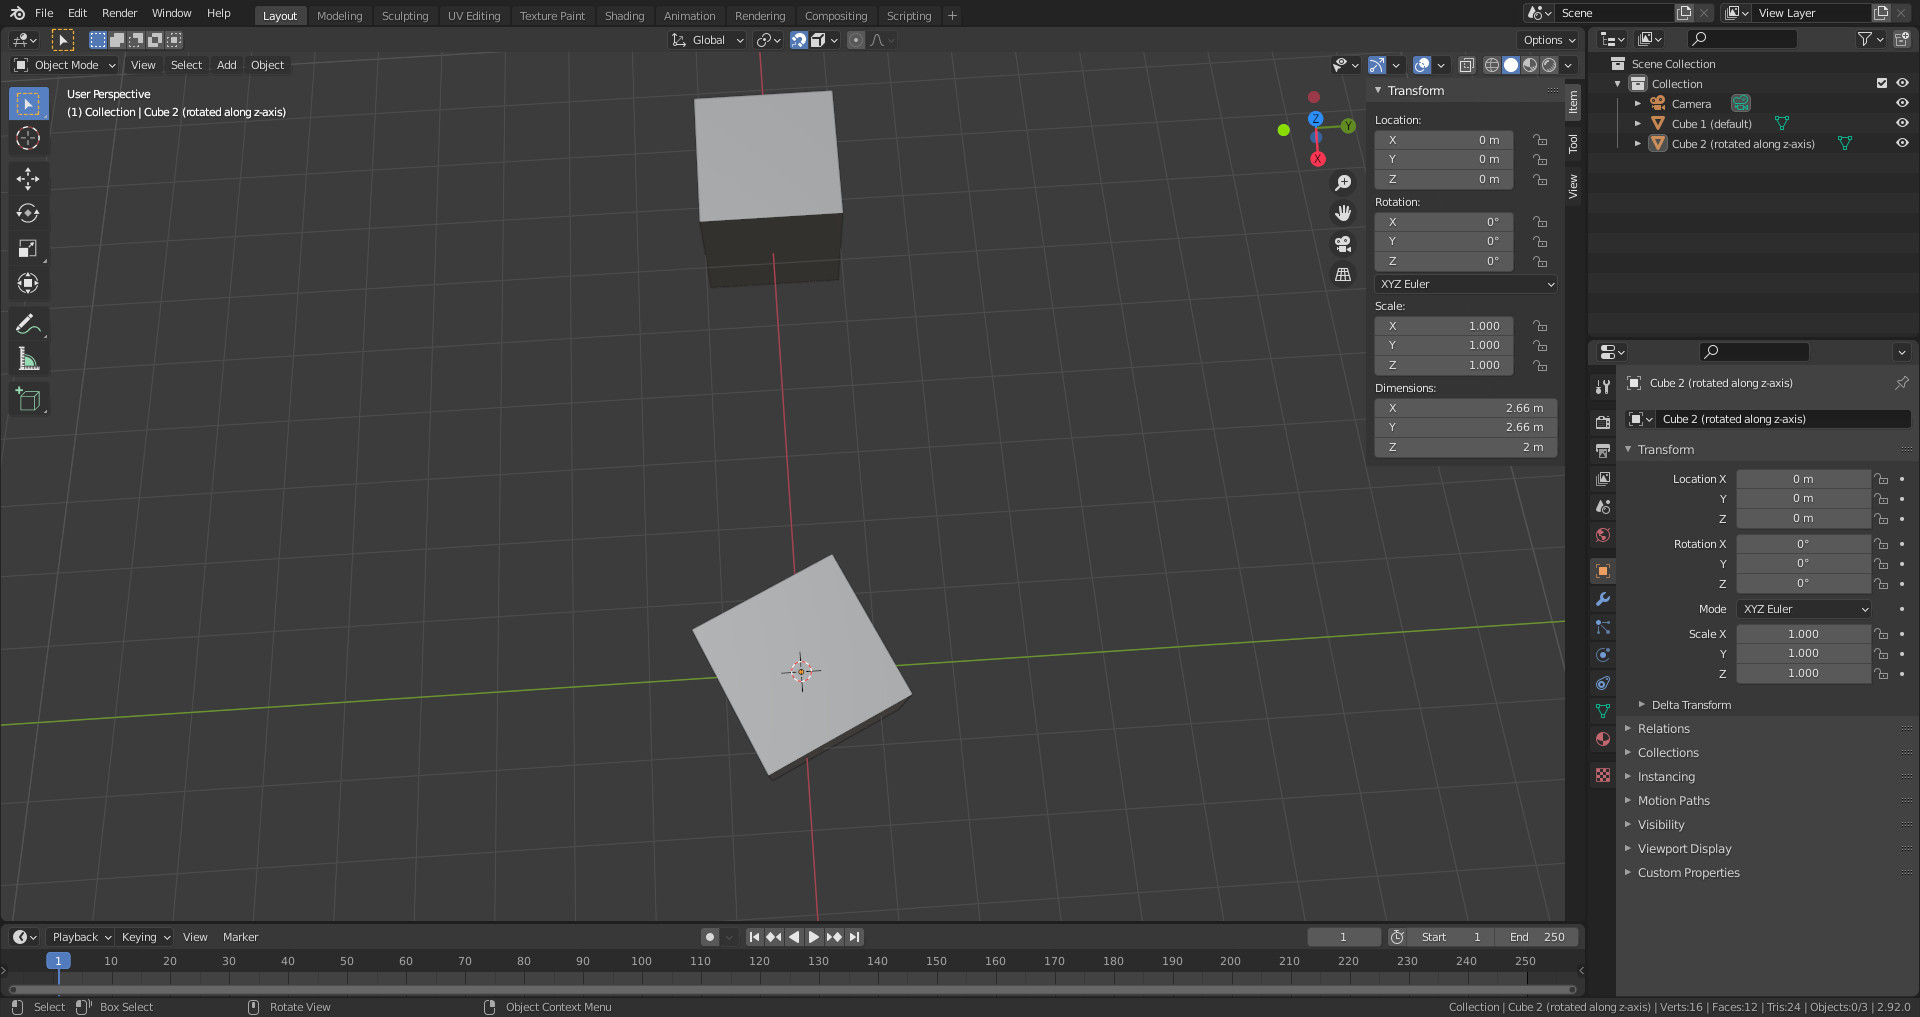
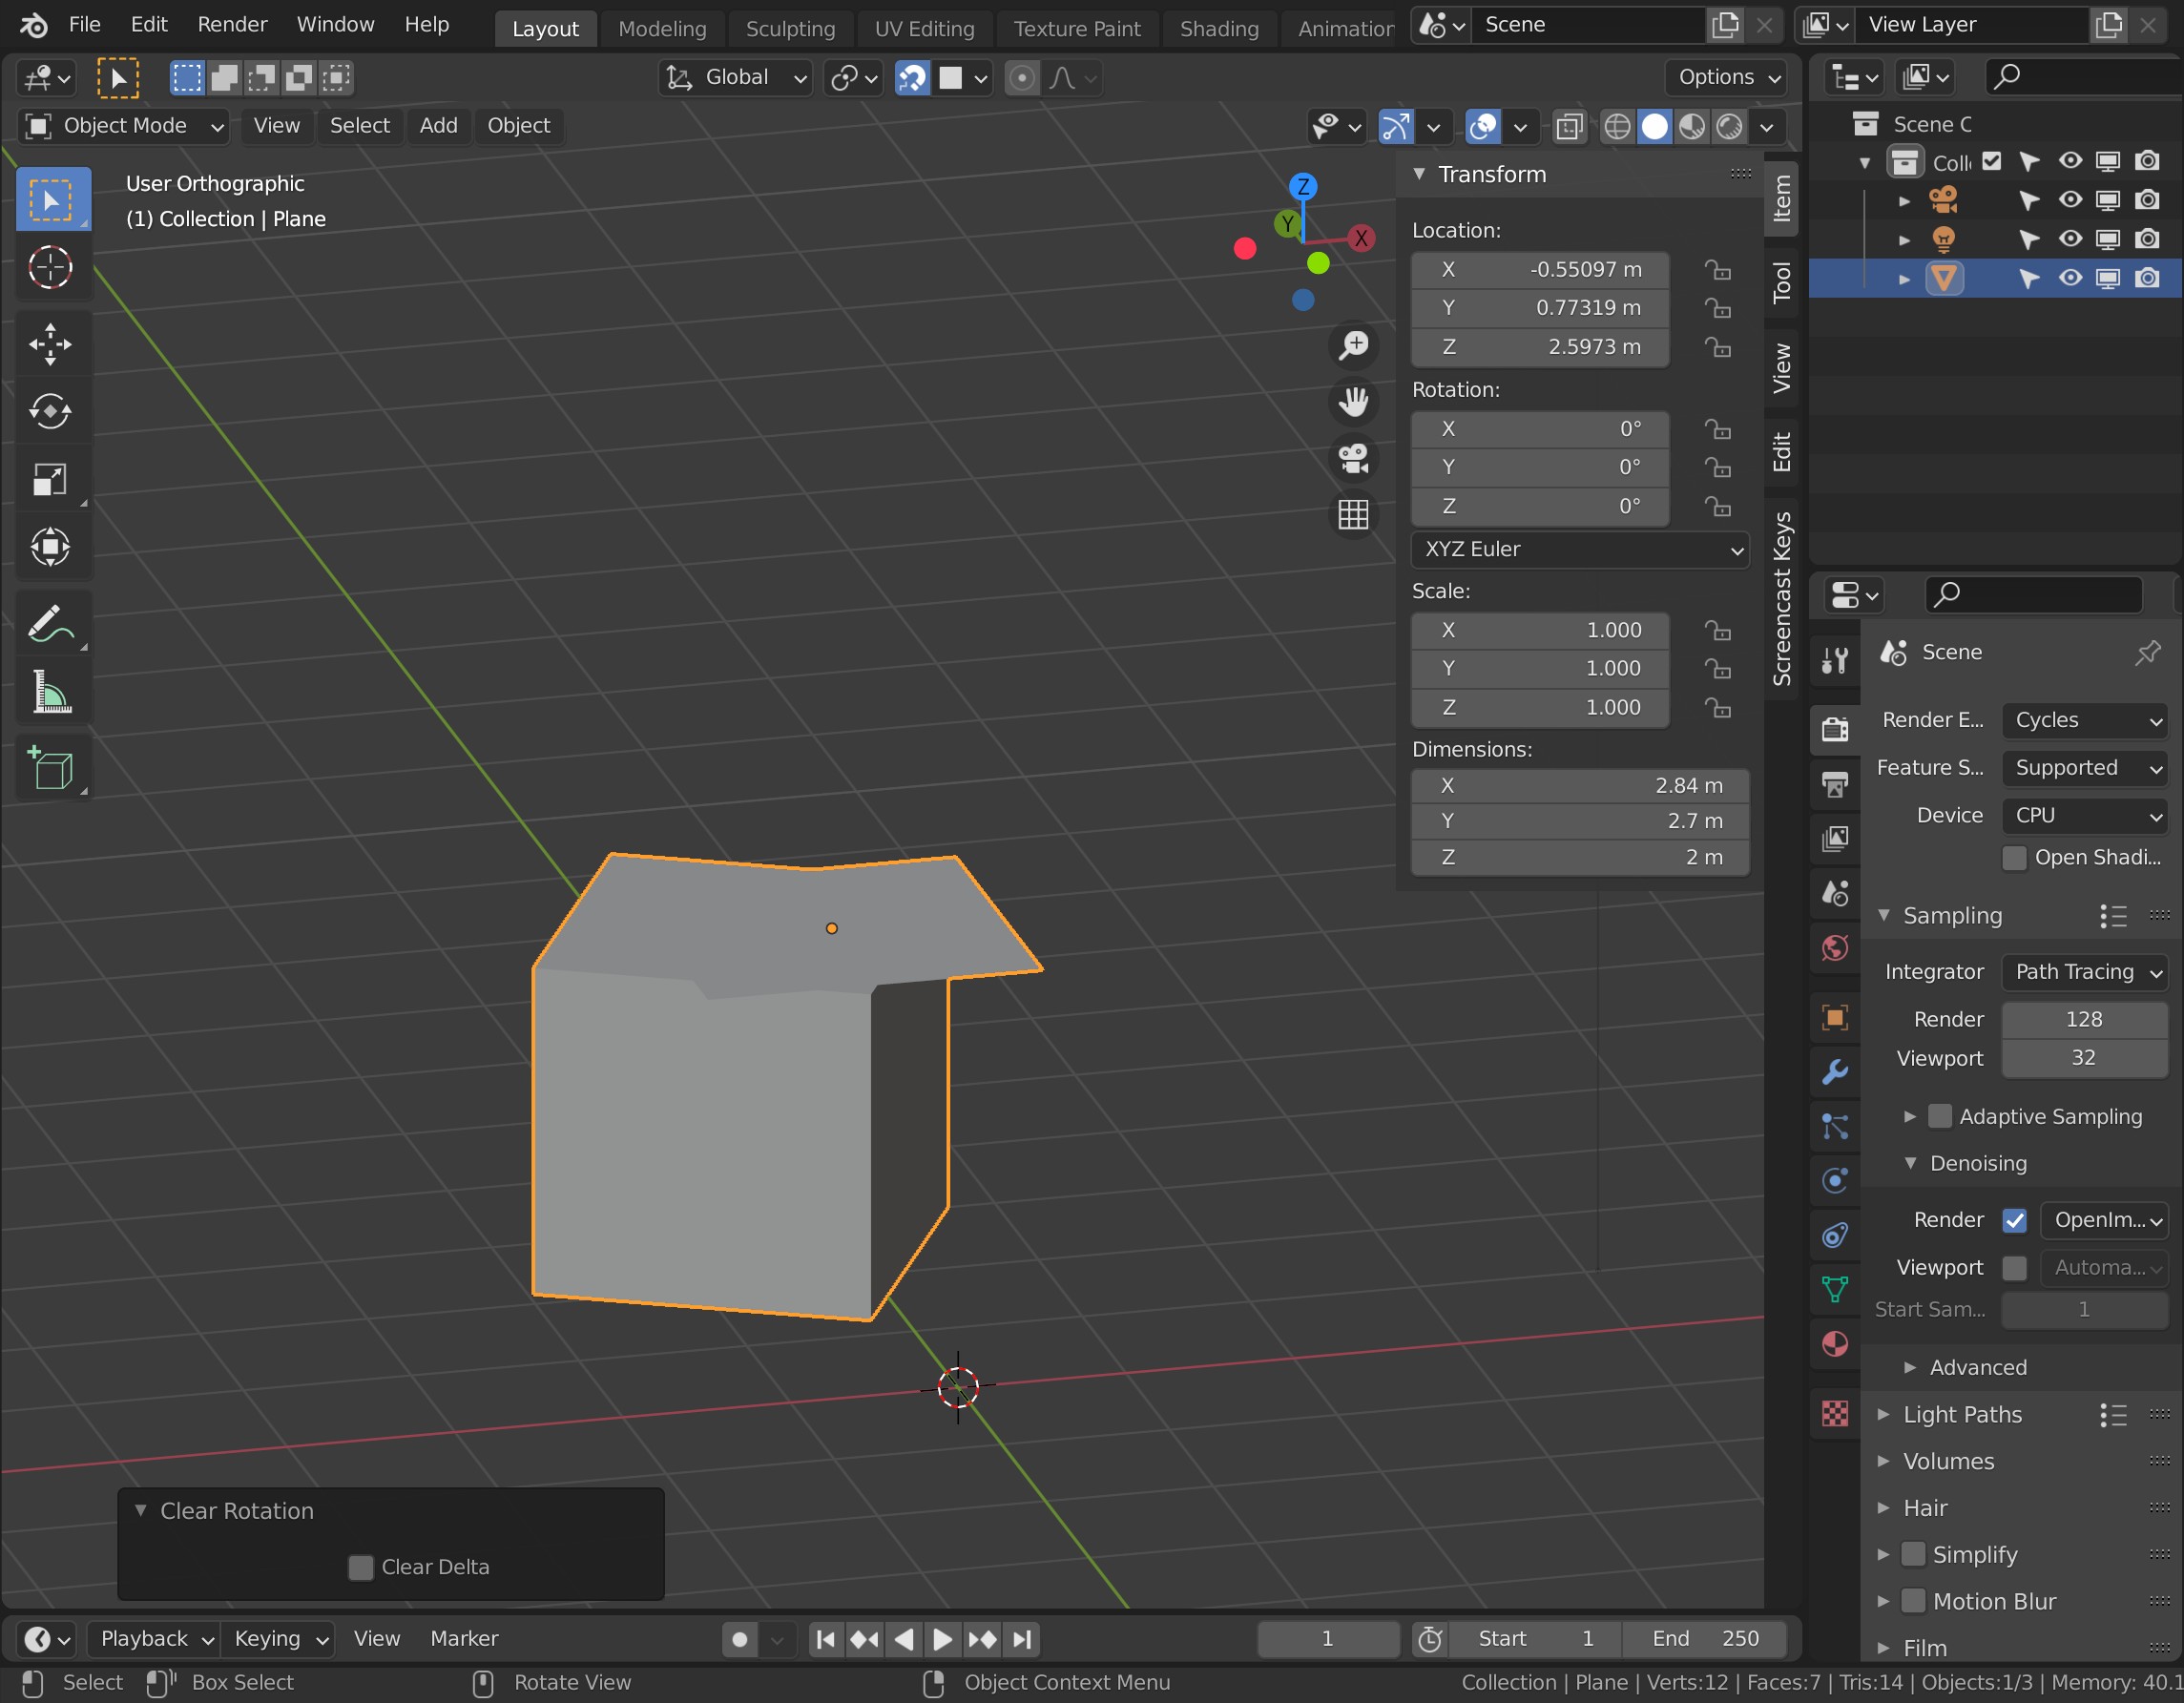
I’ve been wondering for quite some time whether it’s possible to revert applied rotations. I think it’s best to explain what I mean with the below printscreen: I’ve added one default cube (cube 1) without any rotation applied (only moved along the x-axis so that it does not overlap with cube 2). Then I added cube 2 and rotated it along the z-axis. Then I applied the rotation for cube 2. Now let’s say I cannot remember the amount (degrees) by which I rotated cube 2. Now, without going back to a previous saved state, what would be the best option to rotate cube 2 back to its default orientation (faces orthogonal to world’s x- and y-axis)? I tried different options with the snapping tool and different kinds of transform orientations, but none of them seems to enable me to do what I want. Of course I can just eye-ball it when I rotate it on the z-axis, but let’s say I want to be 100% precise. What would be the best option here?
Thanks in advance for the support and best regards.
You can’t revert as Blender can not keep a record of every position of altered rotation and scale to pick and choose from in its past I guess.
So you are at the point of how to line it up again really.
Create a new plane.
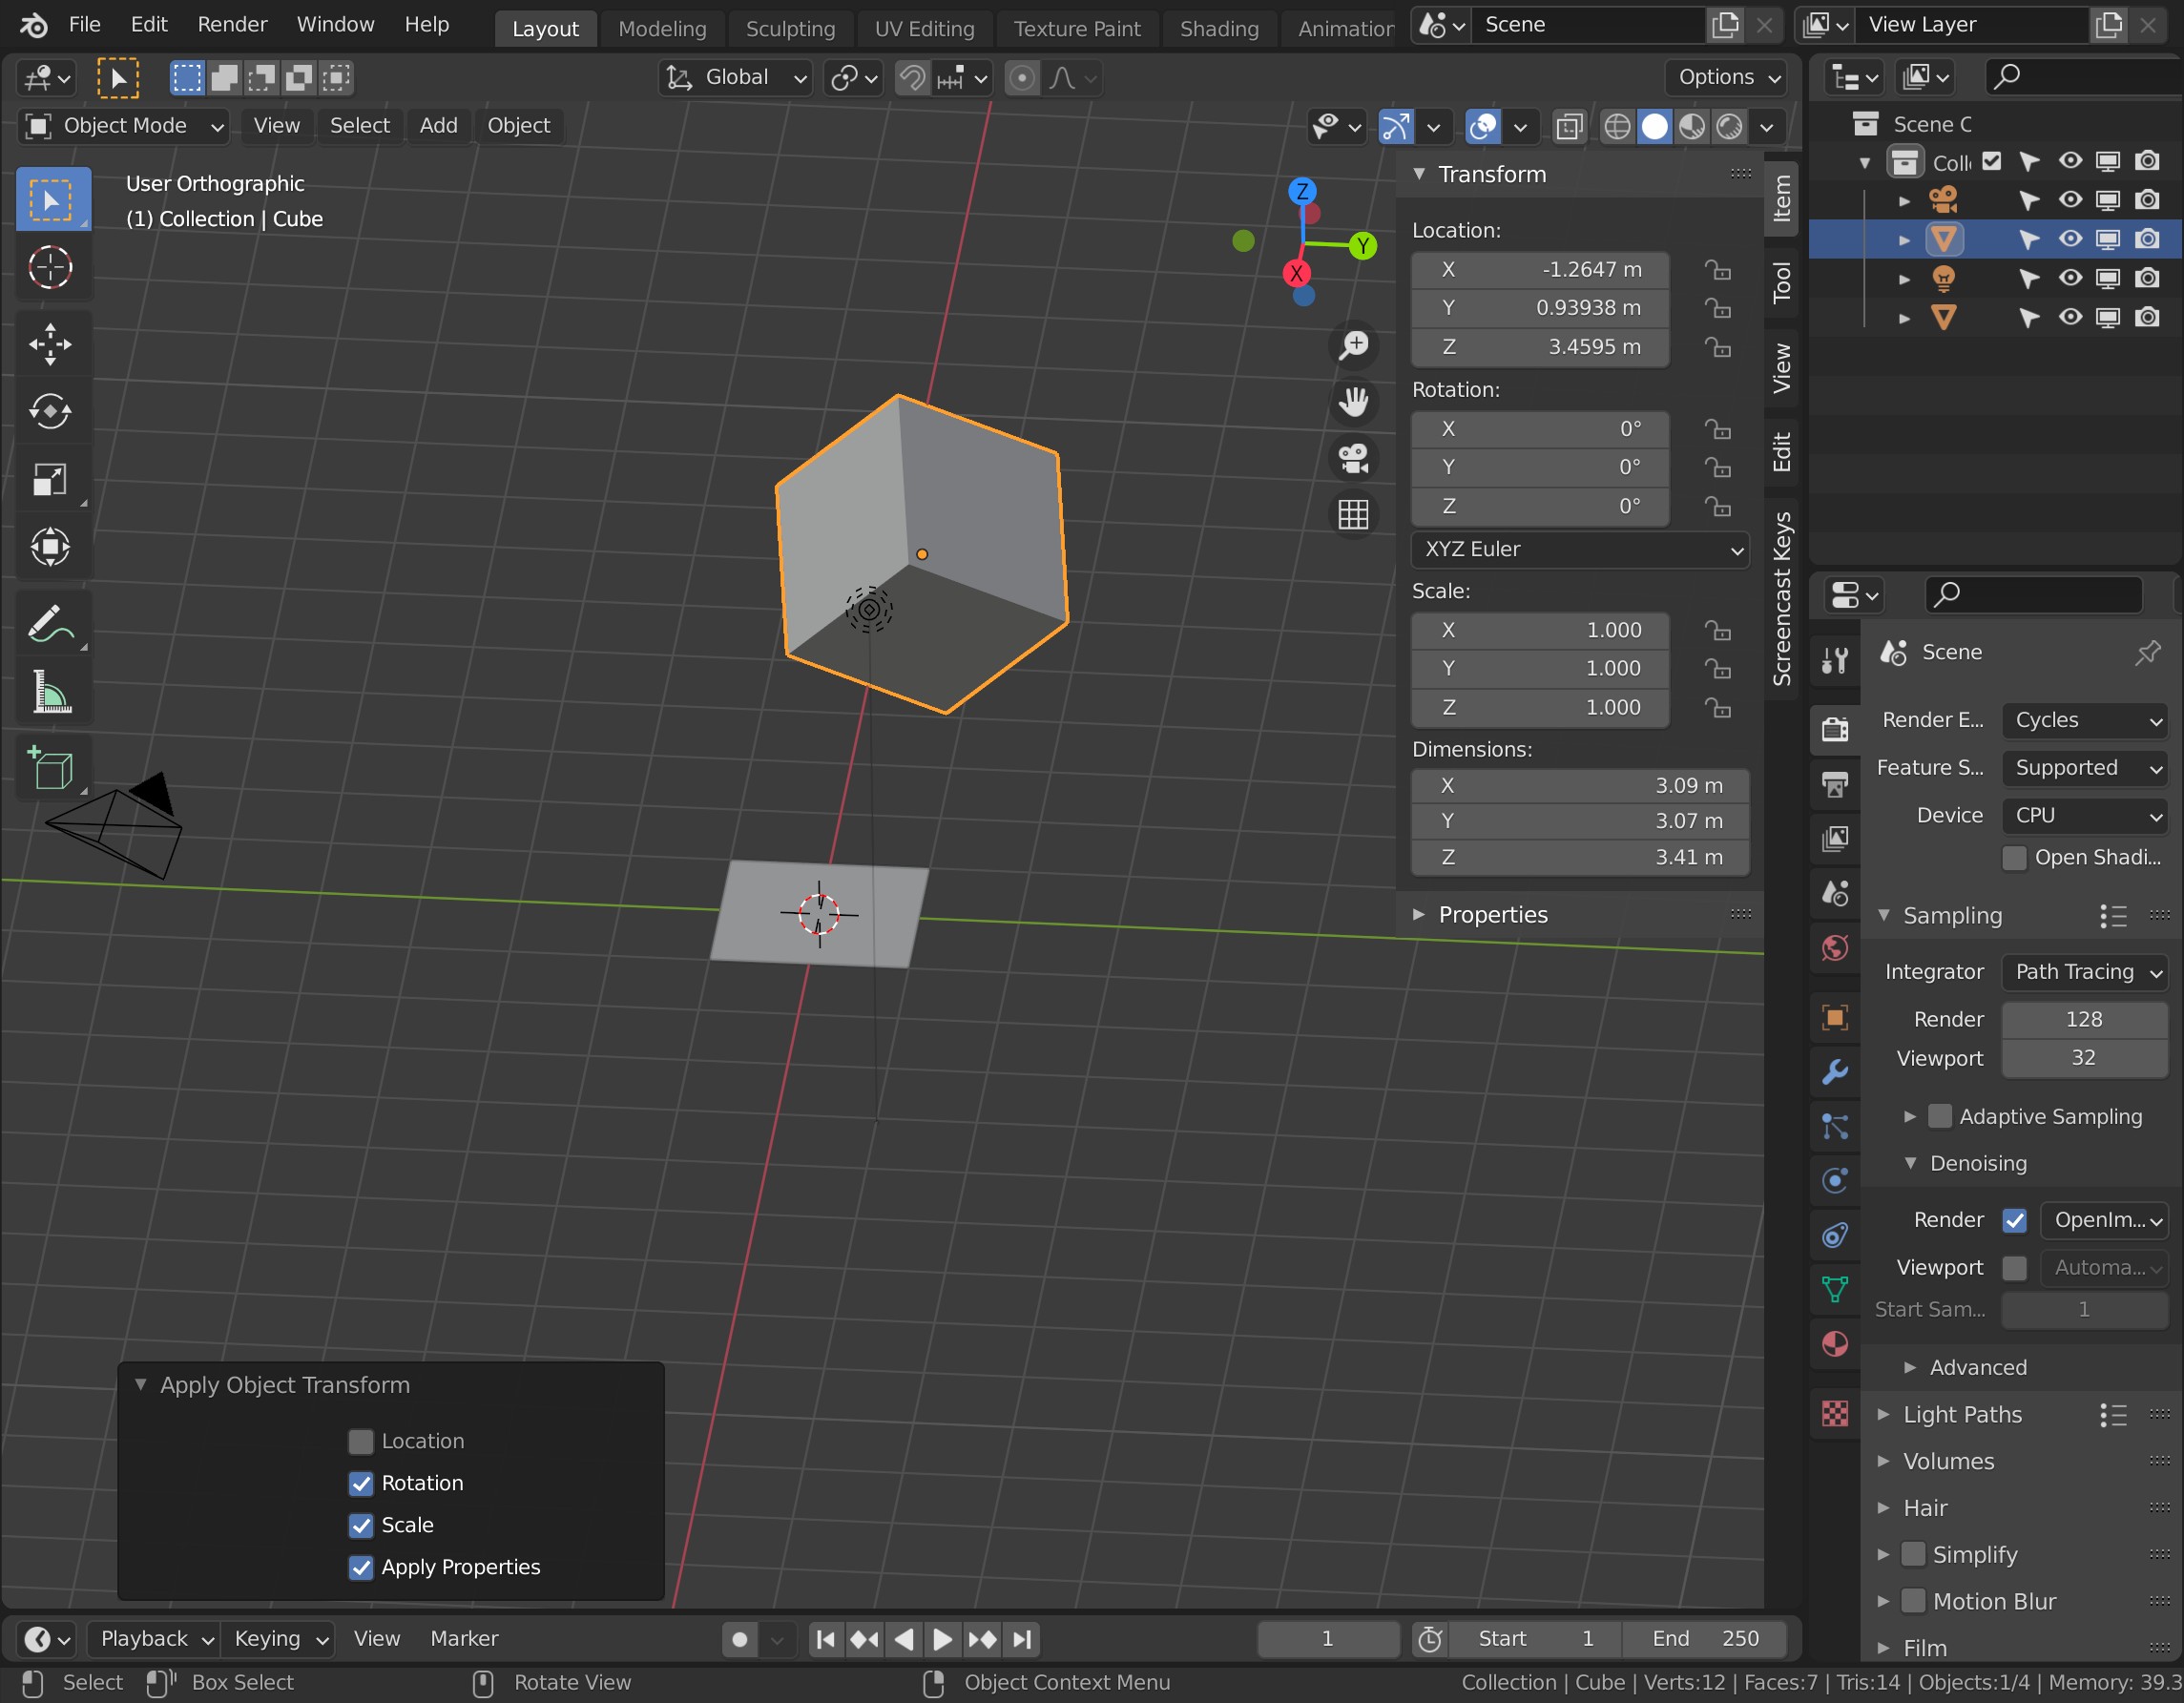
Turn on snapping, To a face, and tick ‘align rotation to target’. Grab the plane and snap it to a face or the one wanted to be flat with the world.
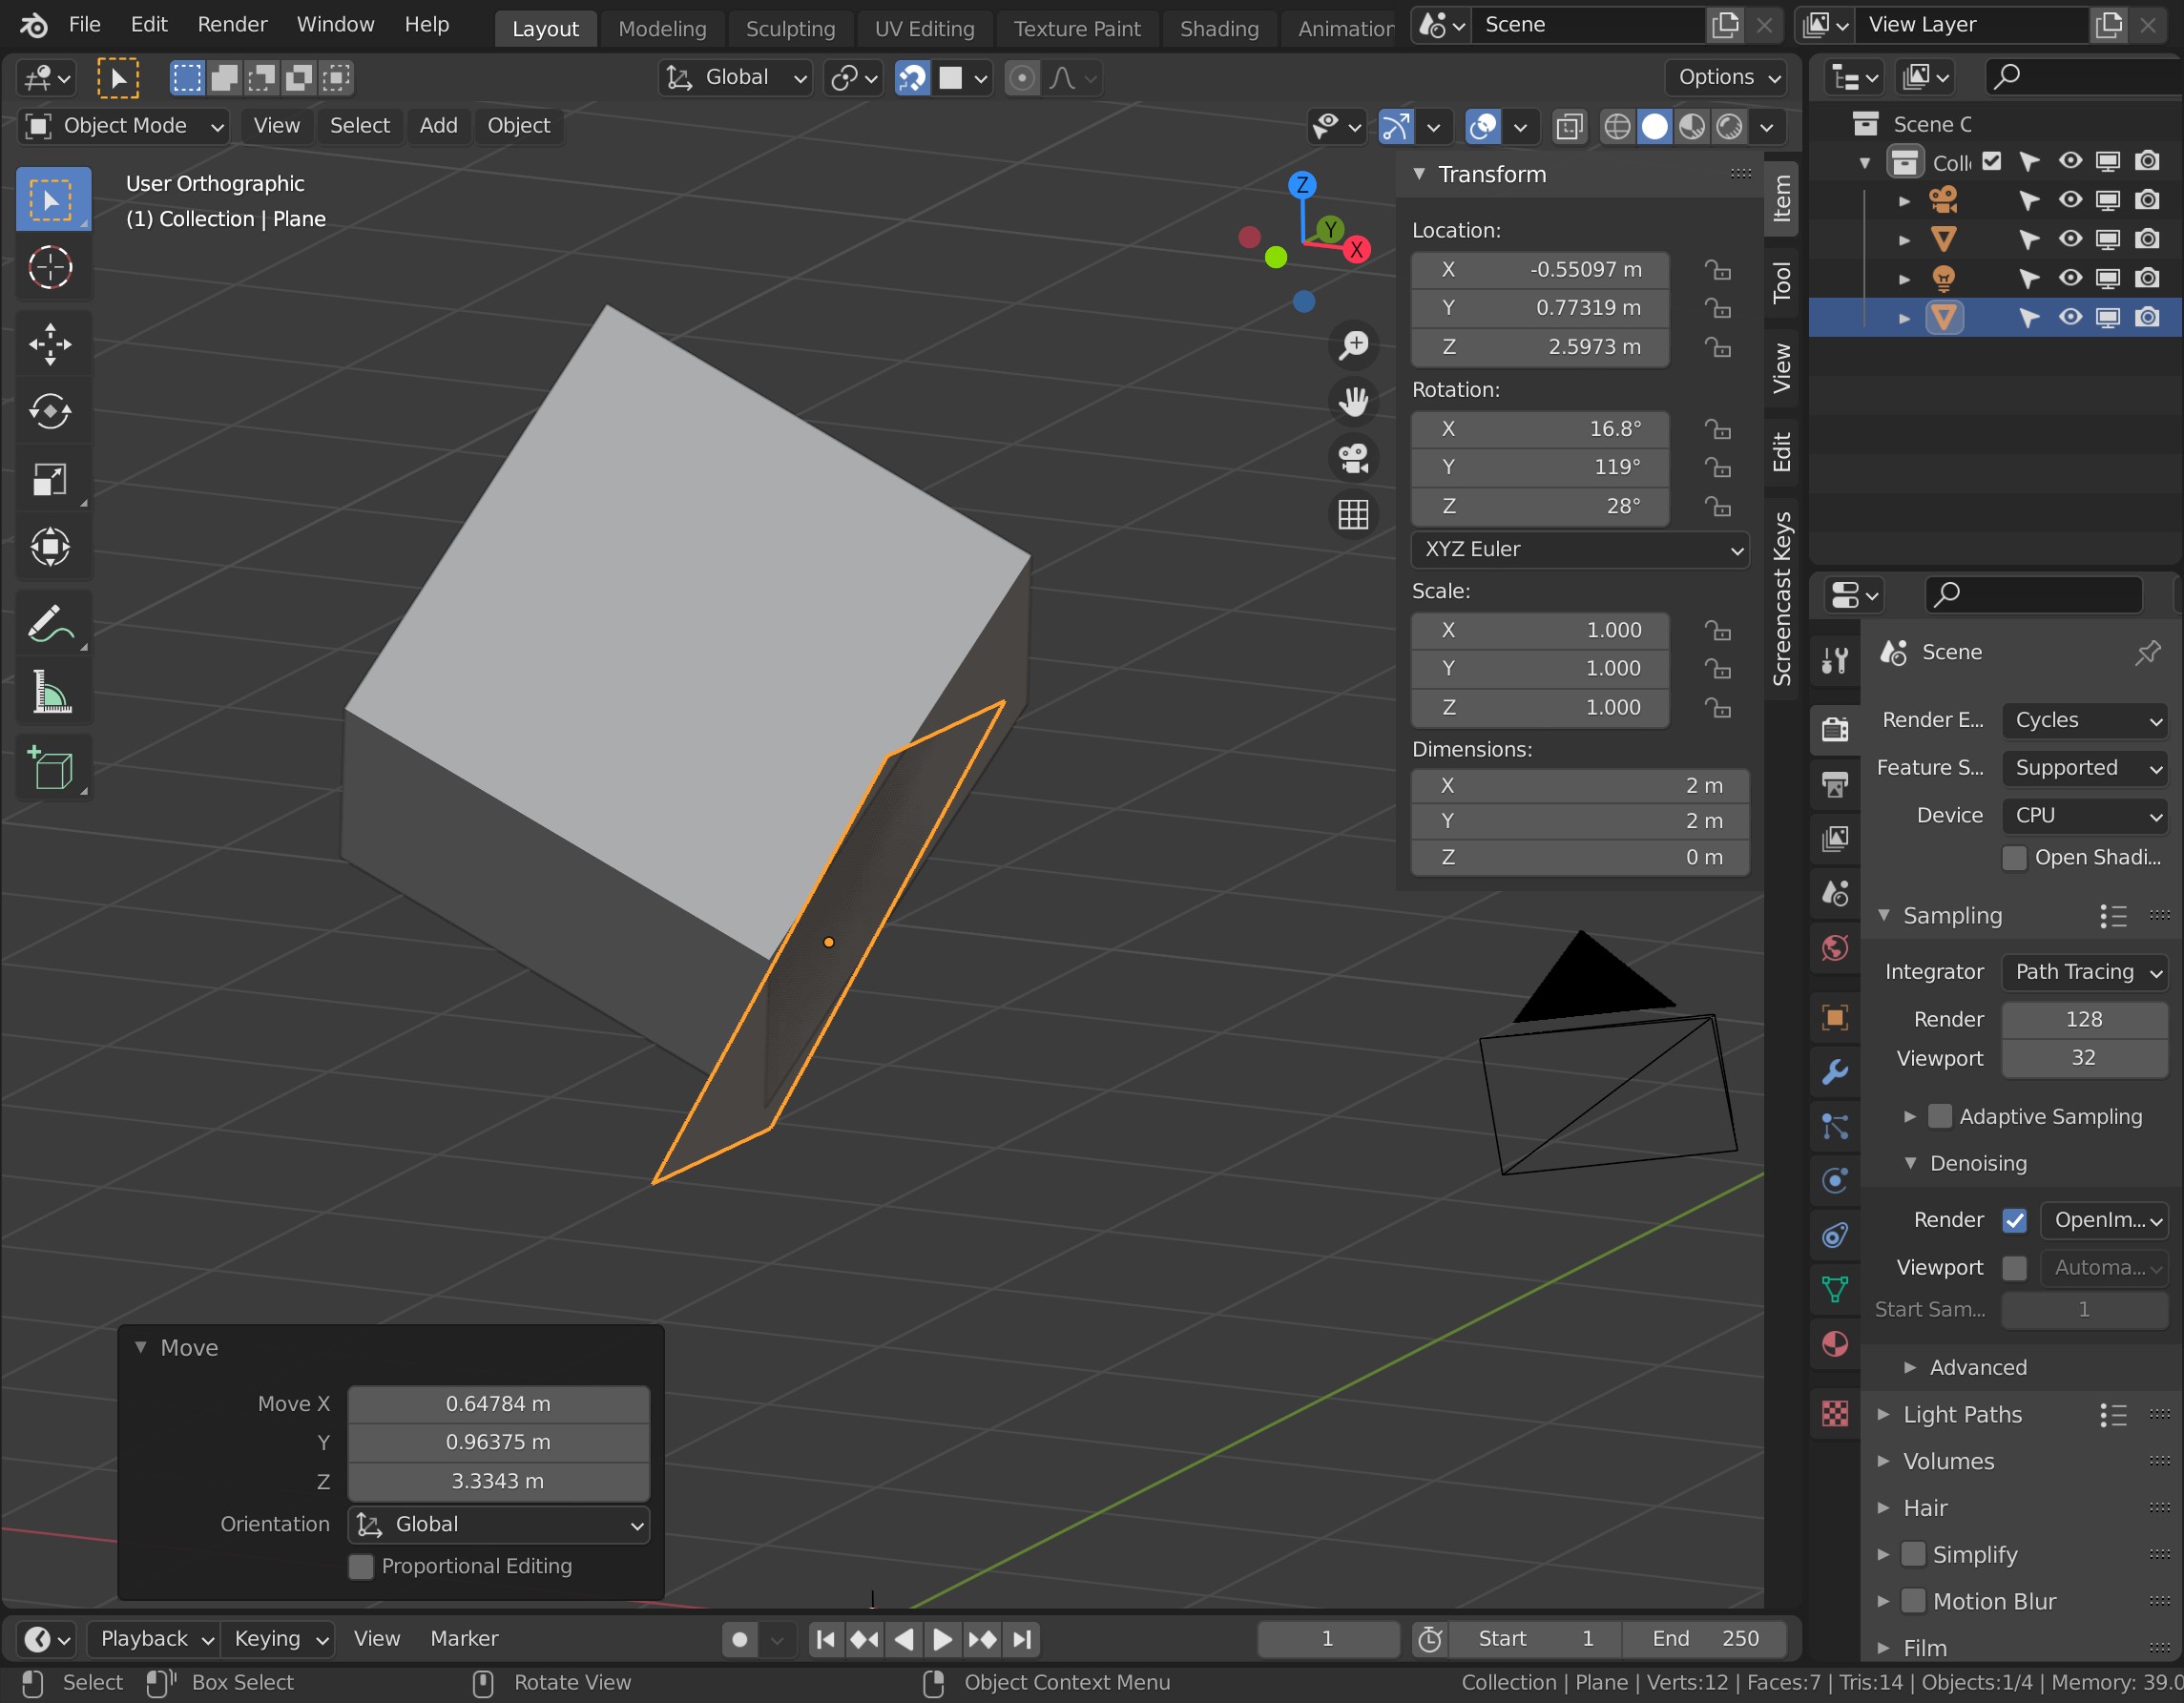
Now Selecting the Cube first then the plane press Ctrl J. Joining the cube to the plane, and receiving its unapplied rotation!
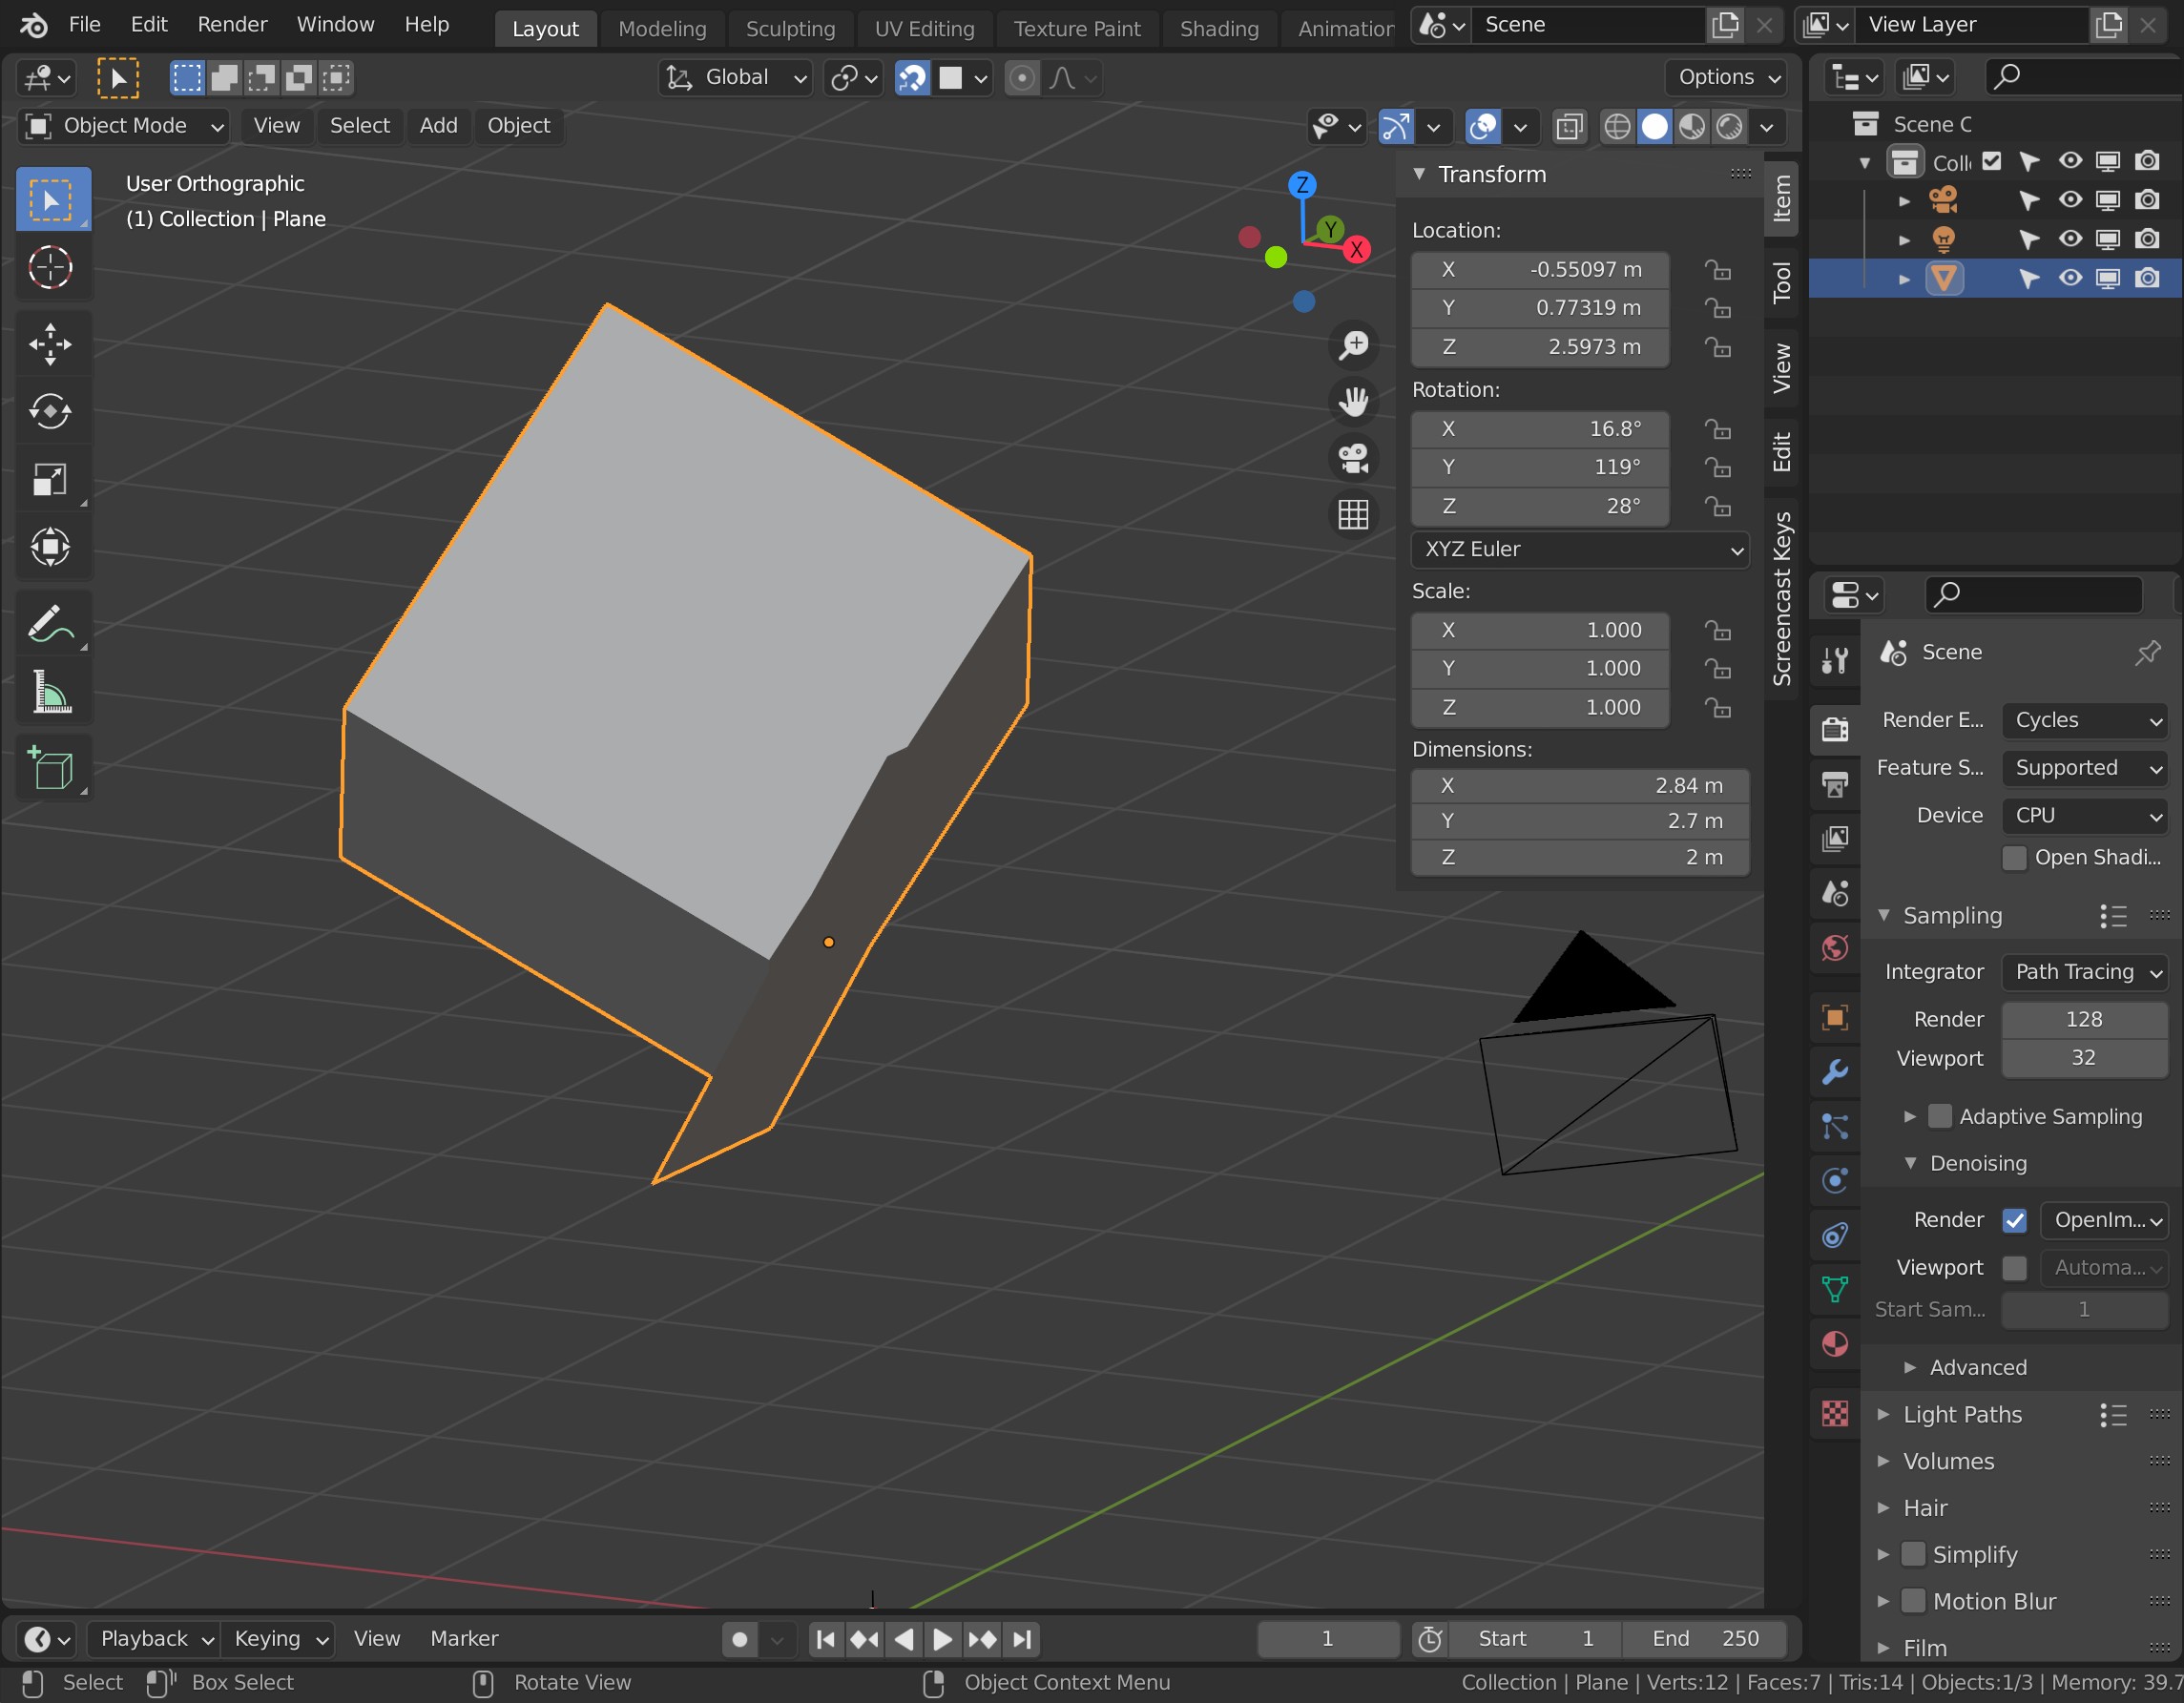
Now Alt R undo/reset the rotation of new plane and cube object.
Result cube flat to the world! Edit to remove plane verts.
Repeat for a side with a (rotated and applied to the vertical plane) plane, to align to the x/y coordinates if required.
Once aligned any 180 upside down issues are easy.
Once you have applied rotation, you can not undo this.
Because the object has then a new setup.
While you see a cube out of alignment, for blender it’s just a set of 8 vertices in a new configuration.
NP5 Shows you some tricks to go back. But a cube is a simple object. Imagine more complex objects …
Then the trick is to use EMPTIES which can be the parent of an object or multiple objects. This will be explained in the course.
For now, I can say, don’t think too much about it. I did the same! But if your knowledge grows and the project becomes complex, then the way you have learned to work doesn’t lead to much to this kind of problem. It is more the way how you manage a project.
Thanks, I repeated the steps and it works! Woow, I always thought that I missed something and that there would be an easier way in Blender to achieve this… apparently not! 
Thanks for the tip, I may consider working more with empties in the future 
This topic was automatically closed 24 hours after the last reply. New replies are no longer allowed.