Rest position issue, slight shift

Hi,

I’m having a kind of strange shift (very little) of one of my arms when applying Pose as Rest Pose, I can’t see where it is coming from. Can someone help me ?

Issue:


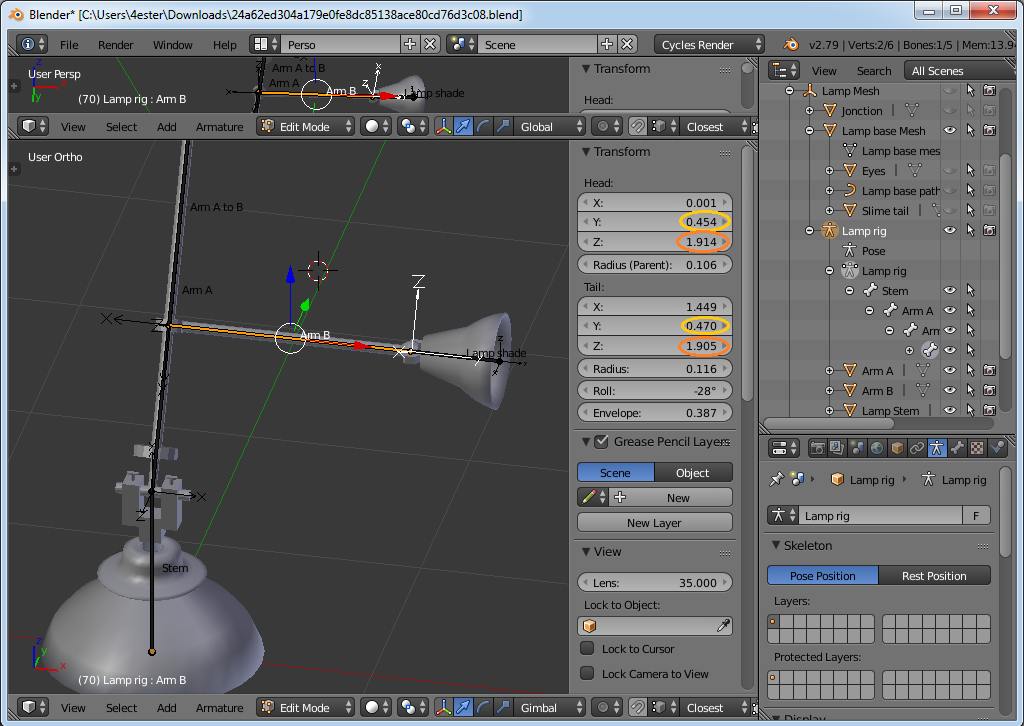
Basic rest pose on which I worked to connect the bones and Lamp Shade and set the constraints.


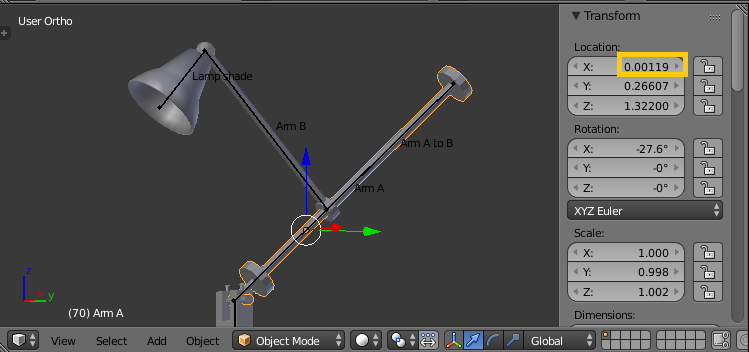
Position I want as the Rest Position (currently in Pose position) (Center of sphere = Tail of bone)


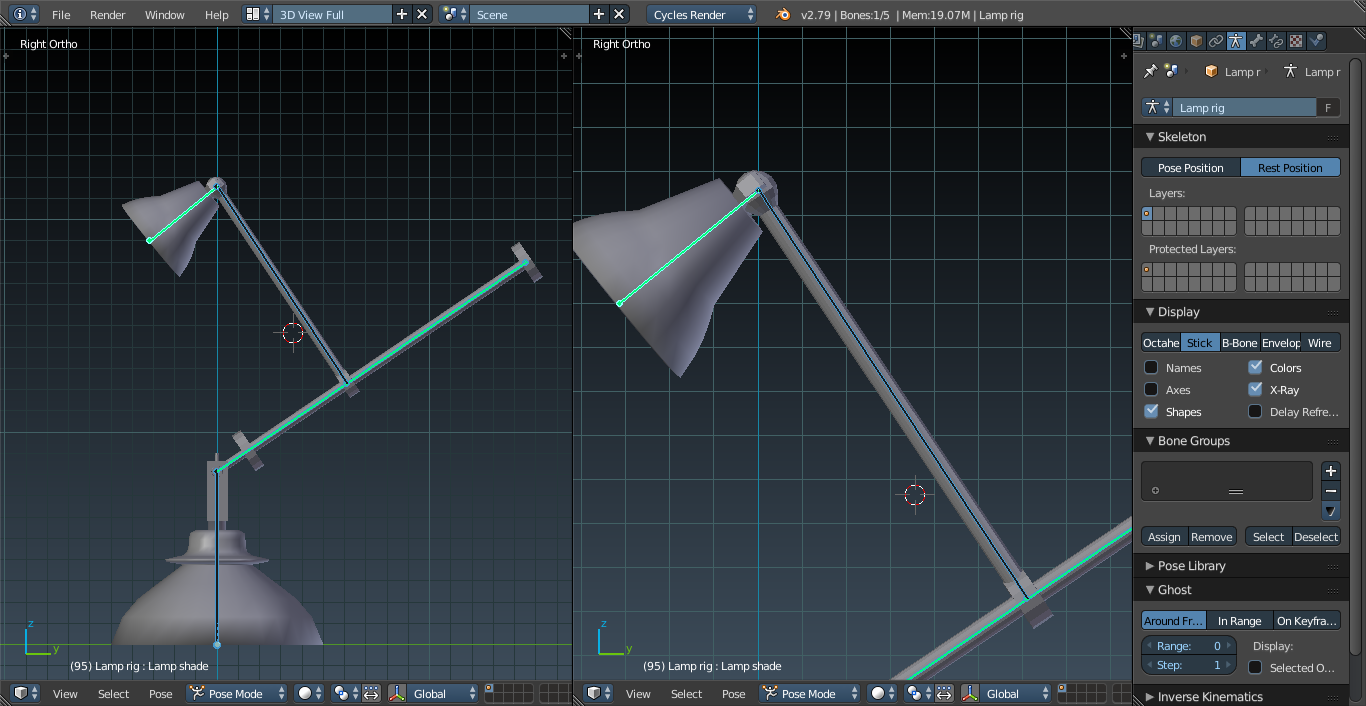
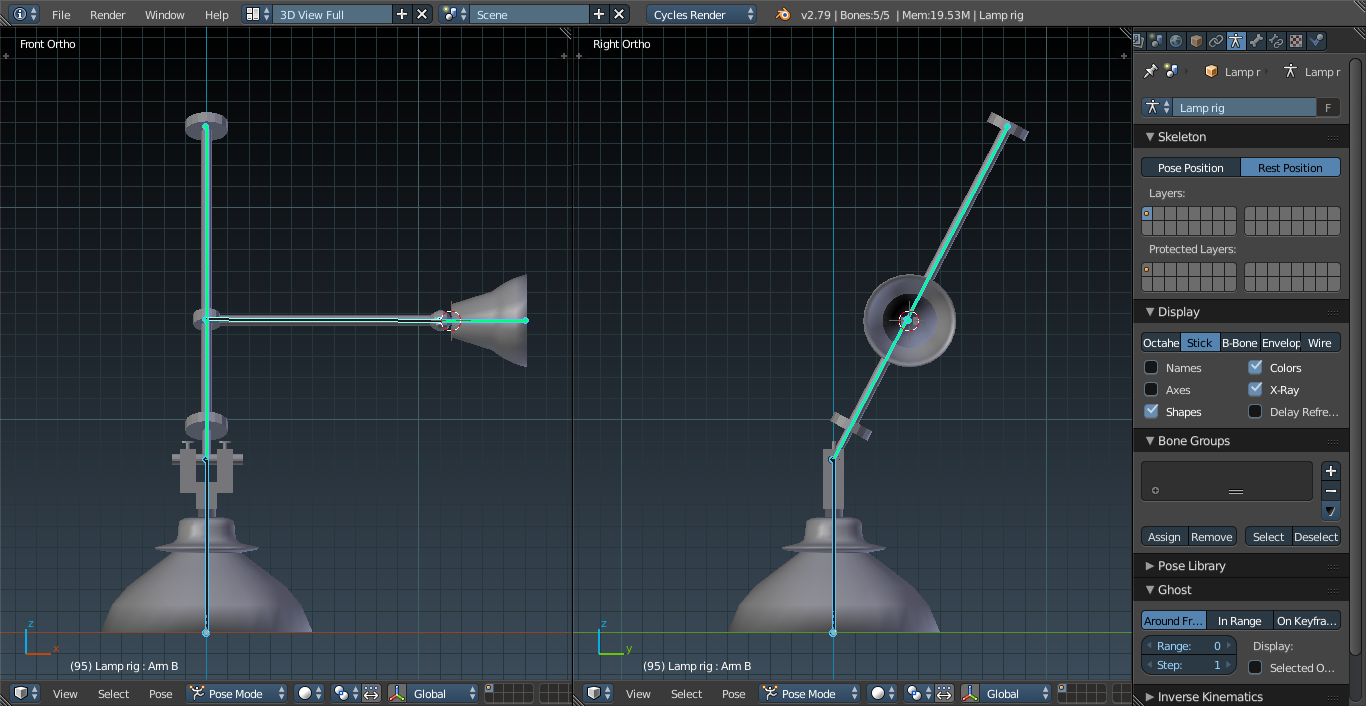
Position I get when I Apply Pose as Rest Pose, as you can see the arm isn’t aligned with the bone anymore (slight offset, Center of sphere ≠ Tail of bone). The part moving is the arm, not the bone, and I don’t get why it moves.:thinking:

Special feature of the lamp:

Compared to the teacher’s lamp:

  1. The second arm can slide along the first, so there is an extra bone which can only scale along the axis of the first arm. See my previous post for more details : Let's hope that will work

What I tried:

  1. Restarting the file
  2. Recreating the bone and the arm, one after another
  3. Some changes in the second arm rotation mode

Easy solution (doesn’t fix the real problem):

Reset the arm position to match the bone
It is what I will do while waiting.

Second issue:

It may be intended and not an issue, but:

When applying the new rest position, all the constraints on the bones don’t work as intended anymore, I have to re-set them to match with the current situation.

For example if I were to rotate the lamp shade bone with the new rest position applied, it would be able to go through the arm (this would not have happened if still in pose position with the old rest position)
It is as if the constraints are defined in relation with the rest position, so changing it will change the constraints. As I said it may be the intended functionnality, so the question is: “Is it intended as so?”

I hope you can help me, cheers !

Gotta have .blend file.

Sure,

Here you go : Lamp building-ALT-before issue.blend (1.2 MB)

This is just one step before going Ctrl+A - Apply Pose as rest Pose.

Shortest story:
Select Arm B (mesh, not the bone.) and set origin to geometry. Then select bones and apply as rest pose. You will notice that things still shift a bit, but much less. (sphere is no longer protruding into shader)
So it seems origins are at play here.

First of all, making things like this you should be accurate with dimensions and locations:


Your geometry should have exact numbers, and bones should be perfectly aligned with the mesh in the first place. Placing things “by eye” brings you to where you actually are now. It might work like this in organic stuff where you can’t really have accurate geometry, and it doesn’t matter as long as it looks ok. But in case of building something technical you should stick to the numbers, or you will run into this kind of trouble all the way.

Generally I want to point out that animating is rather complex stuff in the first place. Some rather skilled modelists and artists (do not/can not) animate at all. There is much more to know than was showed in Section 5, and you have to really know that you need this to go further and learn more about it. And we don’t know basics about UV unwrapping, texturing, and a lot of other importants basics required to make not animated 3D objects, so don’t get too much distracted and move on. You can watch a lot of other materials dedicated to animating after, if you will be sure you need it.

1 Like

Thank you @Sam_Hamsord, I hope it didn’t take too much of your time ! :+1:

I think I see where the issue is coming from now.
I will redo this lamp with accurate dimensions at the end of the section!

I didn’t think this could be the reason for the shift, because Michael built his model by eye and he didn’t have that issue.
I am at fault here for not being rigorous.

This first model will be the stepping-stone to a better one :grin:

And I have much more to learn :slightly_smiling_face:

Thanks !

I hope it didn’t take too much of your time !

Well it took some, but as I said, animation is important for me, so it was educational for me to figure out what was going on there.

I think I see where the issue is coming from now.

Some things we know now, other I still don’t know:
How exactly origins influence rigging.
And a lot of other misc stuff.

Michael built his model by eye and he didn’t have that issue

Michael’s model is much simpler and allows some tolerances. His model probably has some bugs like this, but they are on acceptable levels. And he was changing rest pose at a bit simpler circumstances.

I am at fault here for not being rigorous.

This is what you get when making stuff too different from what is going on in the course.

I will redo this lamp with accurate dimensions at the end of the section!

I would advise against it. Doing things by dimensions takes 2-3 times more time, and it will be boring working on the same model.
I for example, have left a bunch of messed models: my ship is a mess(and I won’t change it, cause I don’t care, he’s like a symbol of that first crude effort), greeny is messed (And I most surely will redo her, I need her for some serious projects :grin:), chess have some things to improve(but I don’t give a *** gone way to far with them as it is), and I would like to make Subaru much better too, but really later in time(and I don’t sure if I will at all).

2 Likes

Privacy & Terms