Rabbit Scene Progress

After some “deviation”… I’m back to the trails of the course :stuck_out_tongue:

I will be posting the progress of my scene just in this post to not flood the forum much!


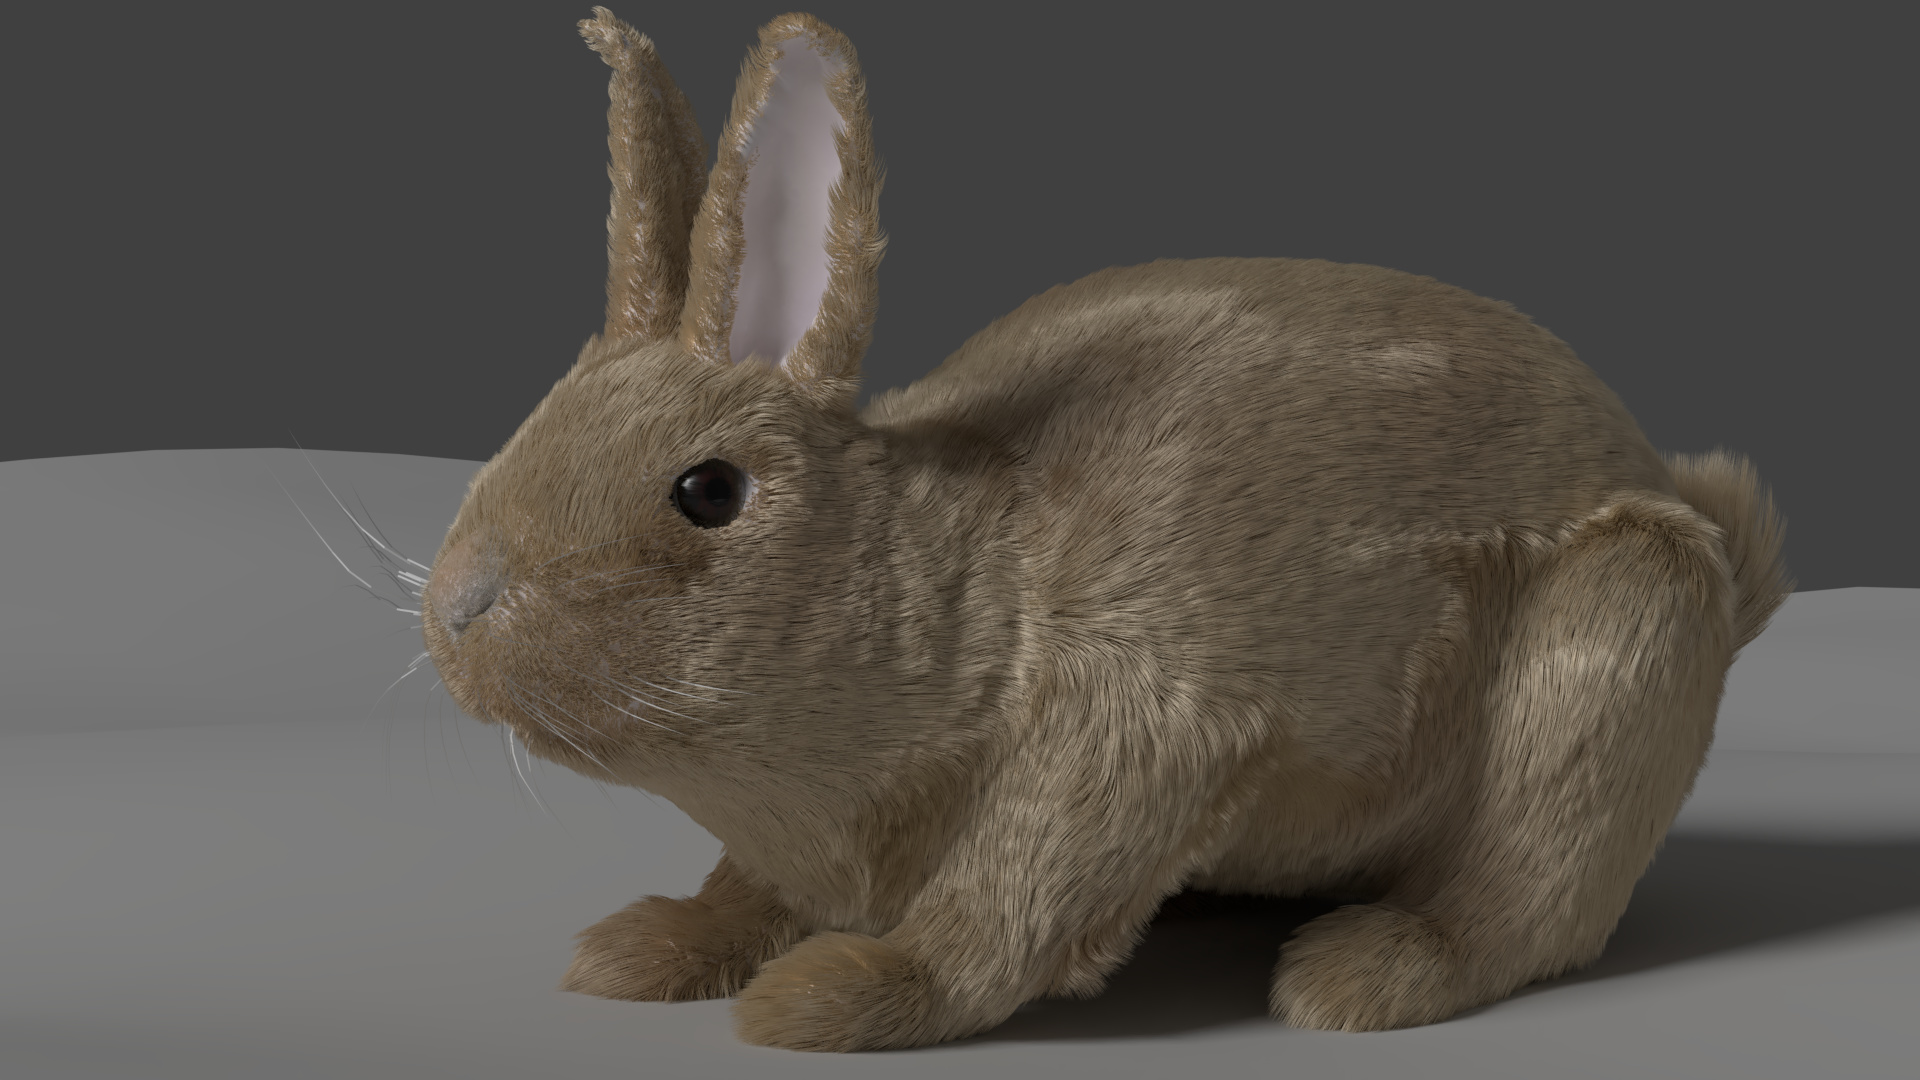
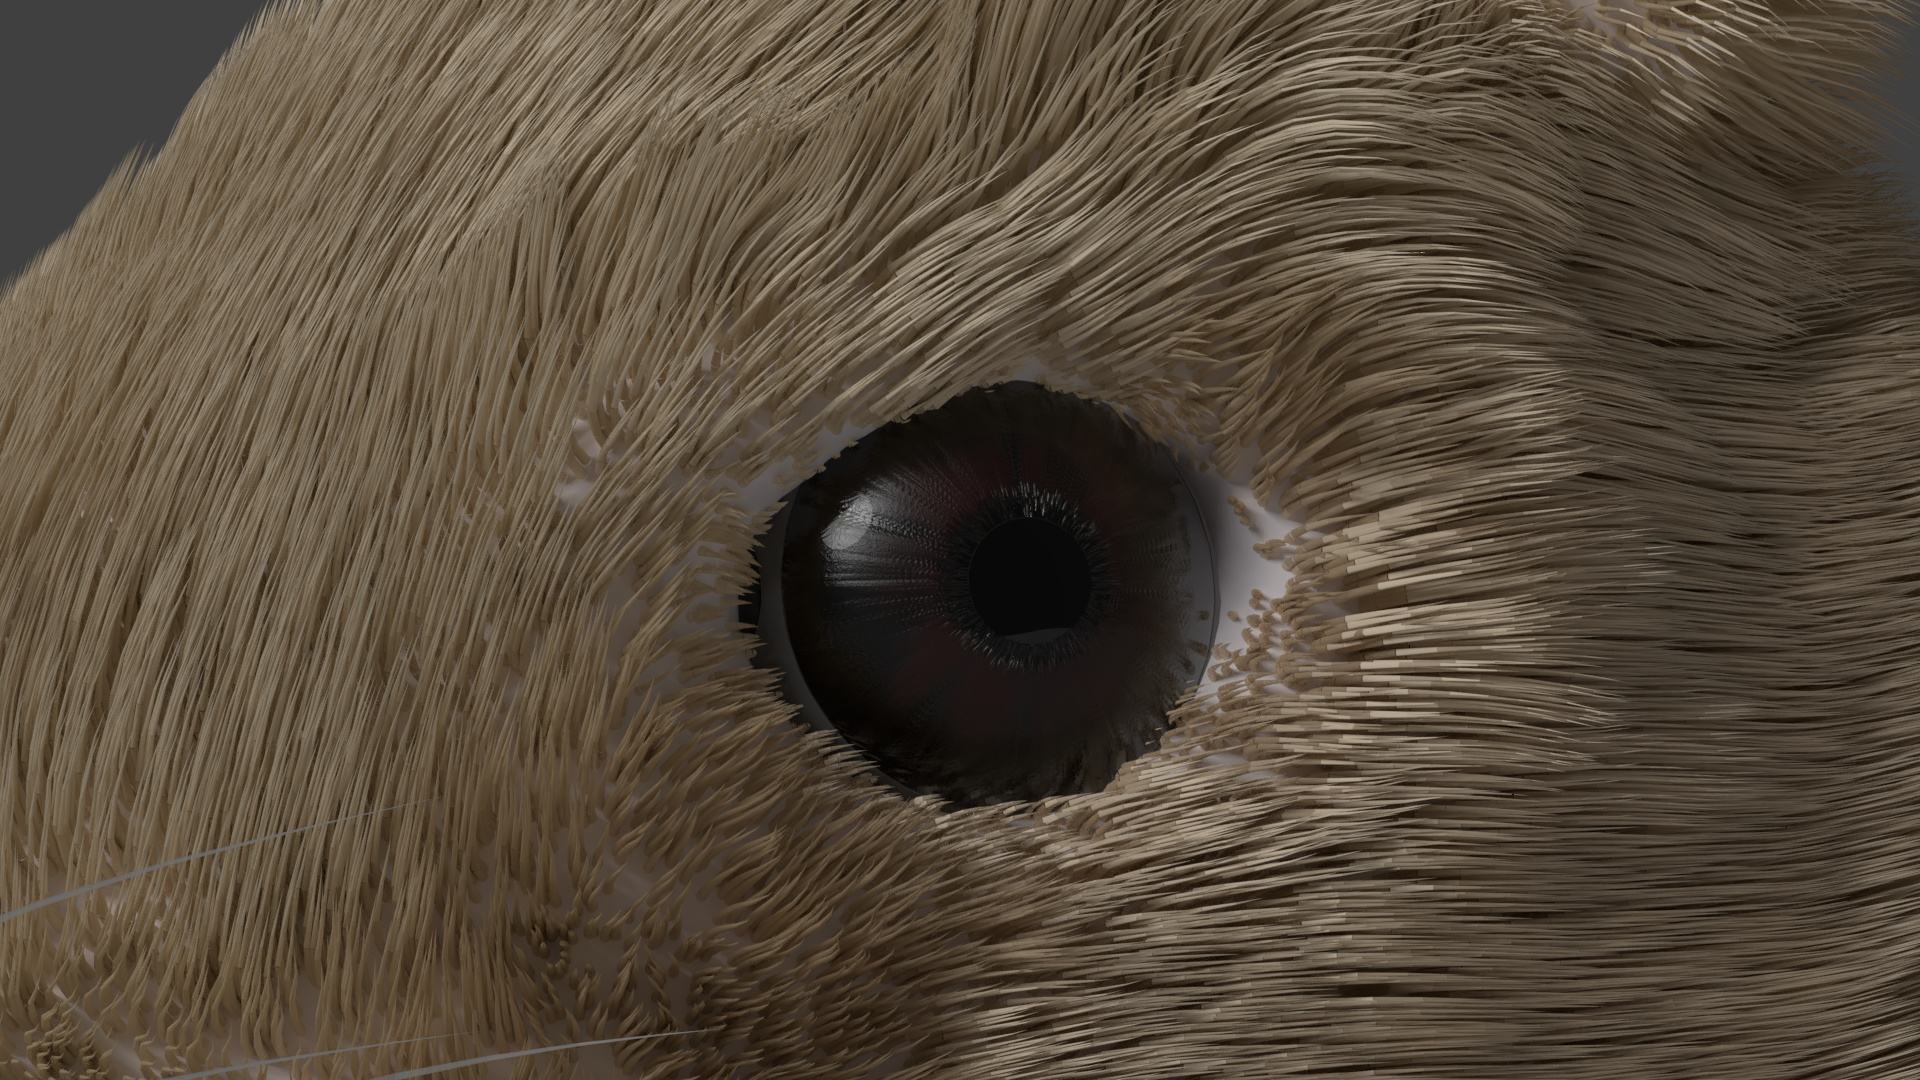
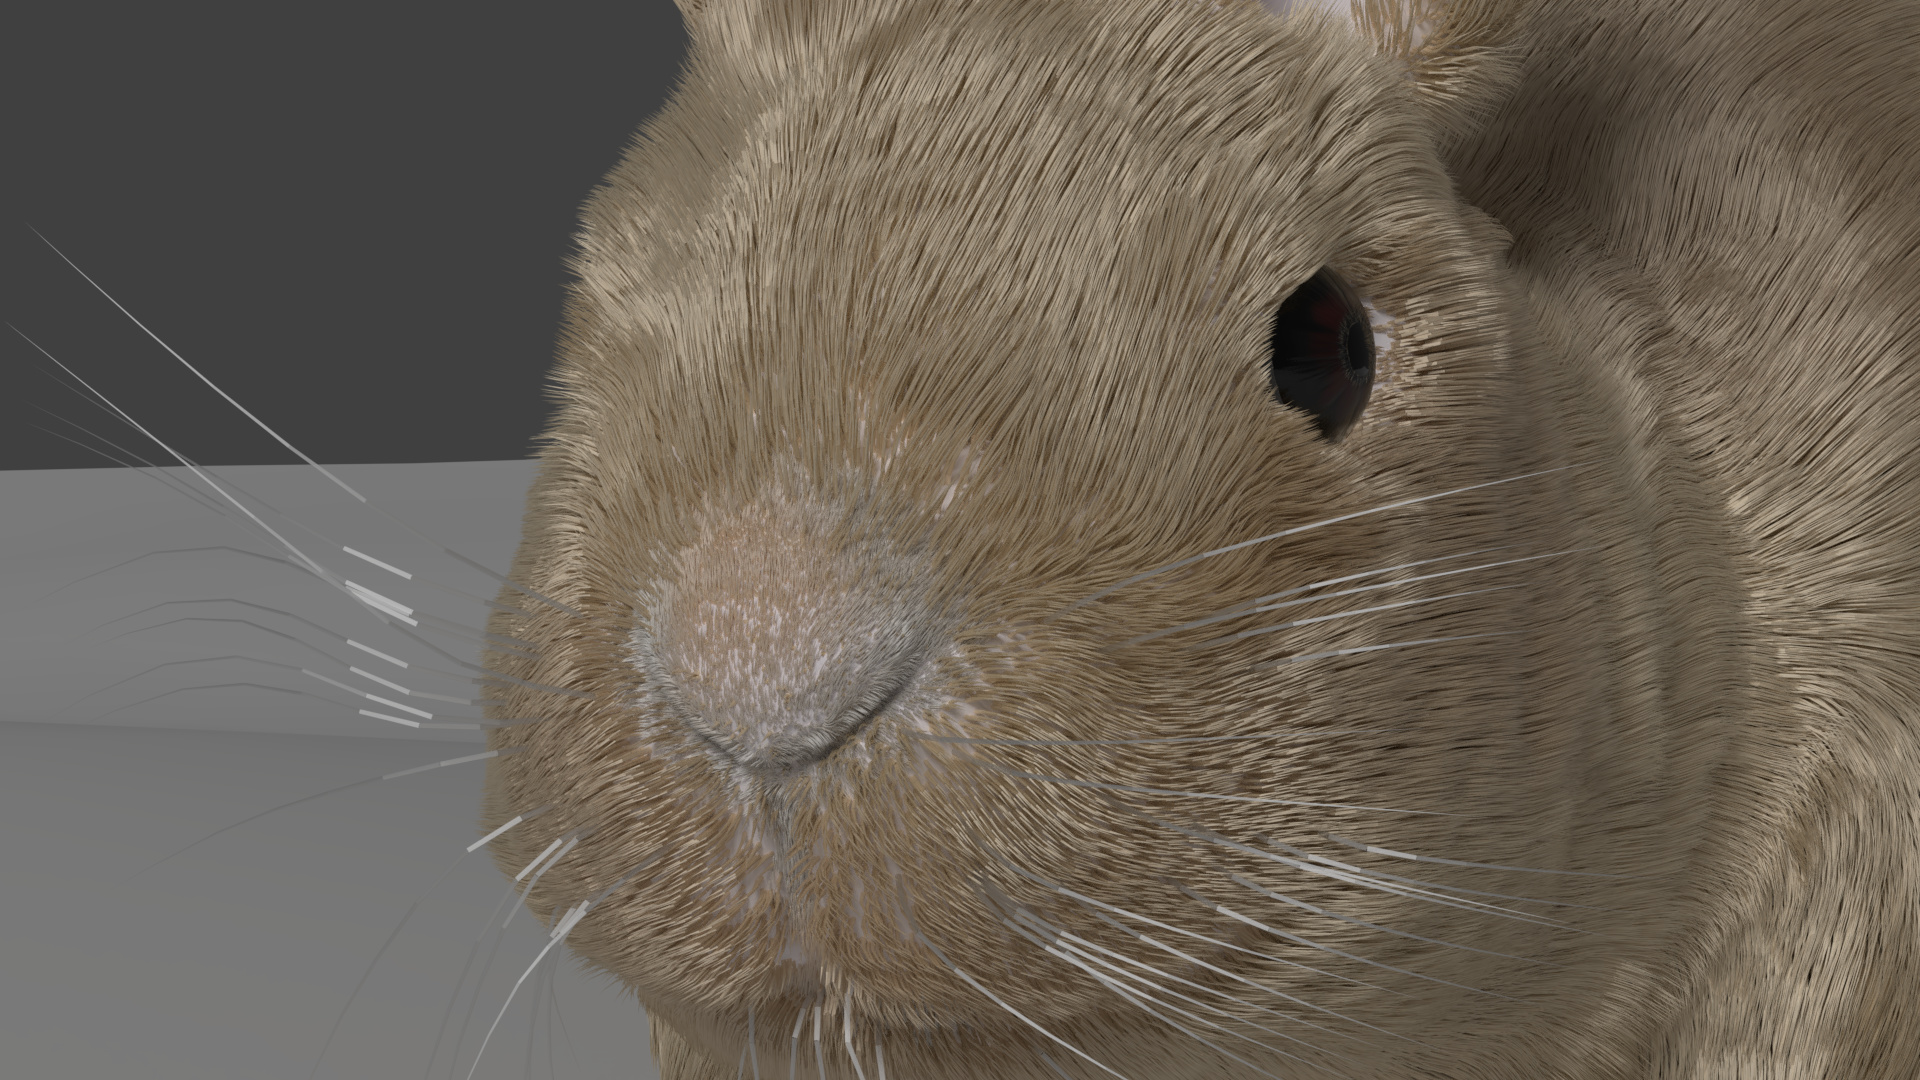
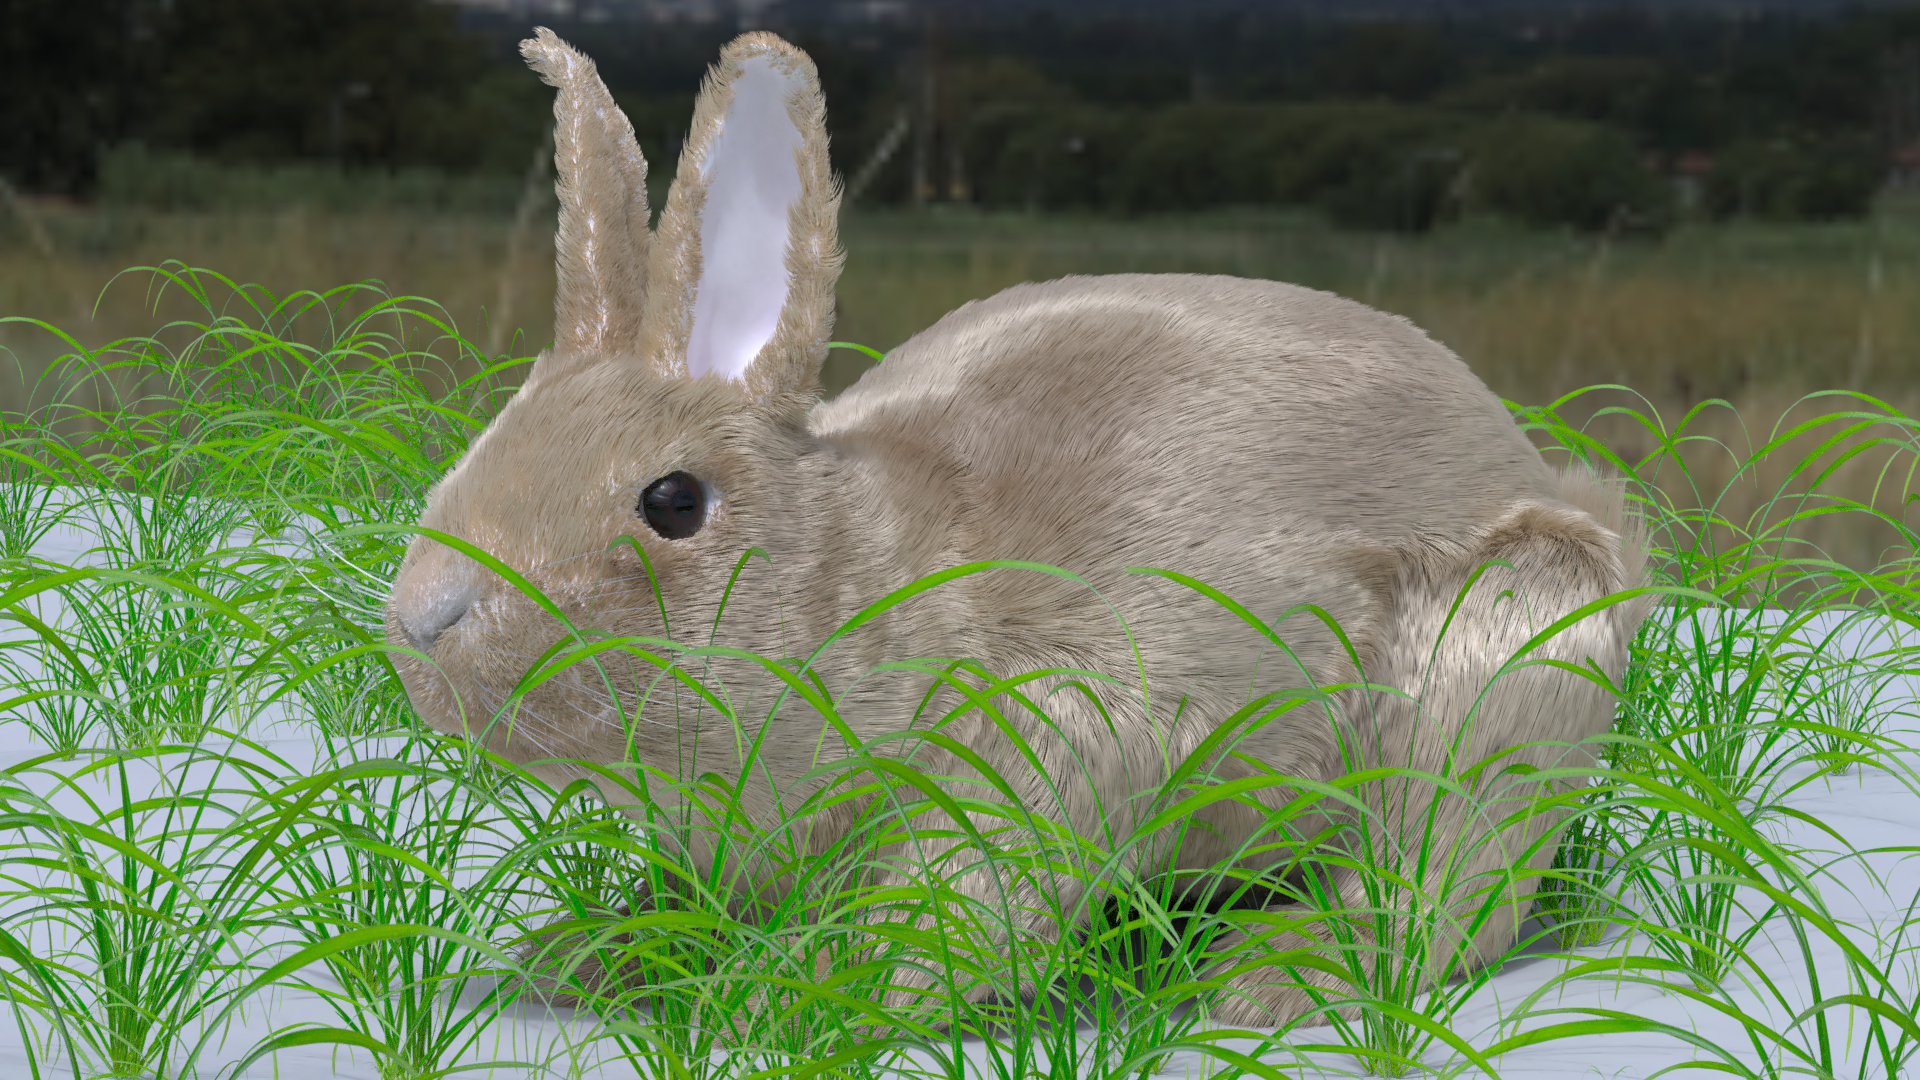
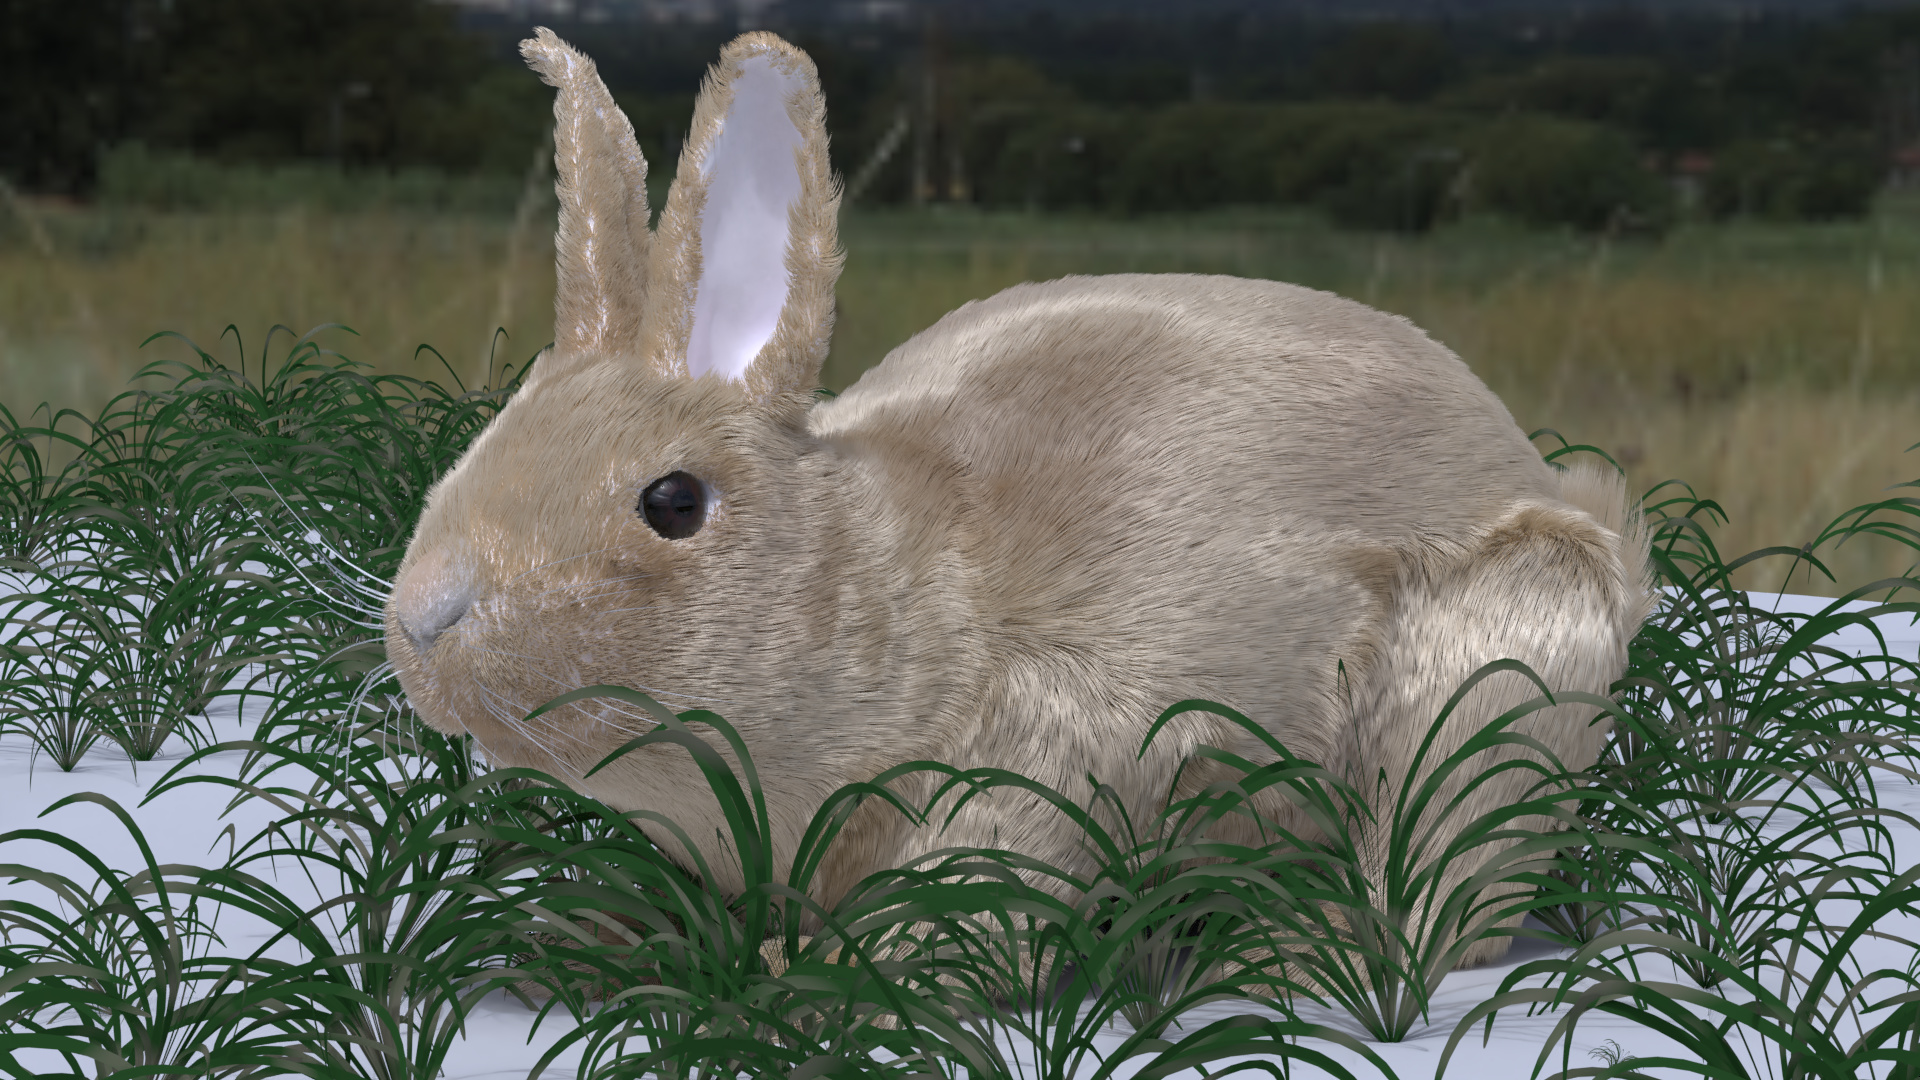
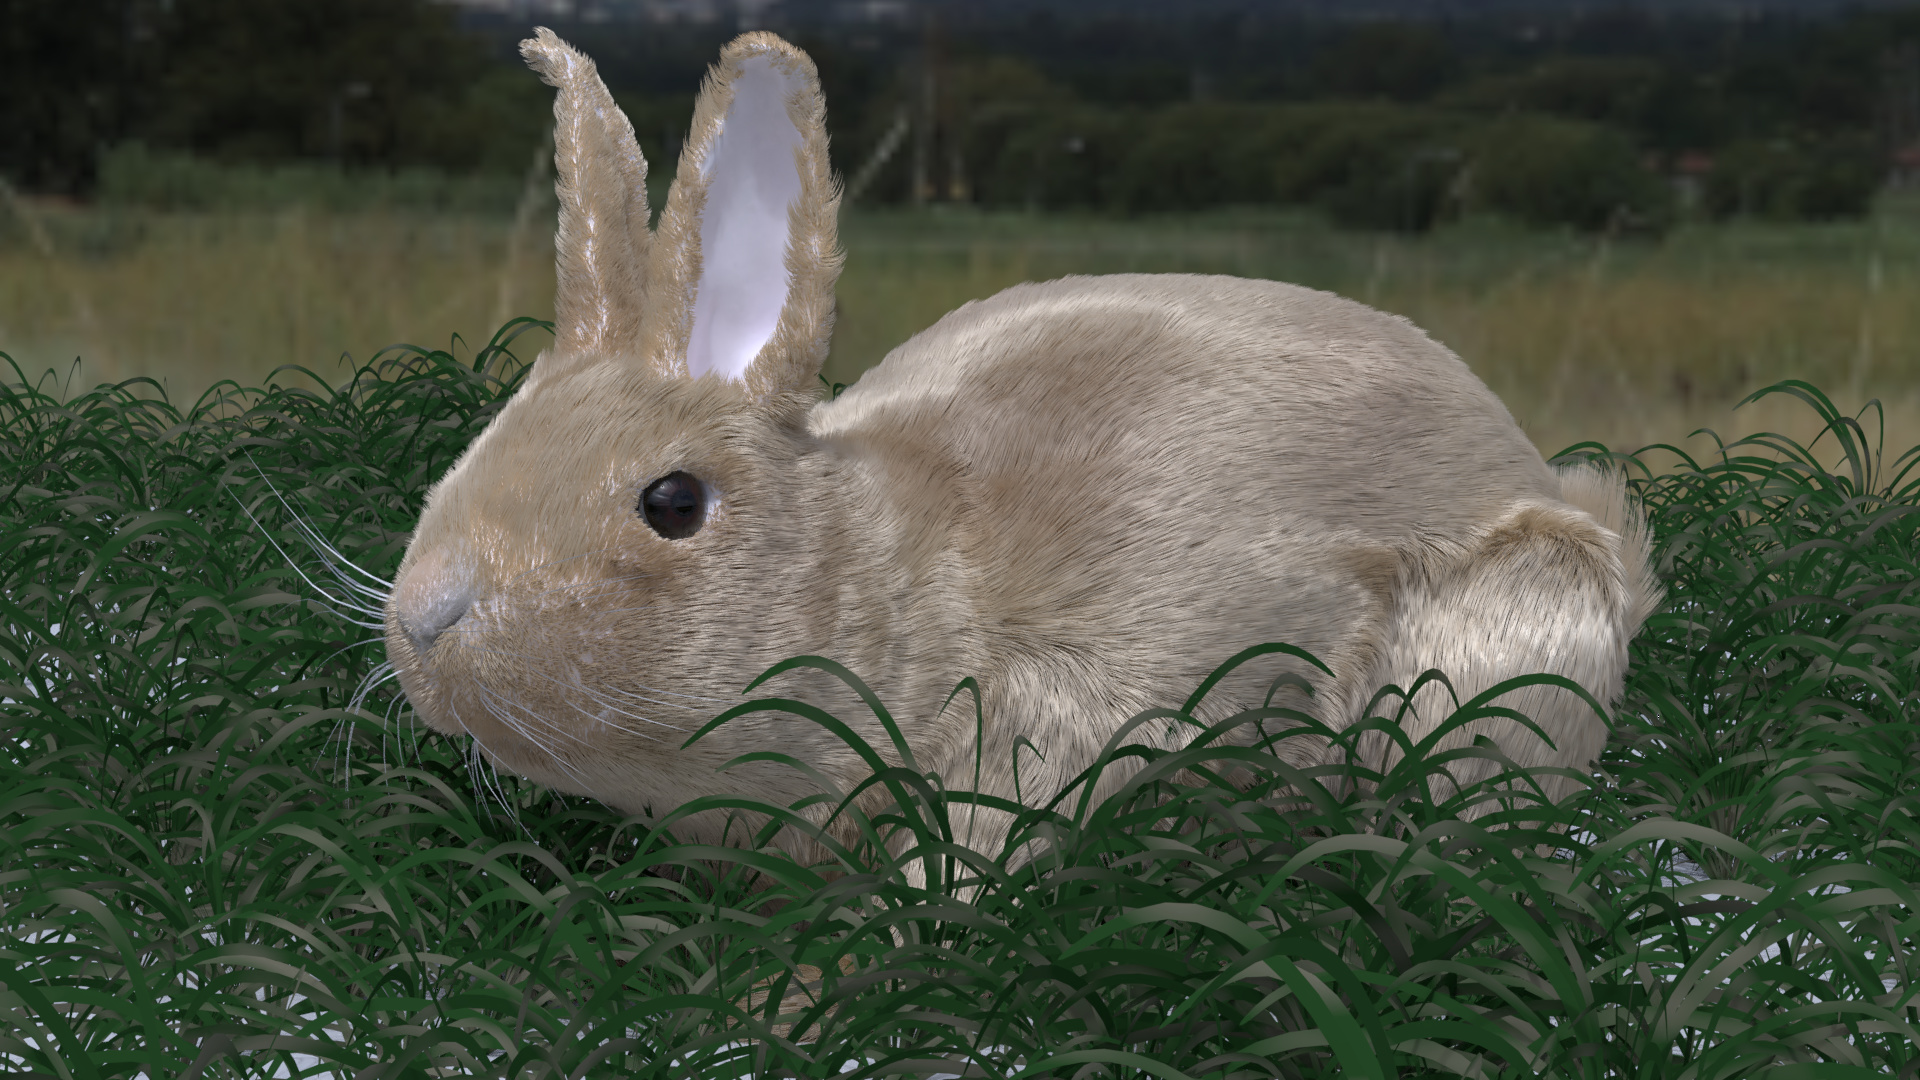
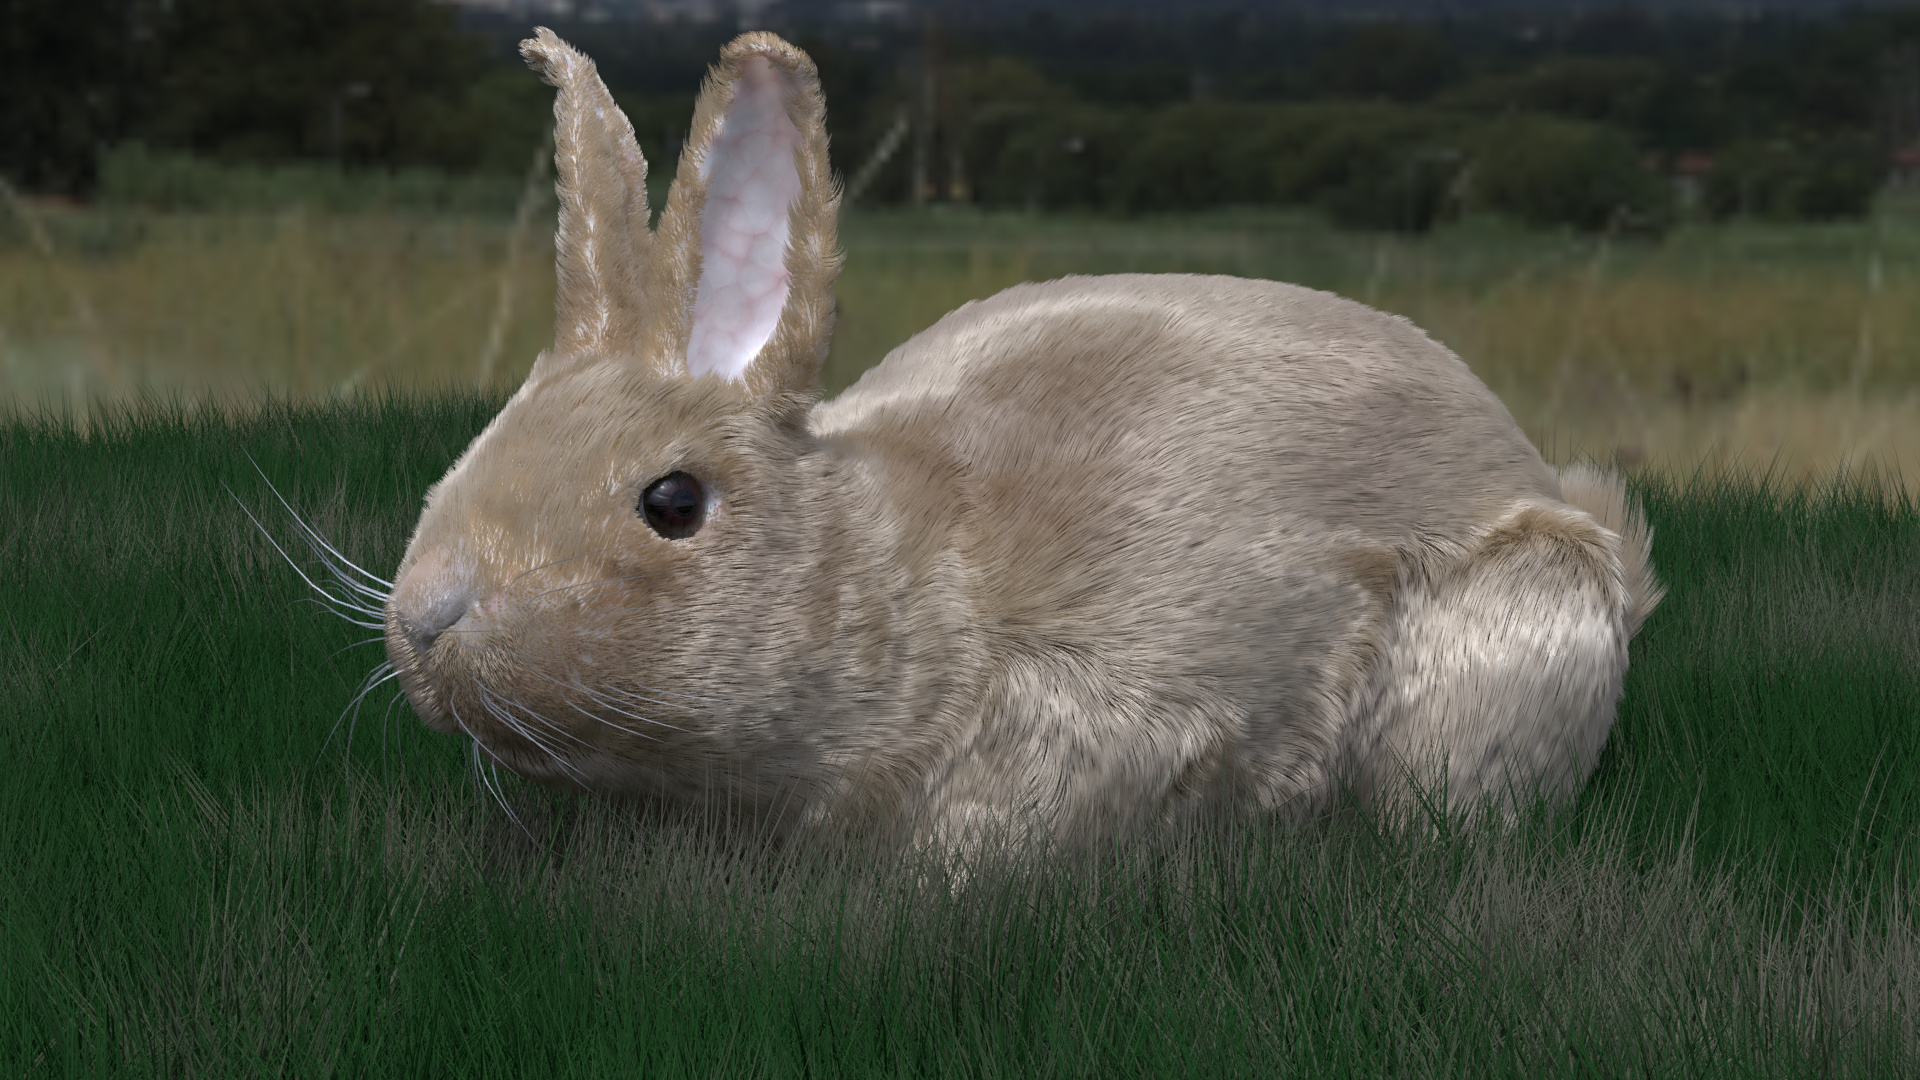
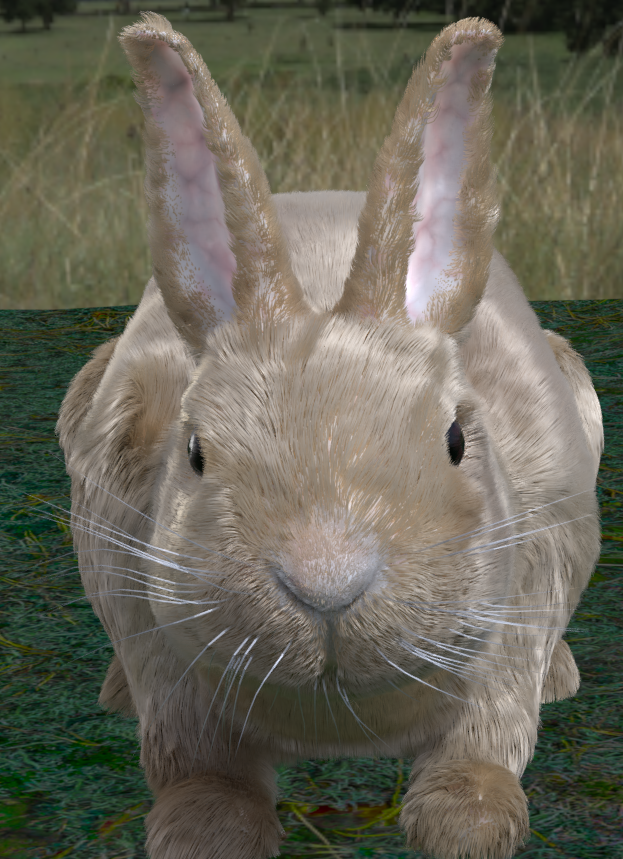
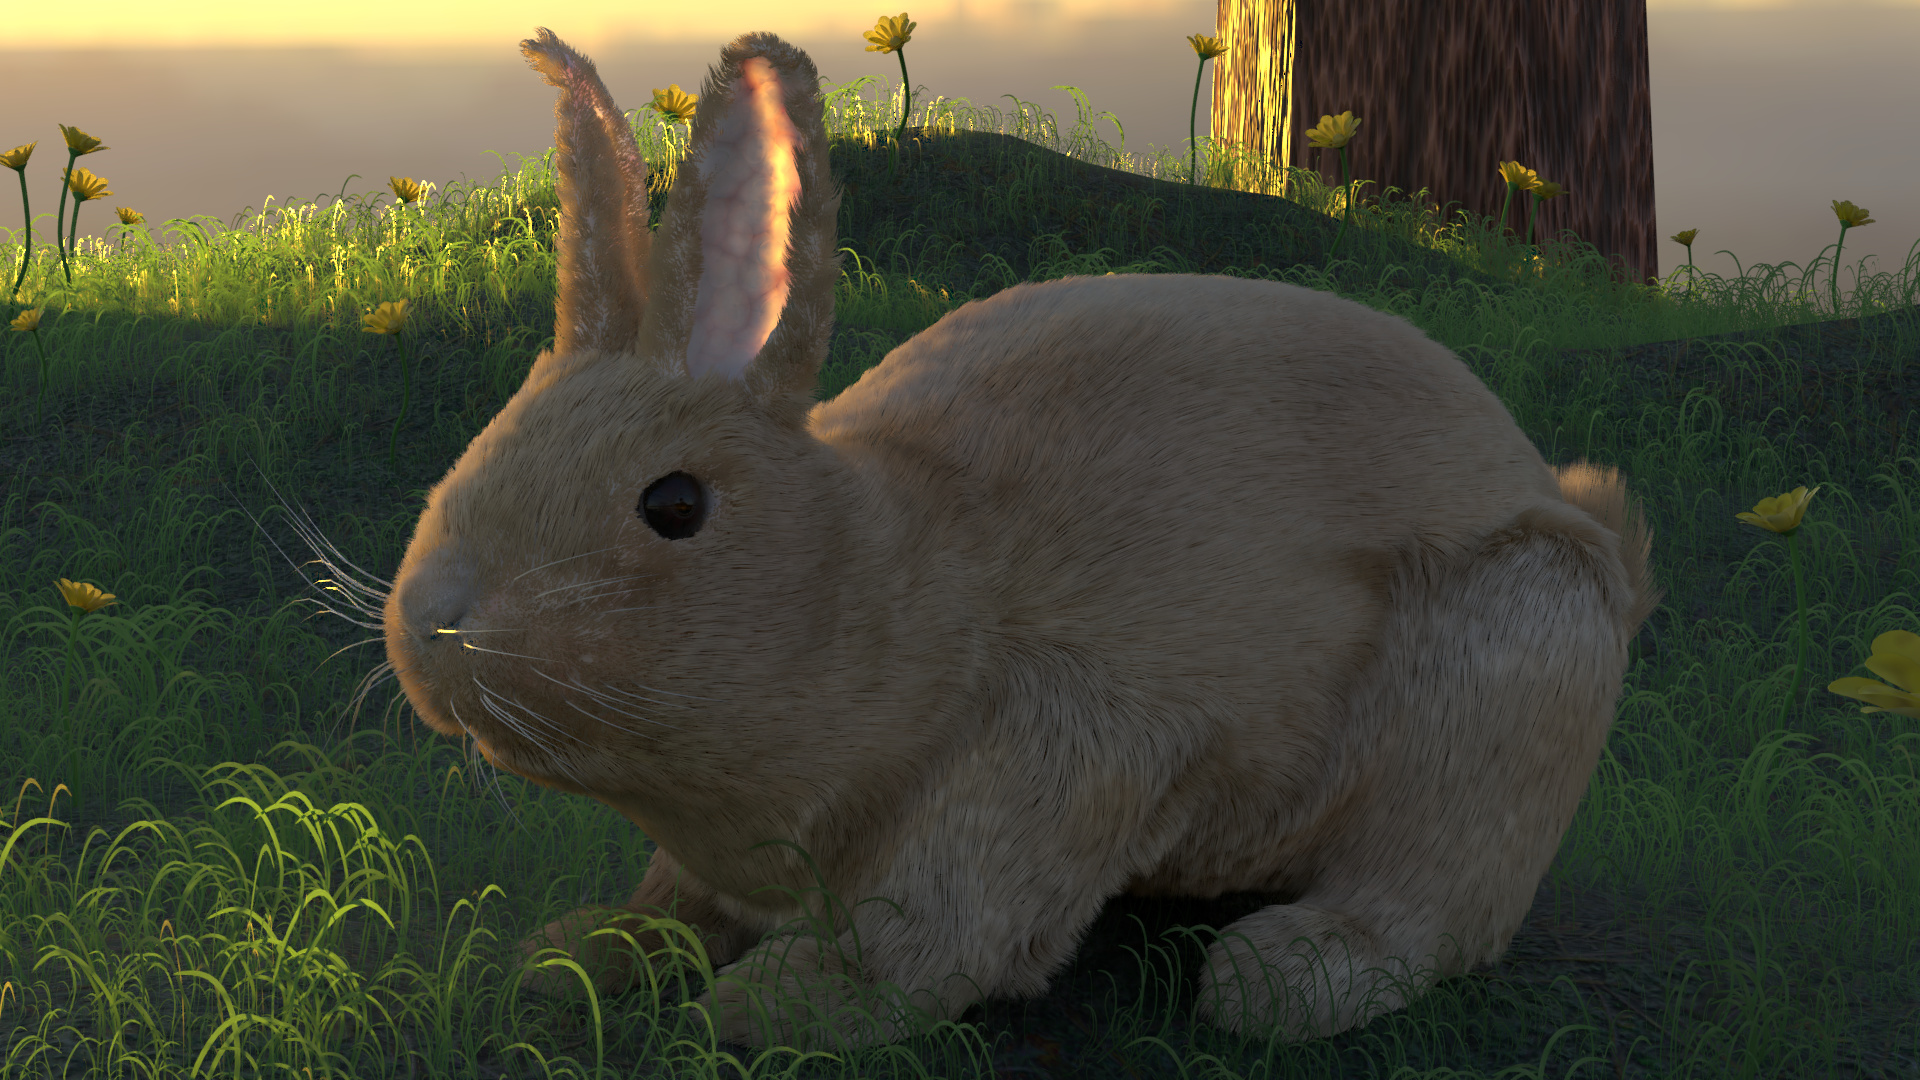
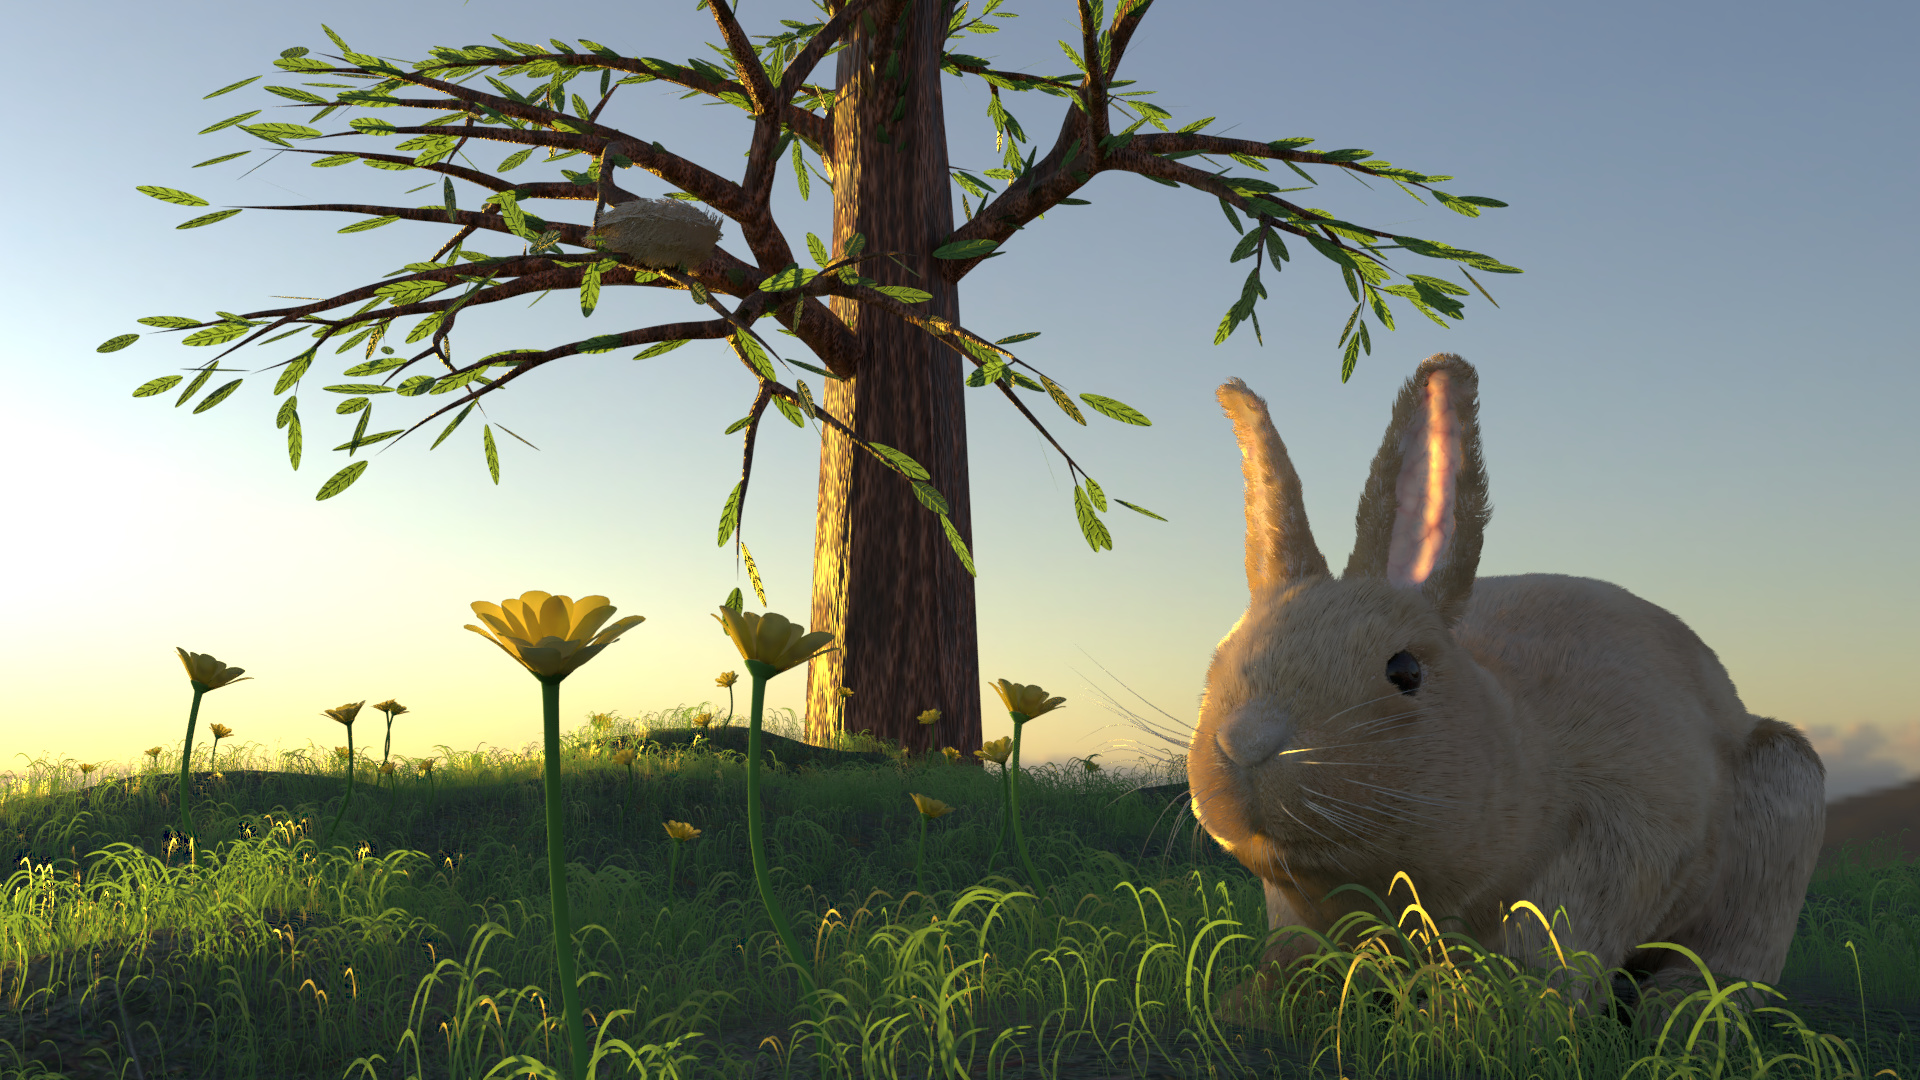
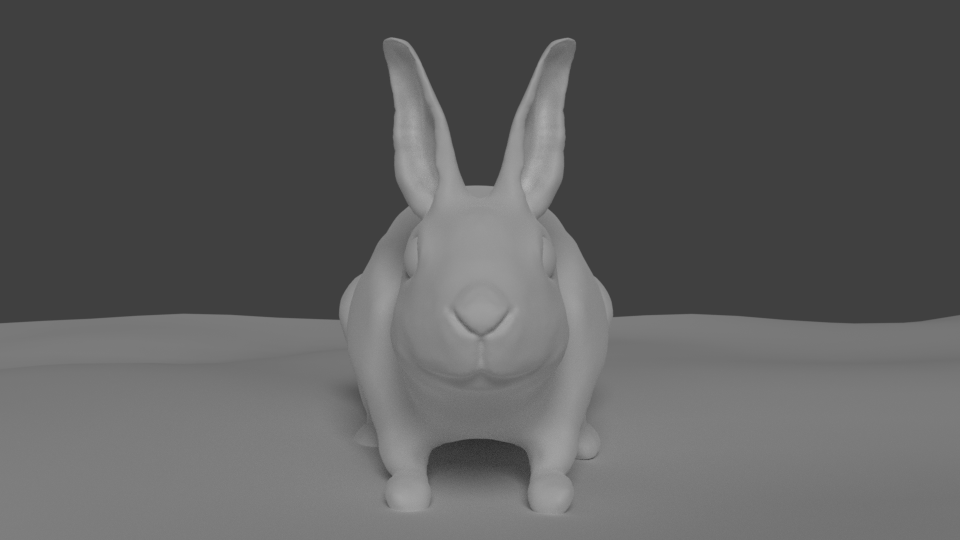
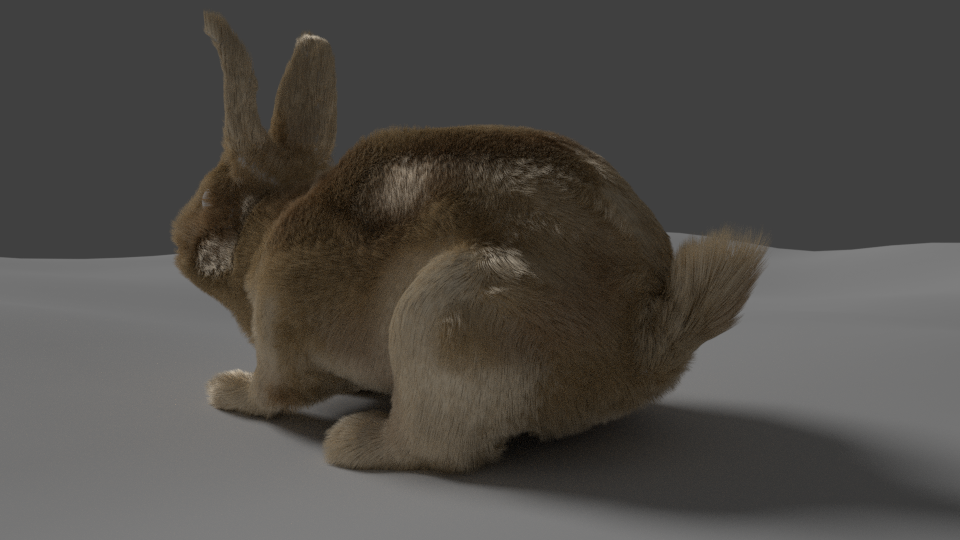
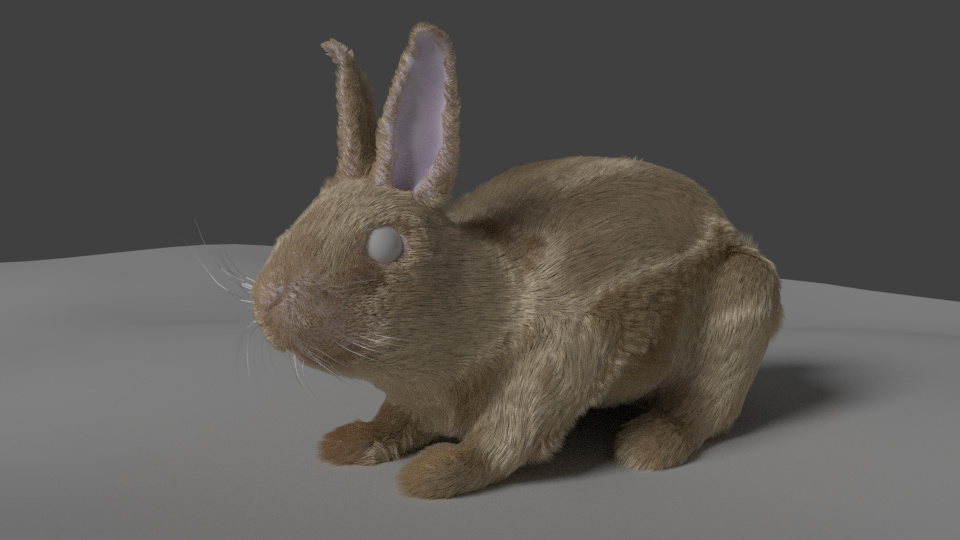
So…Sculpted the Rabbit!

Turned out that took some time but turned out quite well for my first sculpt!
Certainly not the best rabbit you’ll ever see but here you go :smiley:

Bunny_Sculpt1
Bunny_Sculpt2
Bunny_Sculpt3

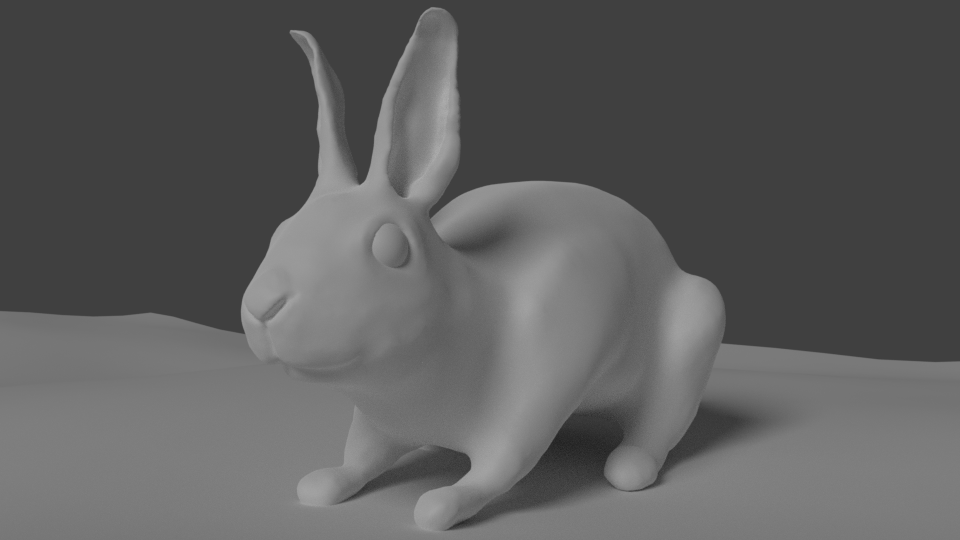
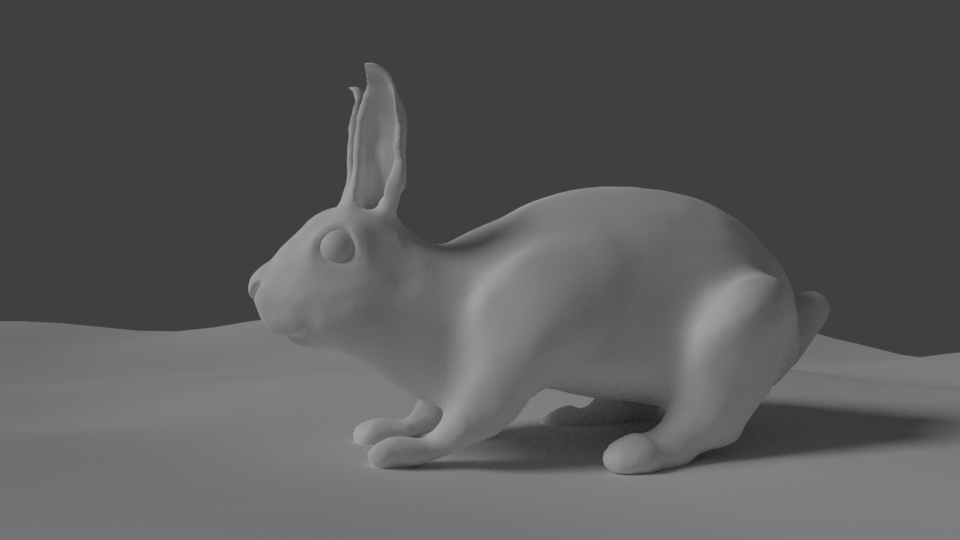
Used some reference images and did a little reasearch on the rabbit skeleton. It helped a lot to know where the bones are so you can roughly know where to create some “volume” for the muscles

Also some good shortcuts… this way you don’t have to keep changing Brushes much.
Holding Shift is the same as Smoothing
Holding Control is the same as enabling Subtract

4 Likes

It’s a hairy mess right now lol

1 Like

Combing and trimming a little of the eyes actually helped a lot :smiley:
Not much time spent since the teacher said we are using another method to adjust stuff

Managed to make a nice tail


Another Update!
When the Weight paint kicked in plus some other trimming and combing, adding some tuffs, removing others…

And another particle for the Whiskers and it’s material which I used a Hair BSDF (Reflection) Mixed with Transparent Shader I really liked the result of this material.

Not happy with the ears yet… need some more work balancing the fur…

4 Likes

Really nice! I hope to get to the same stage as you. Working on making my Blender not crash because of running out of memory and using CPU to 100%.

2 Likes

Thanks @LucidityOfPower! We are at the same stage :wink: ie: doing this thing for the first time!
I saw your bunny on the other post, really good! And you even made a retopology! I’ve never done that…

About performance(probably i have a more powerful PC and i’m also rendering with gpu), I found that increasing the number of hair strands is less taxing than increasing the number of their children…
Just so you know, my settings are 25000 strands per 15 children of course it will depend on the scale of your bunny.

Also an idea for you… Try reduce the size of you bunny without applying the scale this way you will have a more fluffy bunny with less strands i think… You may need to tweak the strand thickness/width after that.

3 Likes

Yes, true that we are, but I’m set back because of all the extra time I took to re-do some stuff.

Question: when you say 25k strands per 15 children, does your render setting show 100 children? Or is that 15 children for display? Also, my hair strand length is 0.03 and my root is set to 0.1 because 0.25 looks too fat. I’m actually confused what the size of Mikey’s rabbit is (I used a different reference image for clarity). Mine seems to be about one whole meter in size (so it could easily get scaled to about 1/3rd of that). I had to reduce the number of light path bounces to keep it from freezing my CPU. (I’ll obviously end up needing to buy a new computer sometime in the next year or so anyway.) And yes, that’s also a good point–I will need to reduce the size of the bunny. I will, in fact, do that today when I figure out the proper dimensions that it should be.

Thanks for the tips/reminders!

I set the render children to 15 also.

Another thing I found is that if I set the number o strands to a low number 3000 or so and increase the children to 200 for example the fur would look “patchy” and uneven. Most noticiable on the Ears.
Setting strands high and children low gives a better result in therms of hair distribution.

As a note:
3k x 200 = 600k (patchy look)
25k x 15 = 375k (more evenly distributed, better looking)

2 Likes

Ahh, I see! That may be why my Blender crashes with the memory stuff. I didn’t know if I should have the children as high as 100 or 50 (both seem too high). I will try your numbers instead. Good to know and thanks a lot–this is helpful :slight_smile:

Yay my Bunny has eyes now!
I made it hard to see the details on purpose, because if you look reference images of rabbits, it’s pretty hard to see any…
Also changed the main camera to 100mm to give us the opportunity to see part of the Tail in the same shot too :stuck_out_tongue:

However… if you take a close up, you will notice that it even has some depth to it :wink:

Added another particle just for the Nose, because using the particle of the body there looks bad, because of the root thickness.

4 Likes

Terrible, heavy to render grass… took 17mins to render this below… most likely because of the need of the Transparent bounces in Light Path settings which was set to 150…
Bunny_Terrible_Grass

Maybe if I create actual mesh for the grass would be faster bacause won’t need all those bounces for transparency…will try that now…


YEP!! As I suspected… Mesh grass with Subsurface lvl 2 mind you… 3 mins to Render

Bunny_Mesh_Grass

At the expense of 1 more minute(ie: 4 min) rendering I could make it significantly more dense:
Bunny_Mesh_Grass2

I really recommend people to try mesh grass to render faster.
As added benefit you can have more control over the material because you don’t need to worry with the transparent shader. Ofc the images above were just a quick test and I will change the material later :slight_smile:

4 Likes

I agree with you. Using transparent images really kills your PC. I would probably try to make the grass as a mesh as well and use a translucent node in the material to give it more natural look.

1 Like

Yep. That is what I was planning do.

Experimented a bit with hair particles and reached this…

Ofc it’s not a natural look, it’s hair, but to me it does resambles some type of short grass.

Maybe I’ll replace the strands later with some grass leaves.

Also experimented some changes to the ears adding some veins and enabling Subsurface Scattering:


Bunny_SSS_Ear_On

1 Like

Very nicely done!

Progress!

Swapped the hair Strands with one Grass Leaf which made me realise that the Number I set before was overkill by A LOT.

Also created the tree, some flowers and even made a bird’s nest :smile:

No texture with transparency used…these are all mesh

The grass uses a mix of Principled BSDF and Translucency, same as the flowers petals and the tree leaves.
The tree wood material needs some more love…but this is procedural

1080 with 50 samples and Denoise 1:30 mins to render each

Next will be some DoF images :wink:

6 Likes

Over 1 hour to render? Holy… and only 50 samples… Looks great. There are ways to optimize it. Check comments here of this post @ Blender Guru: https://www.blenderguru.com/articles/4-easy-ways-to-speed-up-cycles

No Dude! 1:30 Minutes, 1 minute and 30 seconds lol

It’s proven that having Mesh grass is much faster to render than having grass made of Textures with Alpha channel. Because of the need to increase the Light Paths interactions to not have that black artifacts.

Ah! Ok. I see. That’s not bad at all… very fast!

What if you limit your light path interactions from the default? Would that work, or no?

Nope, the default only takes care of 8 leaves in a row.

Imagine that the camera is a Rifle and the Leaves are walls, the interaction is how many walls the bullet shot by the rifle will have to go through to process one sample. Once the bullet hits the 9th wall it falls and another shot is fired but no matter how many bullets you shoot you’ll never get past the 9th wall. Thus the black artifact.

So when you have a hair particle that can have hundred of grass leaves in a row, you have to raise the transparency interaction to be sufficient to go through all of them. You can see in the lecture that Michael sugests using 150 and that was what I used in my first try with textures with transparency. (Look my first render with “grass”) It took 17 minutes…

Now, using Mesh where it were transparent before, is really nothing now so you can leave the interactions at default settings. Avoiding like 142 interactions per sample lol.
Resulting in a much faster render.

1 Like

Great explanation. Thanks! Now I know what to do to avoid heavy loads on my Blender. I’ve had Blender use over 6 gb of ram when I rendered my rabbit (too many polys and too much hair). Had crashed my computer so many times. I had to tune down bounces and all related settings (like caustics) because it was just unrenderable.

1 Like

Hint: Hide all the particles while in the viewport except the ones you are changing.

1 Like

Privacy & Terms