
Hello there!!
Im at section 2, lecture 38 & I was told to do some Objects that have 1-2 parts:)
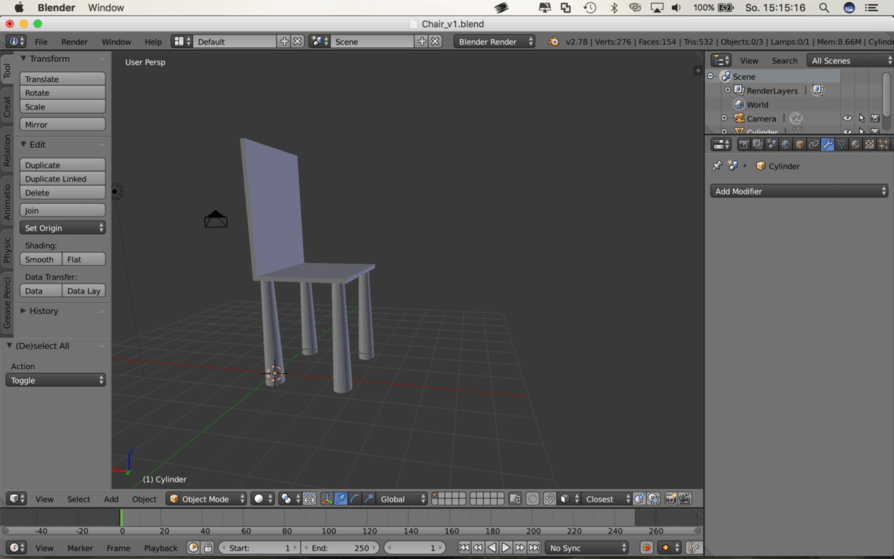
Those are my Objects I did in this lecture, & I want to know if you guys have any tipps for me to make my models look more realistic (not with details, I mean with the curves etc. (for example my chair looks not like a chair in realife at all!) or if you did the same ones, how you created them. I am actually pretty happy with my apple… but my mug looks somehow strange & I don’t know how to create a better one. I started off with a circle, pressed “f” to fill it. the “e” & gave it some height. then i continued to press “e” -> “s” -> pull it up, “e” -> “s” -> pull it up, etc. By pressing “e” & “r” I tried to do the hold-thing…
Those should be my objects:
1.) Picture -> Chair
2.) Picture -> Apple
3.) Picture -> Botlle
4.) Picture -> Mug
Thank you for your feedback!


 but if you have questions during your progress, just ask and we will help you.