Problem when rendering the animated lamp

Hello. My animated lamp in the viewport looks like this:


But when I render it out, i have a problem. The arms are really small:

I have applied transforms on all of the objects (rotation and scale). The hierarchy looks like this:

Please help me. Thanks in advance.

1 Like
  • When did you apply the scales?
  • Did you animate scale (accidentally) in your animation?
  • Does it occur outside the animation? Just in BONE POSE mode?

It seems confusing You have only the lower arm made in the first image, yet what appears to be the bulb glowing in the render. There are animations made but the lamp is apparently not finished.

Not to render logically means somewhere that arm is turned off for rendering. Does not look like it in the outliner. But might be on an animated frame you rendered from?

General Q&A note
Please give full screenshots with any questions. With the relevant panels open.
Also include the lecture time that is relevant to the problem/issue.
This can be done by Blender itself, via the ‘Window’ menu bar top left hand side. On that menu drop down is ‘save screenshot’. Or Alt S
Close ups additionally where they help.

Hello. I have applied the scales just after creating an object and scaling it apropriately. I haven’t started animating yet, I’m only creating the lamp.

I created the lower arm object one more time and parented it to the upper bone, now everything works fine. Thanks.

1 Like

Your outliner says otherwise. You have lots of animation in there. You may have auto keyframing on and not realised.

1 Like

I’m following exactly as in the course (Complete Blender Creator), I’m now on lecture 124. Should the animations be in the outlined at that point in the course? Thanks.

1 Like

Hello. I’m facing the same problem again and I don’t feel like creating the upper arm from scratch once again. Now the render looks like this:

This is a screenshot of Blender:

There is no upper arm on the render. Please help me.

Have you checked your Render View and Normals?

When I turn backface culling on I can still see the arm from any angle so I believe normals are good. How do I check Render View?

Check this icon for the arm which is not being visible in render.

Screenshot 2021-12-22 182537

1 Like

That is very weird. I think I see the upper arm at the bottom of your outliner and it is not hidden to the render.
On a side note. There does look to be a slight problem with your lower arm pair as they look to pinch together at the top end rather than be parallel?

Only way might be if you can put the Blender file up somewhere so we can look at it.

I also noticed that, I don’t know what the problem is. Anyway here is the blender file: https://drive.google.com/file/d/1wUmycKz1_31LHS1bfdF8iRNRhDmpVmv-/view?usp=sharing. I can’t upload it here because of the file format restrictions.

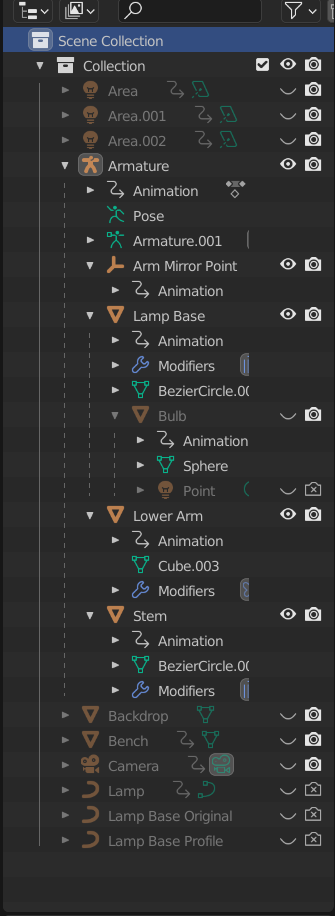
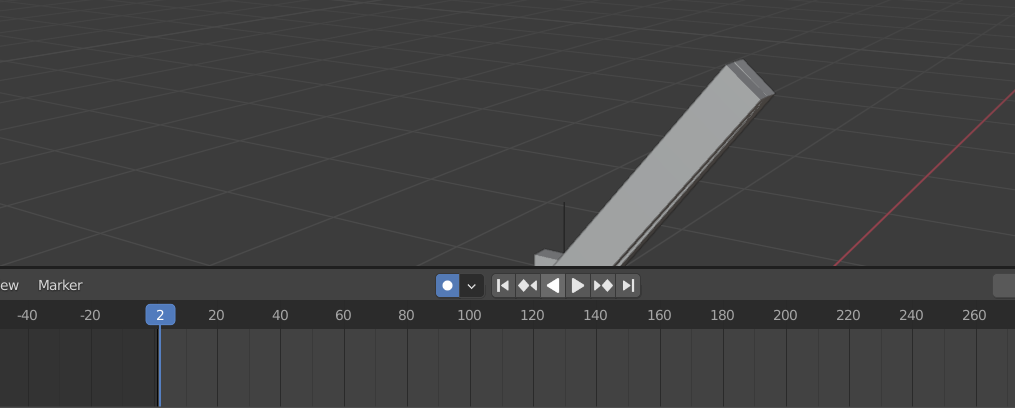
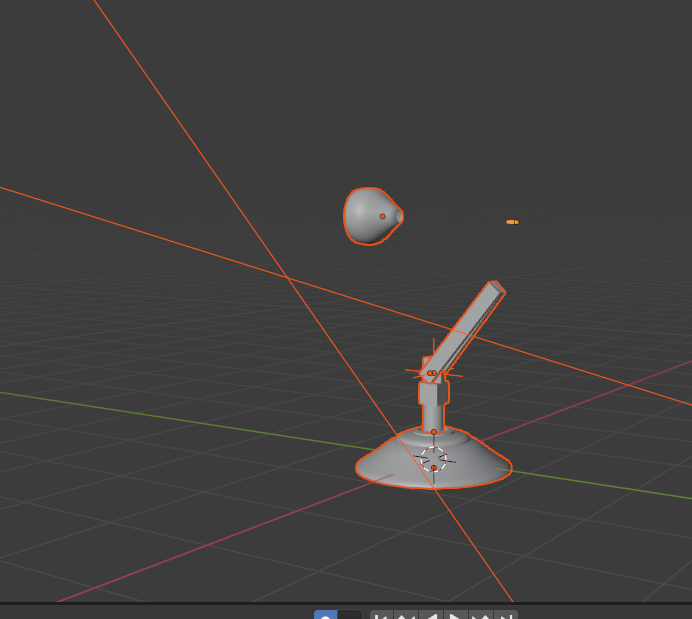
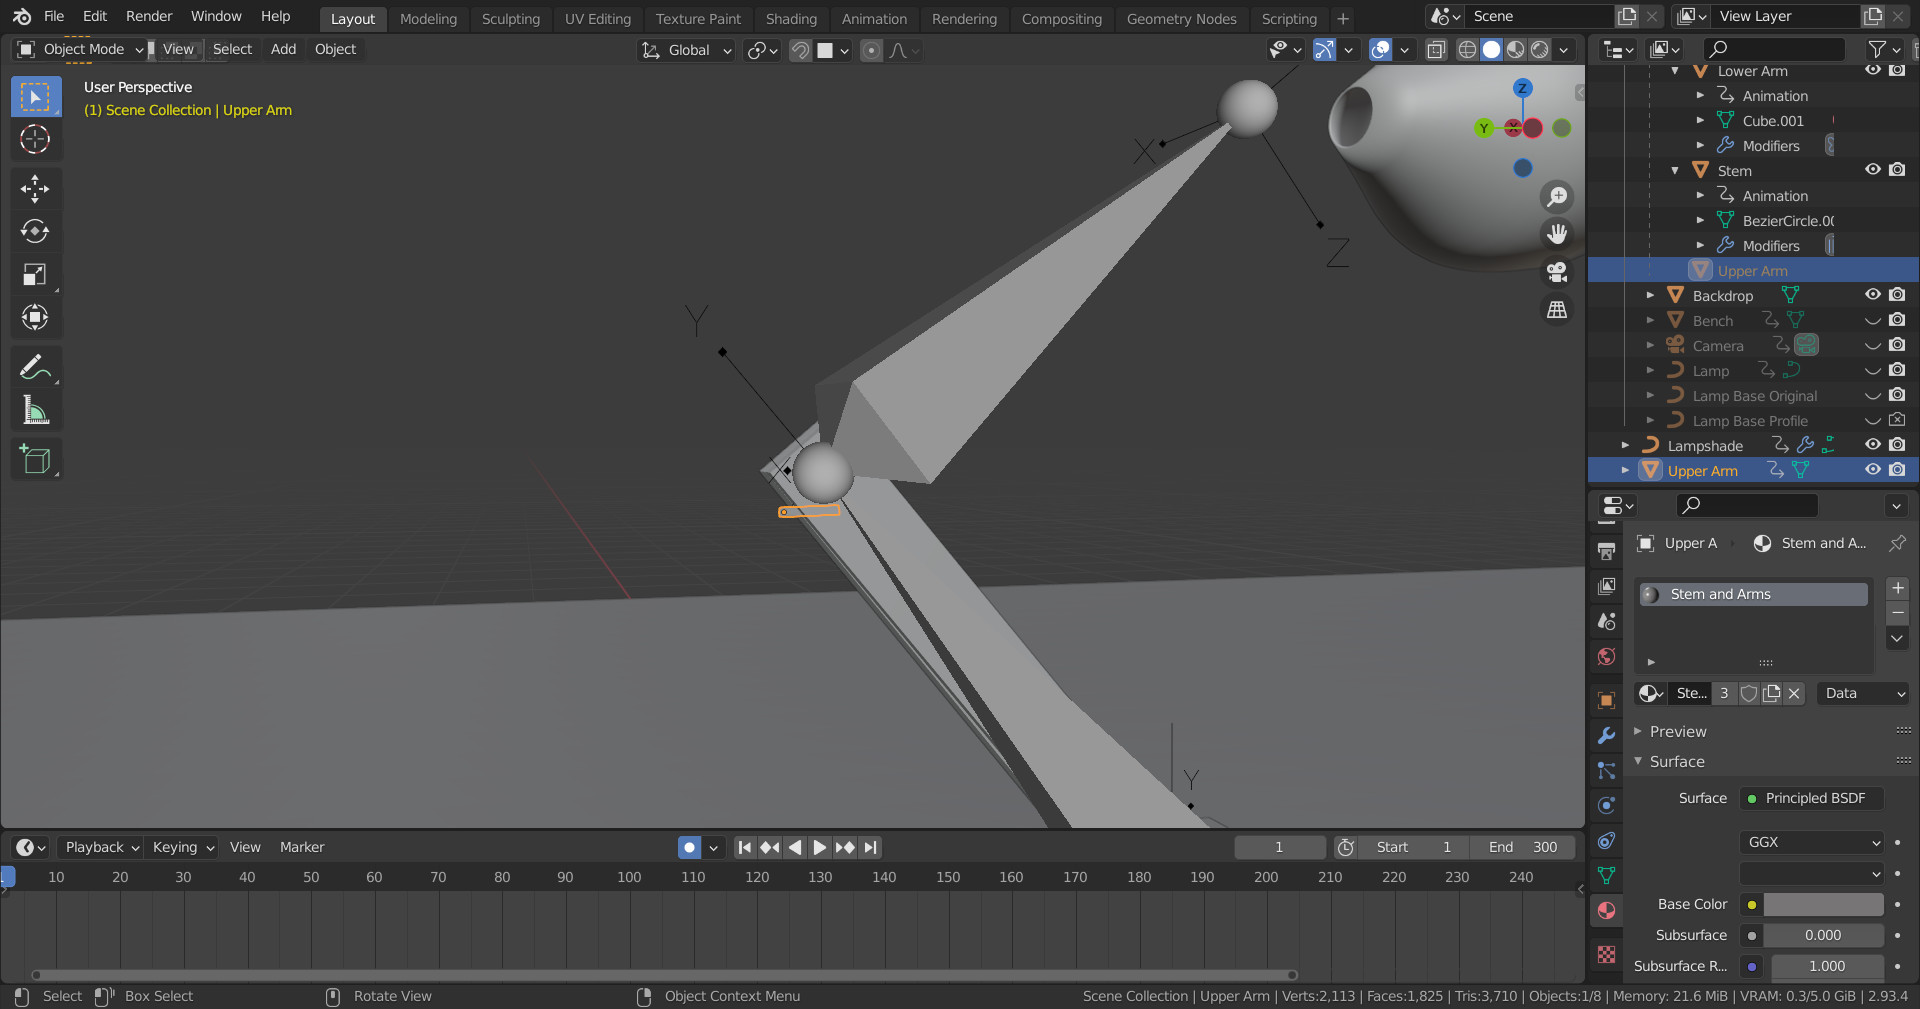
Ok the upper arm one is simple. It is so small it is inside the top of the lower arms. It is tiny, applied the scale and it reappears. Perhaps some of this came about by you experimenting trying to find or fix it?

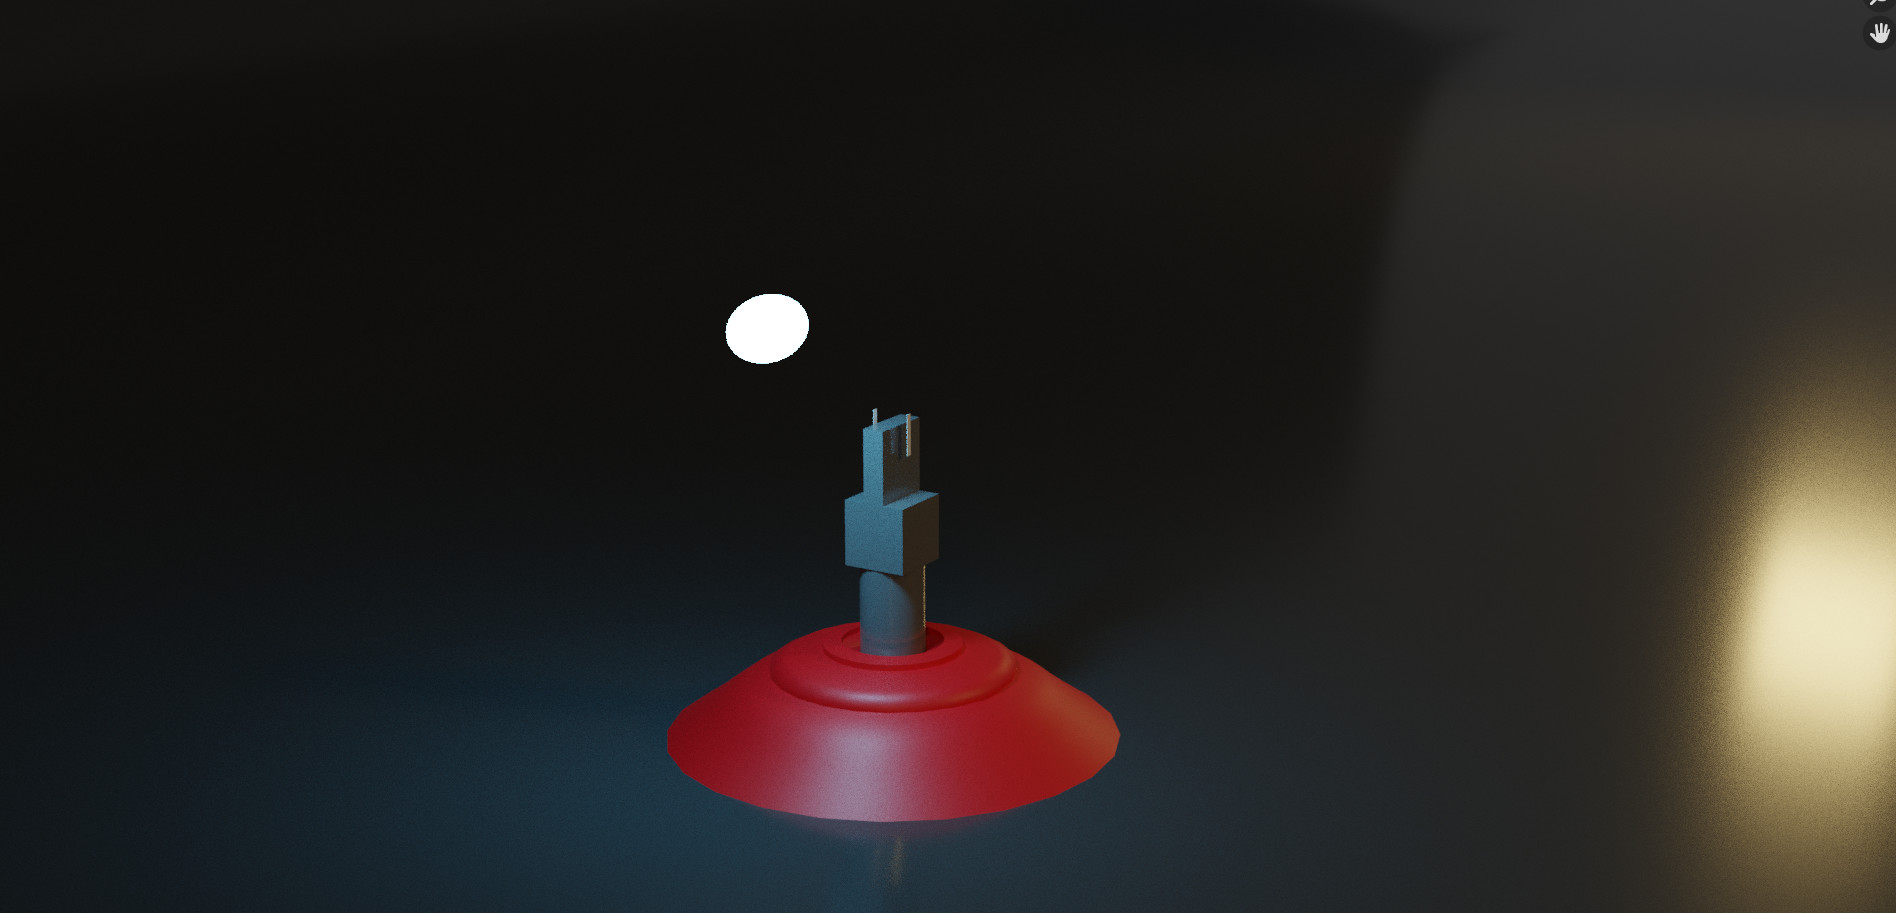
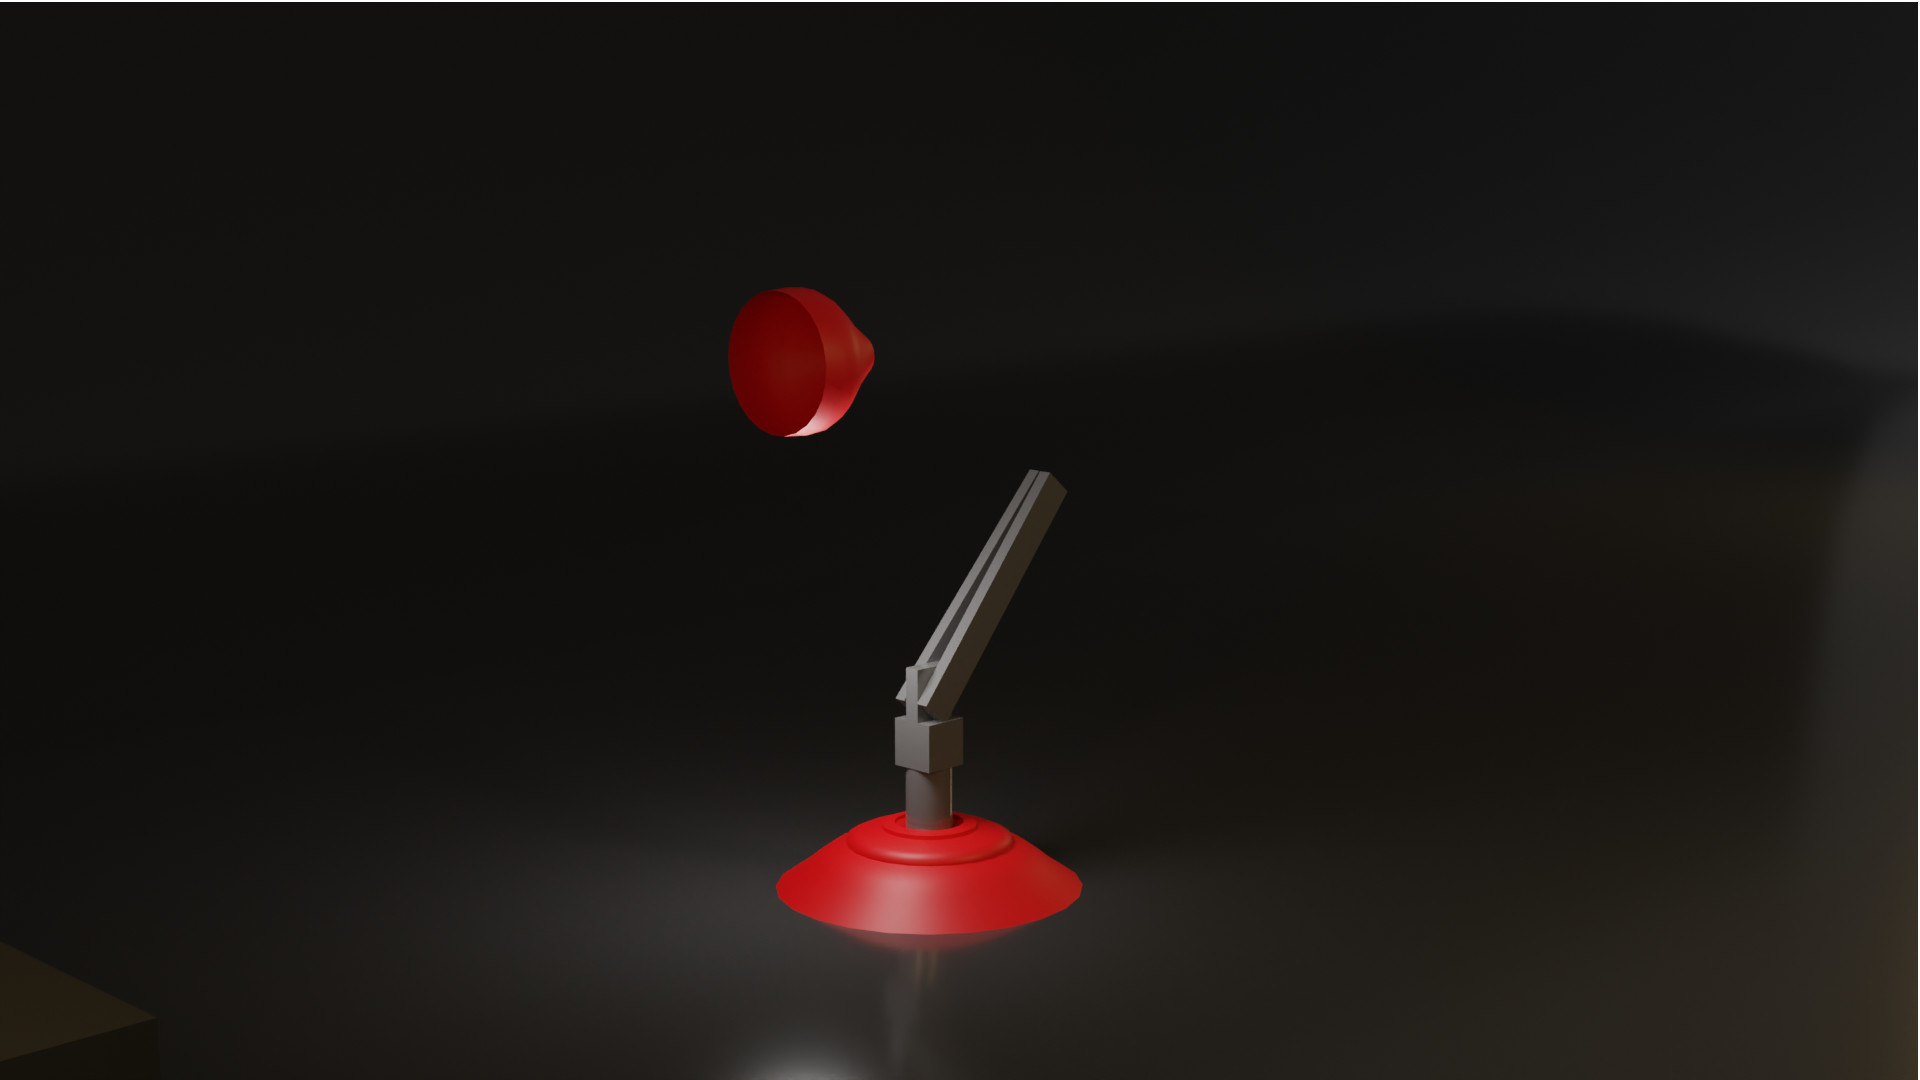
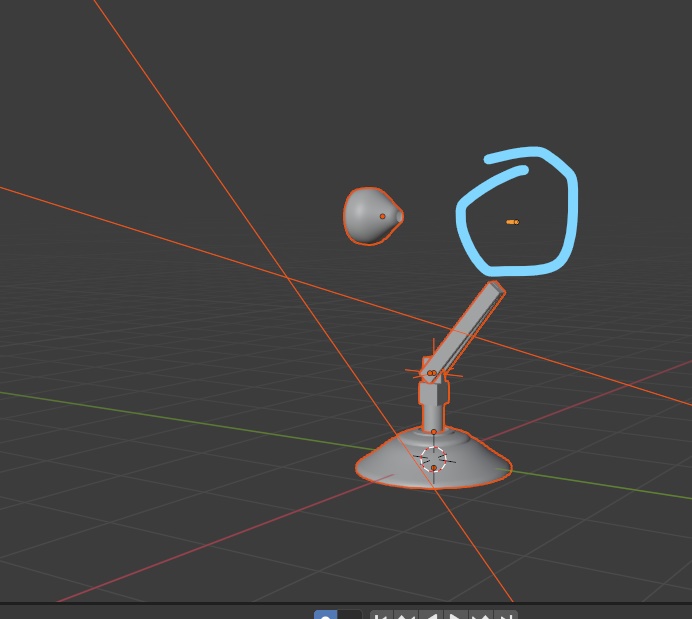
Most of the model is inaccurate. That is why the lower arms meet at one end they are leaning like that to start with before the mirror is applied. They also have a twist on them in another rotation. The stem is not central. The top arm when made full size is also wonky.

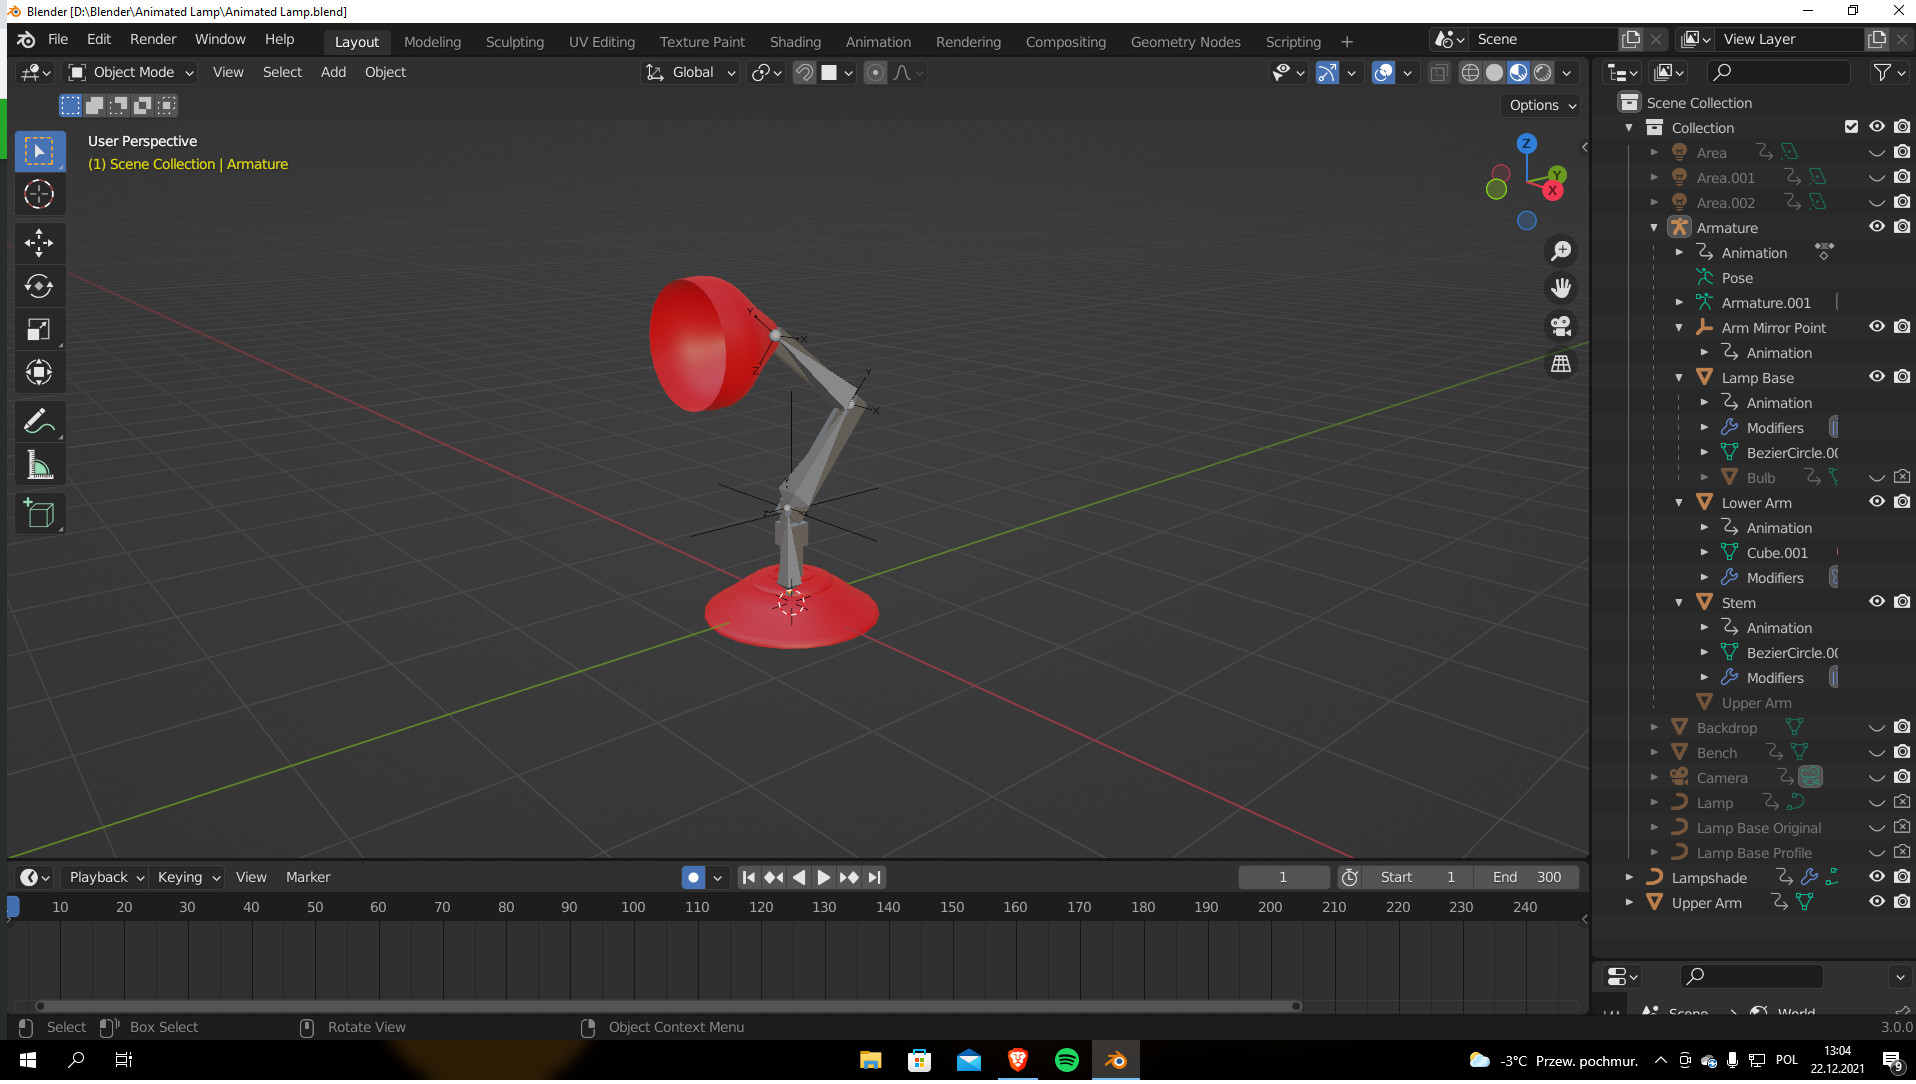
The armature is wonky too.

You could fix it Starting with applying scales then making every object central etc. However it is probably easier to start again. Make sure only to work in Orthographic mode! Side top front etc.

1 Like

Ok!

I got it !

There happened to have some problems because somehow you kept auto - keying on. Have a look at this:

Again, out of this your upper arm got distorted, and probably out of the fact of scaling. Look at this

Also, you might would like to have a relook on the position of the Bulb.

Again, have a look of the upper arm position

And, here has gone your Lamp’s upper Arm out of scaling and Auto - Keying

If it would have happened to me, I would have searched for the saved file prior to adding armatures. In case, I would have forgotten doing that, I will prefer reworkings.

1 Like

And, @NP5 has guided you with utmost precision. Care to read him minutely.

Well spotted on the auto keyframing. I deleted the animation as a first step it was serving no use.
That auto keyframing has come about as needed for the grease pencil to work in later Blender versions and has caught out a few students who leave it on afterwards. It is a really annoying change. Mind you I would not have touched GP at all it is a quirk of Mikey’s that he uses it. :grinning_face_with_smiling_eyes:

1 Like

Yeah Mickey is too quick at some points :grinning:

I personally will never use Auto Keying unless I am on Mocap

1 Like

Privacy & Terms