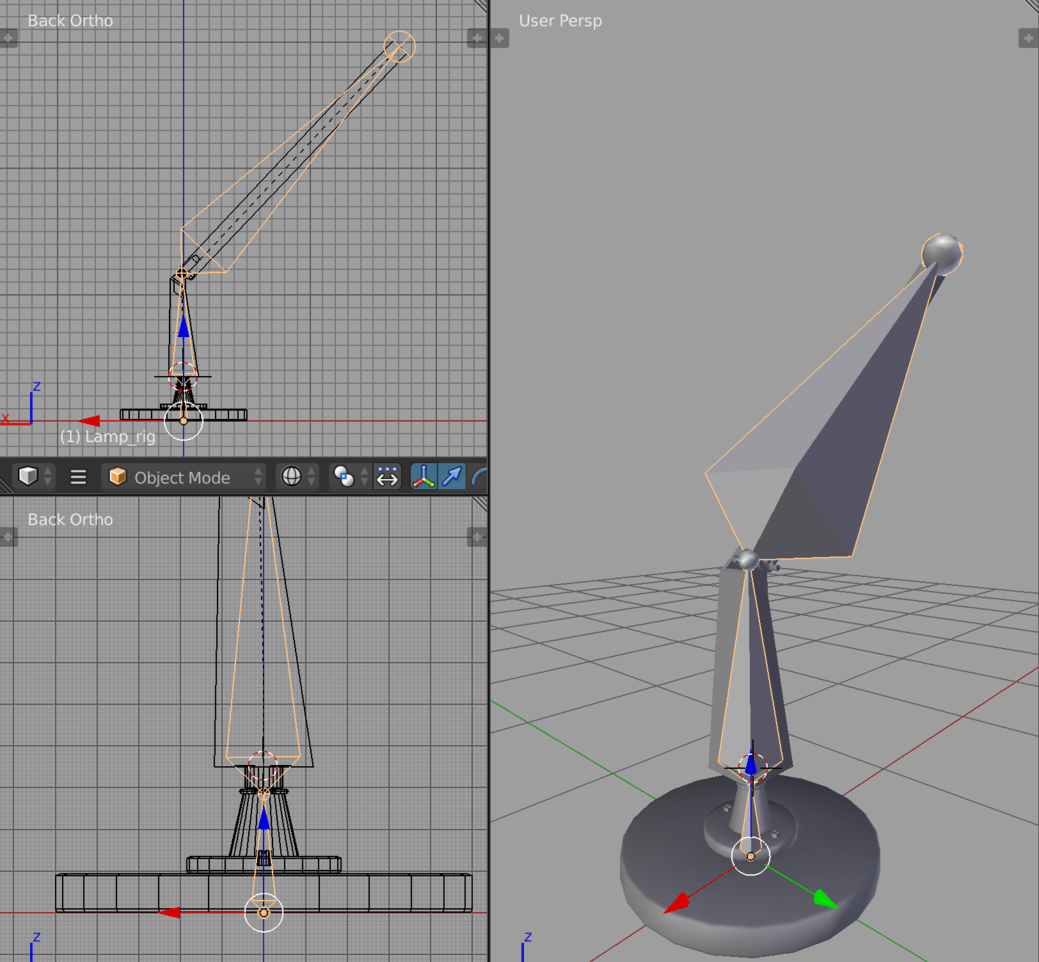
First of all, It’s a really bad thing that a bone can hide the geometry I think.
Because of that I could not discover that my mesh:es had gone all whacky…
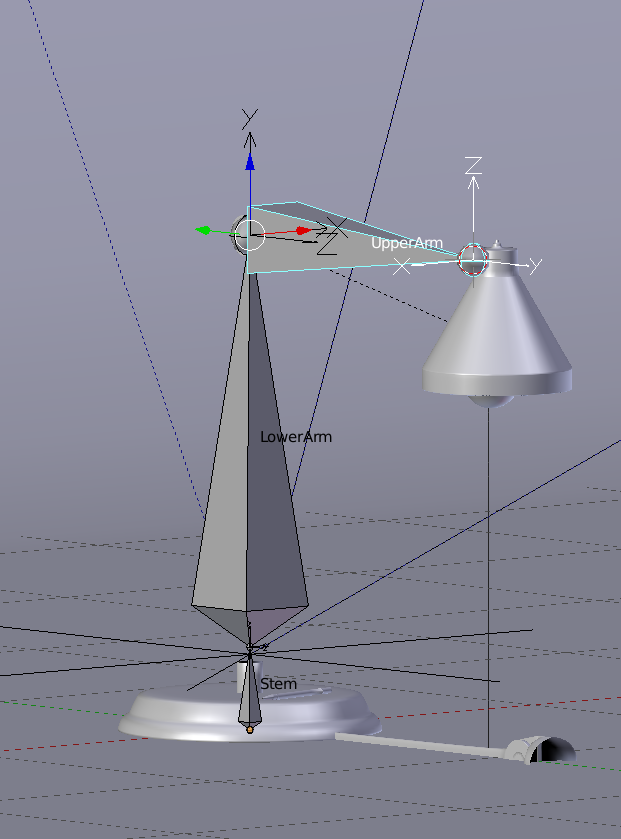
… but of course it is fixable, i think… Yep, unparenting the mesh:es restored positions
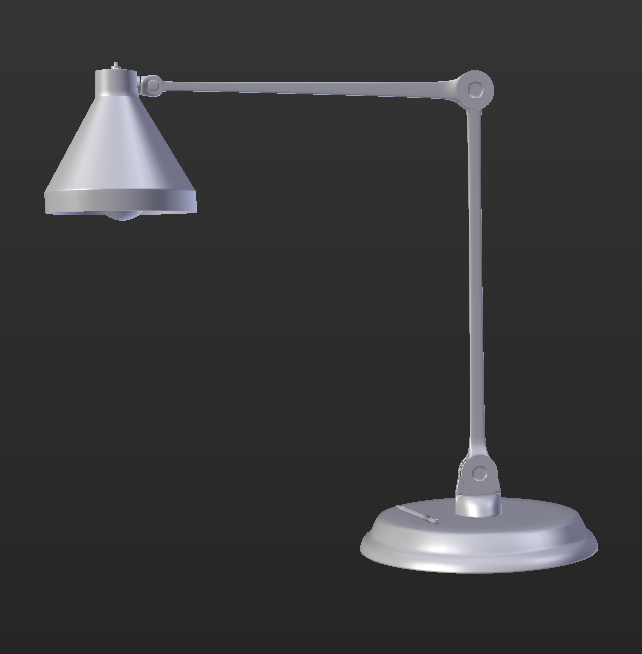
Now, I really don’t like the fat bones hiding my mesh. It makes it hard to see what I’m doing.
… so I set the armature shape to Stick!
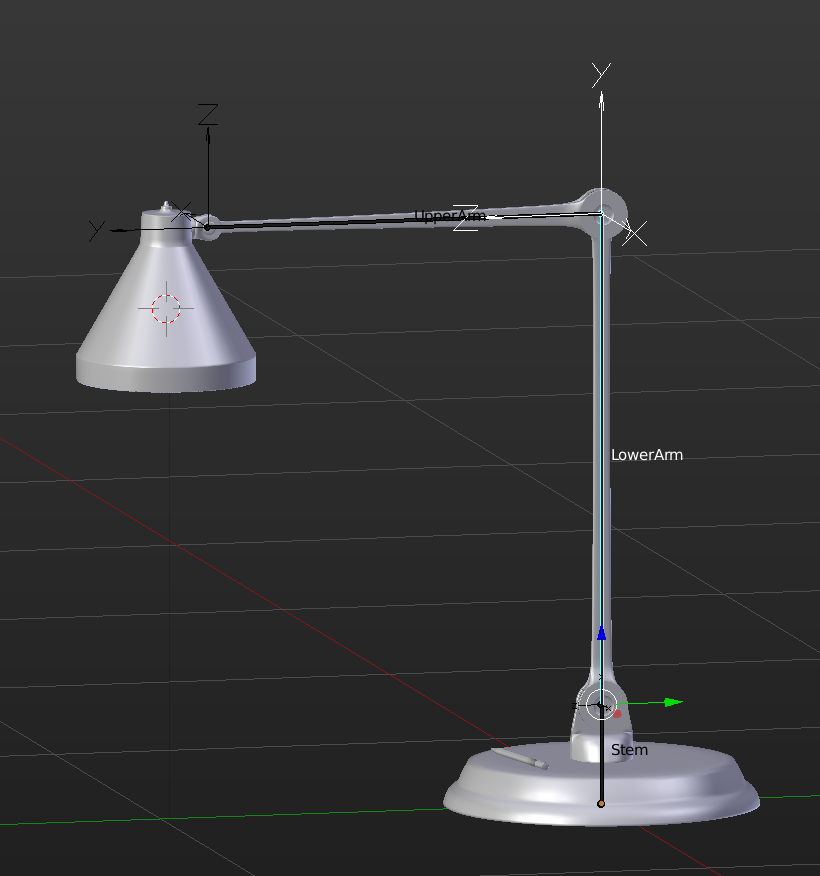
OK! Thats what I’m talking about! 
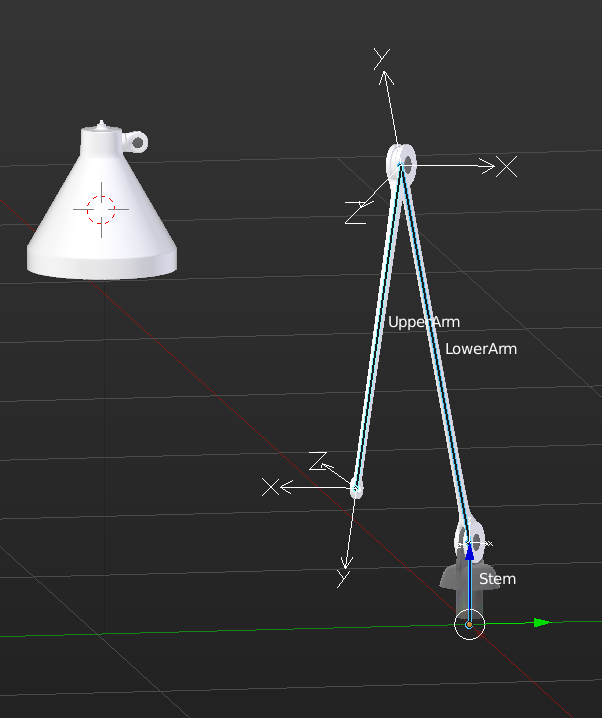
Now I can check that parented parts move as expected…
The I used local edit on the next mesh. Here I selected the verts that let me move the cursor to the next joint.
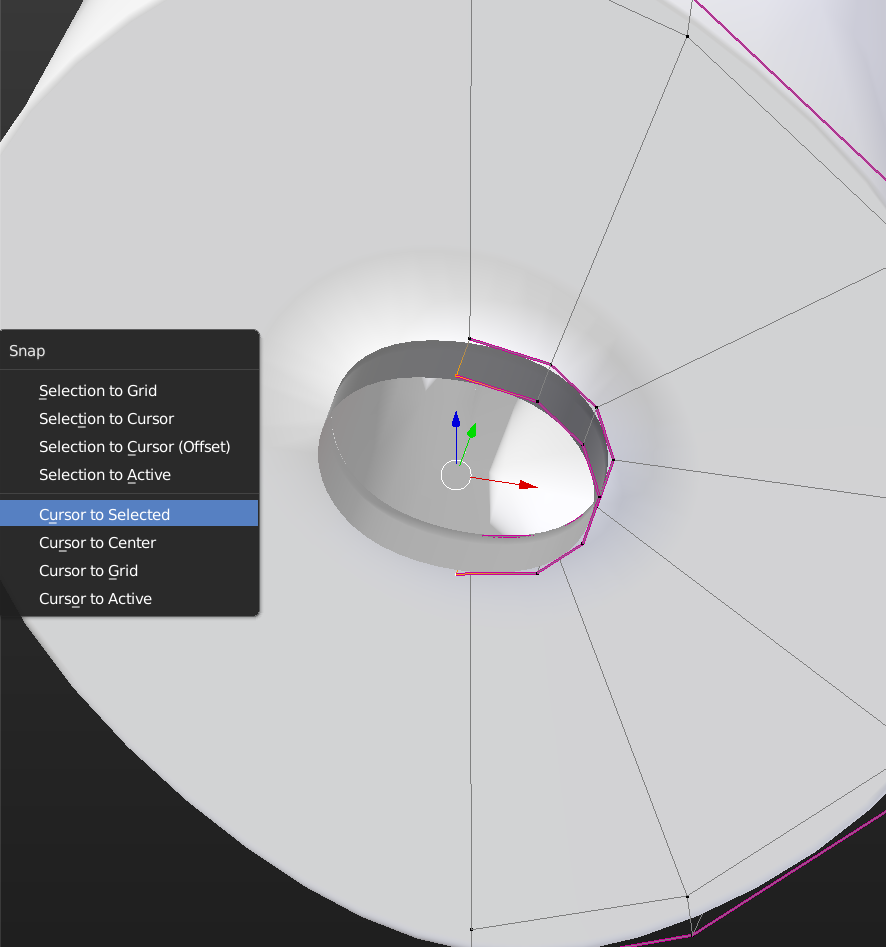
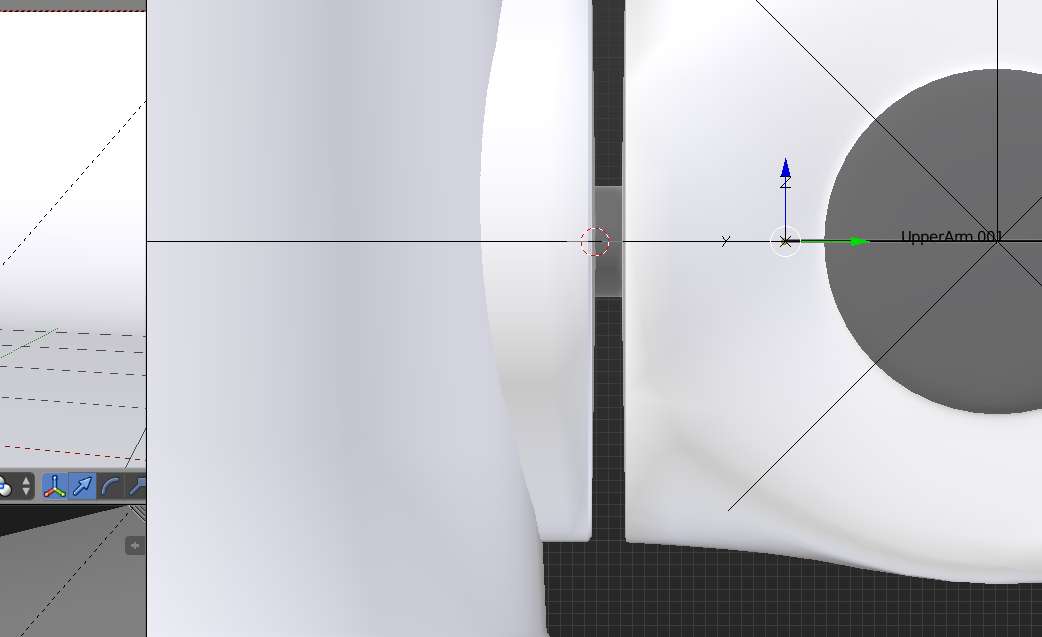
Then I use the cursor when extruding the next bone…
Finally I posed the Lamp…
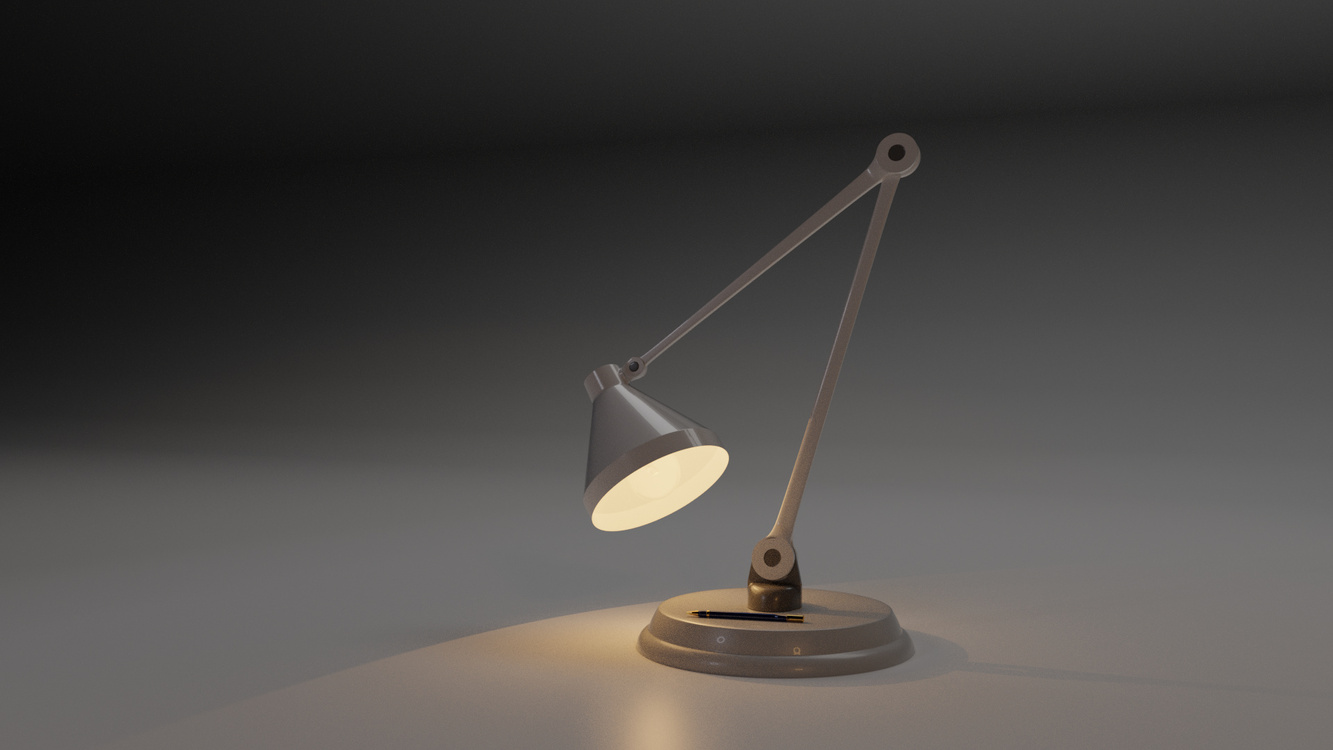
… and restored it.
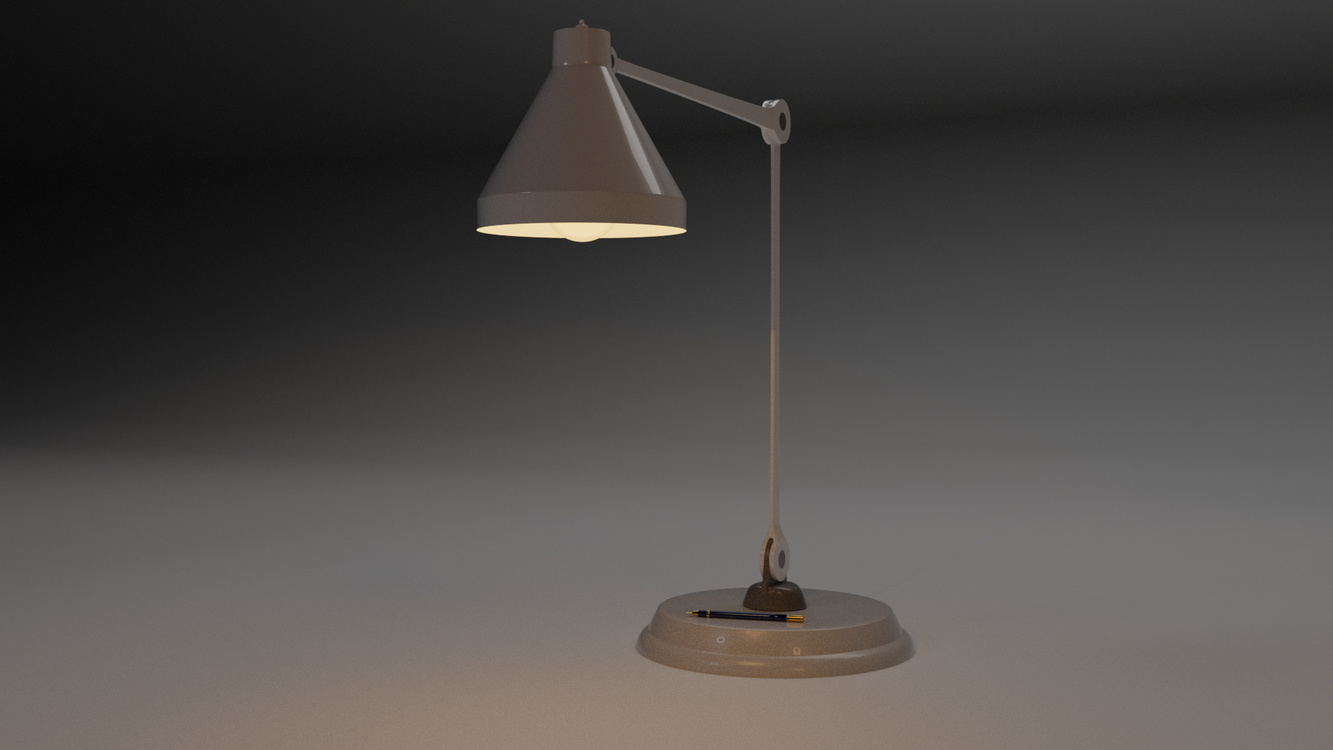
It helped that all the neutral pose has arm-angles either straight or 90d and along one of the axis 
5 Likes
Looks great! Love the pen detail.
1 Like
Hey there! I also couldn’t tell my joints were in odd places because of the chunky bones! I wish there was a setting to make the “body” of the bones skinnier, as I do like the visual cue to the direction of the joint flow. Maybe it’s a setting somewhere? I hope? Anyways, here’s what mine looks like so far- not yet as pretty as yours Jonas_Pritzen 
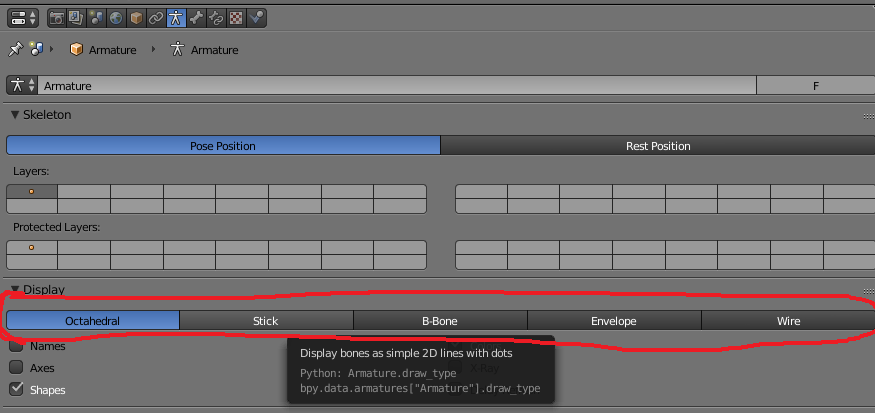
@BriannaELeahy There is a setting for it in the armature properties. There are 5 different shapes to choose from.
1 Like
Oh thank you for taking the time NixeKnox 
I just wish there were more in-depth settings to keep the Octahedral shape (I like that it makes an “arrow” of sorts), but to have further settings to allow you to change the “body”-size of the arrow! I know Maya has an option for sizing…I am curious if the same option is possible hid somewhere else in Blender!
Me being picky I guess 
Thanks so much again!
@BriannaELeahy Ah, I get it. No control option that I’m aware of, but you can set custom shapes for the bones.
This is tutorial is for 2.69 but it still works.
1 Like
Oh you are awesome @NixeKnox ! Thank you! I will definitely be playing with that for my own rigs later!
Thanks so much!!! 
1 Like