The biggest problem I encountered was the applying of the mirror modifier.
Some vertices in the middle went wrong. And a lot of faces in the UV-map turned to green (stretching problems). But I fixed them, by merging vertices. And adding more seems to the model body and legs. After this no problems at all.
Also, a strange effect was that all my object where uniform scale 1. But they did UV unwrap that way. I needed to select all objects, and apply the scale.
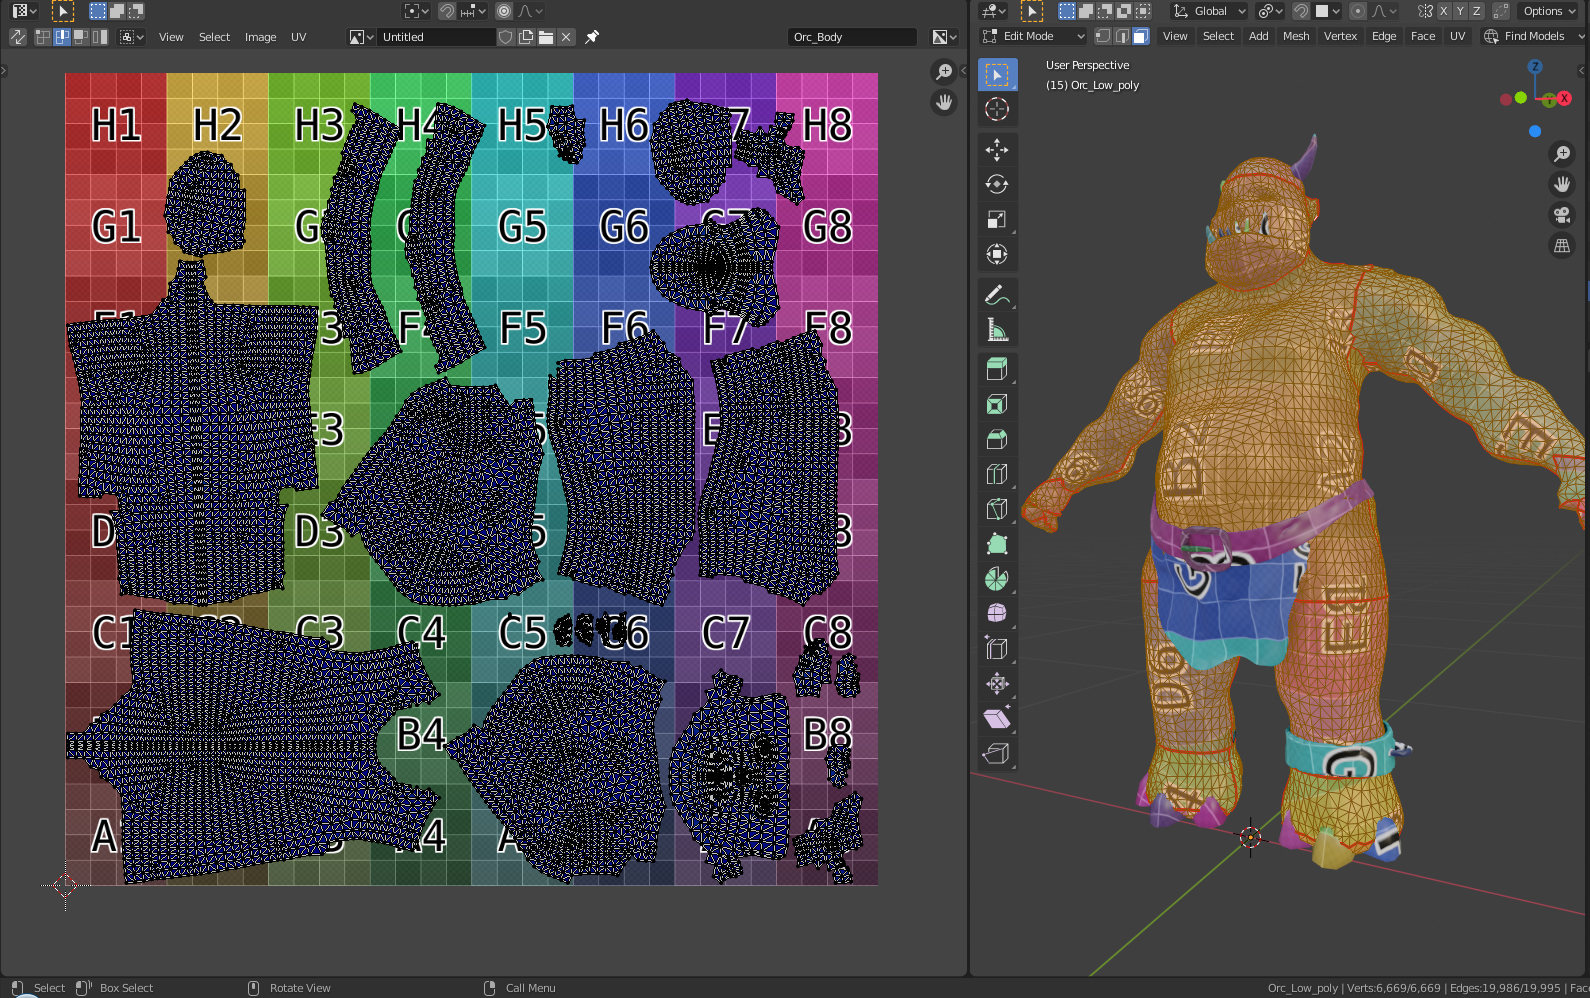
After seeing this image, I think we need a texture map of the size of 4k. Because the face has about a space of 800px square. Too low I think. But will see.
5 Likes
Nicely laid out map. I always like to have space between pieces, AND round the edges of my maps, but I’ve seen folks leave things exactly as Blender unwraps them, and I often find that a waste of good space. Besides, I always like enough space to take care of color bleeding from one piece of the map to another if they are set up for different materials in each area.
To be honest, I want to go to the process.
I know, I can optimize by hand. But that takes time. I only made the uv map for the head bigger.
And yes, the color bleed is also a thing to remember, but I think he will explain that also.
An other point is that the UV are rotated unpleasantly. Sometimes I switch over to GIMP to do some texturing. But is a nightmare with the mouse. And my hand coordination is getting less. So drawing straight lines can be difficult. If also the UV map is bend. But it is what it is. … a learning curve!