I’m not understanding the goal of uv-unwrapping
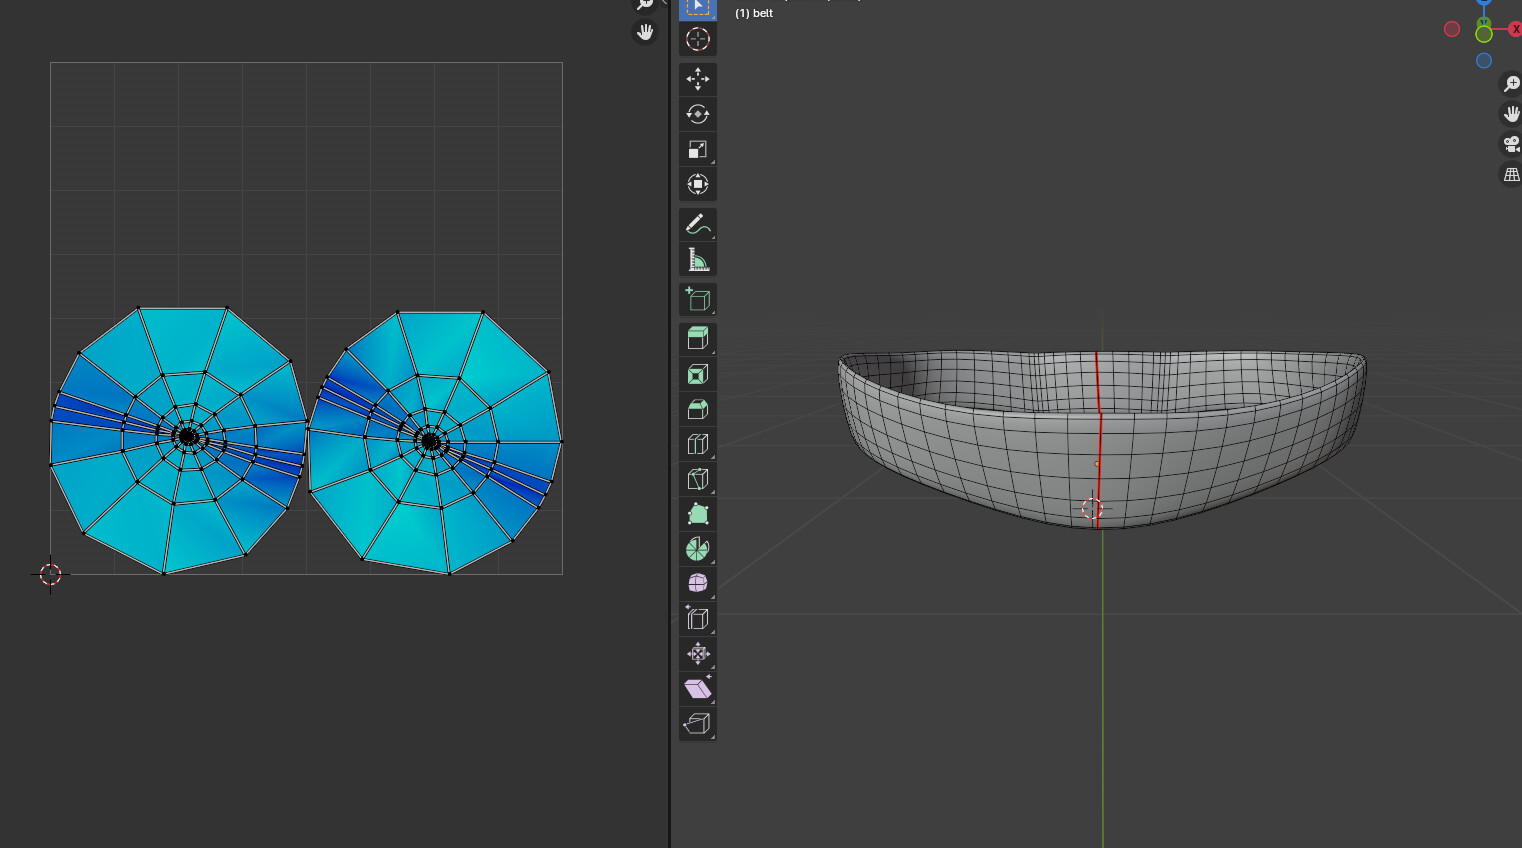
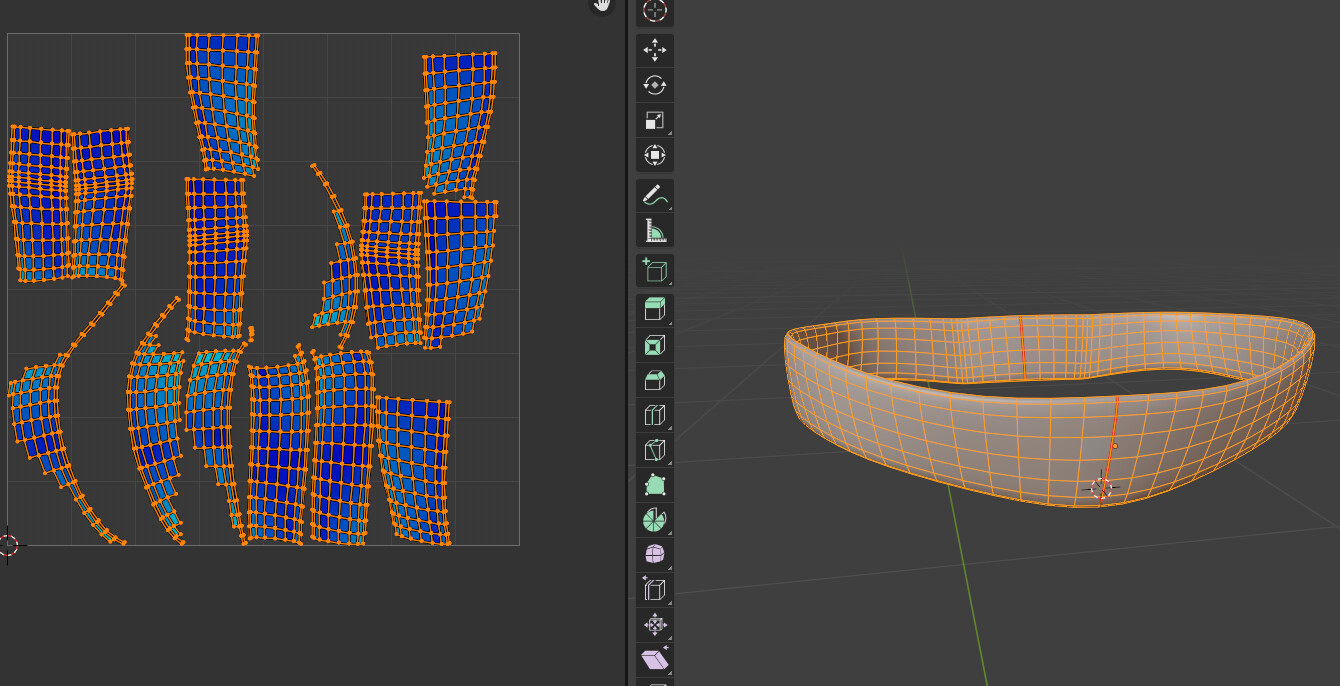
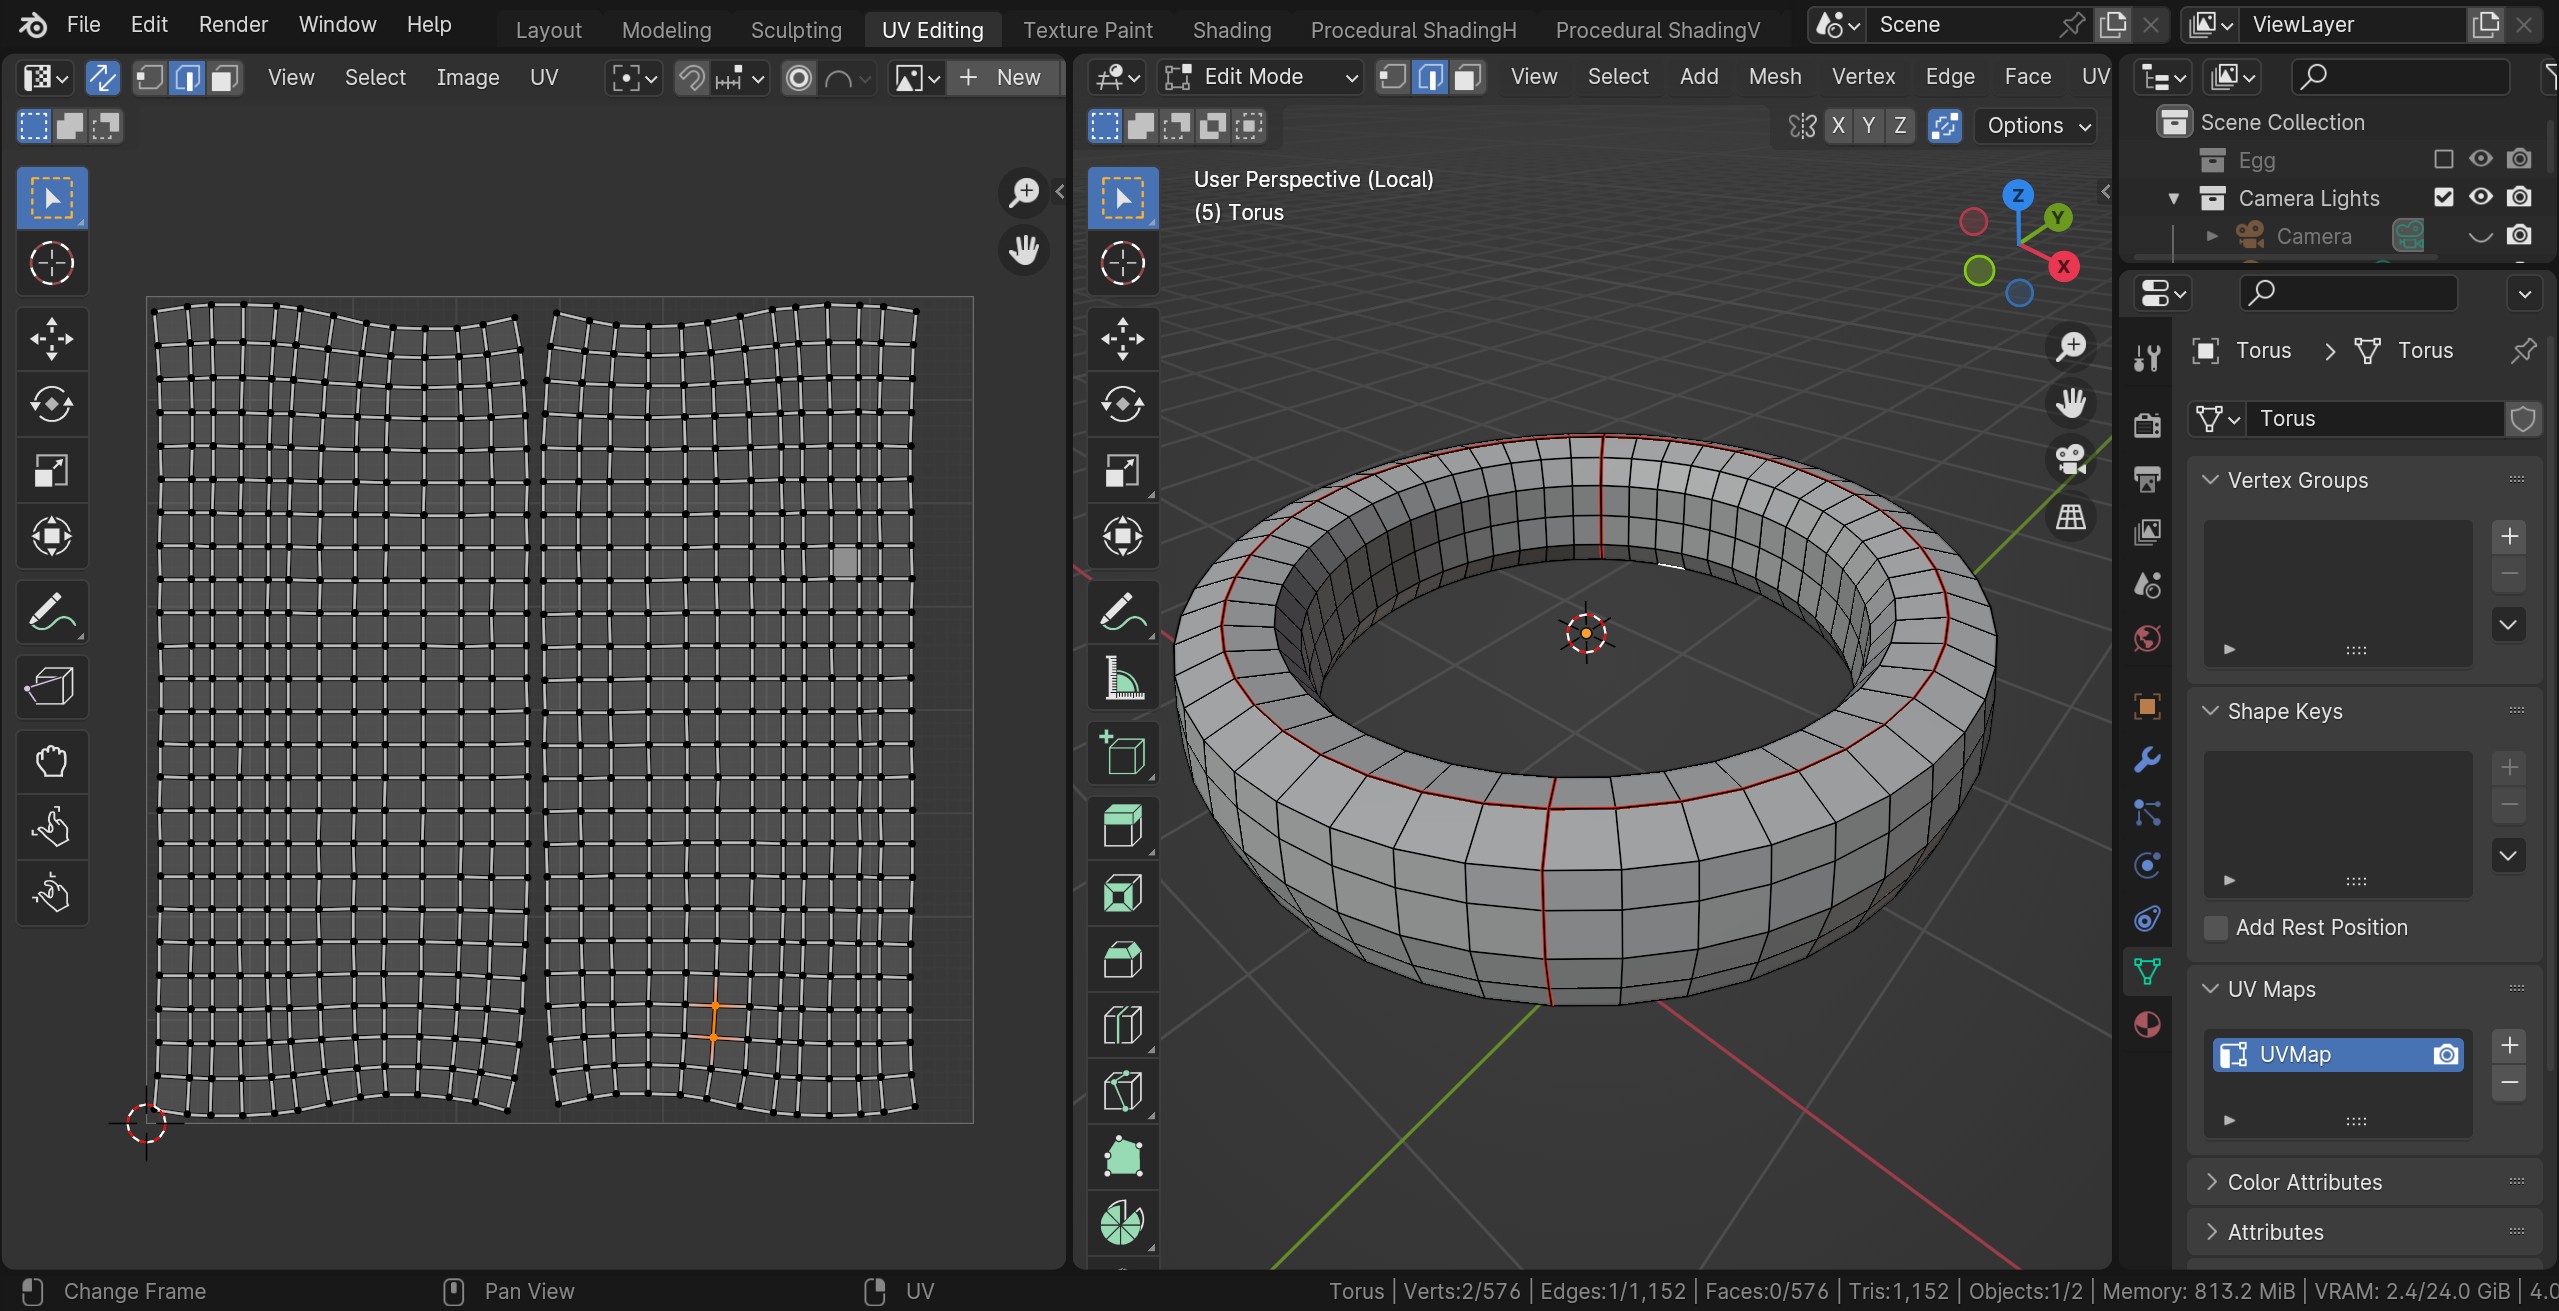
the original belt has about 6k faces, unwrapping with these seams in the middle gives 2 round islands with light blue stretching
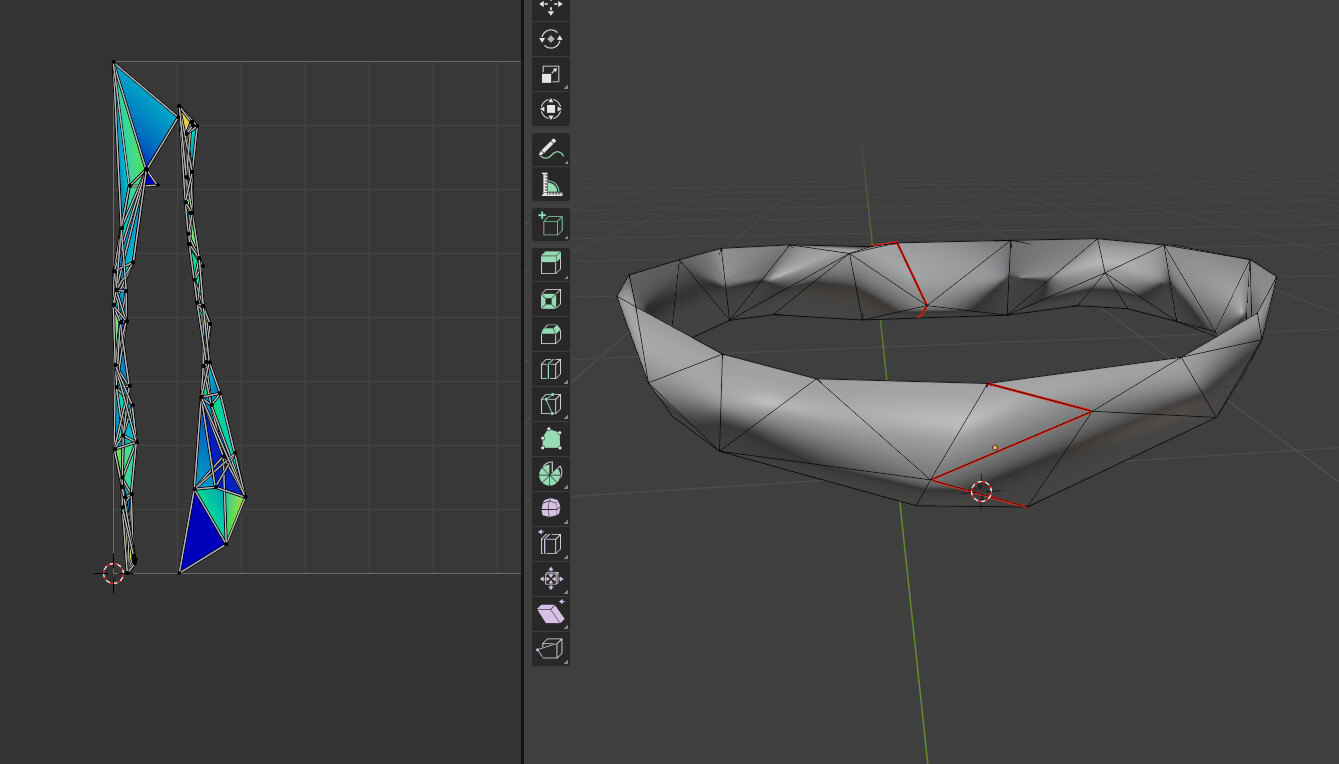
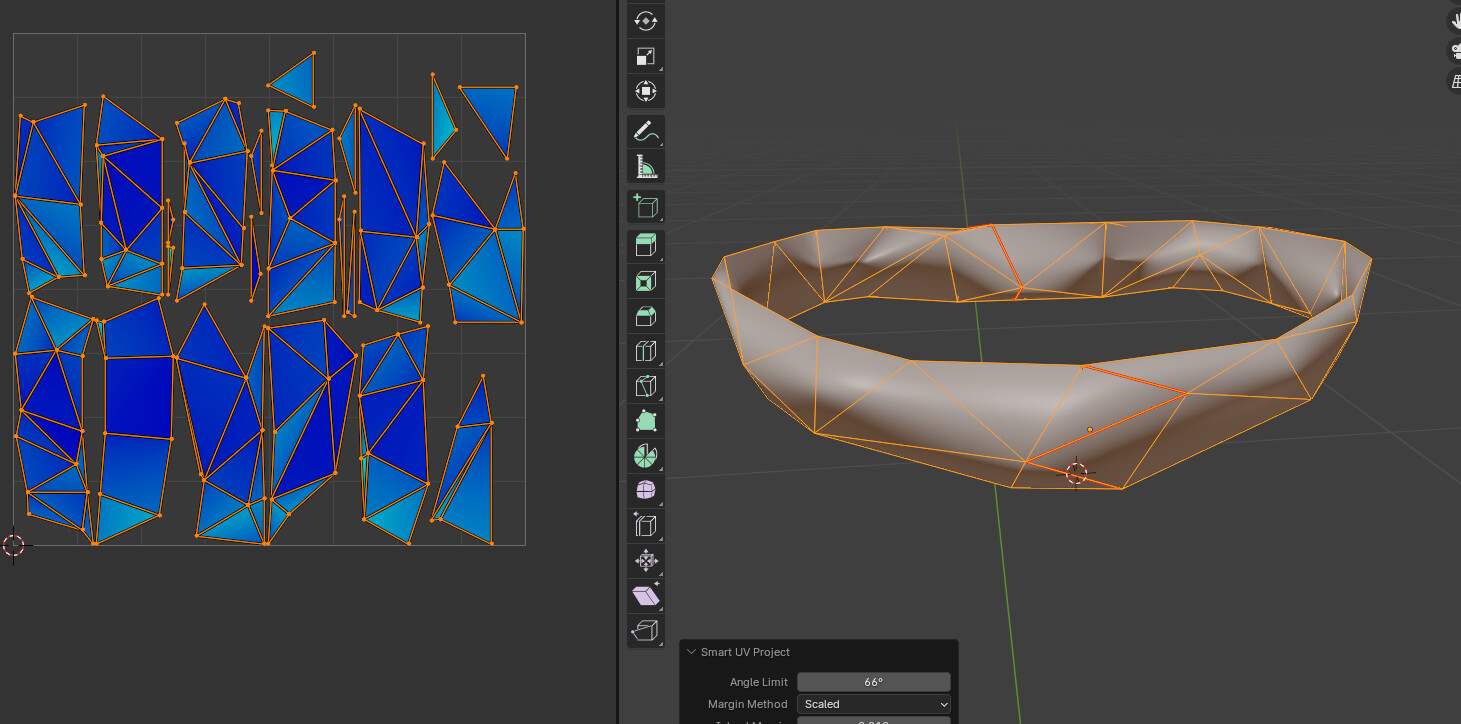
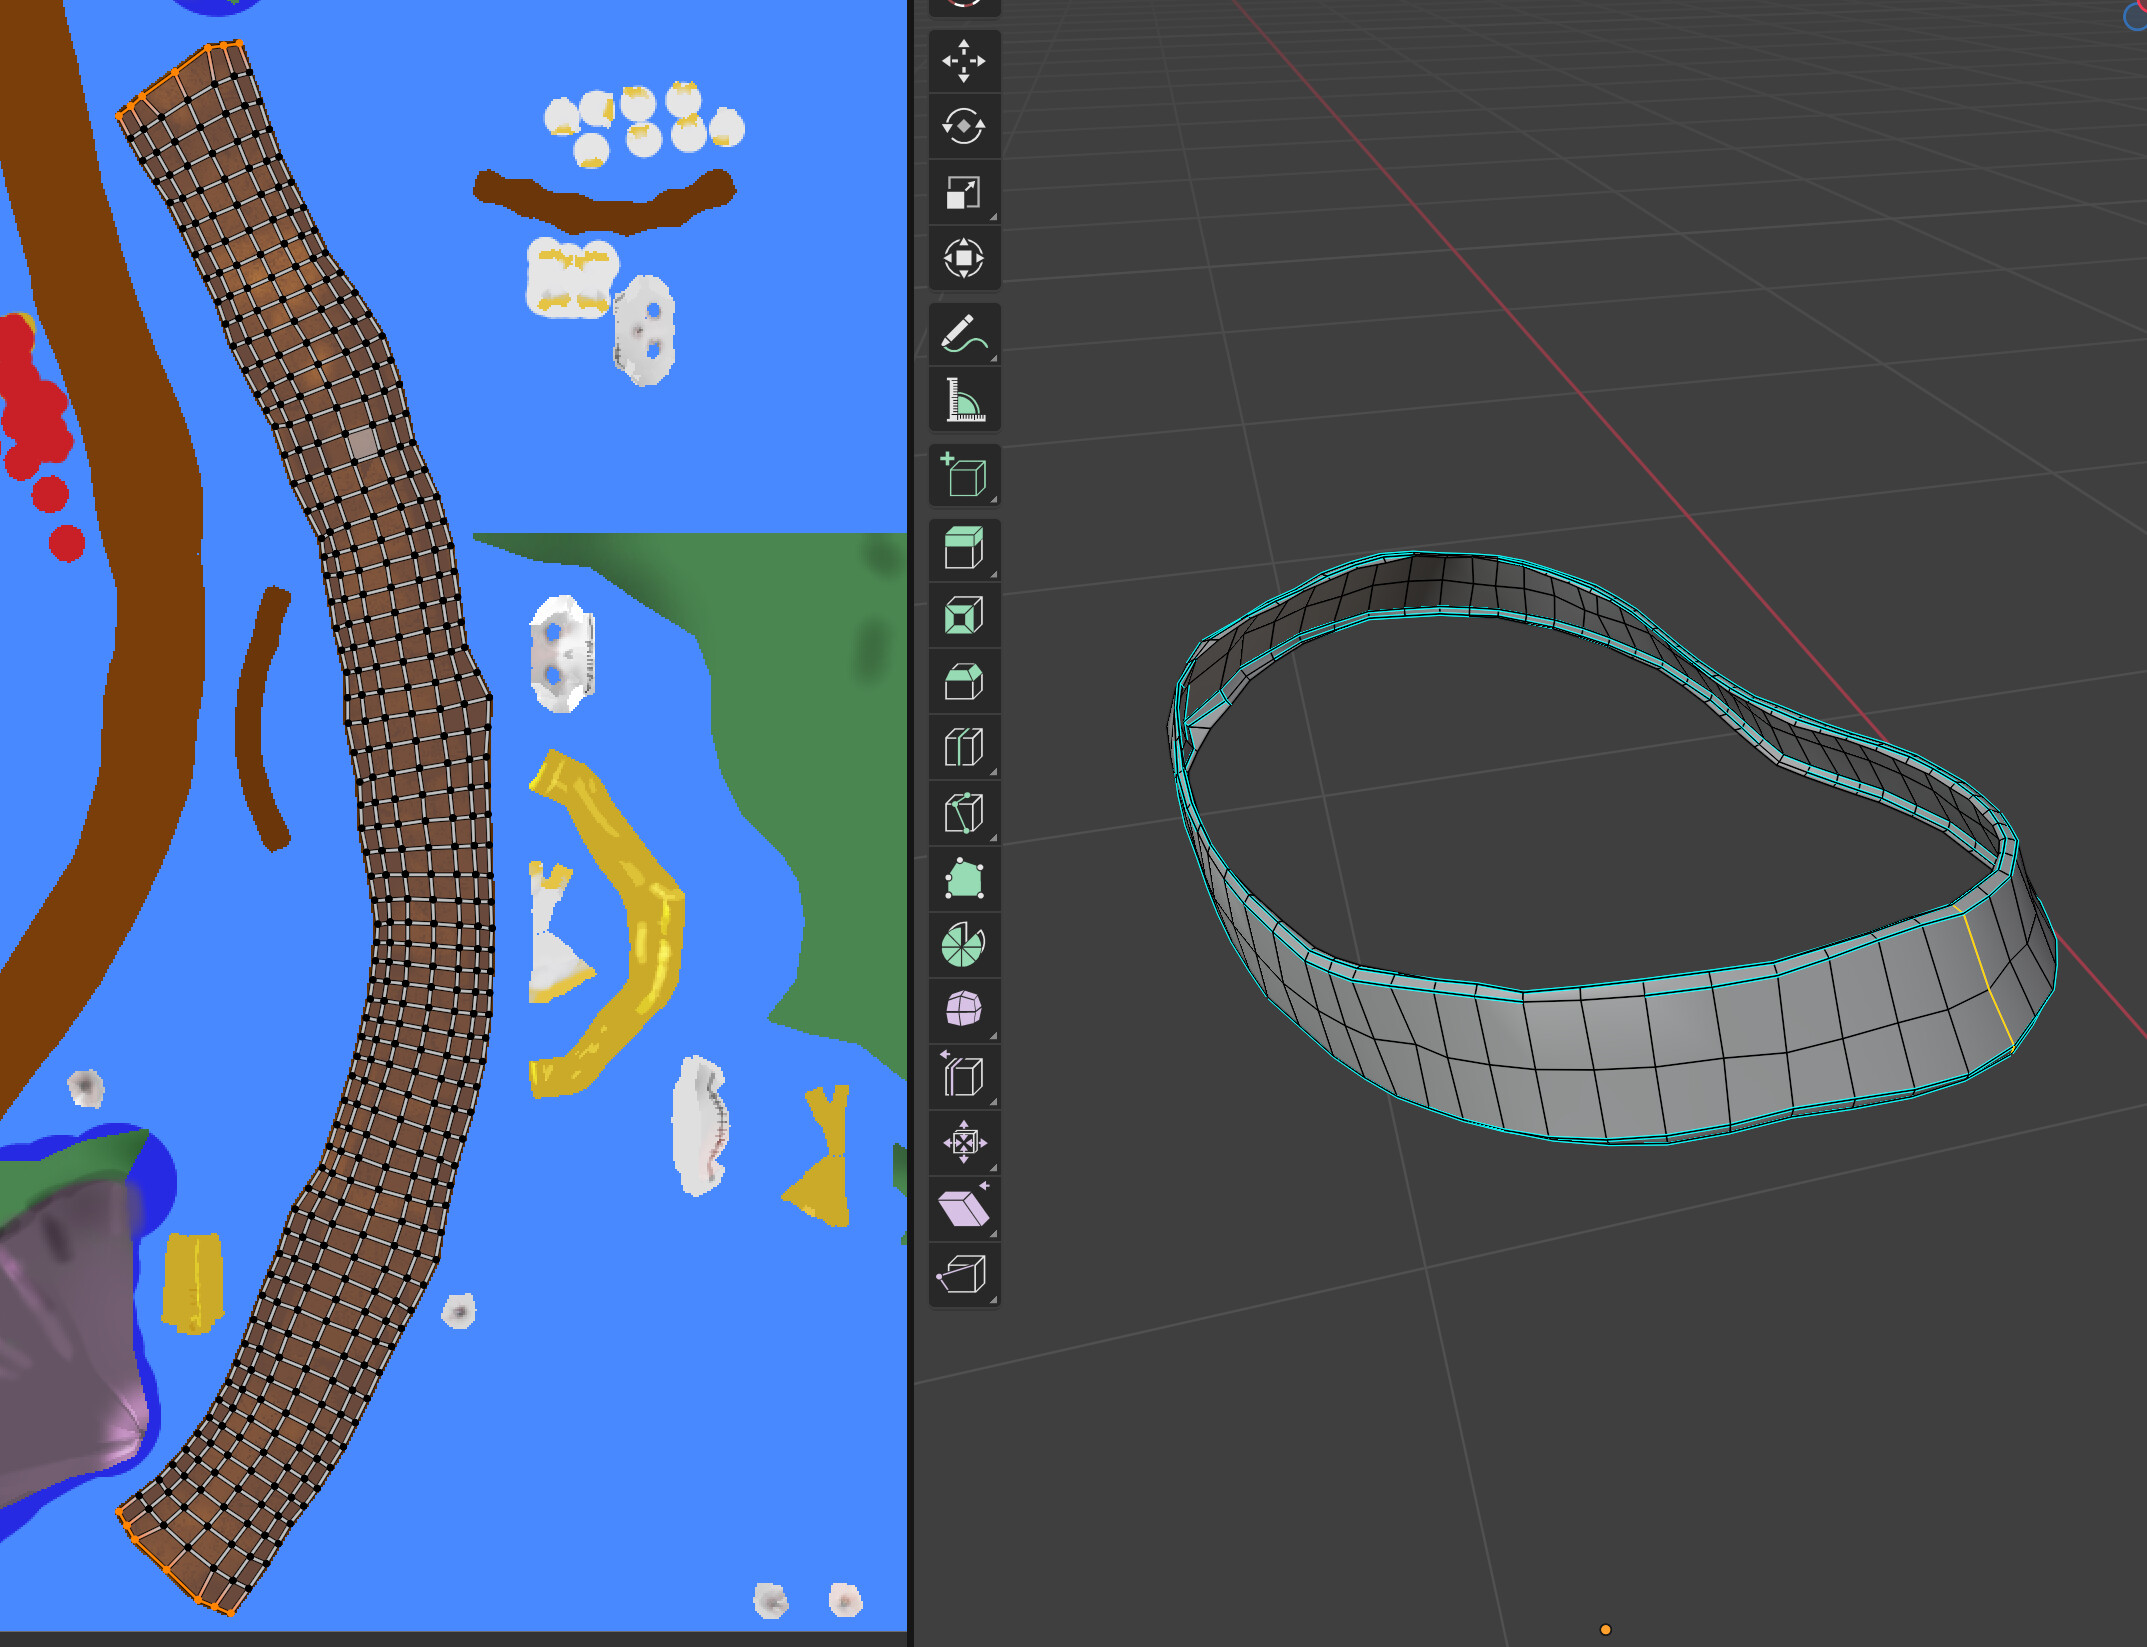
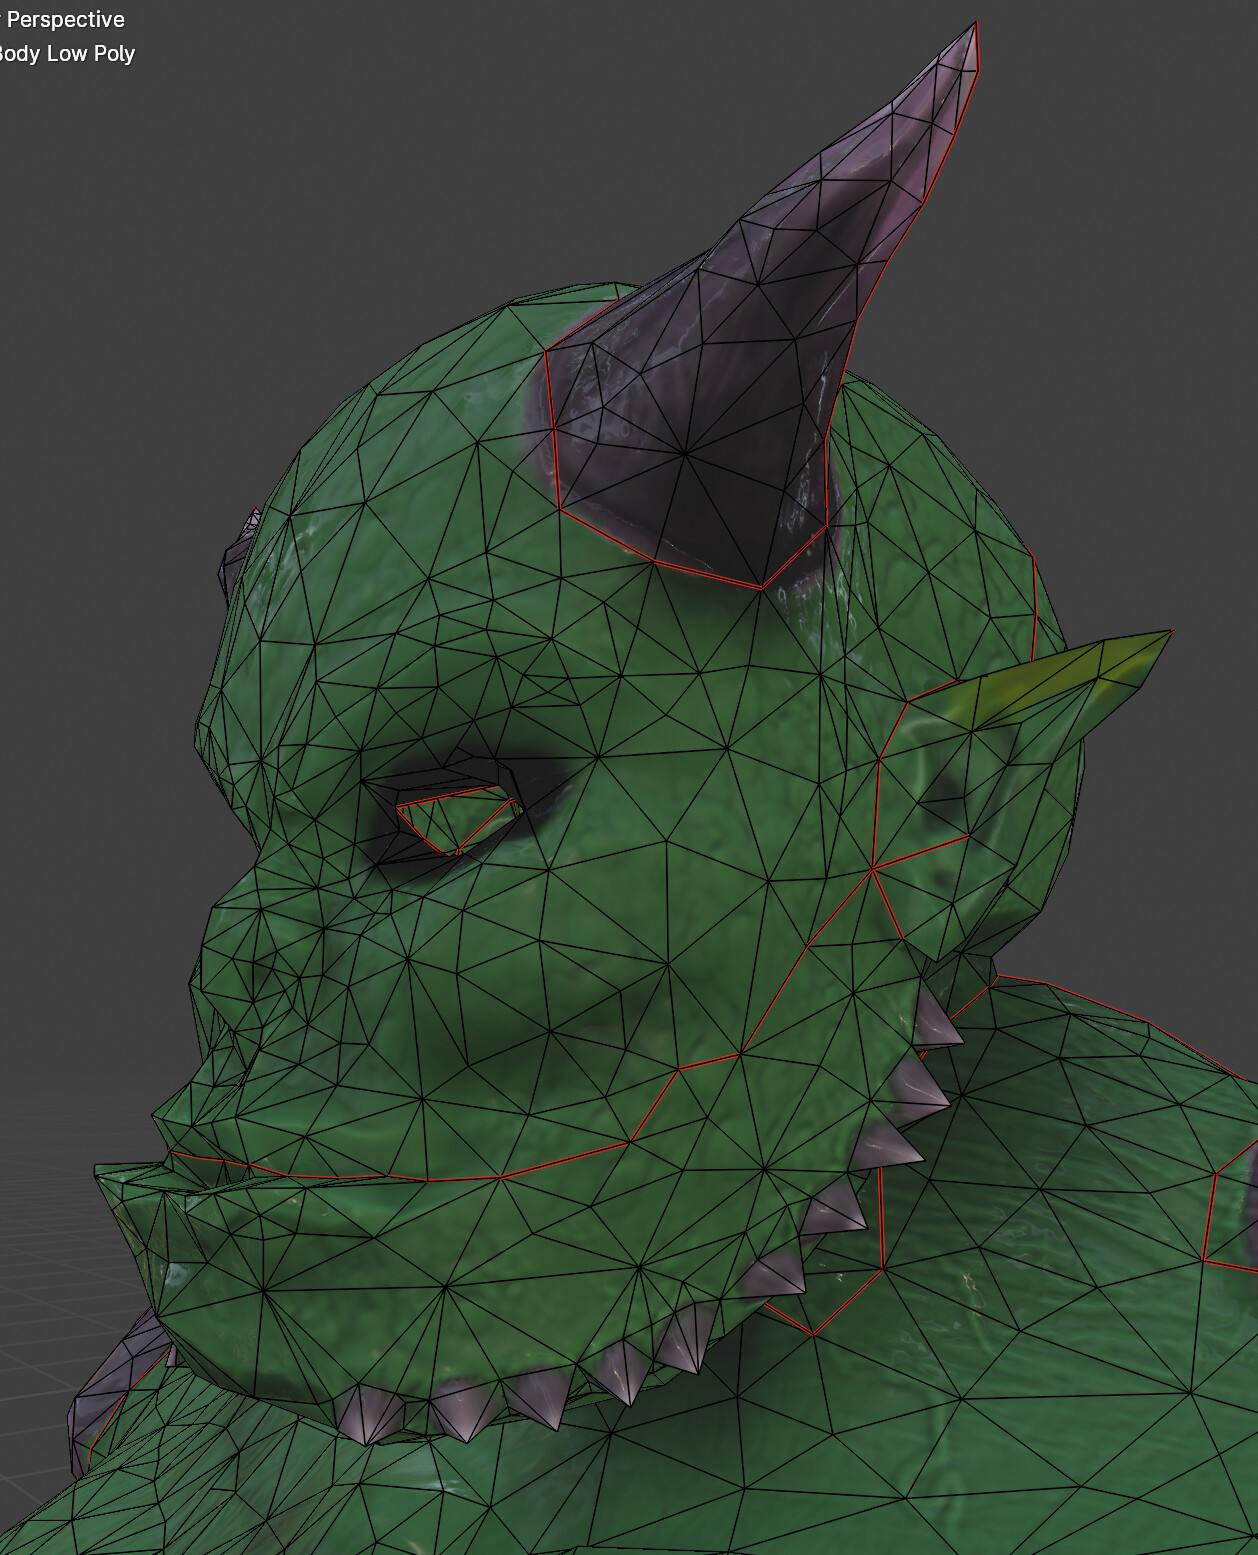
a low polly model with about 100 faces using the decimator makes all these triangles unwrapping with the seams in the middle gives me this mess with green stretching
So what’s the goal here? less islands or less stretching, how would I go about fixing the stretching in the low polly, does the decimate just doesn’t work here?
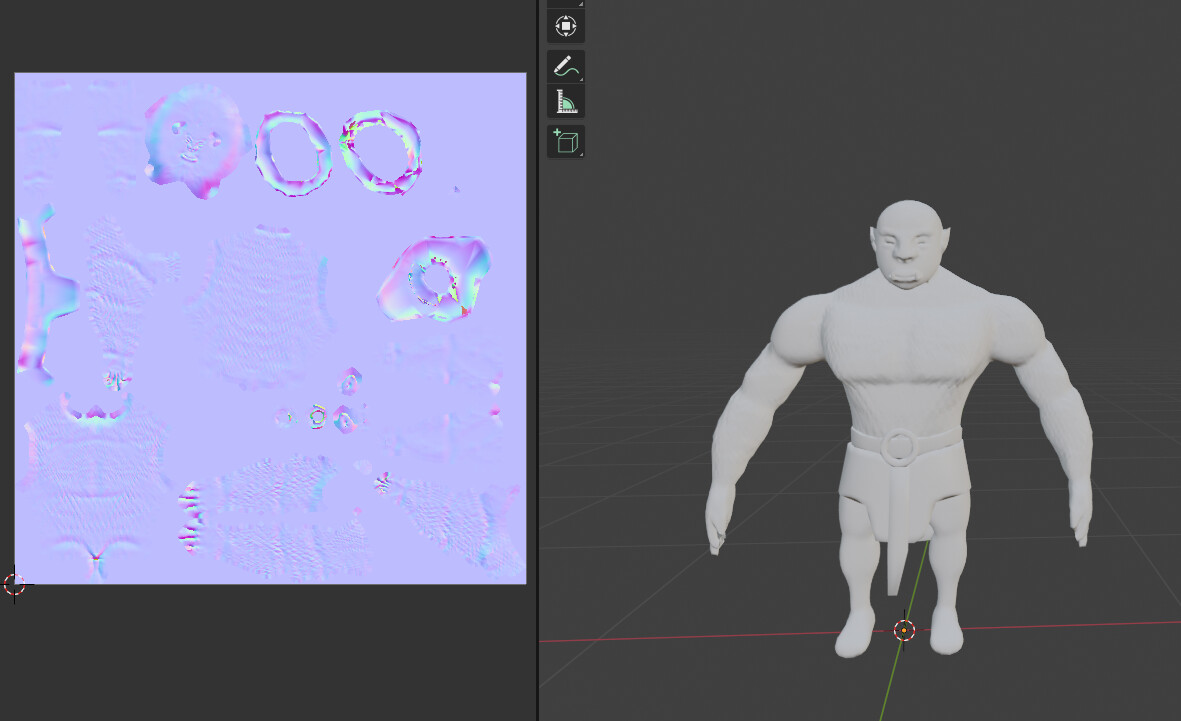
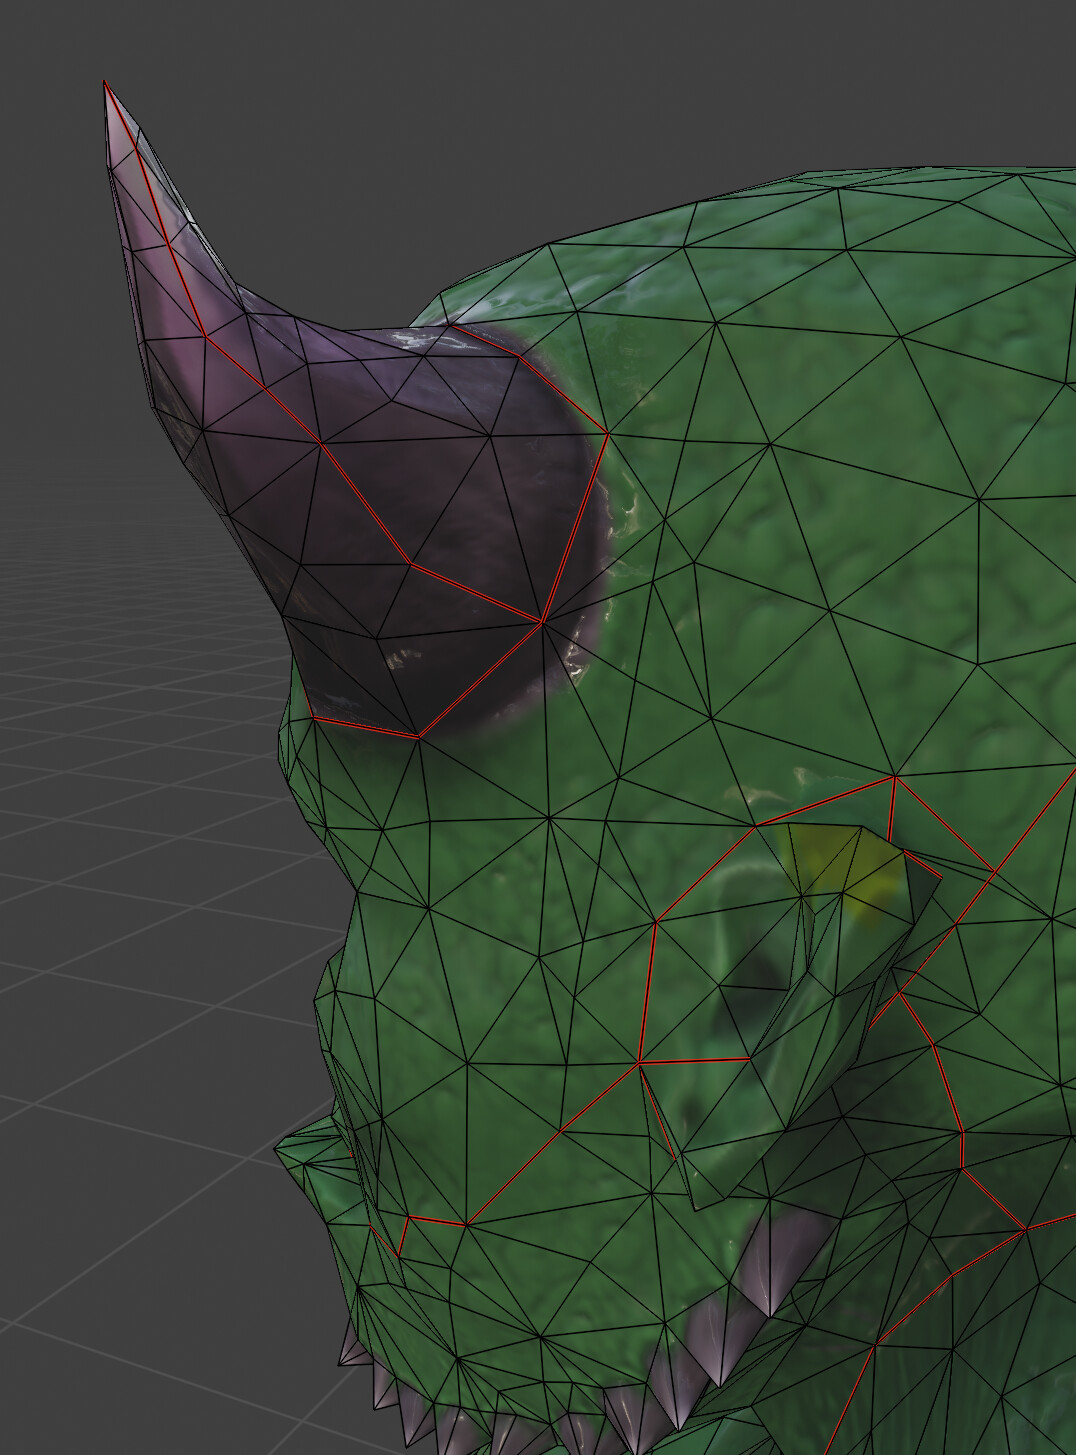
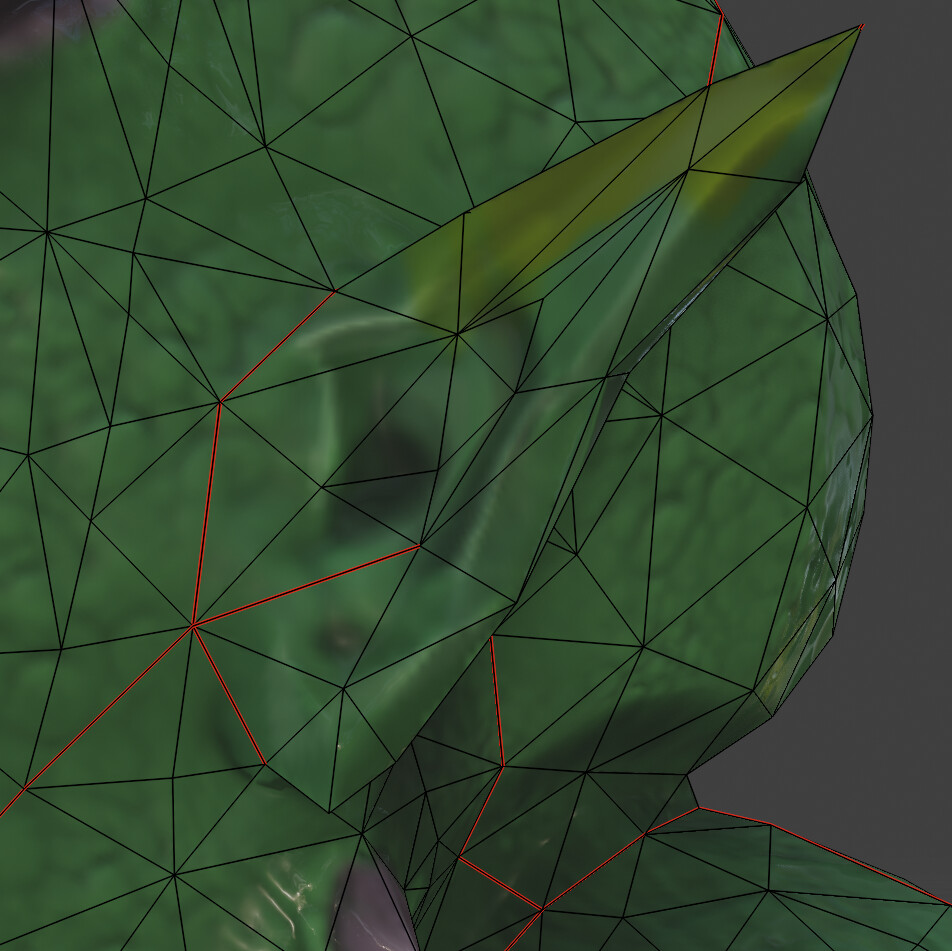
thanks for the tips guys, so in my mind the unwrapping is basically to cut open a 3d object into a 2d map, like squatting a tuna can flat, that helped, Its better now but I had some black spots in the cav bake, and the face doesn’t look good with the normals, moving the high polly around fixed the black spots, but still not sure if the low polly normal face should look better or that’s what you can get with the “quick” retopology lowering the mesh and the only way to get something better is doing a manual retopology, or if I should have made better seams, or additional knife cuts, specially in the face, but here is what it looks right now, appreciate feedback, thanks again
You might want to add seams to the face. Maybe from ear to ear along the mouth.
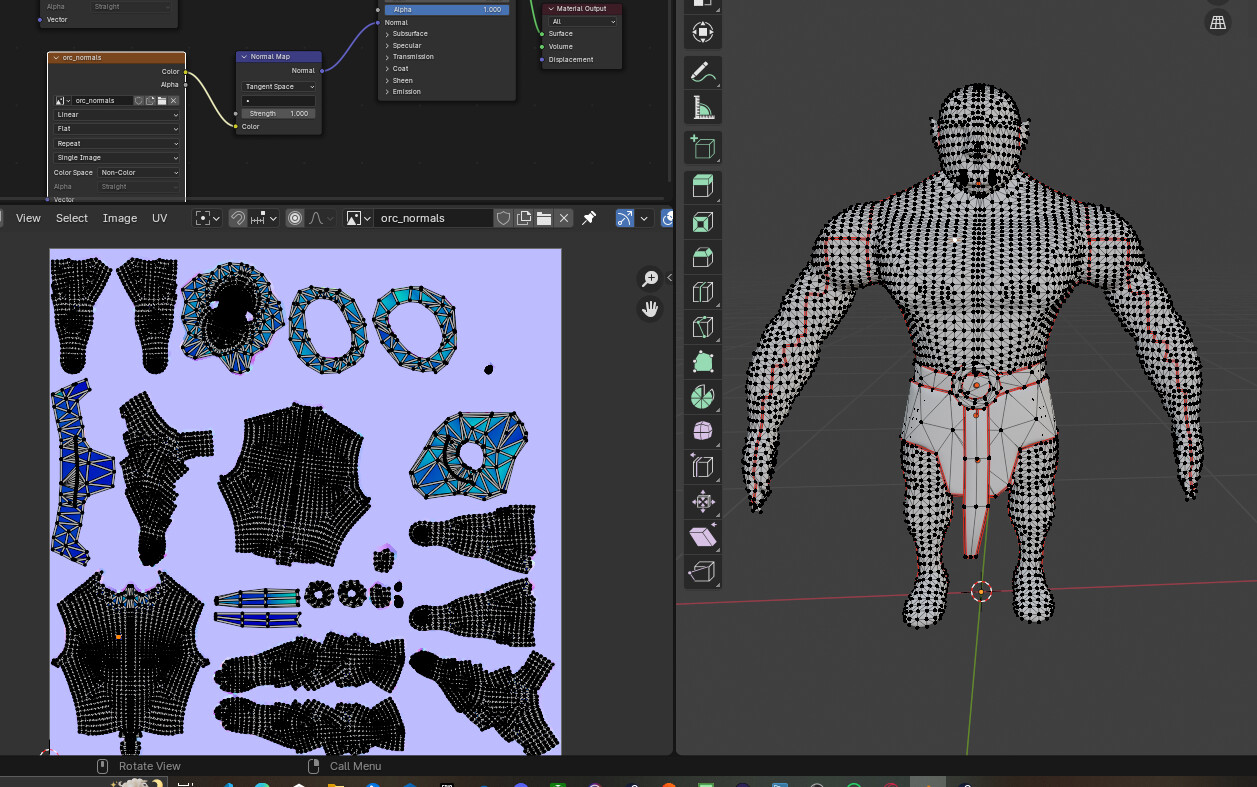
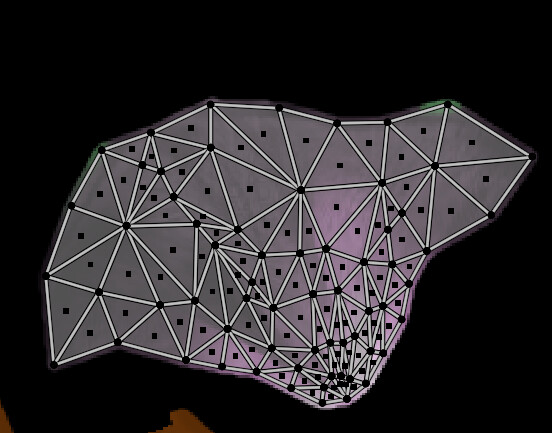
I broke my oger’s head / face into smaller islands. (yes, I know at one point I screwed up and had the mirror modifier enabled, thus the 1/2 meshes, stacked on top of each other)