UPDATE: When I selected the object and armature, went into pose mode, and then selected the bone before doing CNTL-P, the parenting worked correctly. When I did CNTR-P in Object mode, it does not work. Did I miss something in the videos, or is this a “feature” of 2.9.3?
When I attempt to parent an object in my lamp to its respective bone, it appears to parent to the entire armature, not to the bone that I shift-right-clicked after selecting the lamp component. After shift right-clicking on the bone, all bones in the armature are highlighted in the same colour. I am using Blender 2.9.3 on am iMac.
In this image, I have selected the lower arm, and then shift-right-clicked the lower arm bone. The lower arm bone is shown in the same colour as the other bones in the armature.
When I try this with other objects and bones, everything appears to be parented to the armature.
What should I be seeing in the outliner when this has been done successfully? I can’t work this out from the videos. Can someone post a picture of what I should see?
After attempting to parent each object/bone combination, and when I rotate individual bones in poser, nothing happens to by model, aside from when I rotate the stem bone at the root of the armature. That seems to work correctly and all parts of the hierarchy rotate appropriately. When I do this with other bones, nothing moves.
See the bone hierarchy in the armature object in the video below. It appears to be set up as I expect, aside from not seeing a parenting connection between then bones and the model components.
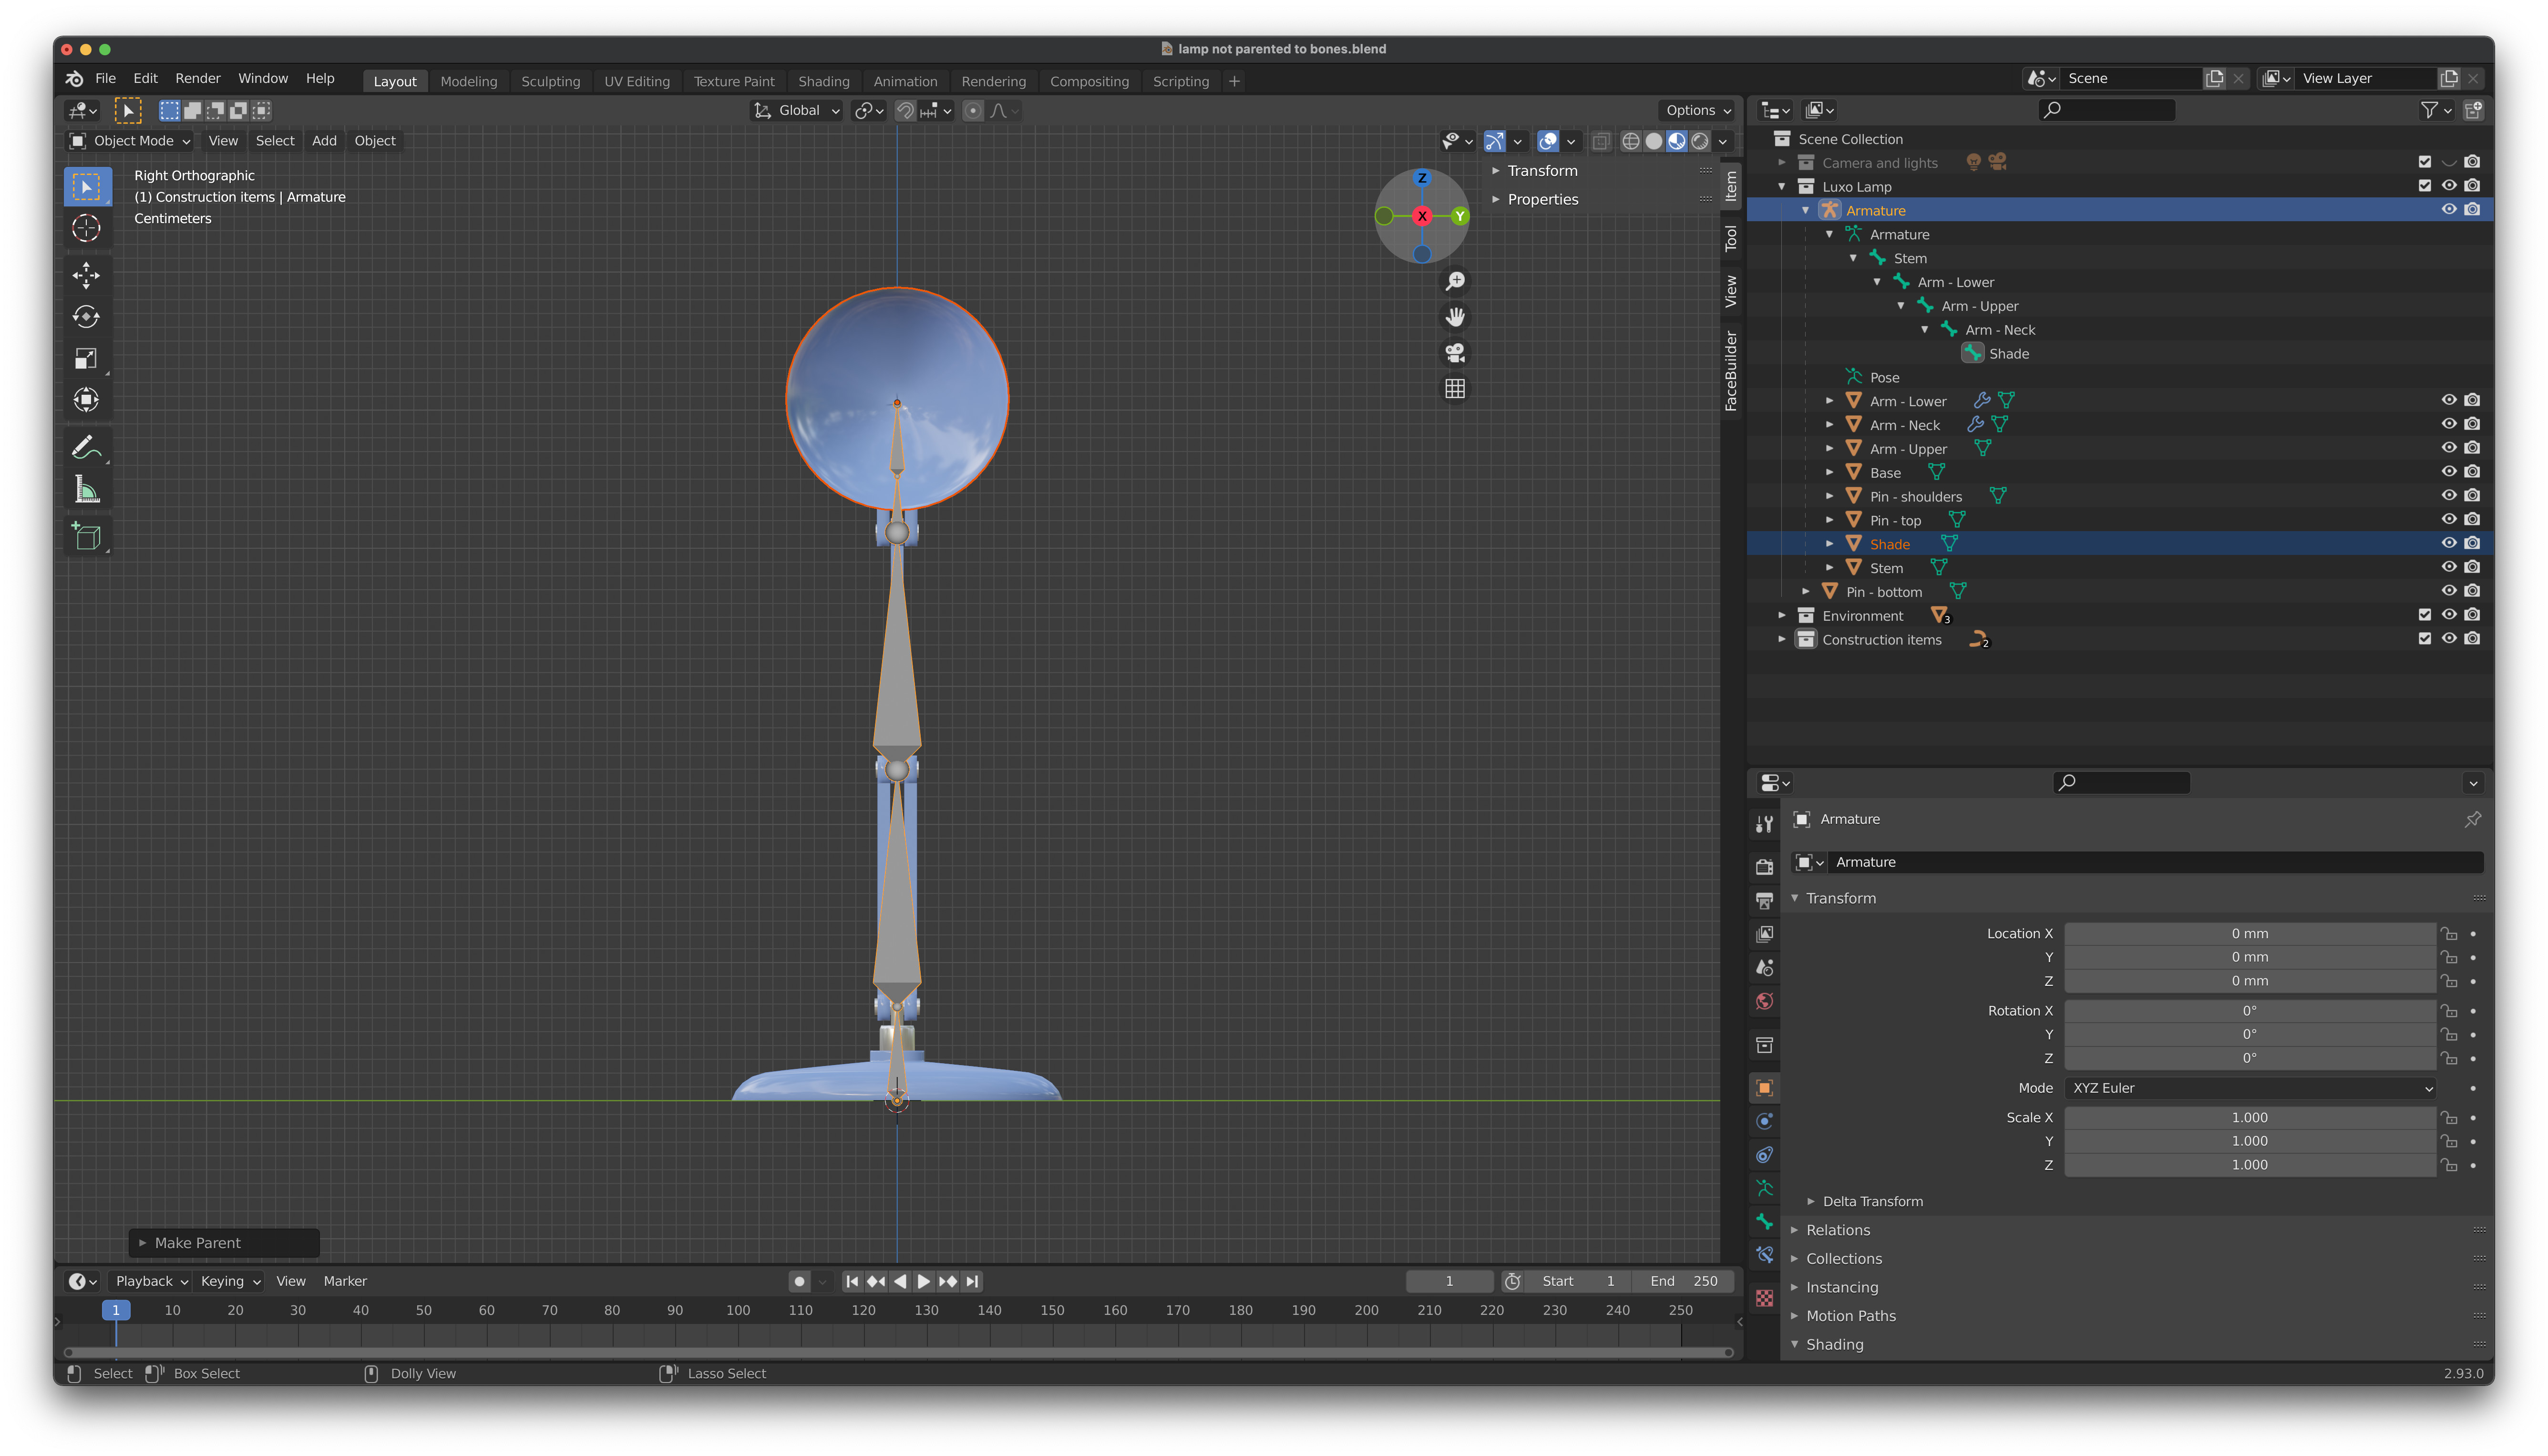
This second image is what I see in the outliner after attempting to parent each model component to its respective bone. As you can see, everything should up under the armature, and not under the bone as I would expect.

Thanks!