Nixe's Showcase

A while back I did a creation of a Gloriosa Lily. I was fresh off section 5 and had no idea what I was doing still. Even though I love high poly models, the topology ended up being complete garbage. I decided to re-do that project.


I’m pretty happy with the results.

Updated 09/07/17
I finished painting the textures and arranged the petals properly. It looks nice with a subsurf of 2, but 1 is good enough. Without subsurf this model has only 1500 faces.
Textures

5 Likes

I was making a cabin, but this sounded like more fun.


It’s interesting what we can get away with using bump maps and the displacement on the material output node.

7 Likes

I decided to start vehicle modeling and thought a plane was a great starting point. The winning entry for the Saxxy Awards last year (Correction, that was 2015. Time flies.)used TF2 class based planes. Since watching it, I’ve wanted to see a pyro class plane. So I textured it to look like one.


Also made an alternate texture so as not to be using PyroAir everywhere.
Boeing 747 Frosty Airlines 25%
I got the blueprint for the Boeing 747 off the-blueprints.com. The site looks like a wonderful resource for vehicle modeling. Making the bump map for this was fun, had to learn how to export UVs. The flaps are even rigged, that was a challenge on its own. Also used the new denoise feature for the render. This is only 200 samples. Without denoise, it would have needed 2000 samples. It did an okay job even at 10 samples but the image quality visibly suffered. This was a fun project and I can’t wait to start another.

6 Likes

Nikenox you did an awesome job of this 747 :grin: blueprints.com is great resource for every kind of blueprint. Make more vehicles you are very good at it !

1 Like

Did some artwork for a streamer, check it out at https://www.twitch.tv/avimage.
Scene GIF2
The GIF images are in separate places of the channel but I put them together in this scene plus did a static scene for offline and brb images.

7 Likes

Blueprints website seems to be a dead link now

My link to it works fine. Maybe you didn’t notice it…

Your link works fine @NixeKnox, but @rszarka’s link doesn’t

Some may recall the creation of this little guy:


He’s cute but was he ever a mess. I remember using a bunch of different modifiers just to get him to look the way I wanted because I had no clue how to make him properly.

I finally sat down and took another go at him. Introducing the new and improved Sigmund the Penguin:

He has a rig and shape keys but I can’t figure out why sketchfab won’t recognize them.

As per @Rob’s suggestion, here he is with those angled eyebrows, complete with an evil smile. :rofl:

I thought of a way to animate him. Just think of him as an annoying game creature.

3 Likes

Hehe… This little chap is wonderful @NixeKnox!

He has quite literally turned my frown upside down - thanks for sharing…

(loving evil Sigmund!)

1 Like

You’re amazing! :smiley:

2 Likes

@Dustmote Okay :smile: Thank you.

1 Like

With those evil eyebrows and grin, my minds eye sees Sigmund kicking over some smaller penguin’s snowman… :snowman: :speak_no_evil:

1 Like

Took another go at character modeling with a full rig and shape keys.
Meet Penelope the Elephant.

Check out the rig in action.

3 Likes

At the end of 2016, I created a low poly Huskey for the weekly challenge.


The head was too small, the chest was too husky, and it had an unhealthy amount of triangles. Without knowing any better I had made it out of an icosphere. Still, it was built better than the penguin above, but I knew it could be improved upon someday. That day has come.

It comes with a quadruped IK rig, though there isn’t enough geometry to support the shoulders and rear. A subserf modifier can fix that. The mesh itself serves as a pretty good base to build on. I’m considering taking it all the way and redoing the 2016 render in realism, would need to find the time for that though.

1 Like

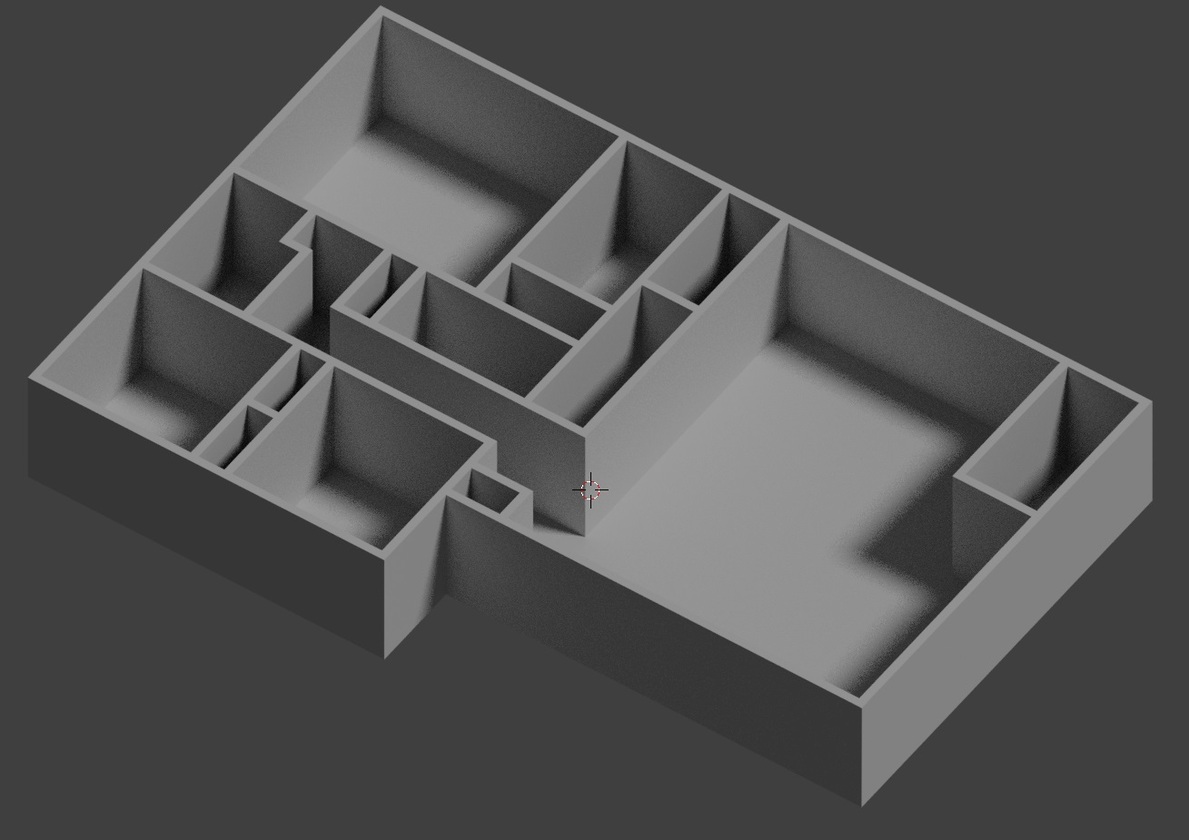
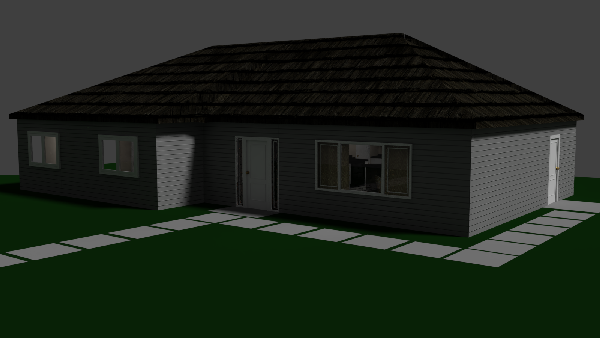
I started working on a new house this week. At first, I used the Archimesh add-on since I’ve wanted to try it out for a while. Once I realized how it worked, I knew it was a bad idea.


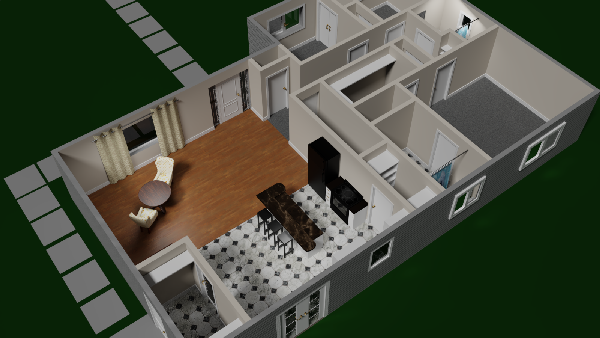
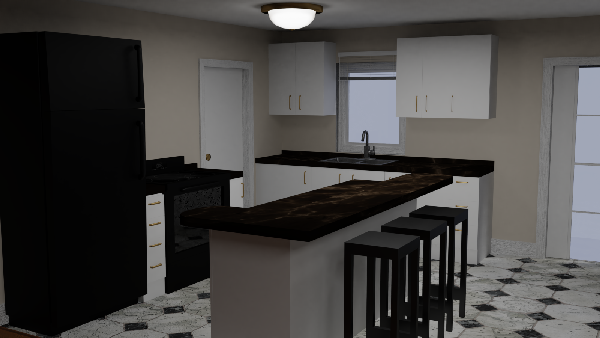
The walls are made with a solidify modifier. They have auto textures, baseboards, floors, and ceilings being optional. The biggest problem is that they are only useful for making one room at a time since the walls can only go one way at a time. I guess it’s fine if the creator doesn’t mind stacking geometry on top of geometry, but I’m not fond of the clipping that creates and it makes more quads then are needed in the model. I ended up having to make many different lengths of walls (which I would have had to do the traditional way anyway.)

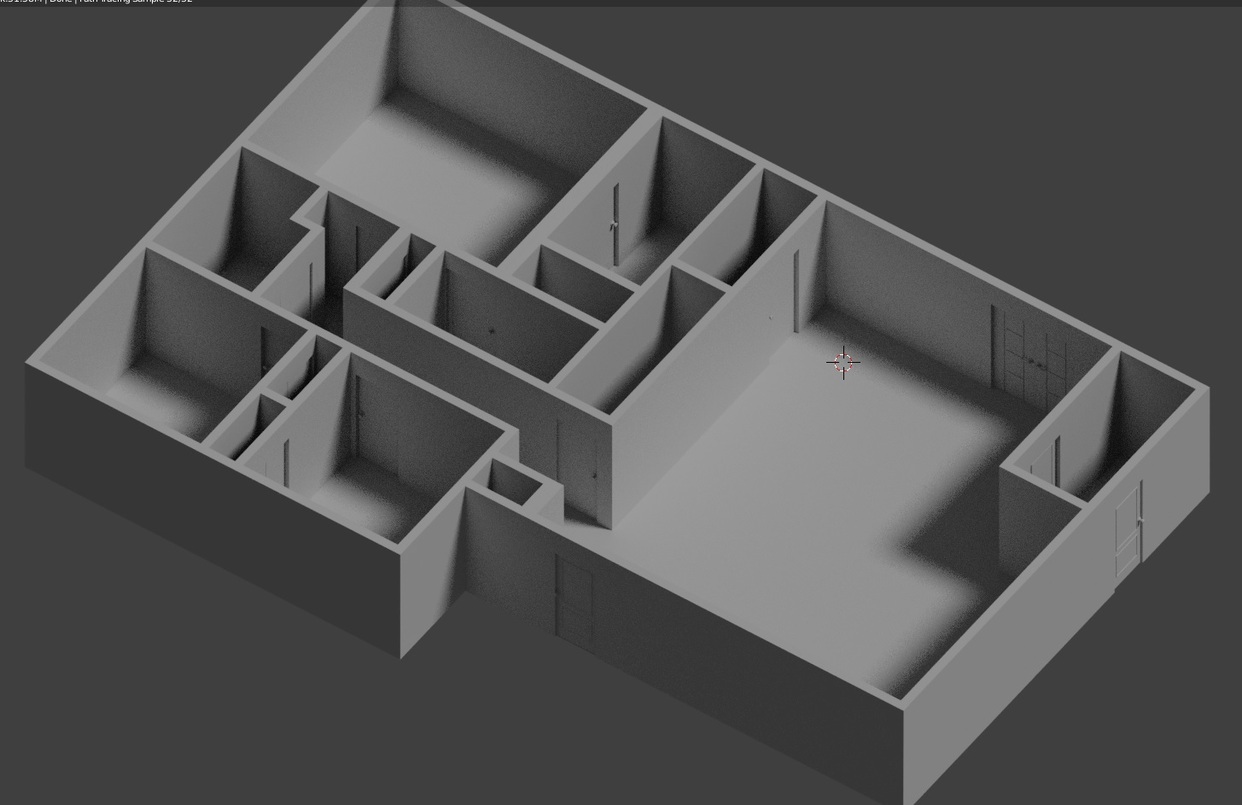
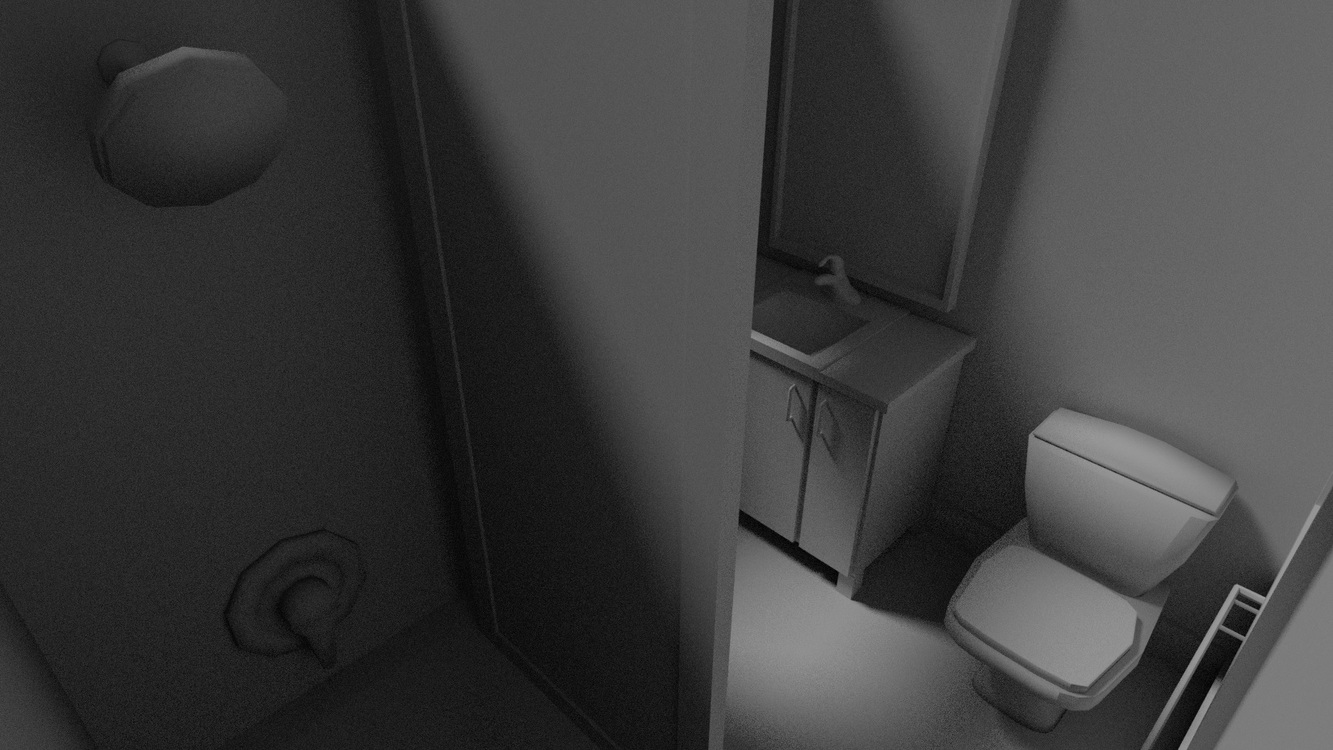
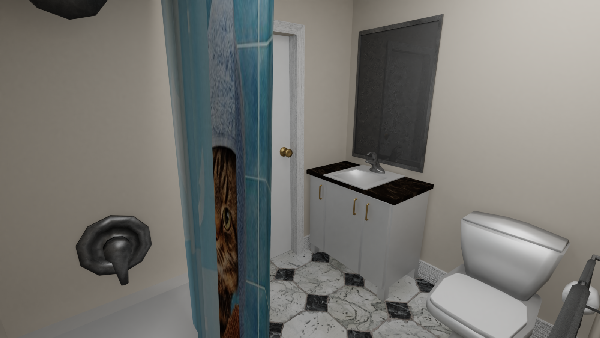
The other problem is the way the windows and doors are created. They use a bounding box and a boolean modifier to cut the holes into the walls. As expected, this makes a mess out of the wall geometry when applied, but the holes constantly disappear when not applied.

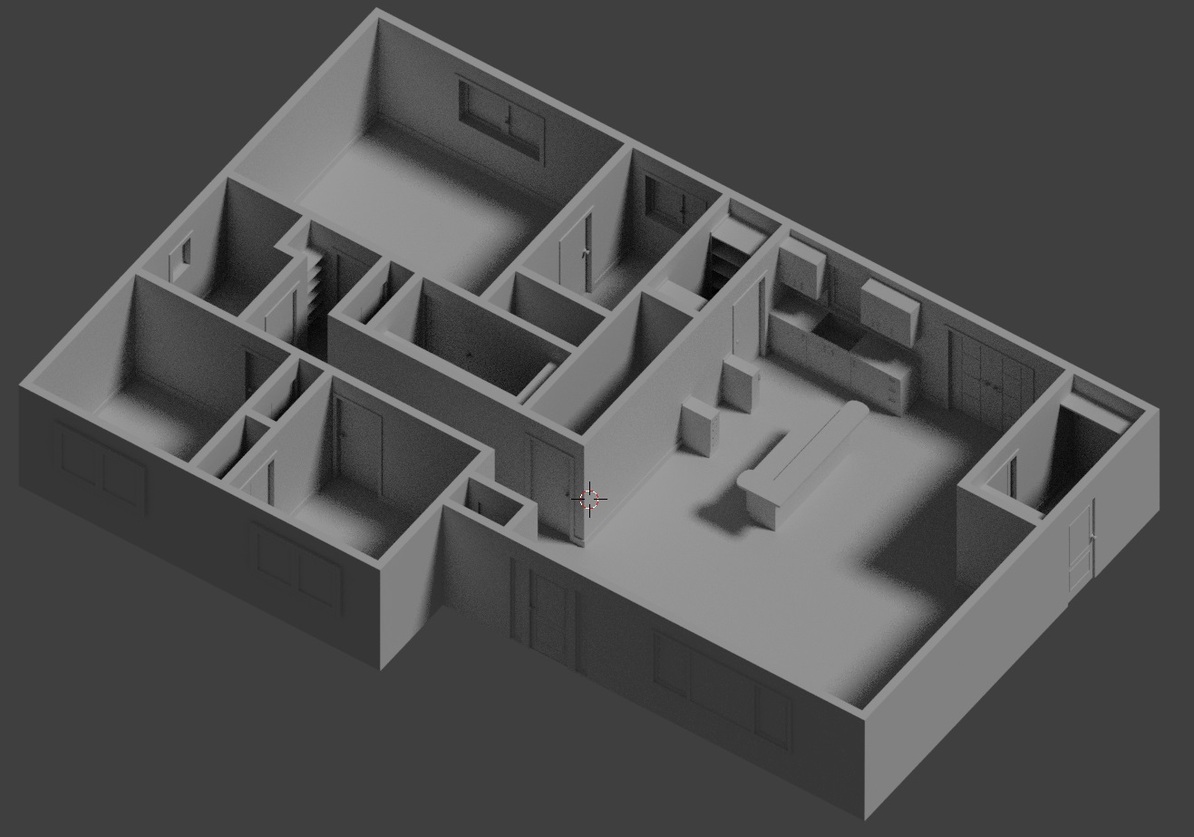
The last problem is the biggest. It seems to be a highly customizable design tool and allows edits to the models it creates, the problem is that after editing the geometry, entering object mode would place artifacts into the model. If any room parameters are changed it deletes all edits made to all the rooms. I lost baseboard edits, wall length edits, and floor edits that I spend hours tweaking so they lined up properly with each other.

The lesson I take away from this is to not use Archimesh to design a whole house, but it would be okay to use for a single room for a scene.

1 Like

After my Archimesh disaster, I started fresh and built to incorporate models from Archimesh without using it’s design features.


I started out building all the walls individually and used the solidify modifier to ensure they would all end up the same thickness. The floor was placed using individual planes for each section.
The doors were spawned from Archimesh. After figuring out how to free them of their boolean bonds I manually placed them into the walls. This house as 16 doors and it took a long time to place all of them, but at least the wall geometry wasn’t a mess when it was done.

I did the same with the windows. Archimesh has such nice windows.
The cabinets in the kitchen and all the shelving was spawned from Archimesh. Since the cabinets spawn with their own baseboards I used the height of them for the baseboards around the house. Each of the baseboards was modeled and placed separately.

Finished off the kitchen with a stove, fridge, sink, and faucet.

I went quite a bit lower poly in the bathroom as I wasn’t sure how visible that room would end up being. It doesn’t look too great now, but I’ll wait until it’s textured before I decide to go higher poly or not.

Next stop, texturing!

4 Likes

The part of all of this that took the longest was unwrapping and mapping the baseboards, door, and window frames.
Stage%207%20-%20Texturing%20-%20The%20Bathroom%20600Stage%207%20-%20Texturing%20-%20The%20Inisde%20600Stage%207%20-%20Texturing%20-%20The%20Kitchen%20600Stage%207%20-%20Texturing%20-%20The%20Living%20Room%20600Stage%207%20-%20Texturing%20-%20The%20Outside%20600
There is a basement, but there is nothing down there so I didn’t think it was worth showing.
Also made a model tour animation rendered in Eevee.
https://youtu.be/7cGbiRGXsek

1 Like

That’s going to be the last post on this thread. It’s getting pretty convoluted. Instead, I’ve made a website that also has my work in other programs on it as well. It’s just nicer to have everything all together in one place.

Creations by Nixe

1 Like

This topic was automatically closed 24 hours after the last reply. New replies are no longer allowed.

Privacy & Terms