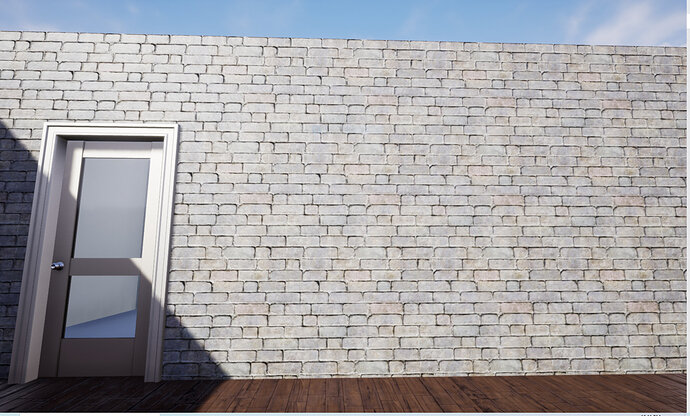
So although the image below looks simple, it addresses a bit of a niggling point that I had. When trying to use the same material on 2 separate models (the wall with a door frame, and the door as in the picture) trying to manually fine tune the scaling was painful. If you notice in the picture you can’t see the seam between the 2 textures, and there is a clever reason for this.
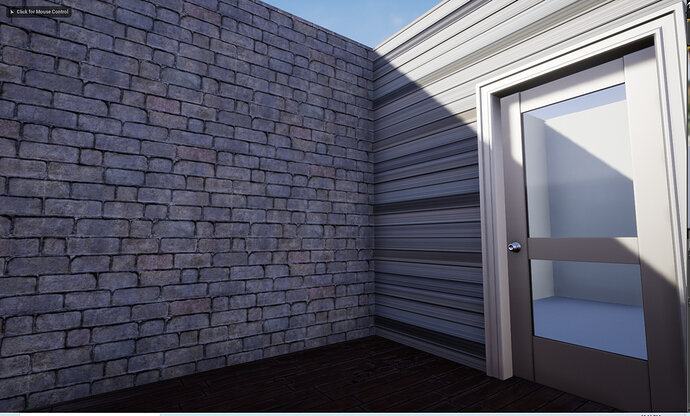
I found this neat tutorial https://www.youtube.com/watch?v=bu8kGs1ap54 which provides a simple explanation, though it doesn’t actually address the full problem. What you’ll find if you just follow the video mentioned, is an issue which you can see below:
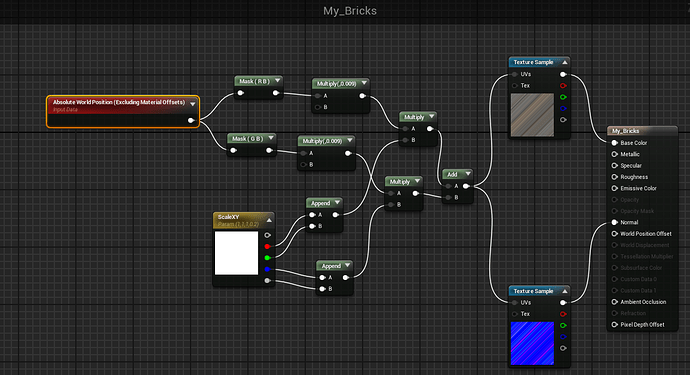
So how to fix this, well ideally it would be by filtering out the other axis you wish to use, and then basically repeating the last steps outlined in the youtube video. Since I am horrible at explaining it, here is my Material_BP which shows the working texture. (some notes, those Mask are Component Masks)
Now it is important to note, this only works on 2 planes, ZY and ZX, so if you looked at the models from the top down, it’ll have the same issue as outlined in the 2nd picture. I haven’t tried fixing it but I think it should be doable by another Mask, Multiply, Append and then having another Add.,


