Thought I’d share my orc WIP up to now. Full disclosure, I’ve been sculpting and 3D printing models for tabletop RPGs and wargaming for a few months now, and I’ve been making digital art for years so already own a display tablet, so this isn’t my first foray into sculpting. I always feel like I’m fumbling around Blender though, so I’m following this course to pick up any new knowledge I can, and hopefully learn a proper workflow. Up until now it’s been a lot of “try a thing and if that didn’t work, try a different thing.” I originally learned the basics of Blender through the complete Blender course offered here and thought it was a good time to come back for another class.
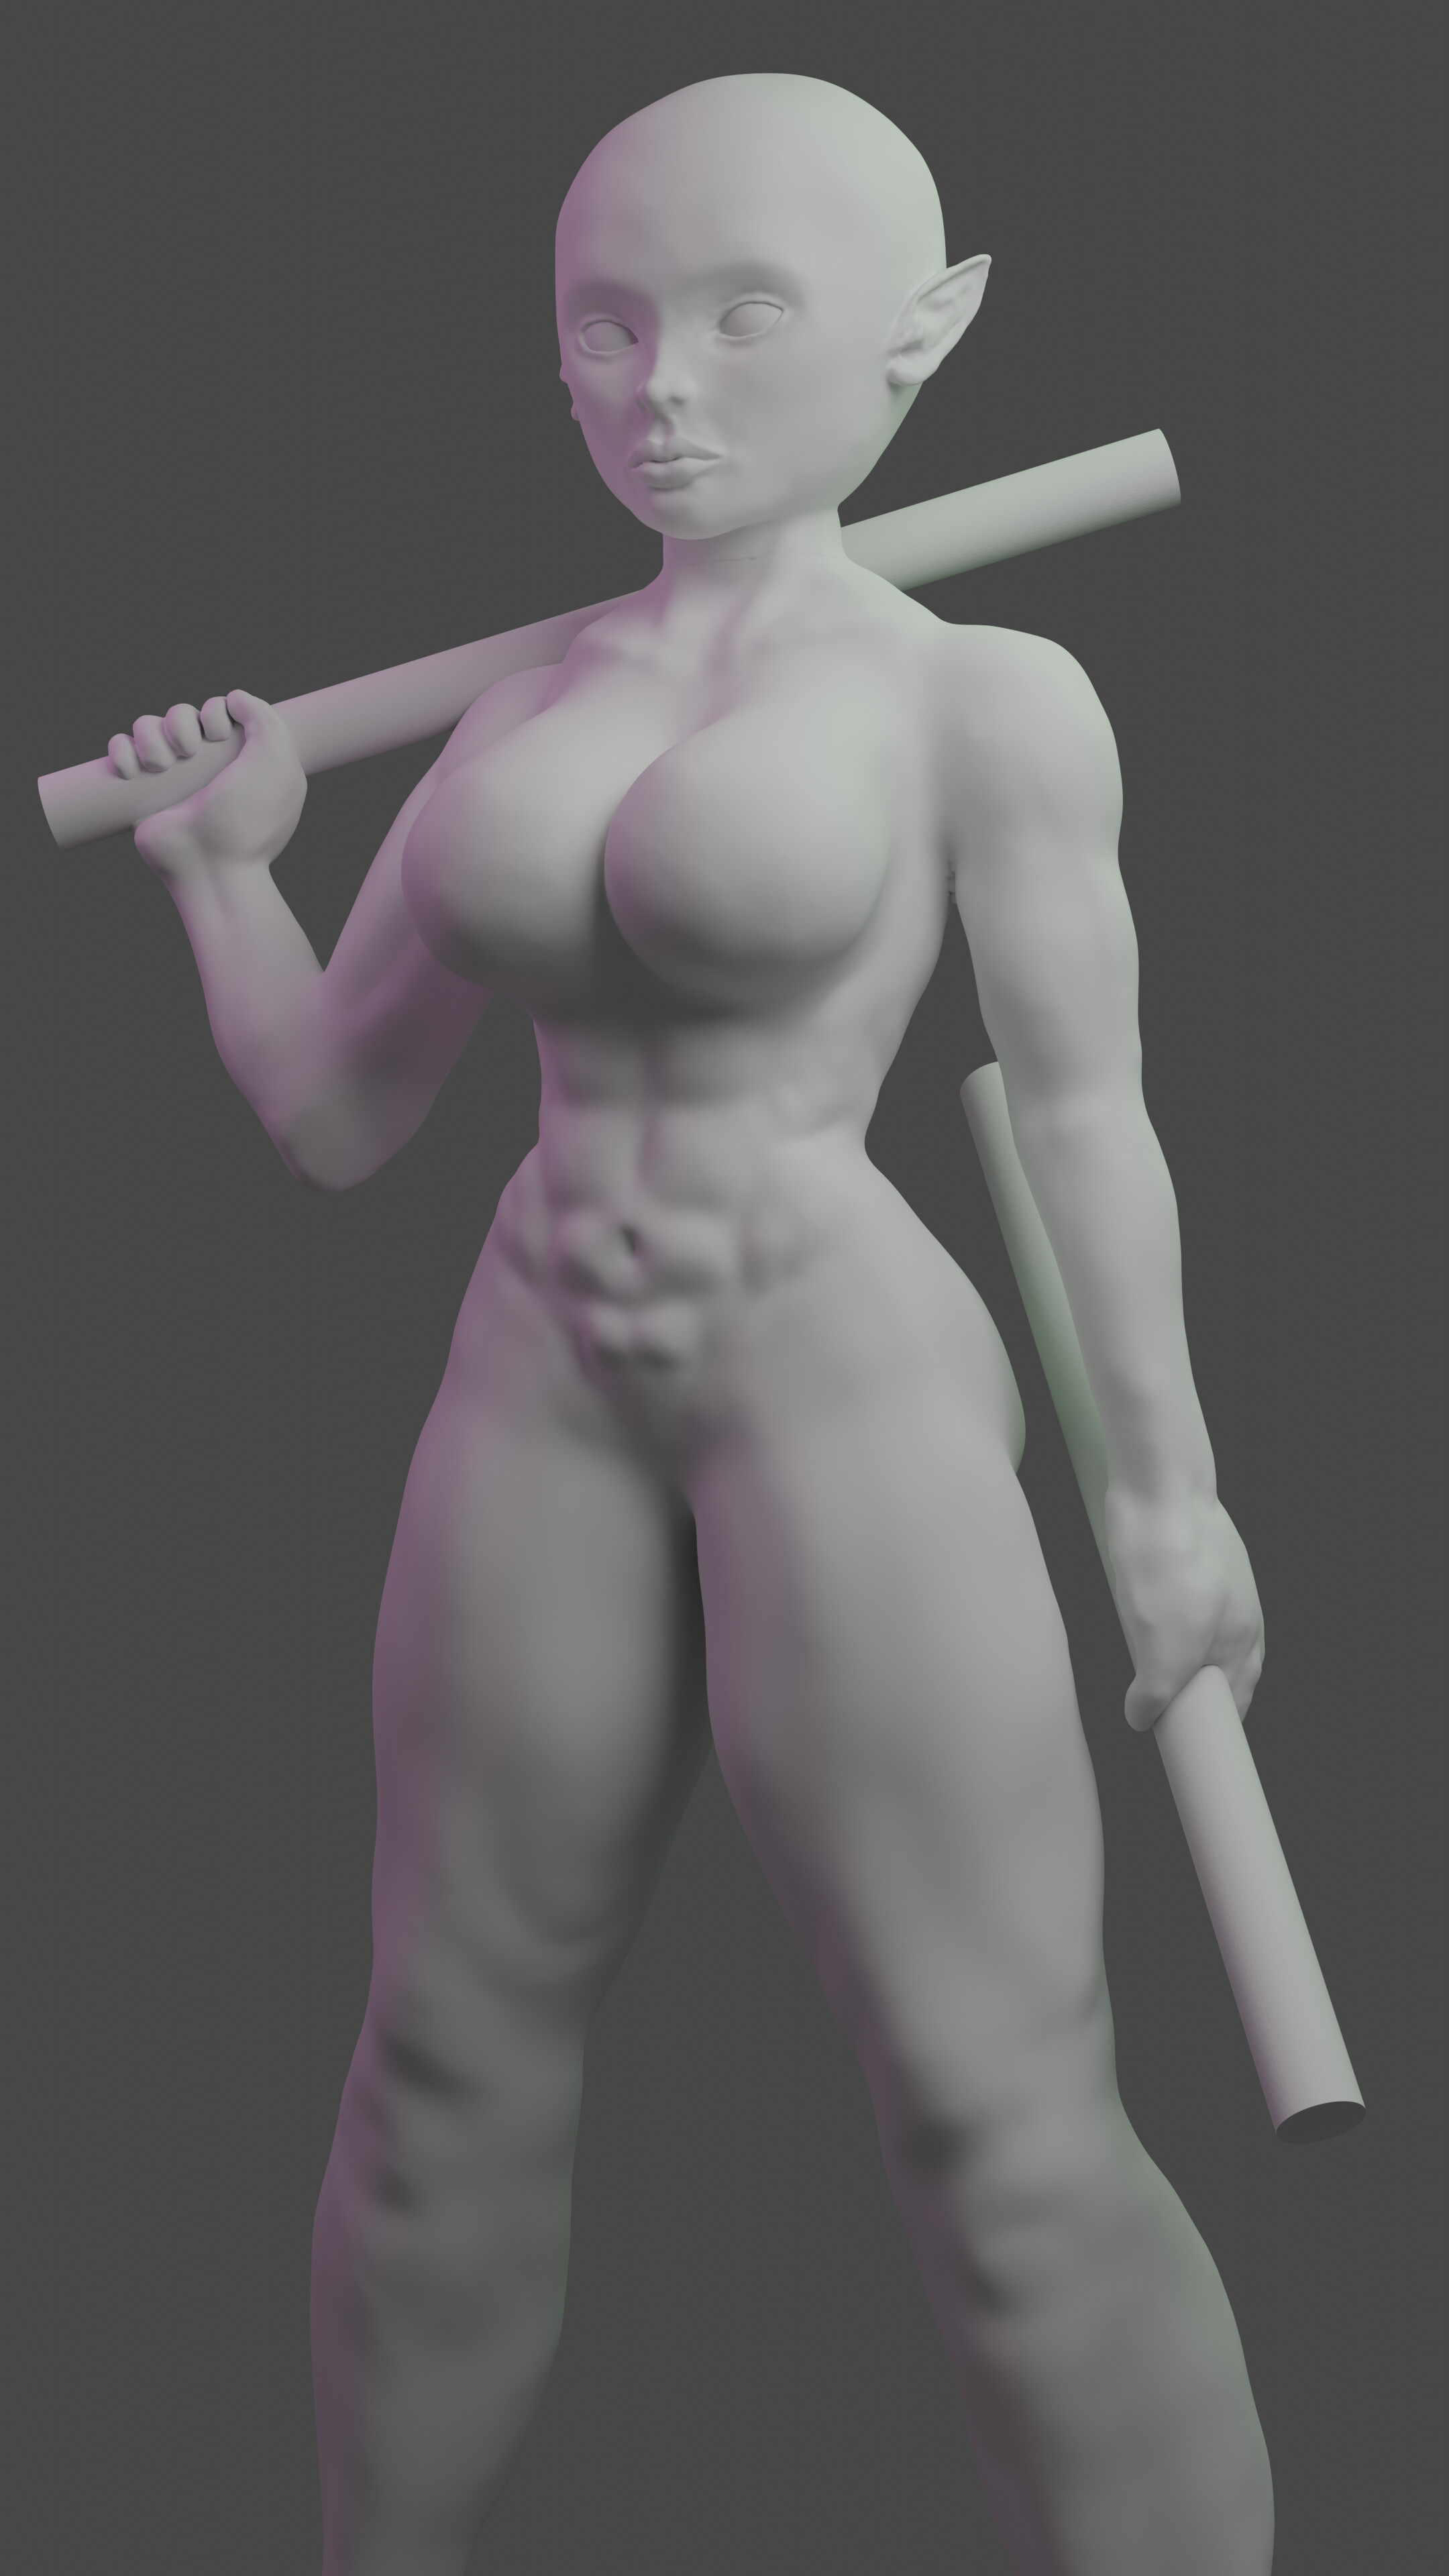
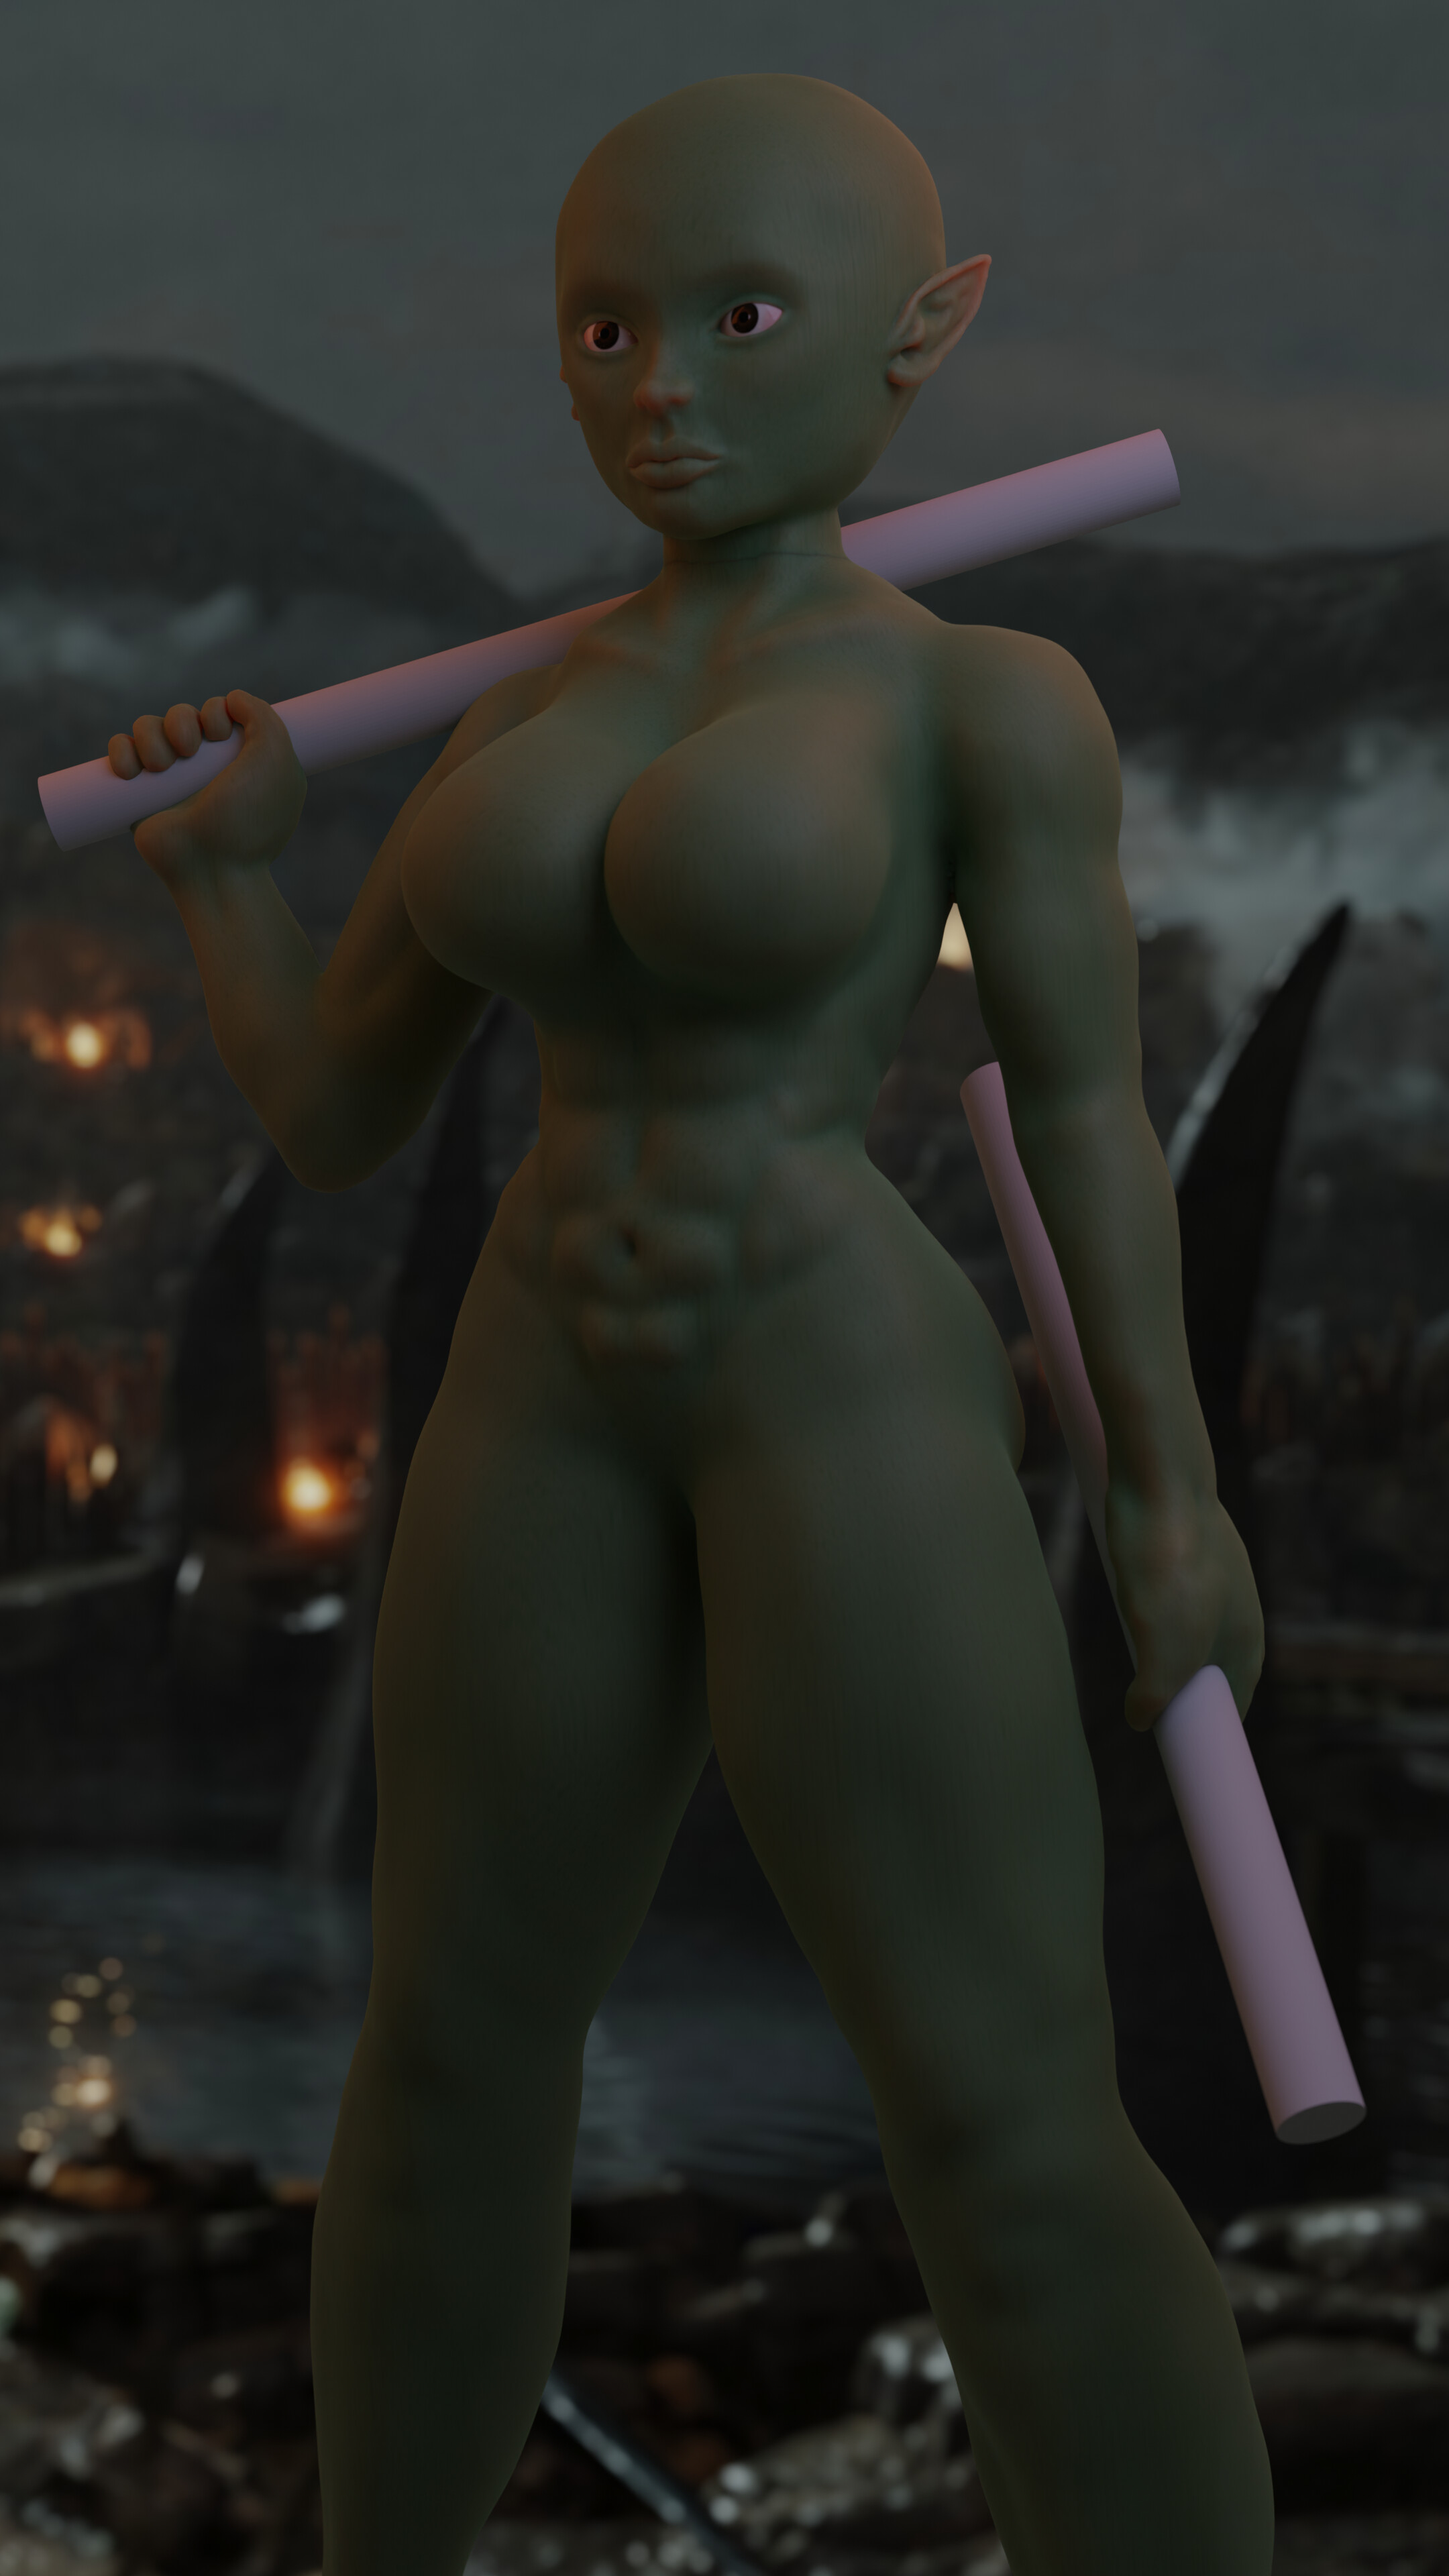
The cylinders will eventually be axes, and I’ll probably add some tusks or similar. I originally was thinking “anime proportions” when I started, but in hindsight I wish I would have made her a little more “monstrous” looking. Right now it’s looking more like a green, muscular elf than an orc. Hopefully I can make her look more like an orc with piercings, armor, etc.
Still needs some more work, especially in the hands, and I didn’t get too detailed in the hands and feet yet. I’ve been waiting until I finish the armor/clothes/boots/etc. to go back and work more on certain areas. No reason sculpting extremely detailed feet or leg musculature if I’m going to sculpt boots and pants over them anyway.
Very good model. I understand why you are sculpting immediately in a pose. But it is not a practical way to do this. Especially when you are at the challenge to animate the Orc with a standard rig.
If you sculpt your figure in an ‘A’ to ‘T’-pose, then you are able to pose your figure in any possible way using the armature (rigging). Therefore making your model more flexible for re-use.
Looking a very nice creature sculpt.
Yes work through detail levels in stages working up to the finest.
Even if aiming for a posed model to print, it makes the model more reusable, new poses, if modeled first in an A pose adding an armature is very useful for subsequent posing. You do not have to be bothered or interested in the daft dancing Mixamo stuff, you can skip that.
I always start with a “A or T” pose, but I have gotten into the habit of rigging and posing early on when sculpting something I intend to print. If I wait until I’ve sculpted the fine details I have found that the mesh deforms when posing and I have to go back and adjust the details. I have been watching tutorials and trying to figure out a better way. Clothing & armor also becomes difficult If I try to pose after modeling it.
I’ve done game models in the past, which were sculpted entirely in “T” pose and rigged later for animation. I have fewer problems posing these later on, but they have been simple, low-poly, cartoonish models. My 3D printed models for tabletop, I never intend to animate, so have started posing them early on since they are much higher detail.
For the animation part of the course I might just have to sculpt a new base mesh to follow along.
Thanks for the feedback, it is one of the biggest reasons I enjoy doing these courses, even if I’m already familiar with much of the content already. There are always gaps in my knowledge and skills that others within the community can help with.
You are quite right, my nephew has been making a character, for printing, and the added bits are a problem when re-posed. That experience may well be handy and the way to go. Basic creature posed then add on the armour and bits from a collection once posed. Remesh into one at the end.