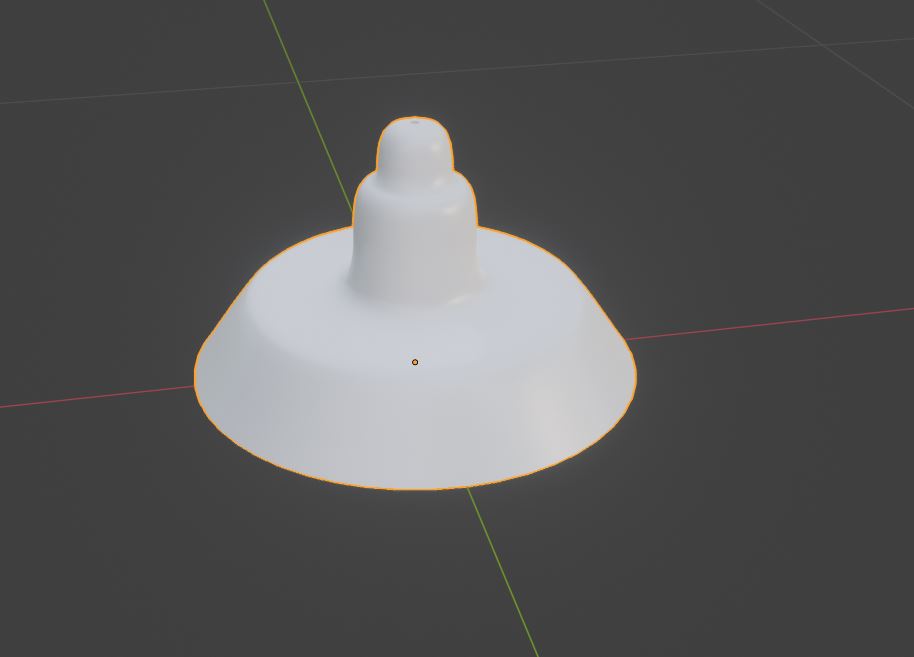
So I created a lamp base by my own design using the method presented in this course. This is the result:
I have to say I found this challenge quite hard. What especially made me stumble was the fact that the scale of the curve used to control the base can not be changed at all. The control seems always to be percentage based on the base unit of the scene.
More of an observation here, that curve controlling the bevel seems to be very picky regarding its physical dimensions. E.g. you can’t scale it down to the size of the object you are editing.
You can also see this in the video for this lecture. There the controlling curve is much larger than the object that it is applied to.
There is scaling of the mesh inside the object. There 's scaling of the object itself. These can differ and cause some problems. That’s why you need to APPLY scaling and rotation sometimes, before doing other actions.
This scaling location stuff, can influence the location of the pivot point. Pivot point and world coordinates (0,0,0) have their own influences in modifiers etc.
In the beginning this concept is confusing. And causes many problems, like rigging lamp armature (bones).
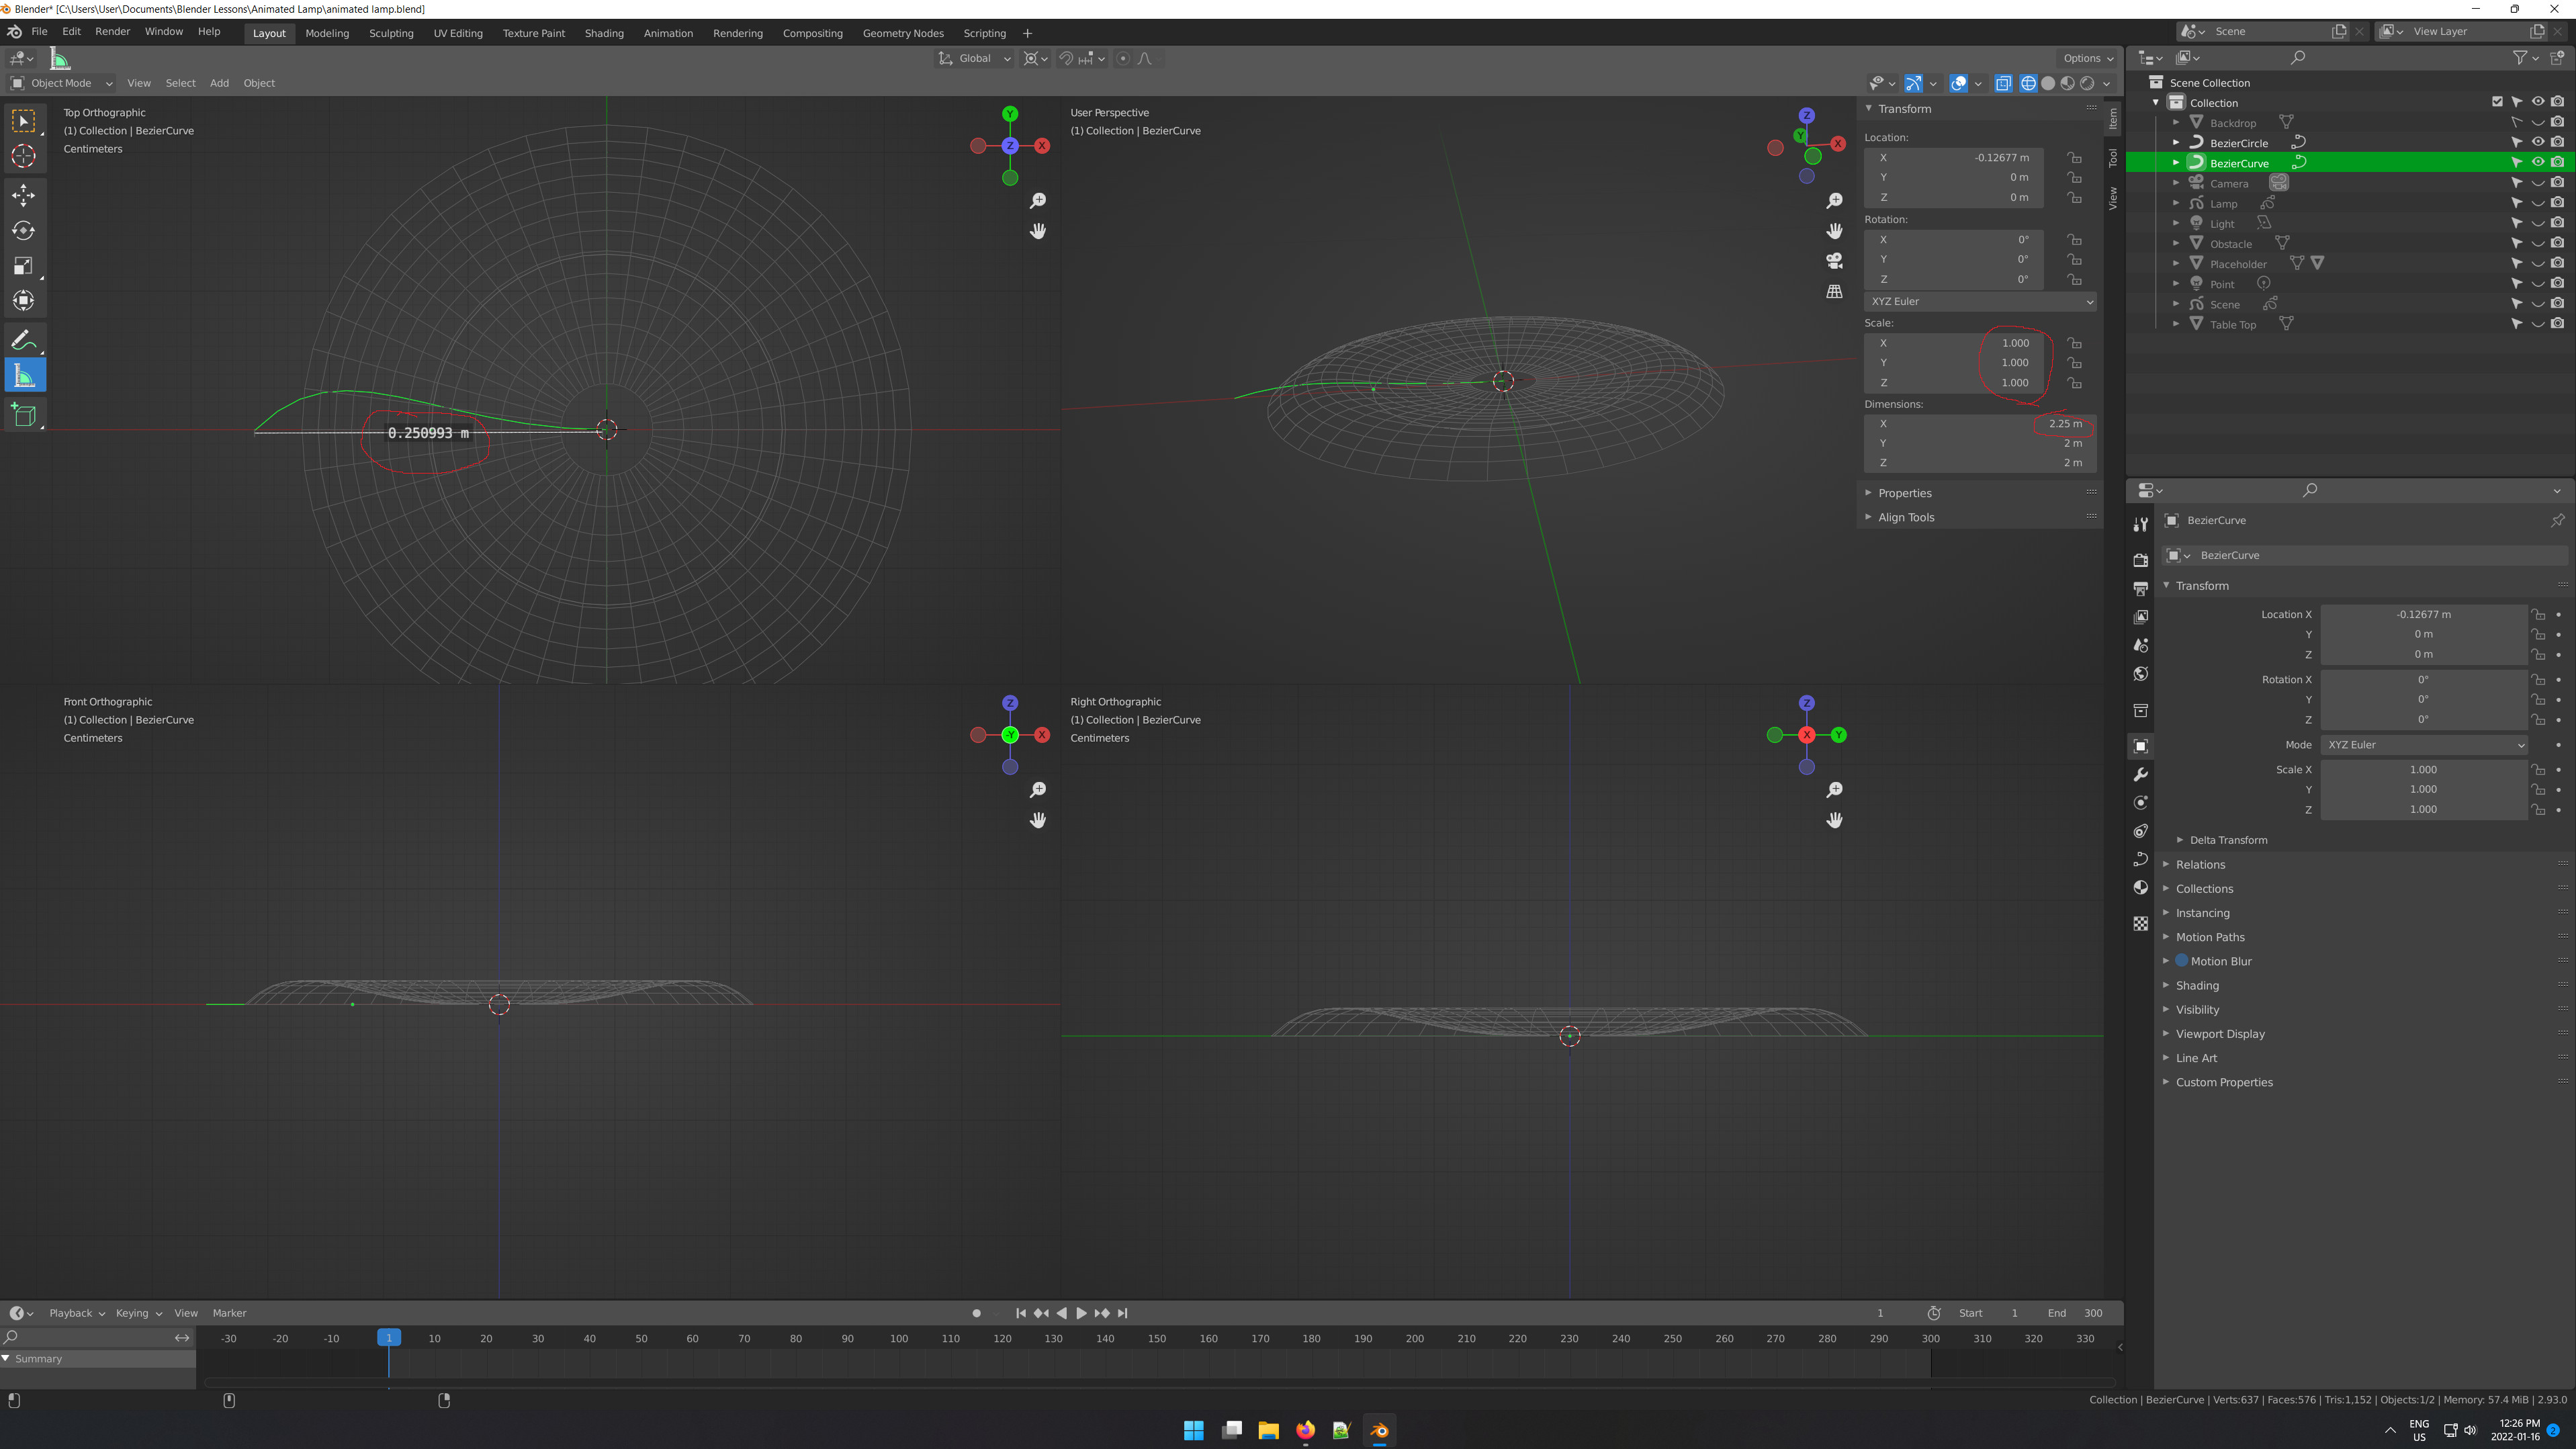
Having this issue as well (3 years later). If you scale down the profile curve the resulting 3d geometry ends up smaller than the curve even if you apply the transform before creating the geometry. Even the item palette seems confused, on screen my profile is 0.25 meters wide but the palette reports it being 2.25 meters.
I figured it out. When you scale the bezier circle in object mode and apply the transform, it also adjust the “mean radius” value of the circle. If you go into edit mode on the CIRCLE → select all → change the mean radius to 1.0 (its in the item palette in the top right f the viewport). Then it will apply the geometry properly.