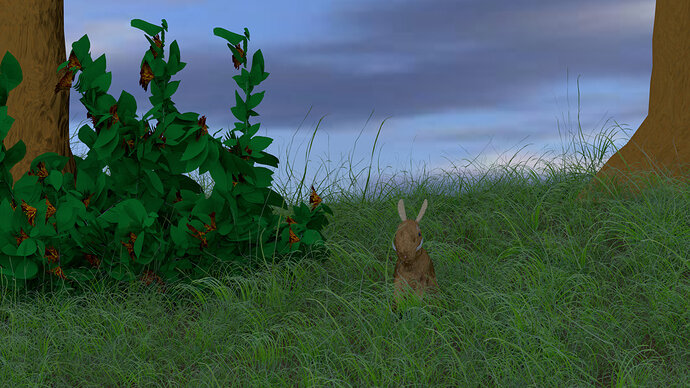
My journey to the Fluffy Bunny

Lecture 131 (June 27, 2017)
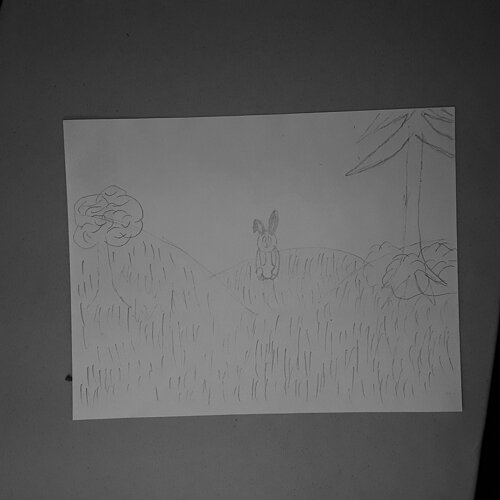
The challenge was to come up with a design idea for the “Fluffy Bunny Scene” and while I’ll be sticking pretty close to what Micheal is doing in the videos, I do have just a slightly different picture in mind. That said I have decided to use this


as my design map.


Lecture 133 (June 28,2017)
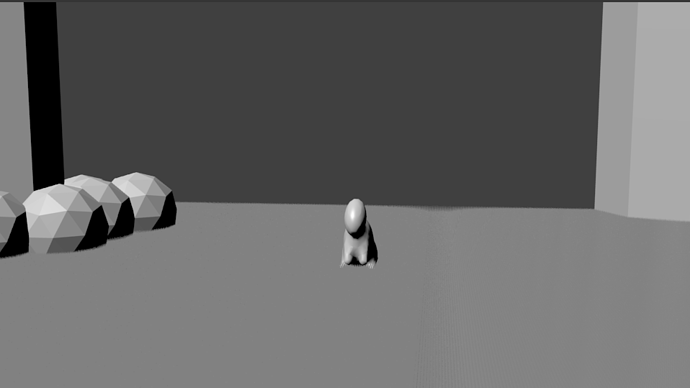
After setting up my Layers and placeholders, my render came out nice


Lecture 134 (June 28, 2017)
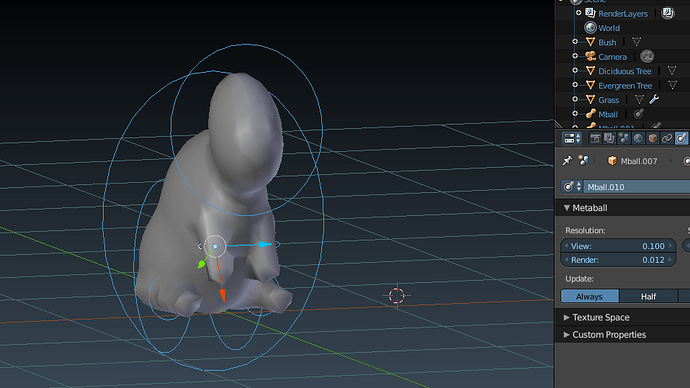
From humble beginnings the bunny hops onto the scene

Once again it appears I’ve gone overboard, this time using 8 Meta-balls (4 ellipses and 4 capsules).

But, it sure looks nice (except for the back paws… good thing those won’t be visible :pensive: ).


Lecture 135/136 (June 29, 2017)
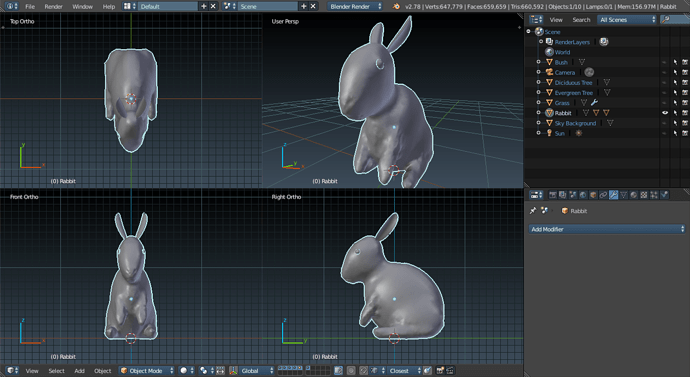
I spent a while to do some practice with the sculpting tools before working on my rabbit and I’m really glad I did as it has turned out rather nice and I was able to use brushes other than the drawer to really get it the way I want.


Lecture 138 (June 29, 2017)
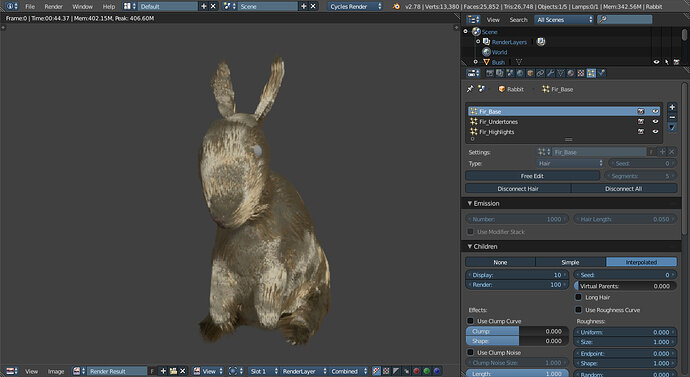
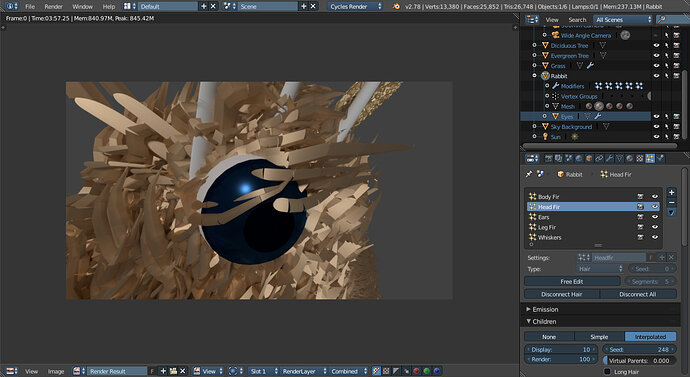
at the end of the fir challenge I am much less satisfied with my rabbit

Not sure where I errored but this guy is redefineing the term "Hairy Eyeball

2 Likes

Very interesting and different work flow.

Lecture 138 (June 29, 2017) - take two
So, I got to Lecture 139 and started the challenge only to have the program crash :anguished: Unfortunately, I forgot to save the file at the end of Lecture 138 so I had to redo it,
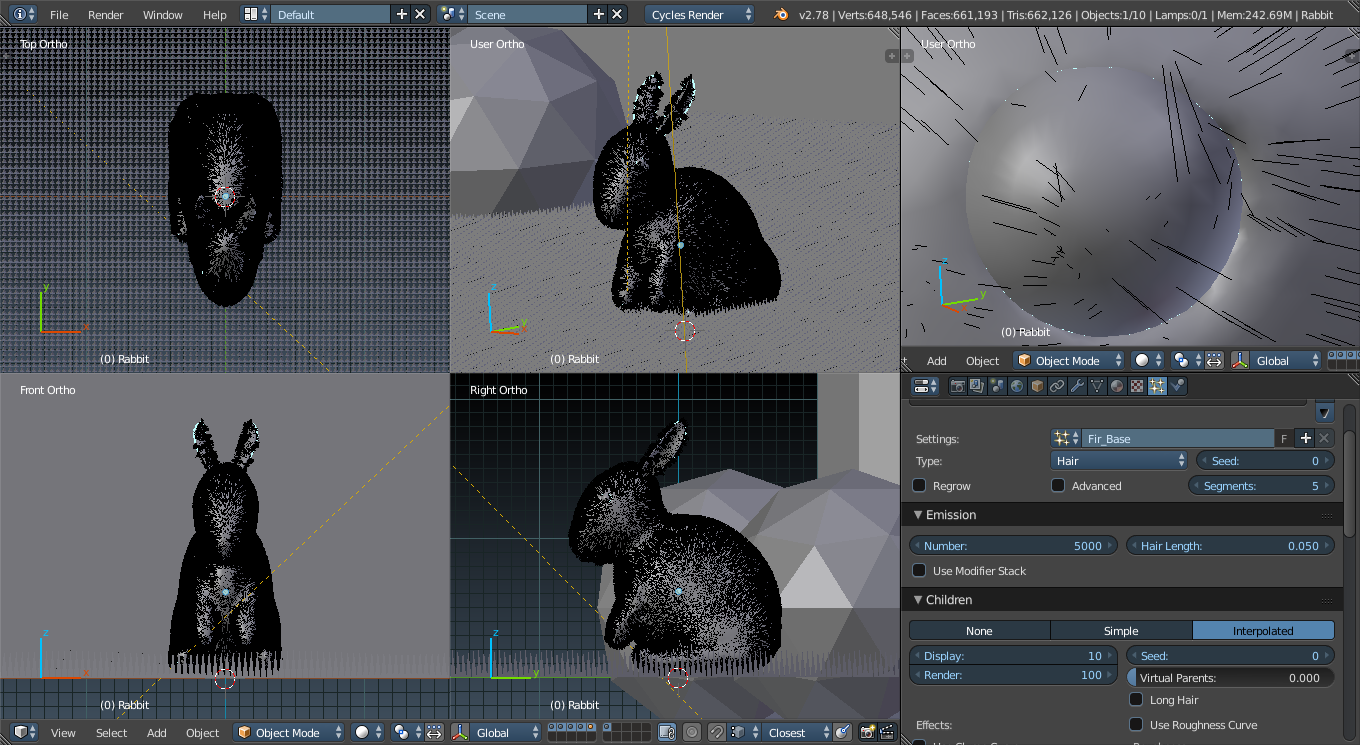
This time I saved it (like 5 times just to make sure the program got the message) :grimacing:


Lecture 139 (June 29, 2017) - take 15 or so…
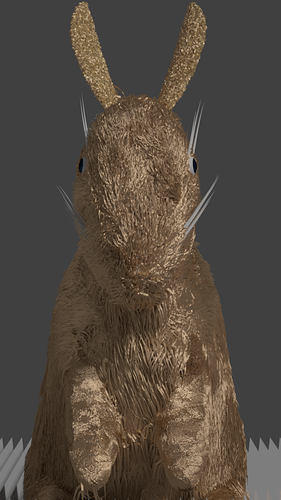
:rage:5 hours and a dozen crashes later…
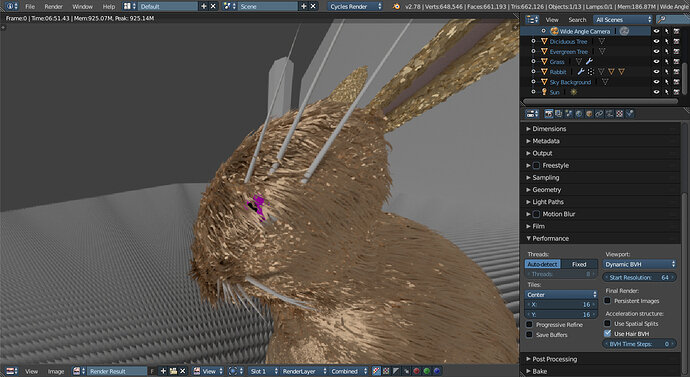

not real happy with how black it is (it’s supposed to look tan with auburn highlights) but I’m afraid if I muck about with it too much the program will crash AGAIN grrr…

1 Like

Lecture 139 - Part 2 (June 30, 2017)
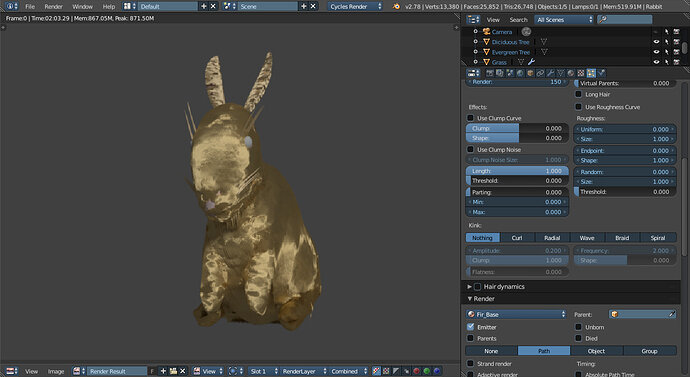
Well… after finishing the video, I now know why my rabbit looked like it had been playing in the coal bin. And, after some playing around with the colors, I’m much more satisfied with the results.


The first image was what I got when I simply ramped up the brightness of each color and the second image is after adjusting the colors to get as close to the desired look as I could. Still not 100% but, much of my remaining dissatisfaction is due to the hair looking like a bunch of cones and growing from places it shouldn’t (like the inside of the eye socket). Hopefully the next video will teach how to fix that issue! :sweat_smile:


Lecture 140 (June 30, 2017)
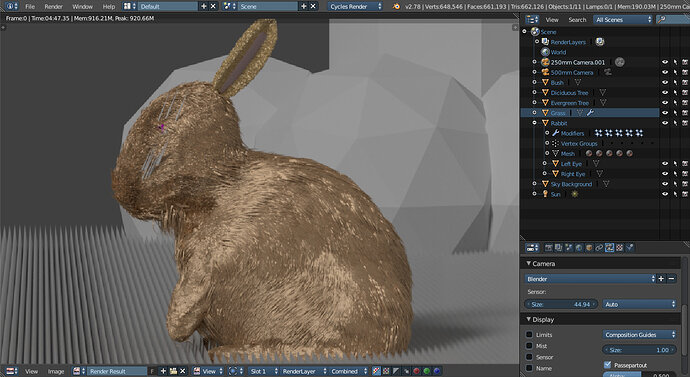
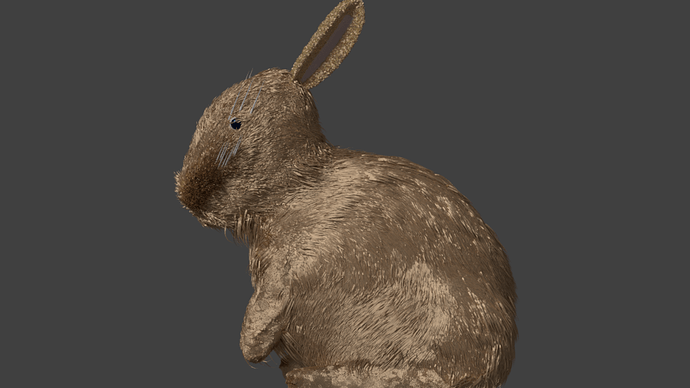
Oh, for the love of a simple comb…


of course now he looks brassy so I may have to go back and adjust the colors again :heart_eyes:


Lecture 141 (June 30, 2017)
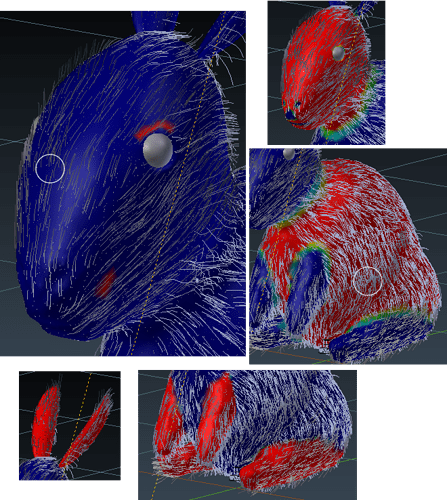
Took a little work but I decided on 5 areas of fir for my rabbit.

and of course, in order to save some time I reduced the number of particle systems on each section to 1 from the three I had. At the moment I’m about 90% satisfied with the look but still getting grief from the “Children” so may go back later and reduce the number of children in favor of upping the emissions.


Lecture 142 (June 30, 2017)
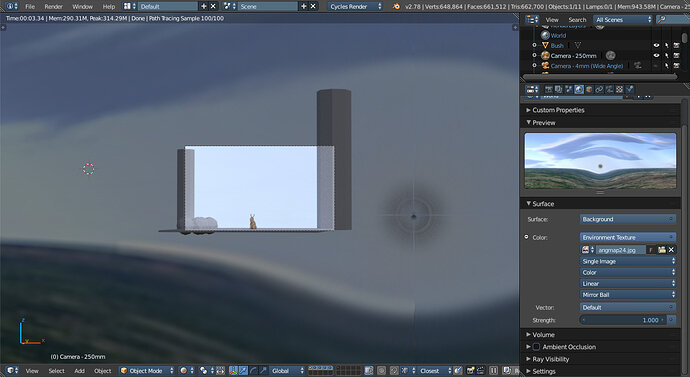
This was my original Wide Angle shot

4mm Lens

unfortuneately, I discovered that by setting up the camera after parenting it to an empty, I moved the other cameras. So I undid the set up un-parented the camera and created a new set up which ended up being much closer to what I had in mind anyway. It definitely was not ready for this close up

4mm Lens take 2

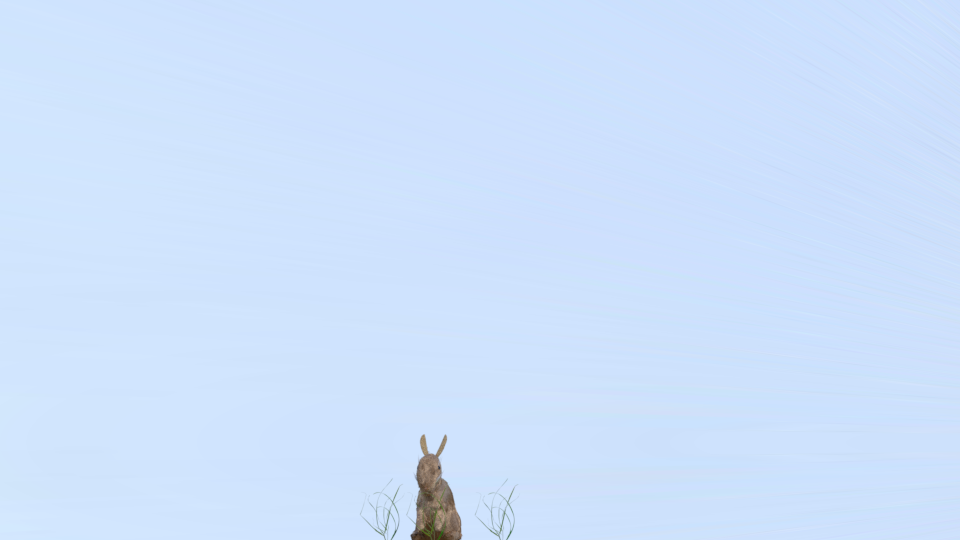
250mm Lens

500mm Lens

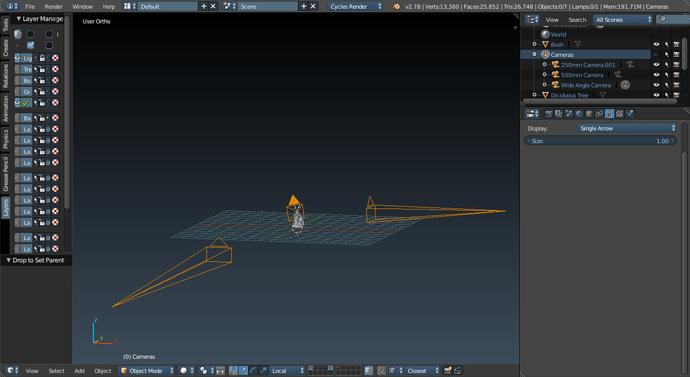
and finally, here is my camera set-up


Lecture 146 (June 30, 2017)Updated Fri Jun 30 2017 20:31


2 Likes

July 1, 2017
Wow, so another day of work on this and it doesn’t seem like I made much progress. I did decide that I would post everything at once today rather than continuously editing the post. So, without further ado…

Lecture 149


Pretty straight forward but I’d really like to be able to rotate the image so the blindspot isn’t behind the rabbit.


Lecture 156

Had a bit of trouble with this one til I realized that I was having a problem with the number of grass images.


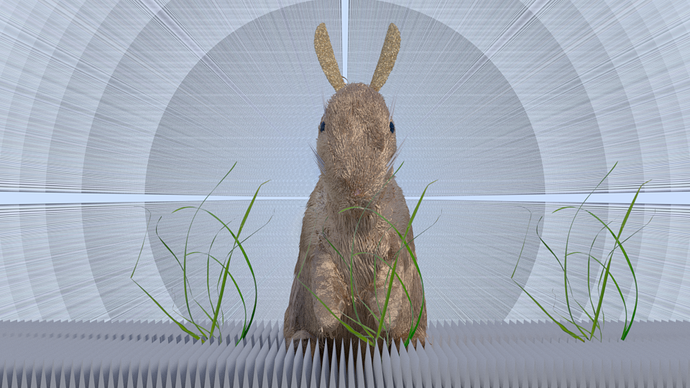
This was taken with 500mm Lens and you can really see the effect of the blindspot in the skybox


Lecture 157


So this lecture allowed me to fix the issues I was having during lecture 156


Lecture 158


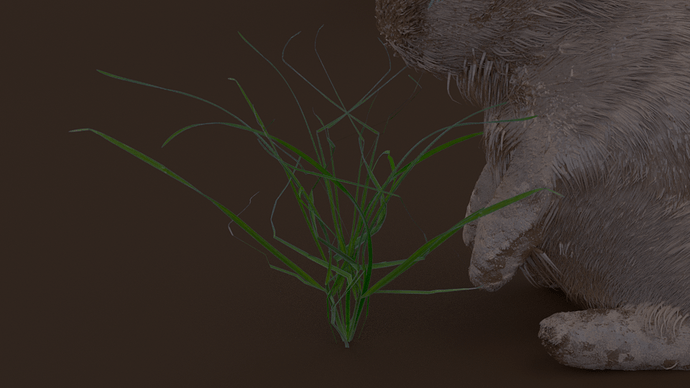
I was rather happy with how my grass clump came out.


Lecture 159


So, I discovered that the grass textures were about double the size I needed for my scale and after this 22 min render, I begin to understand why so many of the images I’ve seen had very little grass in them. I also ran into the problem Micheal mentioned with GPU’s failing with this kind of scene and, not being the computer guru my friends think I am, switched over to CPU rendering.

Of course I’m still not 100% sure about the grass so will probably go back and fiddle with it at a future date (I foresee myself doing this section 4 or 5 times before I’ve got it figured out as I’m really struggling with all the settings for the children in the particle system.)

3 Likes

Hi Capricas_Kirito,

Nice to follow such an nice and detailed description how you have ended up with the work you’ve done! Great job!

There’s an alternate way of doing the grass if you have problems in GPU rendering. This is not following the course but if you want to explore and learn new stuff that’s possible. So alternatively you can create the grass by pure geometry without transparency. You model the grass blades by extruding e.g a simple face. Don’t make it too complex. Then you need to know how to do some simple UV mapping and get a nice diffuse color to the blades. Put some blades together to form a tuft of grass. Then create few particle systems where you vary the tufts and just blades in the scene. Voilá, you can have a really nice grass.

Cheers, Jax

1 Like

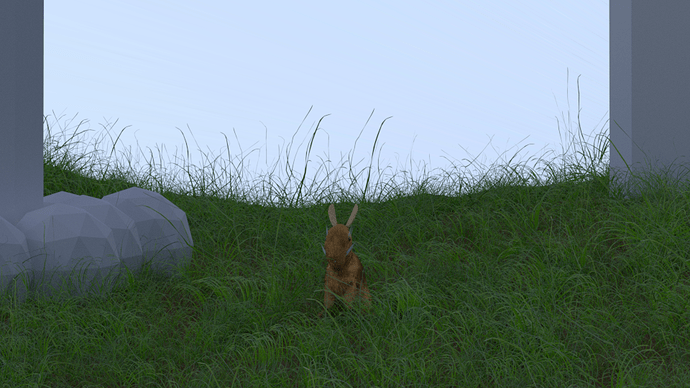
I decided to give my grass some attention before diving into the lectures for today and I’m glad I did :sunglasses:


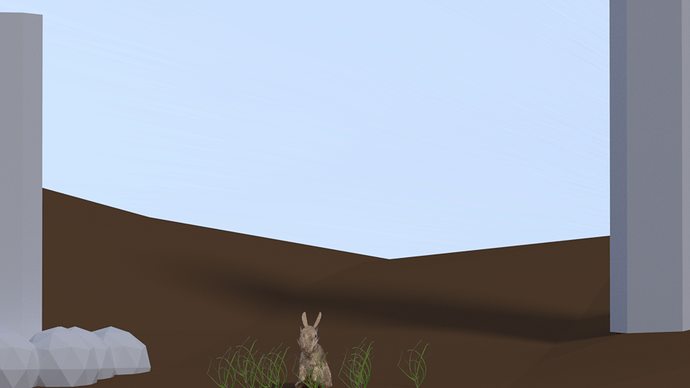
First, I moved the rabbit closer to the top of the hills (in retrospect it probably would have been simpler to move the hills :rofl: ). and re positioned the trees, bushes, and cameras to give me a nice frame.

Then, I slashed the number of emissions by a factor of 10… wow… that made a huge difference (I’m thinking the wabbit is about to make a contribution to a fir coat…)

Next, I opened a blank project to see what the default settings for the children were and reset the children on all my grass particle systems and did a lot of rendering as I nudged the settings one way or another while viewing each system individually. (turned my samples down to 1 for this part!

And Finally, after some weight painting, I rendered them all together at 50 samples to get an Idea of what it would actually look like. Being satisfied with the 50 sample render, I ramped the samples to 500 (50% of what I’ll use for my final render) and let the computer go to town to get the image above (only took 1:30:28.58 to finish)

2 Likes

July 2, 2017

FINALLY… I’ve made it through the section

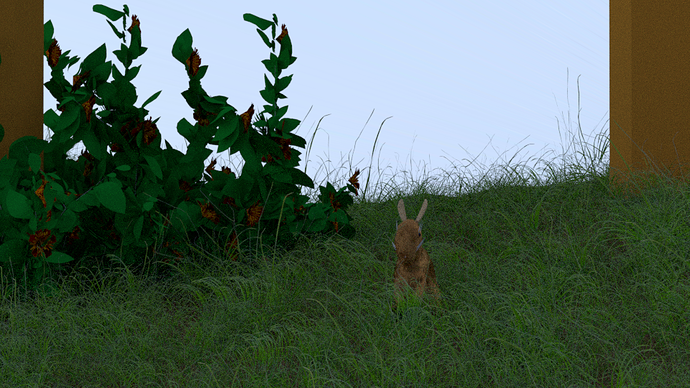
Lecture 161


I was actually quite satisfied with this bush, right up til I realized I forgot to click the tick box to close the ends of the branches :expressionless:


So, I had to go back and do it over, and then again, and again (I think it took three rounds to remember to click the box :confounded:


Lecture 162


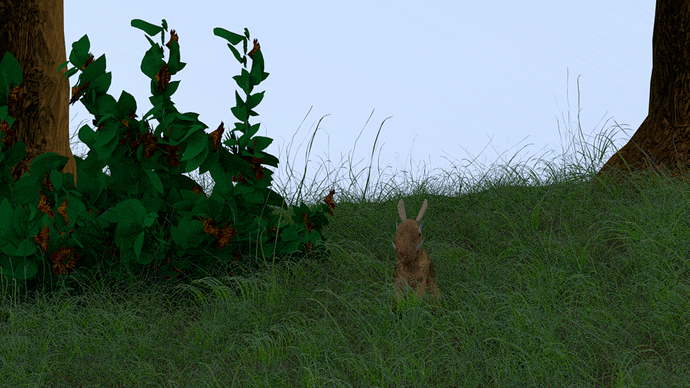
So I went with a Douglas Fir base and I’m actually really glad the leaves aren’t visible in the scene cause the sapling ad-on doesn’t come with needle style leaves (what a pain cause pretty much anything taller than 3 feet in these parts is an evergreen tree)

I still need to play around with the node editor a bit to get a better look on the bark but, as my grandma used to say… “It’s close enough for government work so it’s close enough for me!” The scene looks pretty good at 50 samples but, I’ll be turning my computer loose on it overnight to do a 1000 sample render and will post it tomorrow :triumph:


Final Update - July 3, 2017

11 hours 27 minutes and 19.73 seconds later…


I must admit that the only part of the image I don’t love is the stinkin rabbit… compared to the rest of the scene he just looks horrible! However, I am in no way tempted to repeat that render just to make the rabbit look good :grimacing:

and now… on with the show! See you all in the next section :stuck_out_tongue_closed_eyes:

6 Likes

Amazing work! thanks for the detailed insight to your process, really enjoyed it :slight_smile:

1 Like

Privacy & Terms