My High Poly Chess Set WIP thread

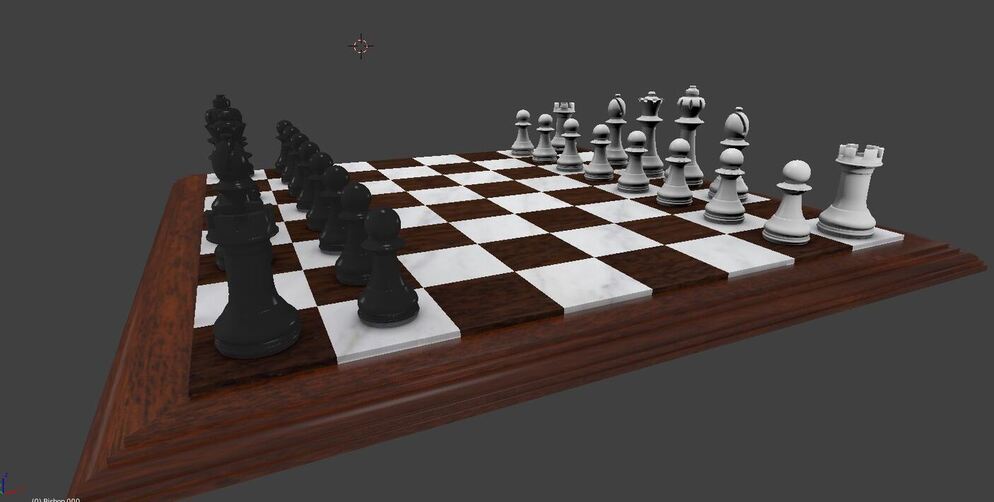
I’m new to Blender but not 3D modelling, I still remember my first proper 3D render was a chess set I modelled in 3ds Max way back in 2007. I decided to just go ahead and model a high poly chess set as I learned most of the interface, tools and things that were being taught in this section while building my Mayan Pyramid from Section 2, and the Bowling scene from Section 3.

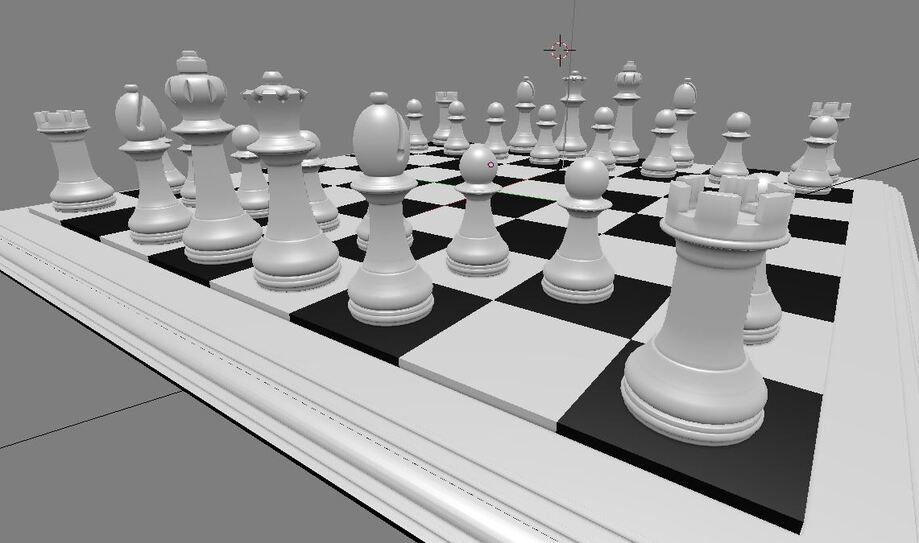
I’ll sculpt a Knight later when I get to grips with the sculpting tool, I assume they will be taught in Fluffy Bunny? I might do a simple Knight as a placeholder. I’m pretty happy with most of the pieces, the boolean’s work much better than 3ds Max, but its hard to get rid of some artifacts and shading errors sometimes.

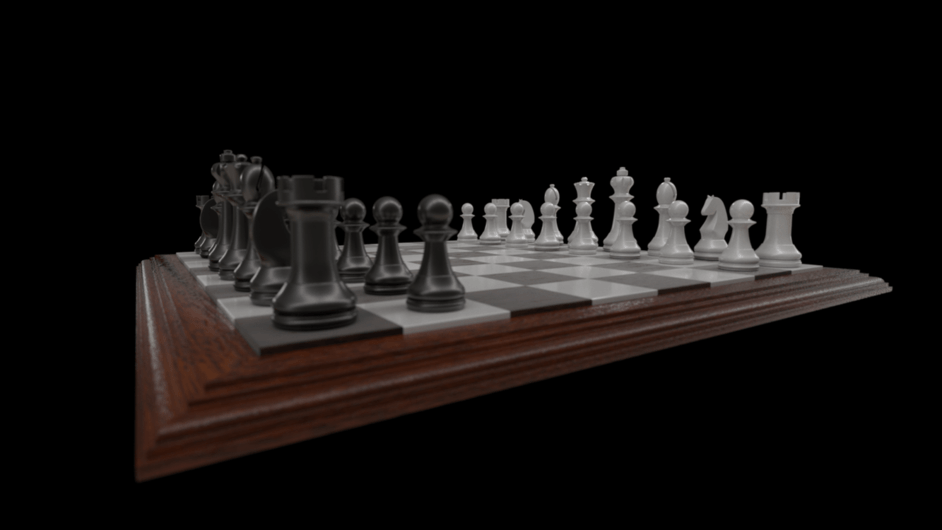
Moving on to the lighting, rendering and texturing lessons from Section 4 (lessons 76+).

3 Likes

Screen grab from the rendered viewport, stil working on figuring out the lighting, camera and render settings. Fairly happy with the materials, need to tweak reflections, specular/glossy settings and lighting to get the look I want. Moving onto the next setting since its going to teach Cycles, which it what I’d prefer to be using due to the more realistic lighting.

Finally remembered to go back and create some better materials, lighting and render setting for this chess set. Not to mention model a knight.

The shaders for the chess pieces and white squares are basically diffuse BSDF/Glossy BSDF mixes, with a fresnel node used to mix the shaders, the black squares are actually rosewood with a slight variations on the diffuse to break up the reflection, again it basically a mix of diffuse and glossy using fresnel. The wooden board surround uses a mahogany diffuse map on a diffuse BDSF shader, mixed with glossy BDSF shader, again using fresnel in the mix amount slot, but alos inverted fresnel in the roughness slot of the Glossy BDSF shader (meaning head on reflections become blurry, edge reflections are sharper, theres alos a normal map in the glossy and diffuse shaders too.

The lighting is only an HDRI map, for some reason even if i added an area or point light, there was no effect on the scene, didn’'t look to into why yet, because i was a bit rushed. I set the render up with full indirect lighting set up, and 40 (squared) samples, but on progressive, as i thought i would probably jump in and stop it at some point, but i let it go for the full time (1hr 5 mins using GPU gtx 750ti 4gb). Obviously slight depth of field used to add a little boost to the realism, could probably do with a background scene or image, will look into that in the next iteration of this project.

2 Likes

Privacy & Terms