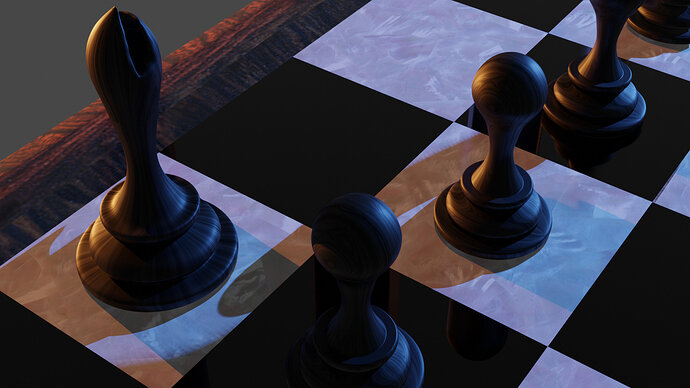
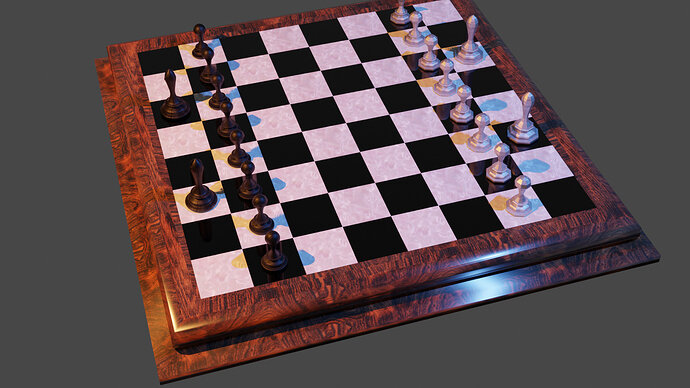
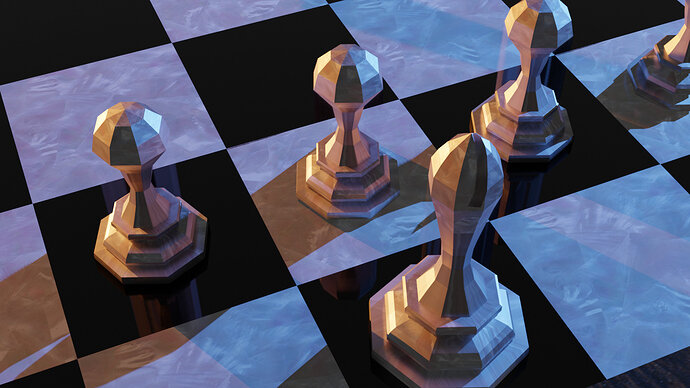
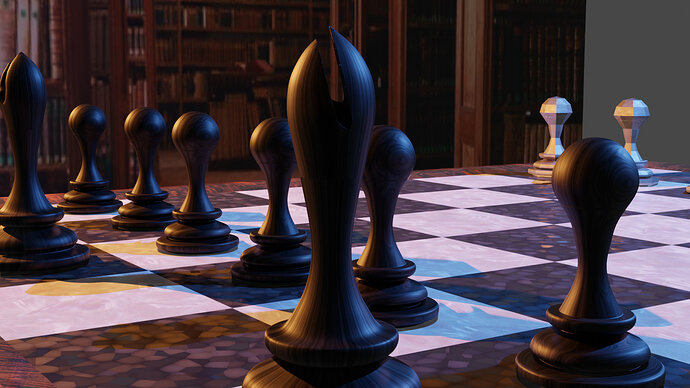
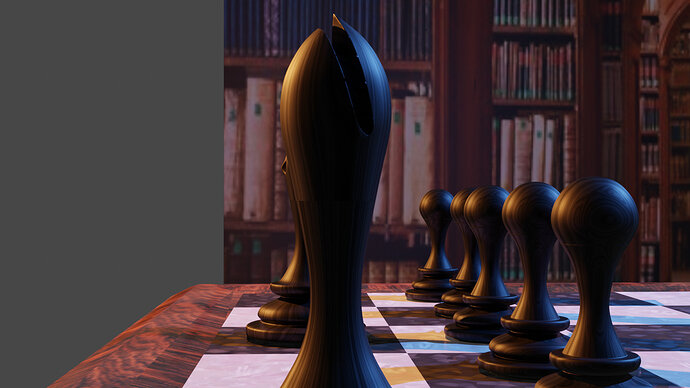
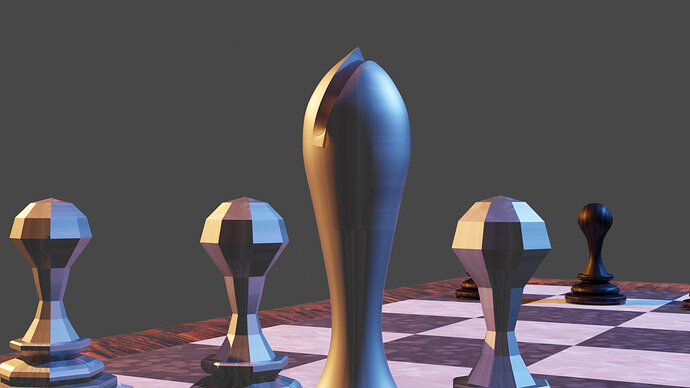
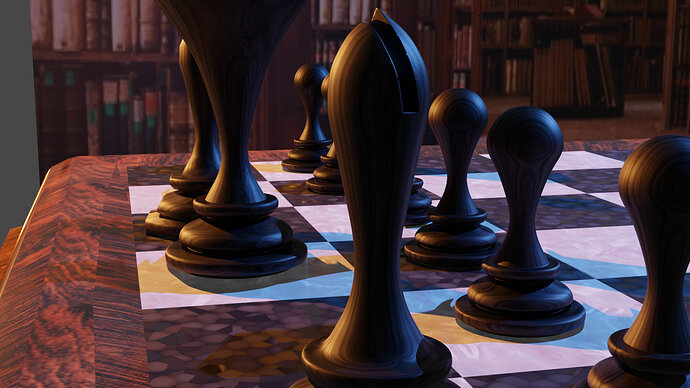
I used black wood for the black pieces, mother of pearl for white ones and white squares, glossy black ( obsidian) for black squares, rosewood for the frame and some photo of a library as a background to give it a bit of a nice feel. I left white pieces low poly for now, not sure which look i like more
Coming along well.
Nice background setting when it shows.
The Black high poly bishop has a problem At the mitre cut. I suspect it need the edges ‘sharpening’ to sort it out in the render.
To be honest with ya i tried everything to smooth it out. No matter what i try there’s allways more or less of a problem there, dunnno why. I tried positioning boolean differently too, didn’t help.
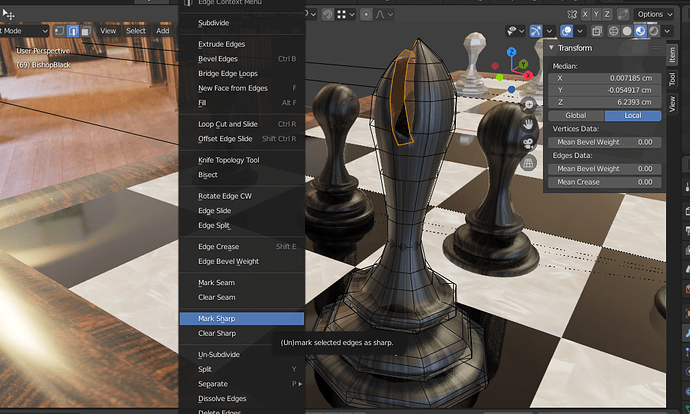
Try making the requisite edges ‘sharp’. Edit mode, Edge selection right click to find it.
In the transform panel (top left), of your screen dump. You see Mean Crease which is ‘0’.
Change this also to ‘1’.
What you did is mark and edge to be SHARP. Blender also want to know how sharp. Default '0’is none, ‘1’ is max.
Thanks for the tip. I played a it with it, and here’s what I’ve got. You can hardly see it on black ones, but on the white it’s clear. It’s as if the boolean did not cut the shape out, it pushed the material down, like if it was clay, and created a lip at the bottom. Hard to explain… and no idea how to fix it.
It is because of the subdivision modifier and your mesh is ‘dirty’.
With that I mean that, the boolean modifier, cuts out a shape.
But the result in mesh can be very irregular, especially when the subdivision modifier is active.
Most of the times you need to fix vertices manually. Creating a mesh using only quads (faces with 4 vertices).
It starts also with, how you base model has been designed. And where the boolean object will inflict the topology (mesh shape). This is a difficult process. A reason, to stay at the low poly models. Like your pawns.
And I think you didn’t mark all the required edges sharp. You miss two edges inside the notch.
Thanks for all the suggestions guys. It helped a lot. I think it looks much better now ( i fixed a small thing on a pawn as well) I know the thing is to go low poly- that’s why i left white ones as low poly, but I’m also playing with making something else out of them at the same time
Got another small issue with texture, no idea what I’m doing wrong ( or maybe it’s just the way it is and there’s no way to change it)
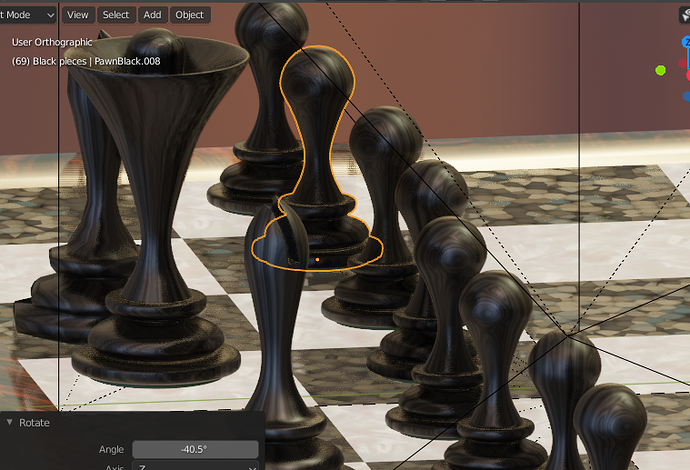
In effort to make my work more real I did a bit of a mess, so my pawns are not in a perfect row, not dead centre and so on… I hoped if I rotate them here and there, it will look more natural too. BUT. Here’s the screen of my viewport…
And here,the render of that very same scene…
Anyone knows why blender put’s all my little ducklings in a row for me when i clearly asked him not to?

My feeling is it is displaying positions correctly. The movement on your pawns is not substantial (which is fine for the purpose) so the closer up image sees it more than the further away one less. Though a pair of identical points of view in both modes would confirm it. Or simple down the line views from the same height too.
What is odd is the texture does seem unaffected by the rotations of each pawn. Helping to give you the impression they are not moved in position.
Is that an evee viewport/cycles render difference?
If I am right perhaps someone can suggest how the textures worked out differently.
I’m not sure what you try to tell us, so here my observations;
- First image is in ORTHOGRAPHIC view (no invinity point), all pawns the same height.
- You can make textures coordinates, depending on the local pawn OR world.
- You pawn are DUPLICATED LINKED, or just DUPLICATED
- Differences between Cycles and Eevee render (and Workbench).
- You encounter a Blender misbehavior (BUG). The start a new blend file and APPEND your mesh from the old file.
What I was talking about is the problem with texture. I can see it straigth away on the pics, so I didn’t think of writing an elaborate explanation. See how on ortographic iev you can see the texture is not the same on every pawn, it’s rotated, so it looks like they’re more random ( The texture is black wood, so you wouldn’t get two same looks on real wooden pawns) But when i render it, it puts all textures back in a row, so all the pawns look exactly the same. The problem is in both evee and cycles.
And now- texture coordinates aren set to NORMAL, as this is the only one that shows the texture ( all other ones I just get black pawn with no wood markings on it )
the pawns are Linked duplicate, as that’s what Mike said to do in one of the previous lectures,
I’ll try to append it all one more time to new blender file and see if it works.
Thanks for your continuous support guys 

