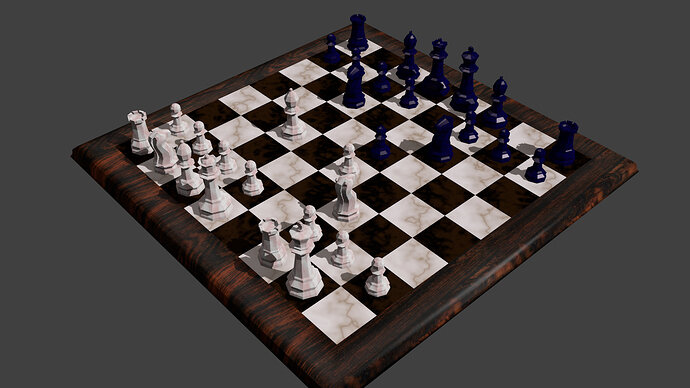
My chess set

I love chess ! And a complete chessboards with pieces is something I’ve started many times in blender, but never finished so I’m curious to see how much I am learning :slight_smile:

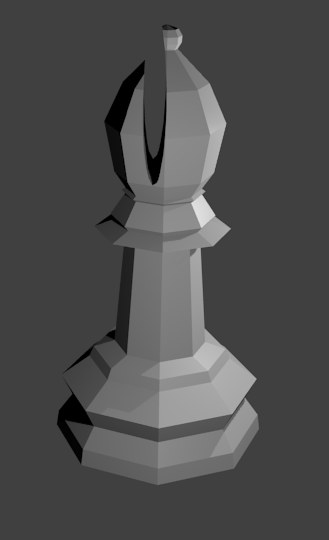
For today I stop here: it’s already too late, but it seems ok! I actually would have used beizer curves, but nontheless I didn’t know about bevel and it seems a great tool!
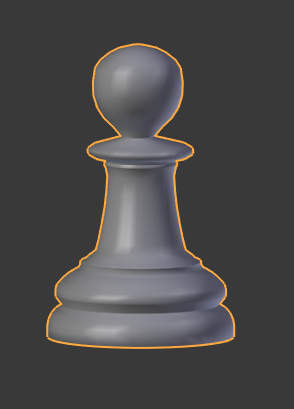
my_pawn_1

I didn’t think about using a sphere for the sphere part…but yes, it was on purpose, only to use as much bevel as possible :wink:

1 Like

I actually used an icosphere for the cut…it came out allright, I believe, but it’s not “that lowpoly” I guess :wink:

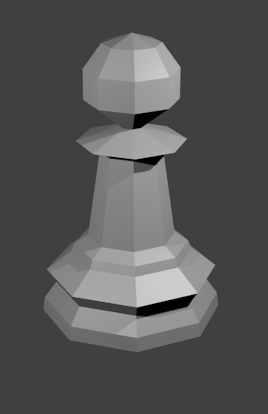
And here’s the low poly pawn :slight_smile: I am really enjoying these lessons :slight_smile:
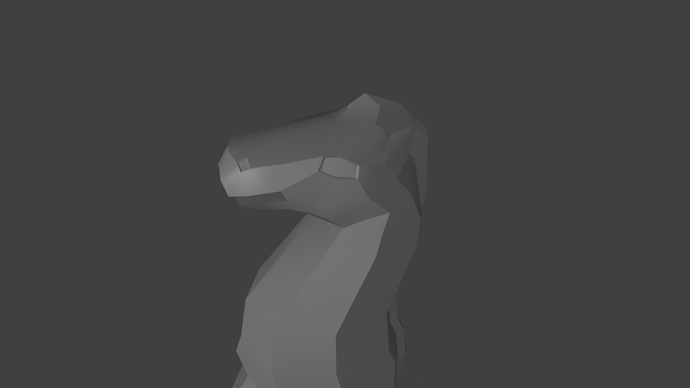
pawn_lowp

1 Like

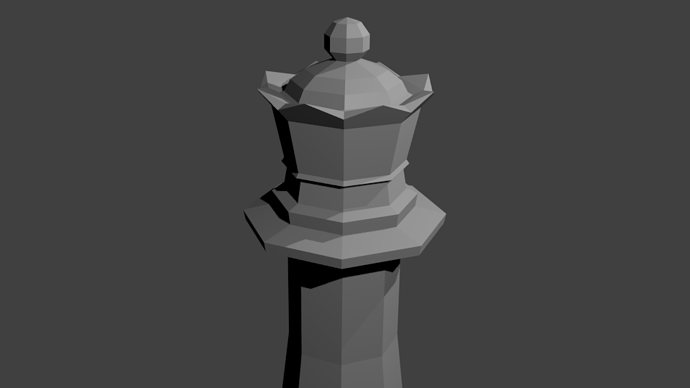
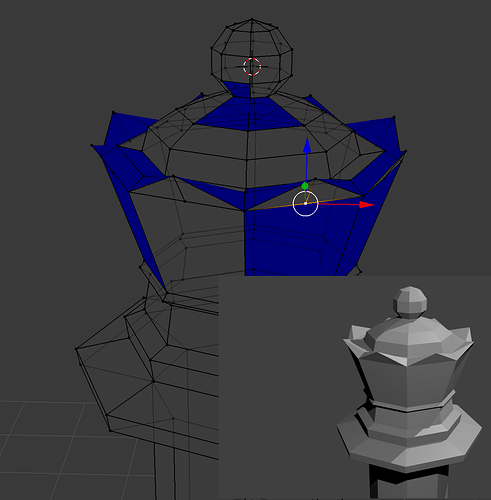
Here’s my queen crown! Originally I did it in a slightly different manner, but then I realized that remove doubles can lead to deforming the geometry, so I remade it following the video lesson:

1 Like

Everything’s looking really good, especially the queen. Great job!

1 Like

Thanks :slight_smile: This was how I made it, it’s not really clear from the render, but in the analysis you can see that using “remove doubles” created some bad topology…

1 Like

Yeah, you have to be really careful with remove doubles. I typically keep the distance on it really low to avoid problems like that (I usually keep it at 0, actually, so the vertices have to be RIGHT on top of each other).

Occasionally I do use the “trick” of bumping it up above that to achieve a certain effect, but that’s pretty rare. :stuck_out_tongue:

Thanks Corune: even if it takes longer to remove double, it definitely pays out to use 0 distance…

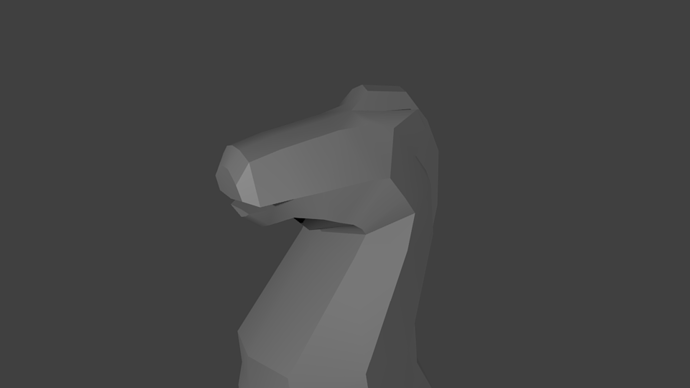
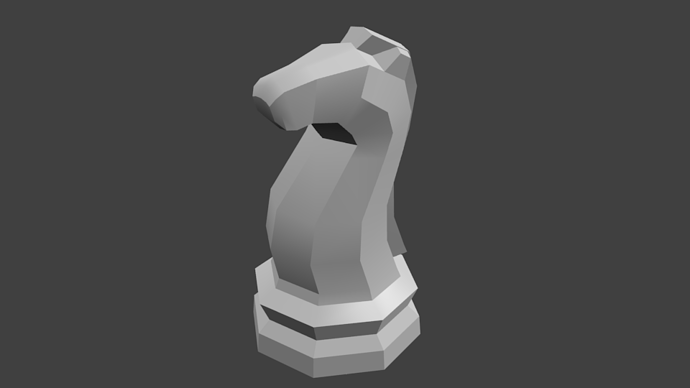
Here’s my first attempt to model the knight: it is not that lowpoly (800 vertices, 300 faces), and I “cheated” (there are some triangles around"; I shall retry later…but at least it is a knight :wink:

1 Like

Here’s a low poly, simpler, version (about 100 faces each half):

And this is one with some improvements and nose and eye, 150 faces per side:

This is the final one: it’s simpler but it is really hard to avoid mesh deformation (also here, for instance, it happens…) and I don’t know why, after activating the mirror modifier (or maybe something else) the mesh analysis is not working properly…

1 Like

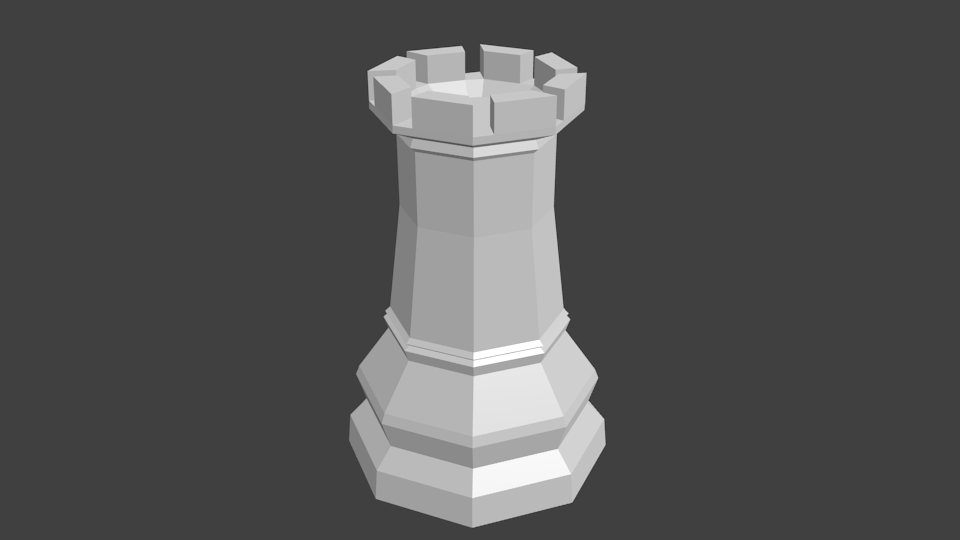
Rook done :slight_smile: I didn’t watch the remaining part of the lecture, so now let’s checkout if I had good ideas for this :slight_smile:
rook

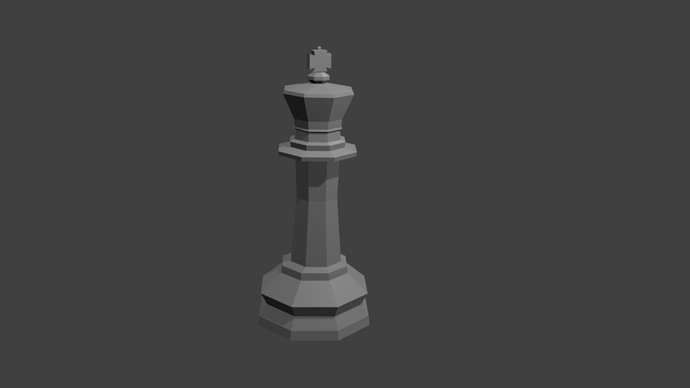
And here’s the king :slight_smile:

For the cross I simply started with a plane, extruded and modified it into the shape I liked, then used the boolean union modifier.

Finished scene :slight_smile: I’m not very happy with the textures, especially for black pieces…but, well, one thing at a time; as for the models I’m reasonably satisfied! (Ok, also lights were a problem, now it’s much better )

1 Like

Everything look really good!

1 Like

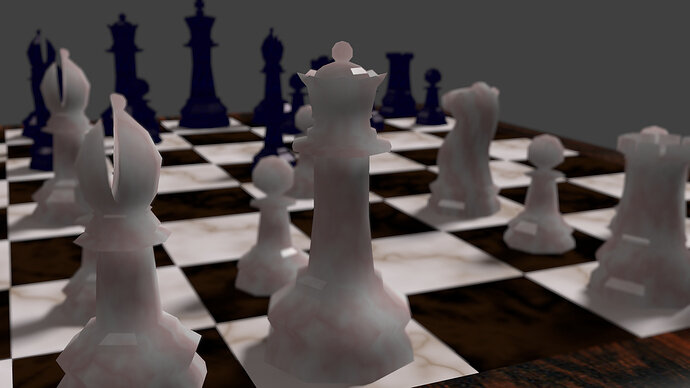
Here’s a simple image to finish the section with field depth…this section was really instructive :slight_smile: And thank you Corune for the positive feedback!

2 Likes

I am lovin’ those textures. It may be low poly, but it looks real. Nice work!

1 Like

Privacy & Terms