
Everything I sculpted with multiresolution modifier gets messed up once I triangulate the mesh. The same happens if I try to apply mirror modifier (even if it’s still quad mesh)… Please help 
1 Like
- It can be that you’ve changed in the process a lower version of the multires?
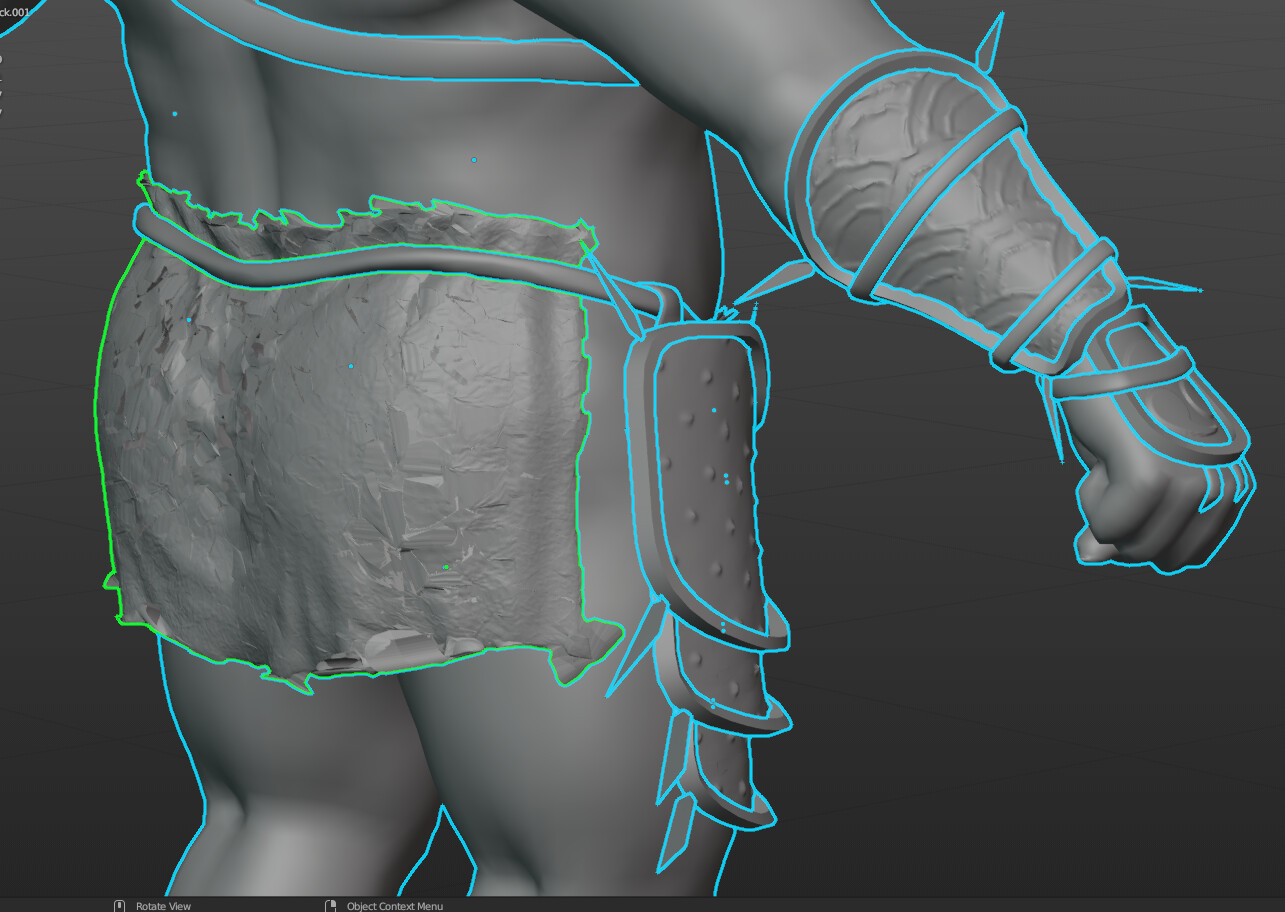
- I forgot what the green outline means … may be the culprit.
Why are you triangulating the mesh anyway?
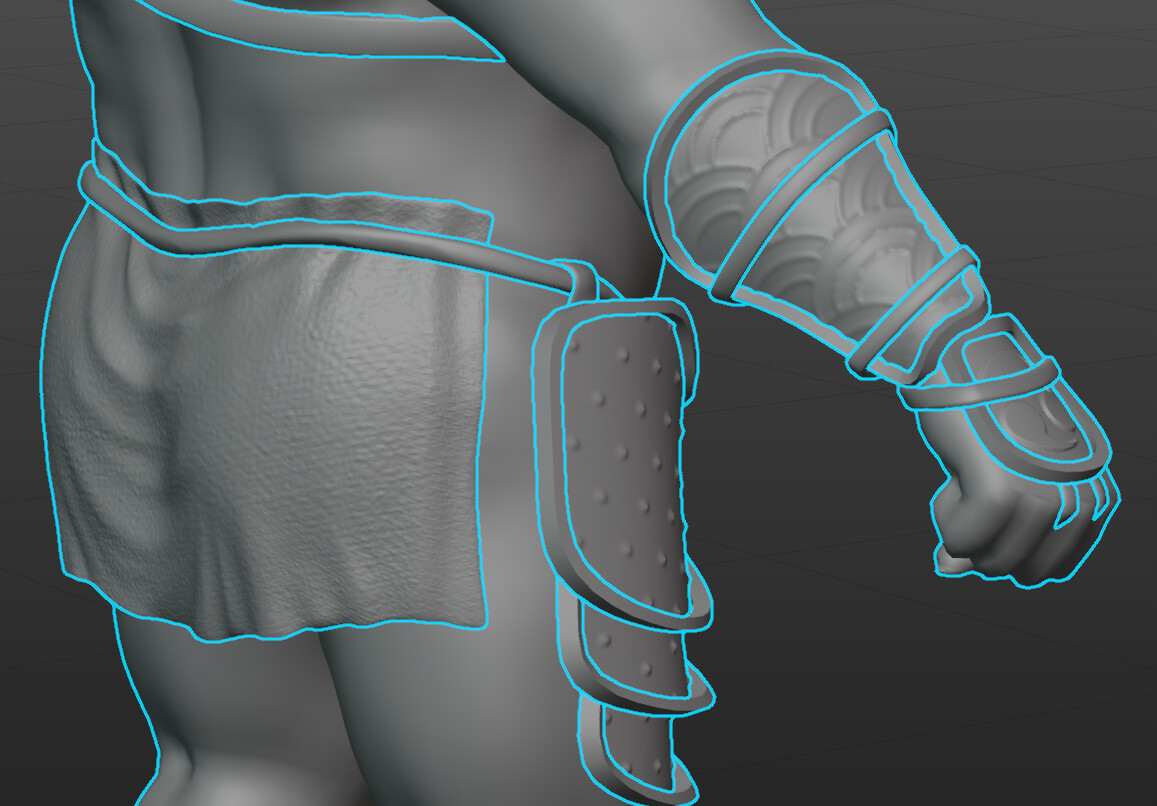
Looks like the high poly you are doing this to?
If applying a mirror mod is doing something odd that is hard to understand unless the rotations and scales were not applied before possibly.
I think we had a question awhile back about the green outline and no one could work out what is is supposed to denote, and so it may well be something amiss somewhere.
True, and apply modifiers top to bottom. Top first, working down.
Maybe let me explain better 
This strange thing happens in two situations:
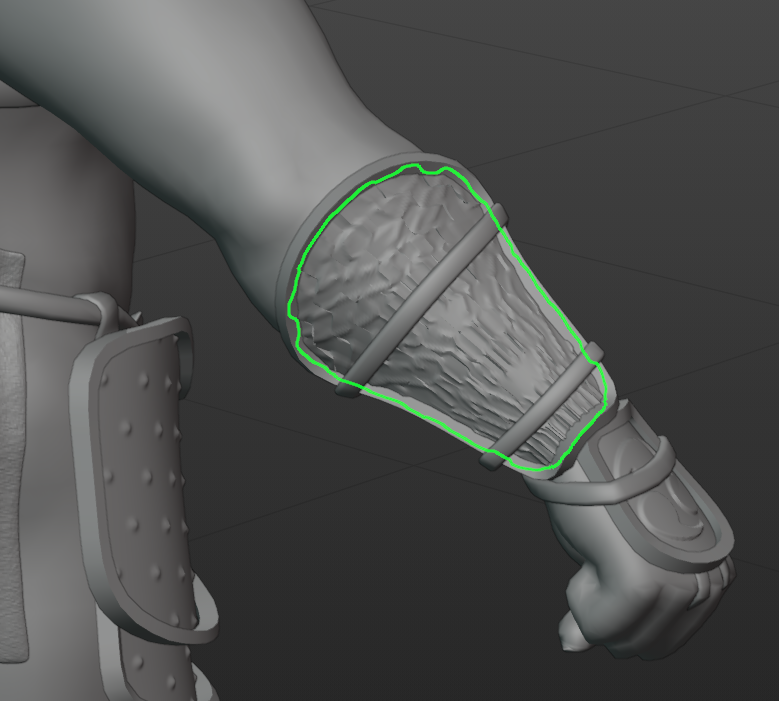
1 - Triangulating the low poly mesh. It has multires, but it’s not applied, I checked the multires levels before triangulating and the scale as well, but it happens again (images 1 and 2, before and after).
2 - Also happens even if I’m not triangulating the mesh, but just applying mirror modifier to the arm plate. This mesh has multires modifier and mirror modifier, but multires doesn’t allow me to put mirror mod on top of it, so when I apply it, blender does this mess…
I’m triangulating because I’m following “Blender Character Creator v2.0 for Video Games Design Course”, lesson 6_UV_BCC “Repair Stretching Problems”. Is it something I could skip? I retopologized the body manually, and about stretching, I already have very few light blues on my UVs.
I changed the Blender default theme to the minimalist preset, the green line it’s just this theme’s version of the default white active object outline and the blue ones correspond to the orange ones in the default theme. Sorry, now I understand it could be a little confusing
1 Like
If you examine your texture closely and don’t see that many stretching problems. There is no need to. You can also do better placing of the seams.
A render engine (as in Blender) will always, use triangulated meshes, just before rendering (is has something to do with render maths). But, by doing it by yourself. You have an influence on the way this happens. If Blender does it automatically, it can be not the best choice for your model. Especially when doing hard-surfaced meshes.
Then you real problem. I’ve no real solution, it’s has been asked in the past. So a few students experienced this problem also. Try to search the Ask forum. I can’t recall a hint of a solution, other than.
-
Leave your high poly as is, and start to re-mesh the low poly by hand for a low poly.
But I believe it is now possible to use the multi-res version in low-res and high-res setup, to create the baking process (meaning no need for re-mesh manually. But I’m not sure, it’s a long time ago I did the Orc course with a much older version of Blender) And even don’t know if this feature is discussed in the lessons. -
You could try the trick to open a blank new
.blendfile and append the Orc object and see if the problem still exists. If solved, append the rest.
2 Likes
I suspect, if triangulating with a multires on it cam mess up as subdivision works best with quads. If there are ngons in there as well, as in if you did not make the mesh deliberately with quads that would be worst for the multi res. I just have never triangulated anything, if ever needed it happens automatically, like exporting in a different format.
I would just not triangulate Grant only uses it to auto deal with shading anomalies really. Does not look like you had any.
2 Likes
Alright, so I’ll proceed with the quad mesh as it is, also I think I’ll try the “append method”, thanks both 
2 Likes