
Doing Grant Abbots “Blender character Creator v2.0”. At course Creating tank base time 9:24 he says all the selected ends should be highlighted. When I follow the instructions only the last selected face is highlited. But the linked faces are modified per the instructions. How do I get all affected faces to highlight?
1 Like
Lecture time will be helpful but images are essential too in order to understand the issues/differences you are having.
General Q&A note
Help us all to help you.
Please give full screenshots with any questions. With the relevant panels open.
Also, include the lecture time and name/number that is relevant to the problem/issue.
The screenshot can be done by Blender itself, via the ‘Window’ menu bar top left hand side.
On that menu drop down is ‘save screenshot’.
Close ups additionally where they help.
1 Like
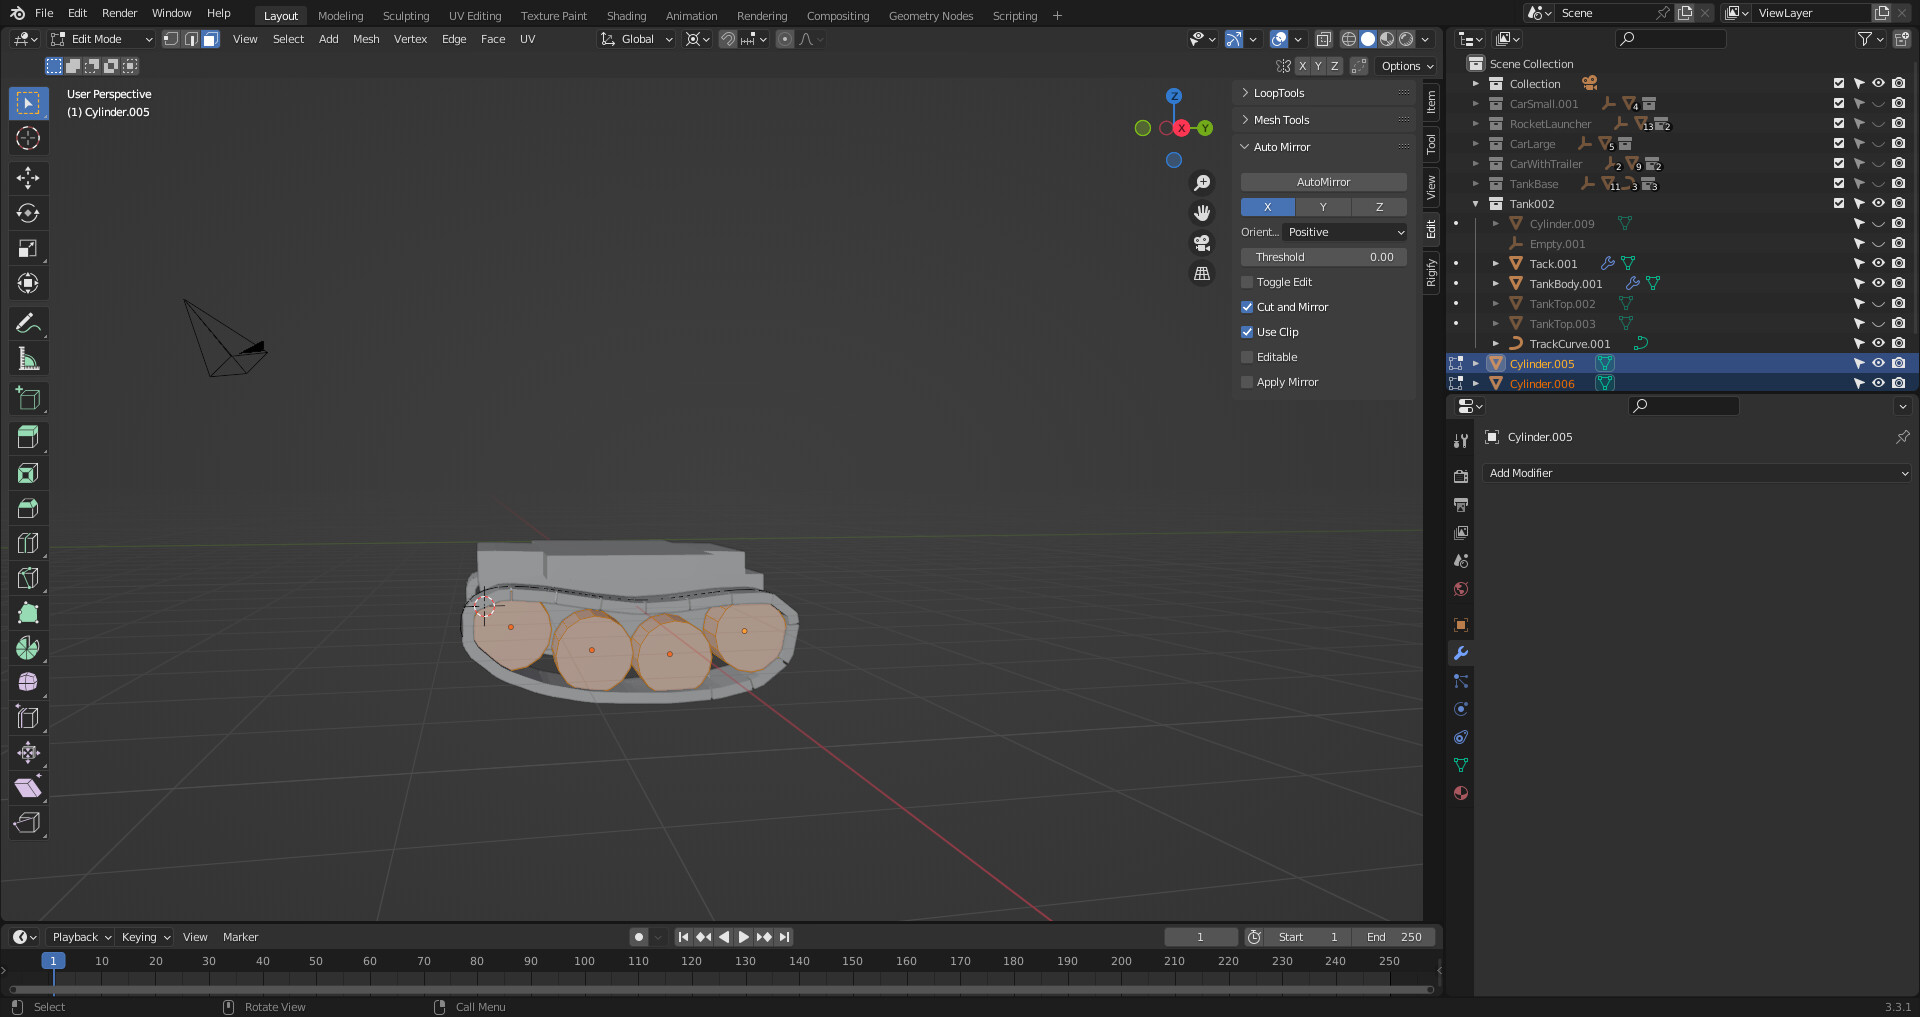
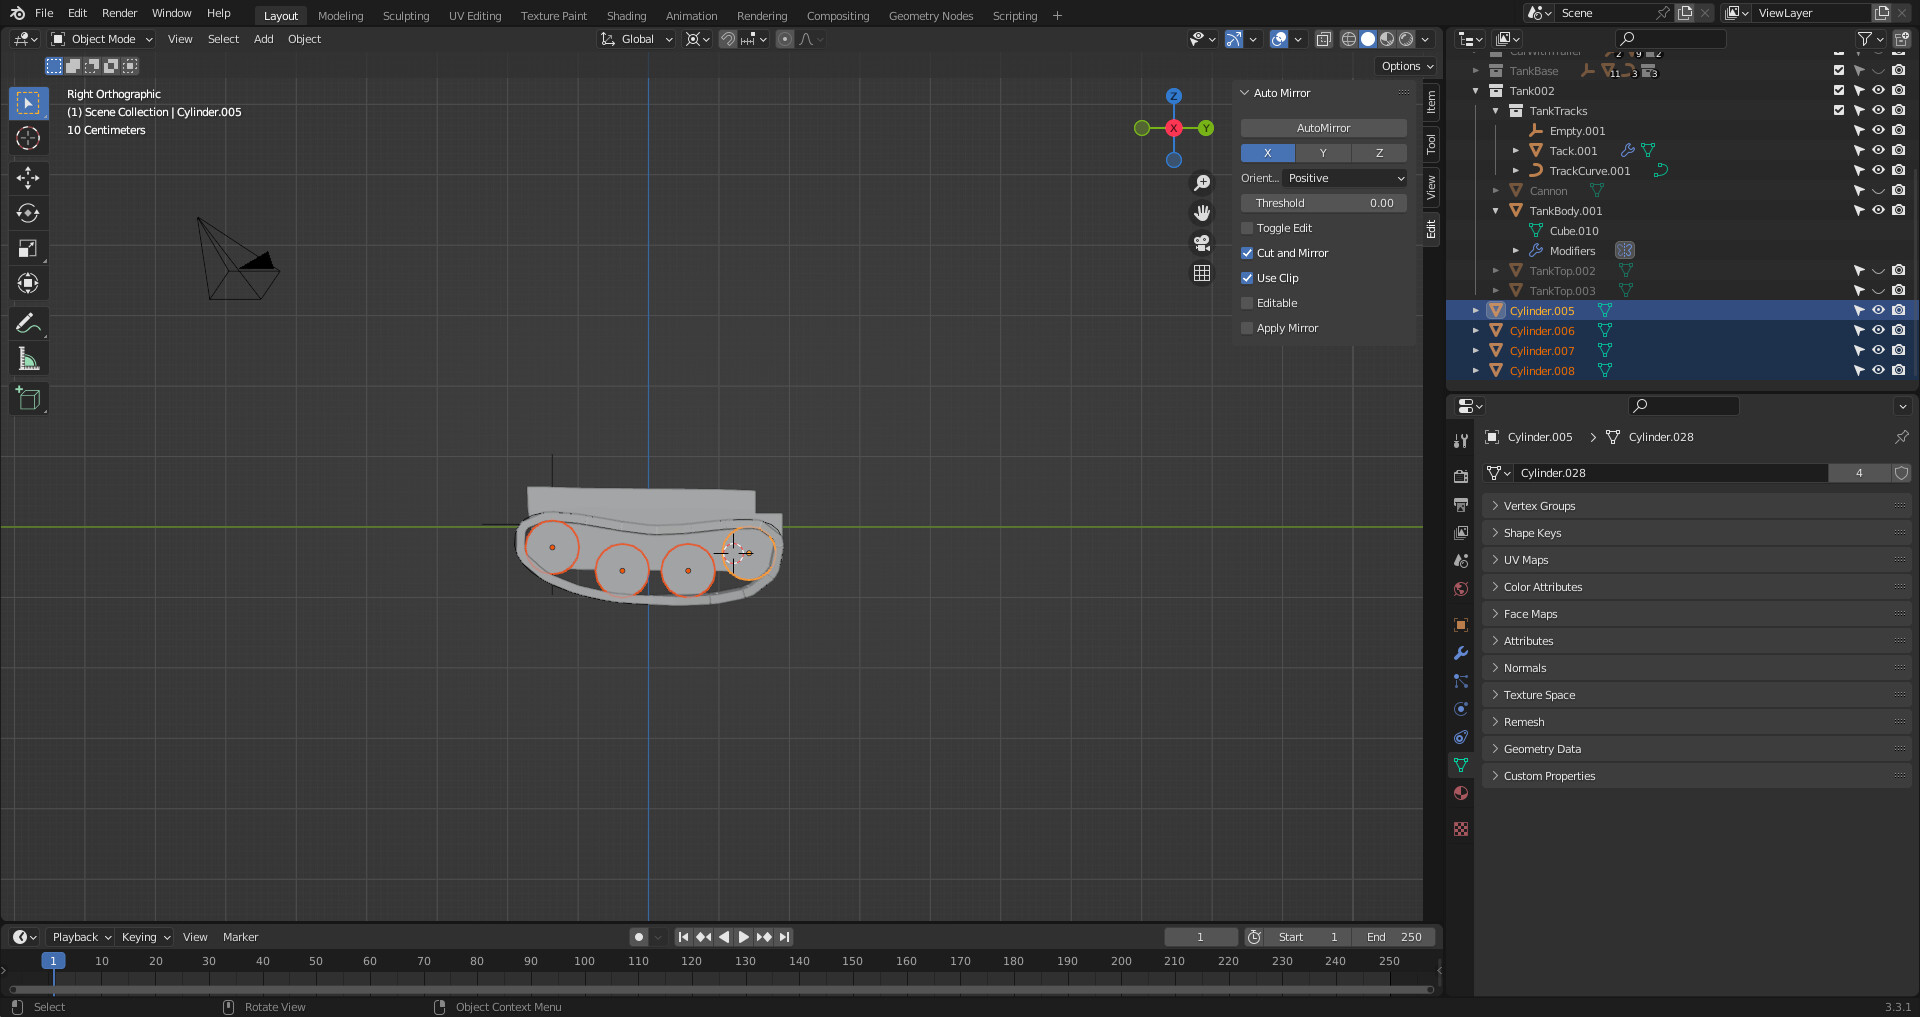
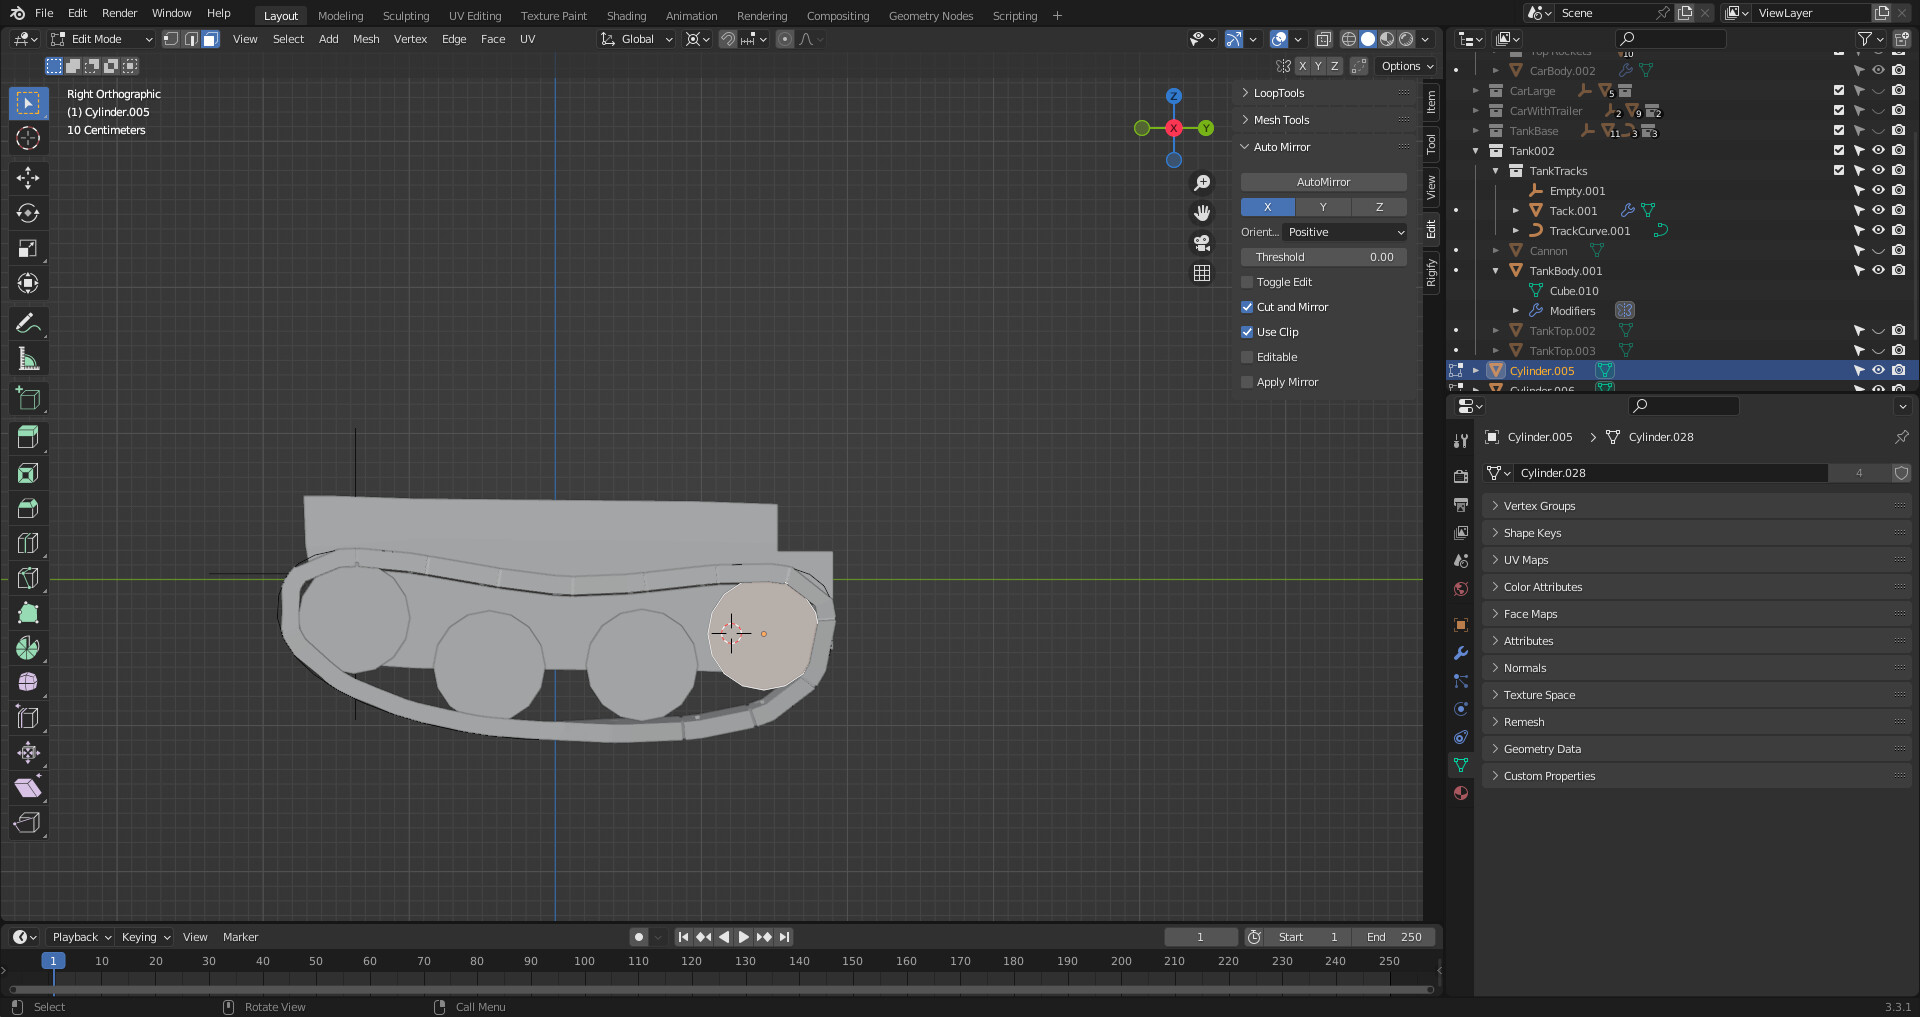
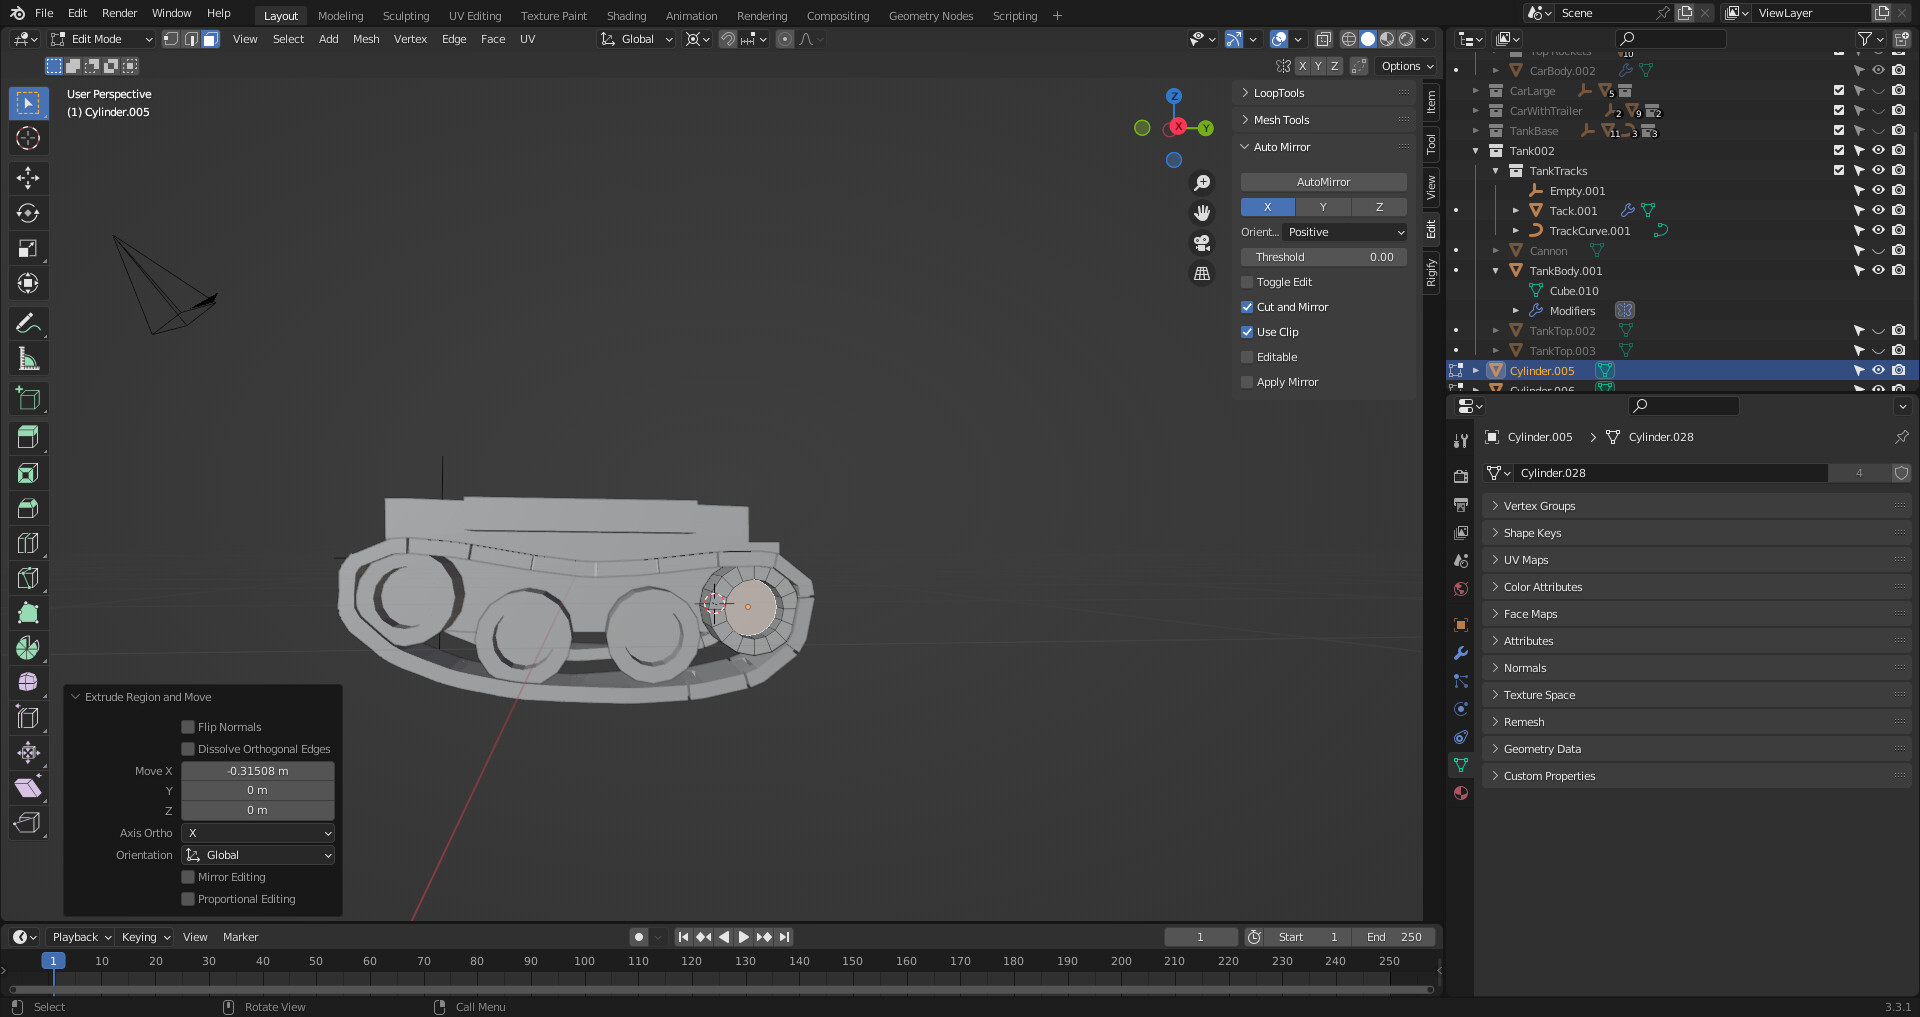
Please find 3 screen shots for “confused” area. Following the instructions to select the wheels then “select one” and tab to EDIT MODE. As shown in the third screen shot I only have one wheel that can be modified.

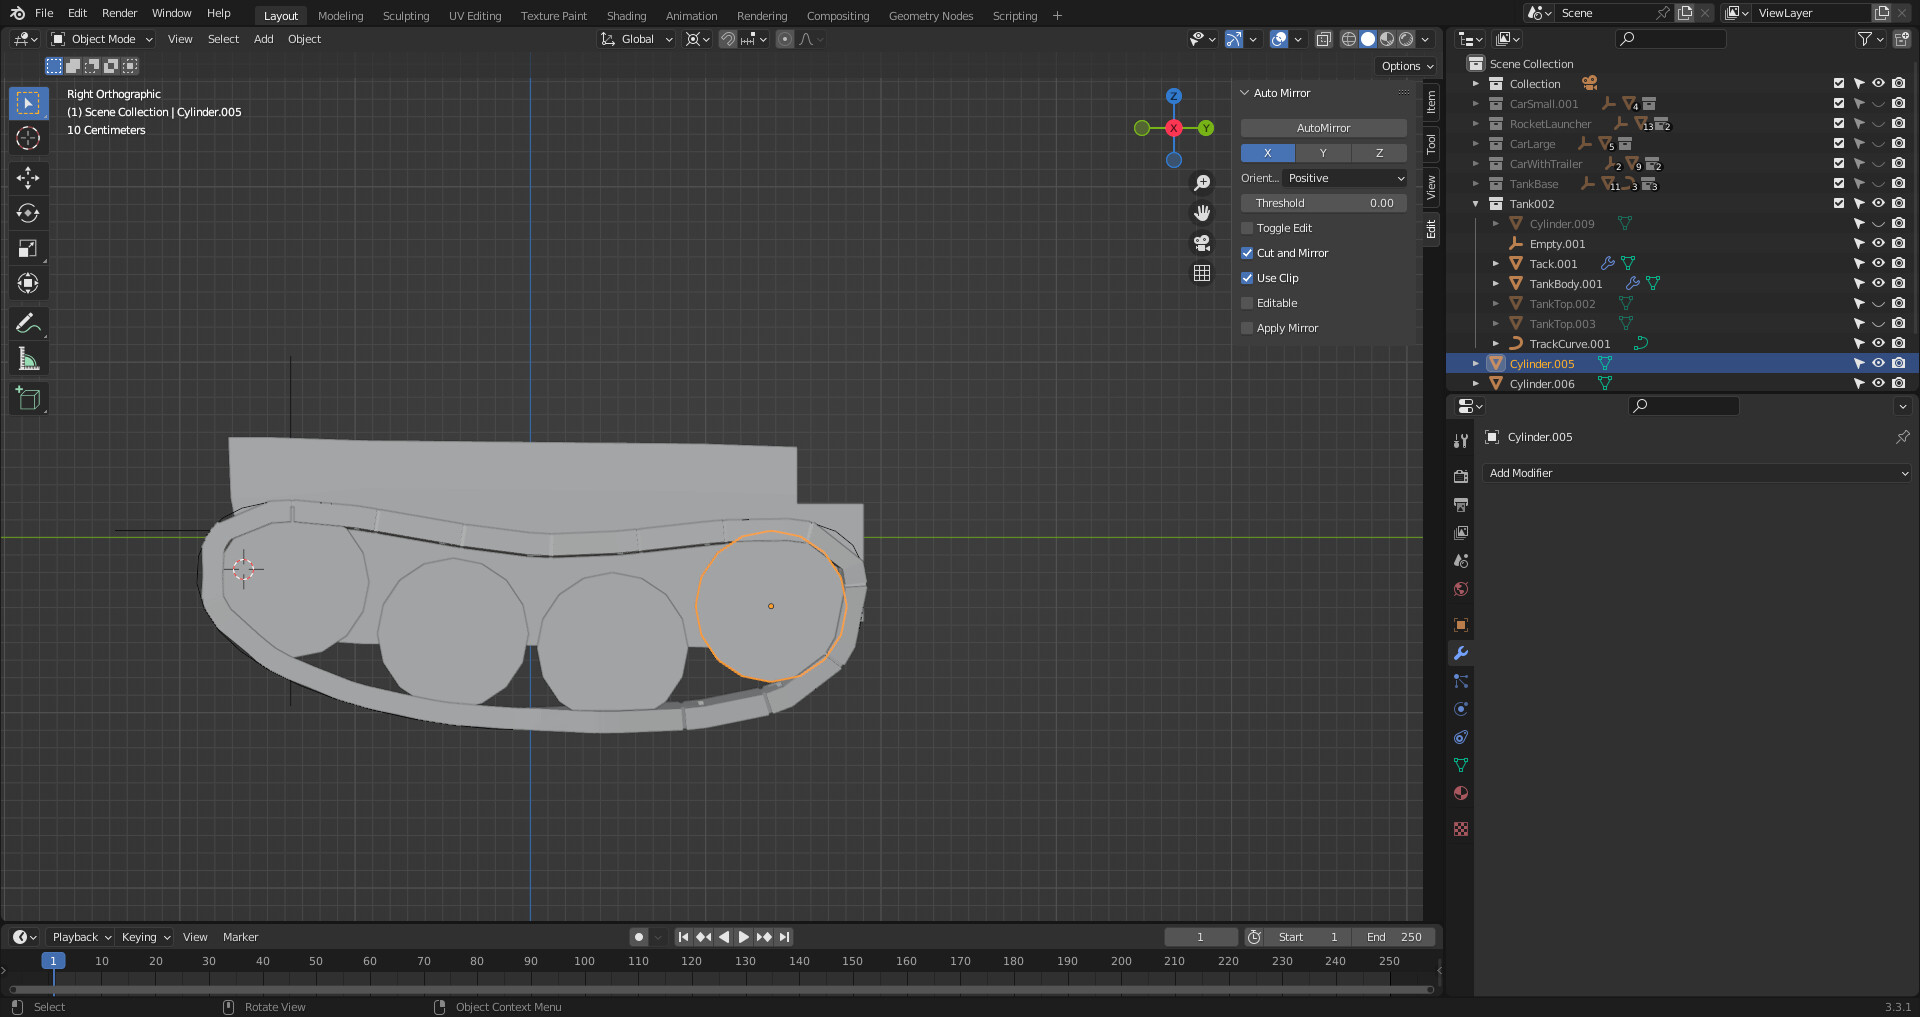

If I select all the wheels and “DO NOT select one” and tab into EDIT MODE I get all wheels highlighted as in screen 4. Then I can select the faces and progress on.
My understanding is as I choose each wheel they are outlined in red (or linked) as the following wheel is selected and the last one is yellow which is the control for the link. If I choose a wheel a second time I loose the link.
Are these wheels linked duplicates or separate unlinked objects made by Shift D not Alt D used for linked duplicates?
Time in the lecture please so I can look up what Grant is doing.
My bad. I have tried this with both SHIFT D and ALT D. So I will restate my difficulty.
The course time is 8:20 to 9:39 using ALT D per course. I select the wheels then select one and go to EDIT MODE.

In EDIT Mode I only have one end highlighted which is the “one” selected just before entering EDIT.
I press I for Inset and then E to extrude X.
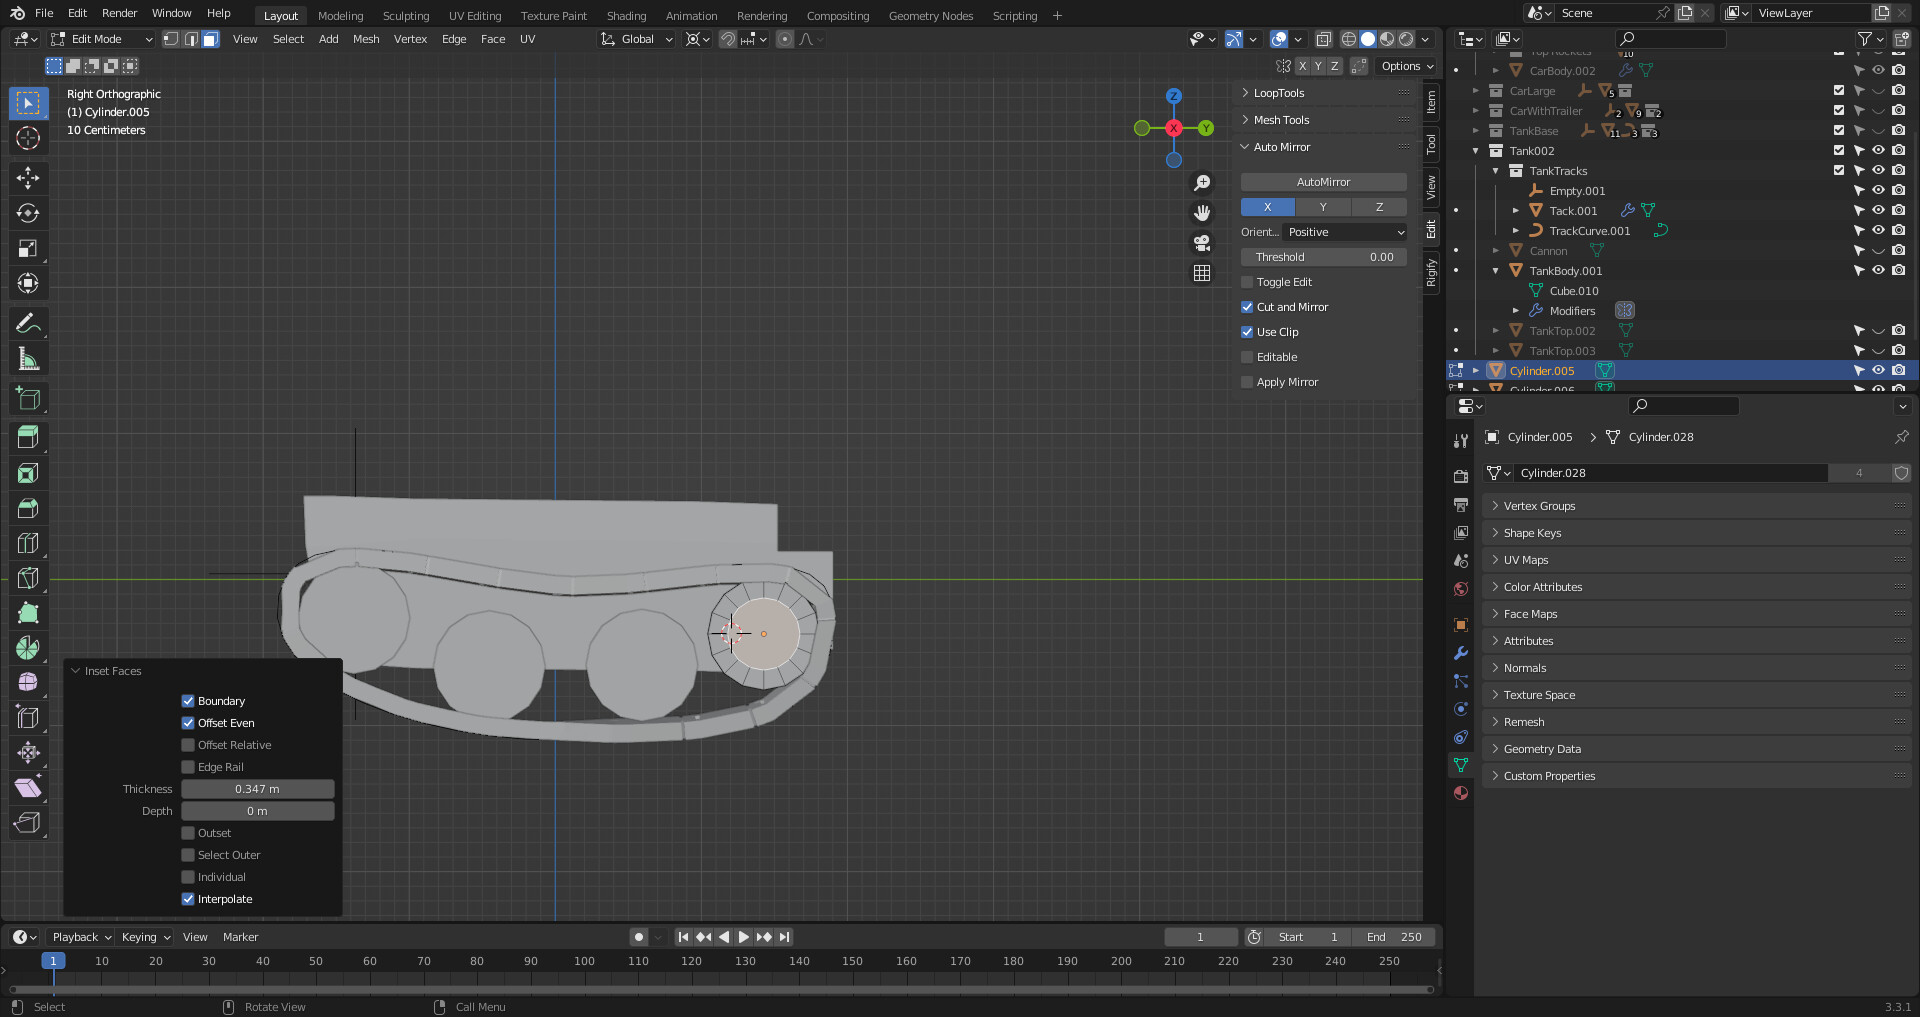
All the wheels are modified. My Question was “How do i get ALL THE AFFECTED ENDS to Highlight as Grants mentions in the course?”
Ok Grant selects all the wheels to move them sideways.
Before selecting one of the linked duplicate wheels and goes to edit mode.
Editing one edits them all, that is the nature of linking.
Having tested it on my own version, which is the same as yours as it happens, I think there has been some visual change compared to the version Grant was using at the time the lecture was made.
Selecting anf editing one of a set of linked duplicates no longer makes all the others look like they are being edited, are not visibly selected and yellow. However it all still happens the same.
You do not need to select all the duplicates anyway.
But if you do, it now looks like the below.
I Expect this was changed to make things more clear.
Because, If the selected were not linked, then taking them all to edit mode at the same time makes them all separately, editable.
Try it with a mix of linked items and some other non linked, see the differences.
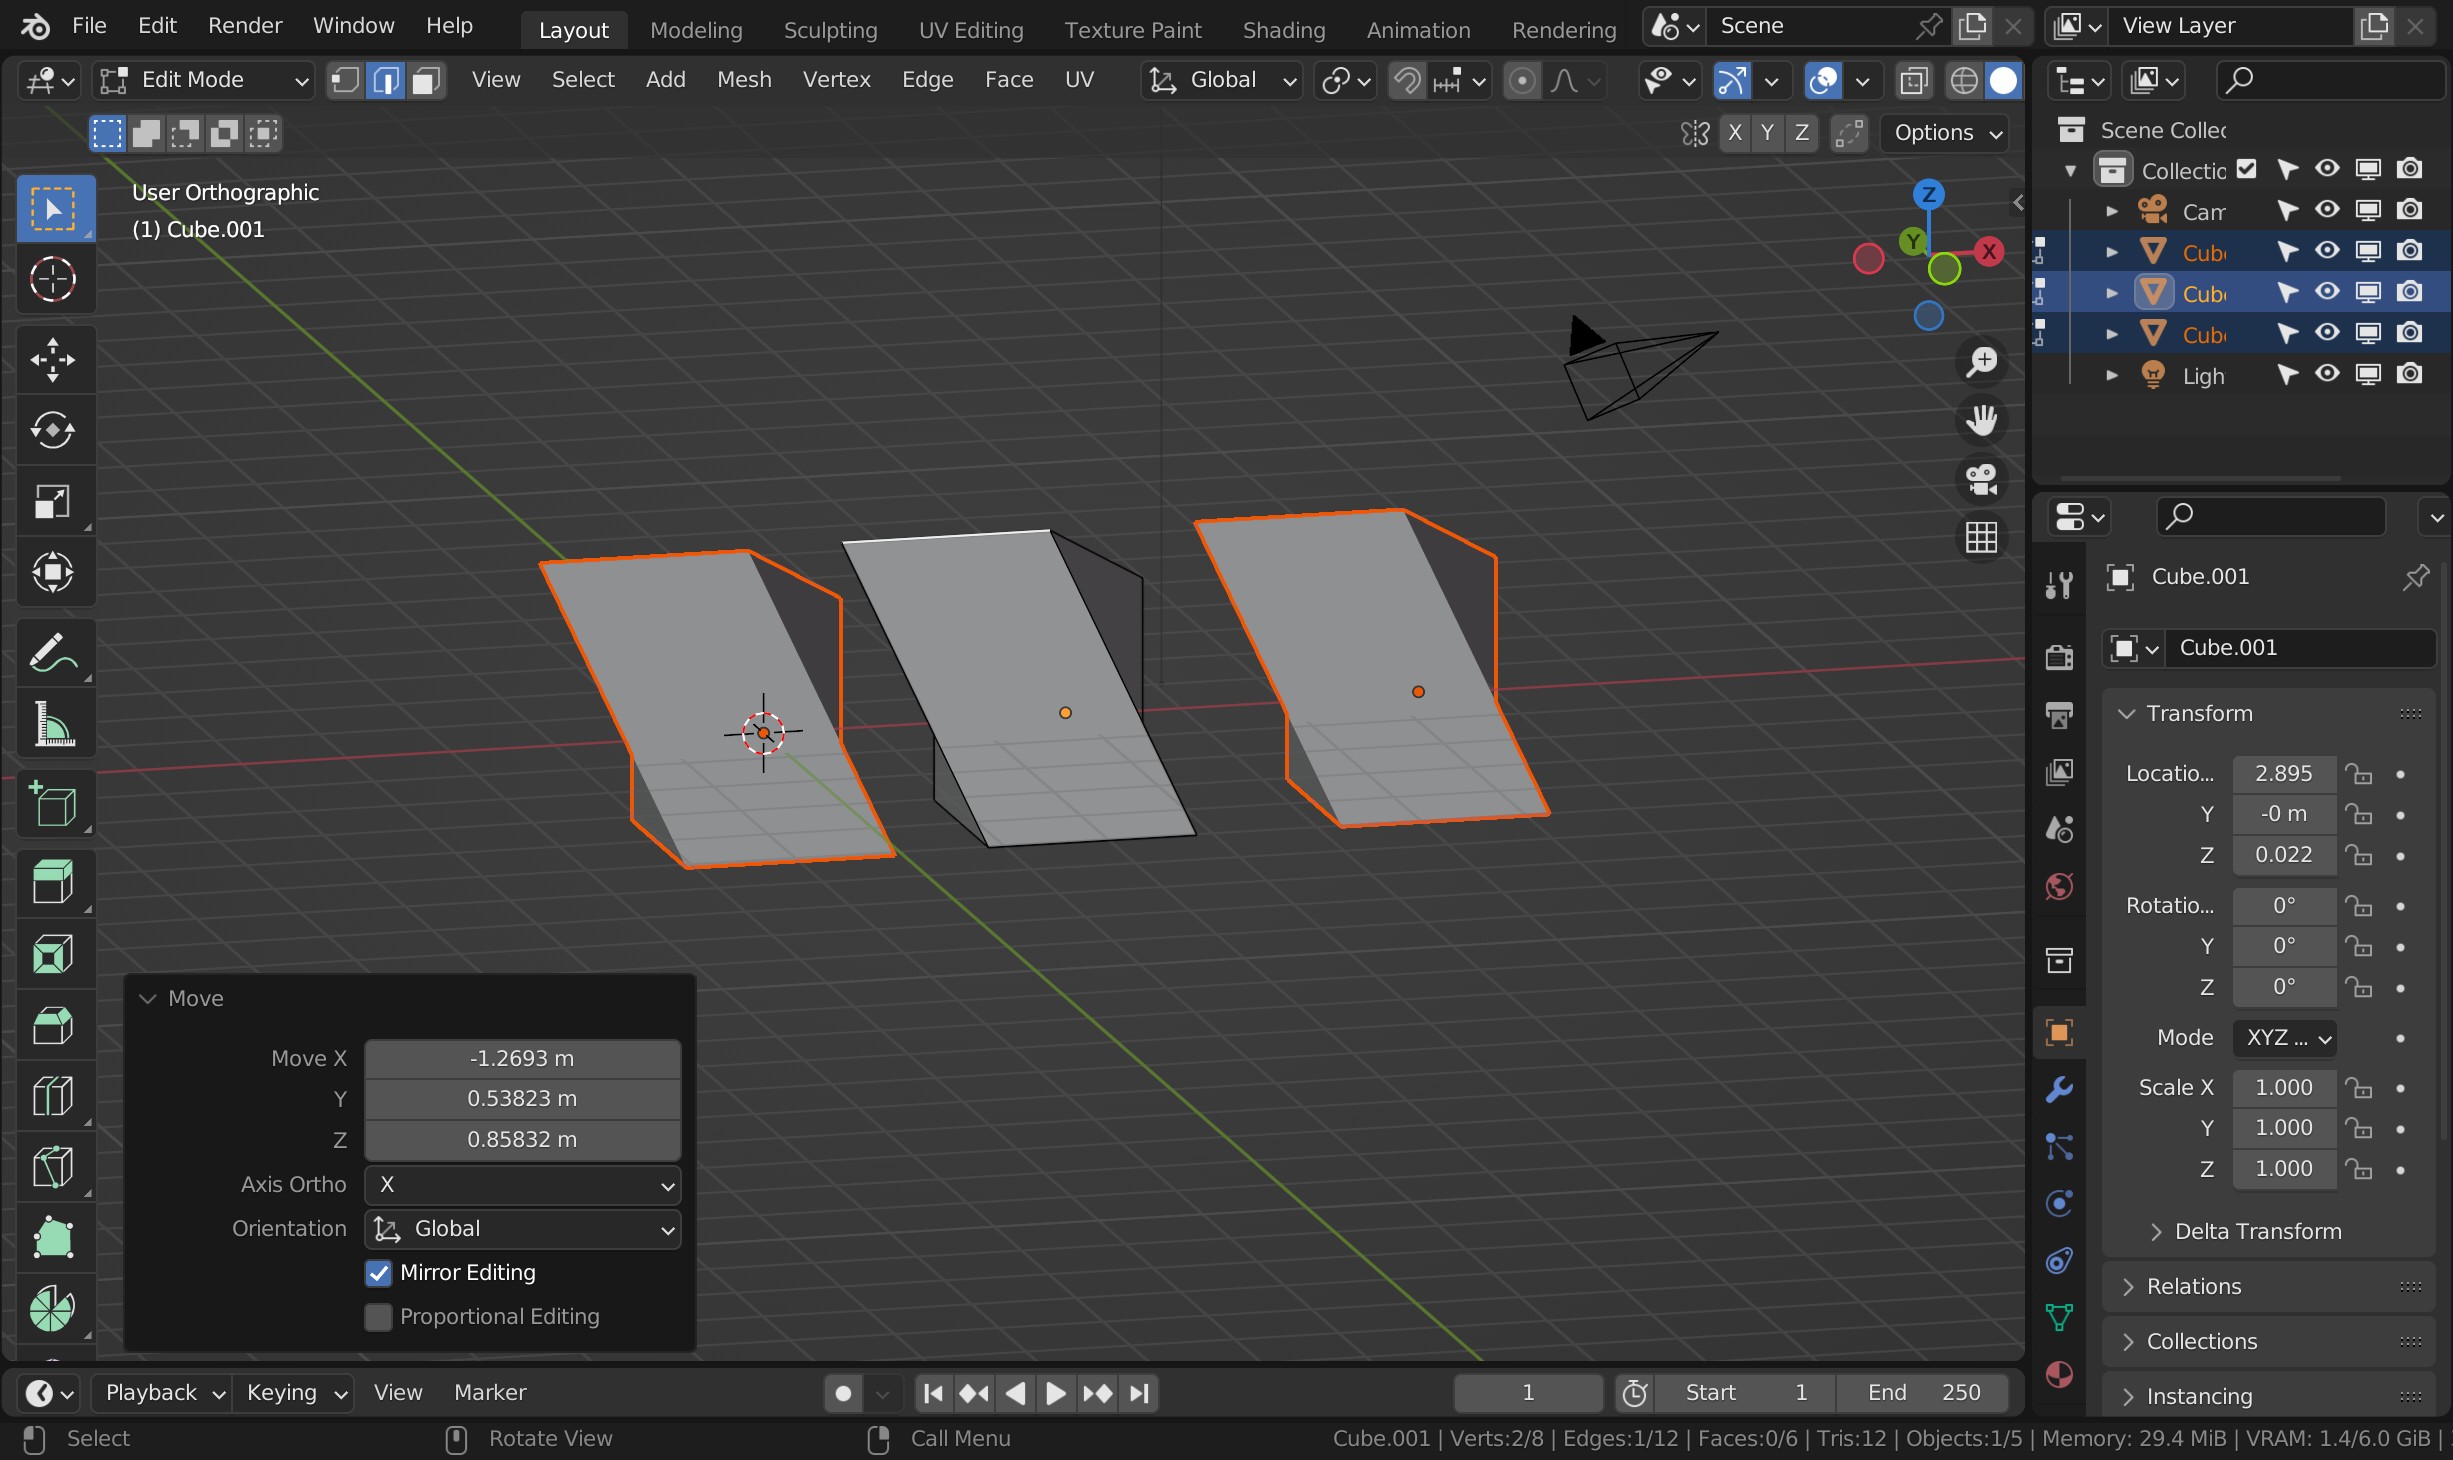
Here with an non linked duplicate icosphere included in the selection going to edit mode. Any part of the icosphere or the middle selected one of the linked cubes can be edited. There is no need to be able to edit the other linked duplicatres as they will just matche the one that is.

Appreciate your clarification. Thanks for taking the time with a noob like me. Thank YOu.
1 Like
This topic was automatically closed 24 hours after the last reply. New replies are no longer allowed.