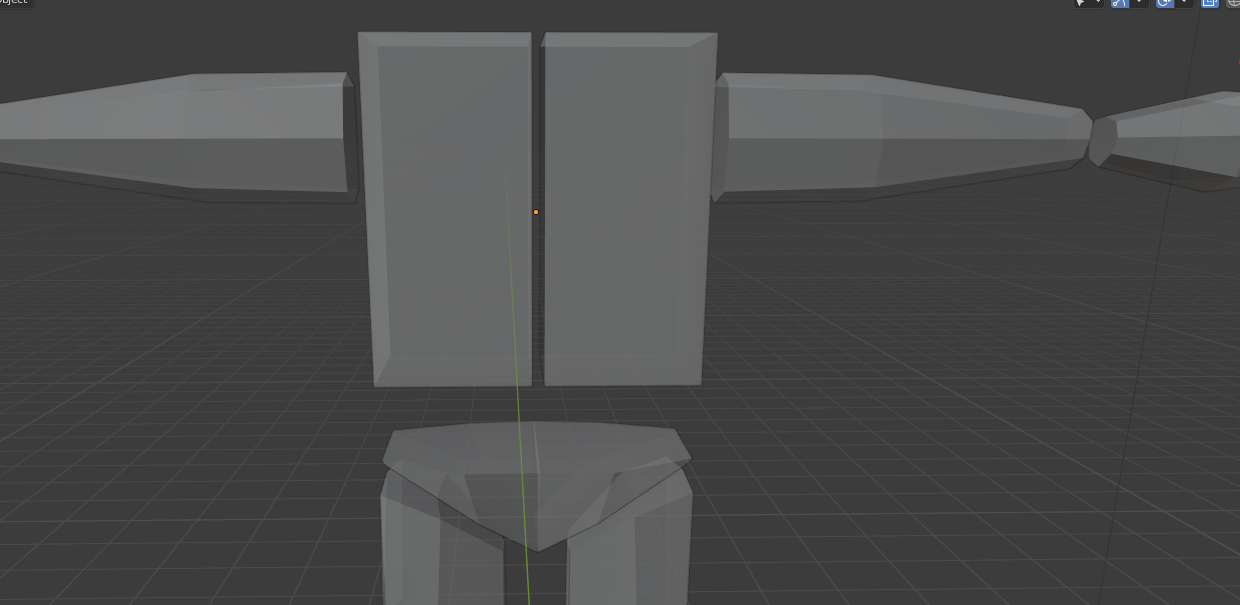
Hello, i don’t know what happened while mirroring so i got the two mirror parts separated like this,it was repeated with me along the waist also
1 Like
I’m assuming you’re trying to connect these two torso shapes into one mesh. Not hard to do =)
- In Object Mode, select the torso and make sure Clipping is ticked in your mirror modifier.
- In Edit Mode, select the vertices around the gap, G, X, and bring the two halves together (you can do this one vertex at a time, or select the whole loop, it doesn’t matter). Clipping should then cause them to merge (the vertices “clip together.”)
- You may or may not be left with interior faces once that’s done, I can’t quite tell from this angle, but either way I think you have one in the pelvis area too. With the object selected, in Edit Mode, click Select–>Select All By Trait–>Interior Faces, then press delete.
3 Likes
Thank you for your response :),actually i brought the edges together in the pelvic part but i didn’t know why there was a space like this after mirroring , i thought maybe there was a step like adjusting the interior faces together by deleting the space
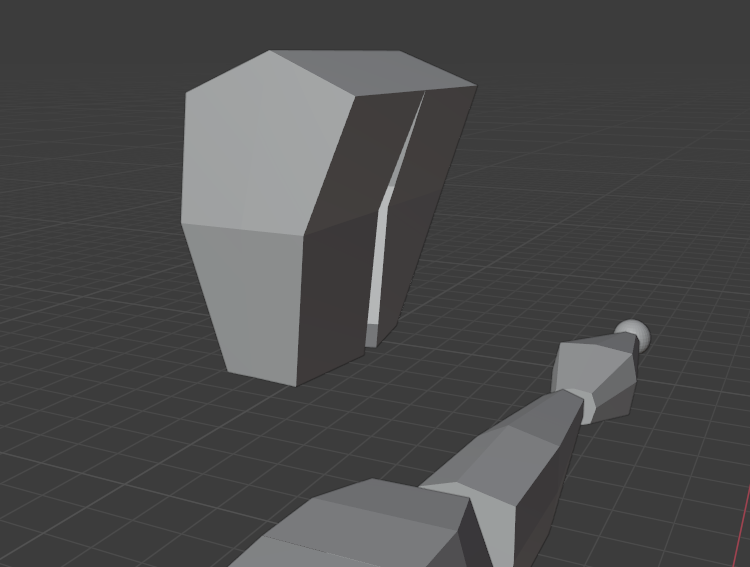
when i brought the edges together ,while working it mad strange look so the design looks weird and a gab appears
Right, you’re doing fine so far. From here, you can close this gap the same way I described before:
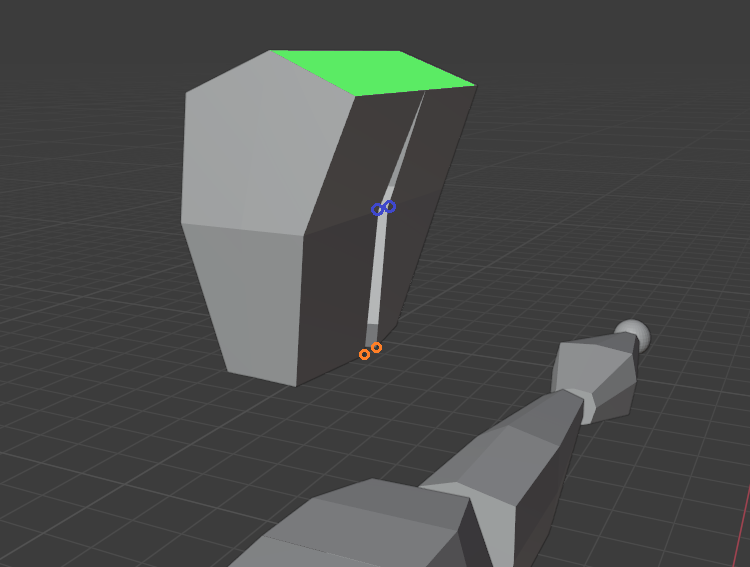
In your screenshot, the face I highlighted in green has already been brought together and the interior vertices of that plane have clipped together. Now you just continue the rest of the way around the cap.
I can’t tell if you have applied your Mirror Modifier or not; if you have, you’ll need to select each vertex pair and scale them together on the X axis so they move together evenly.
As for why the gap appears, this happens when the mesh’s origin is outside the mesh’s own geometry. The origin is where the mirroring happens, just like an actual bathroom mirror or something, so if your mesh isn’t touching it, the reflection won’t either. Here’s a quick exercise that might help you understand:
- In a new file, add a mirror modifier to the default cube. Mirror in the X axis, and untick Clipping.
- In Edit Mode, G, X, and gradually move the cube away from the world origin. Notice that the cube’s object origin (the orange dot) doesn’t move with the mesh (this is because you’re moving the mesh in Edit Mode and not in Object Mode).When the object origin is no longer within the cube itself, you will see your gap forming =)
2 Likes