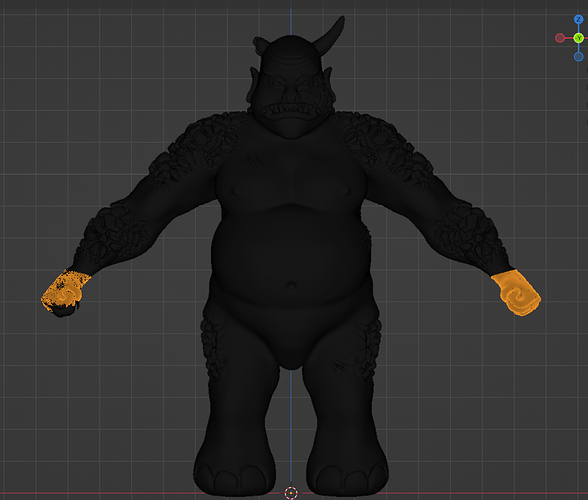
Mirror 1 hand to make the other, after mirror mod not usable

Hi,

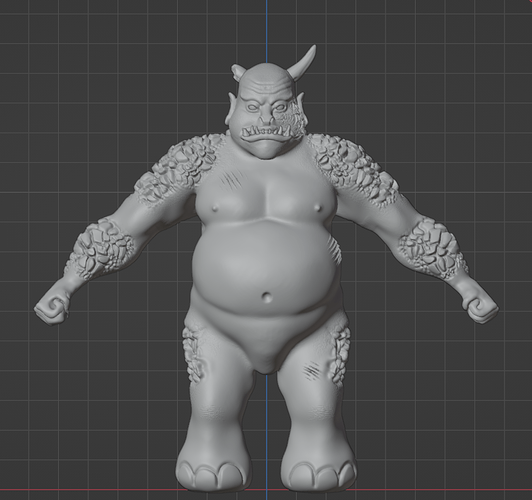
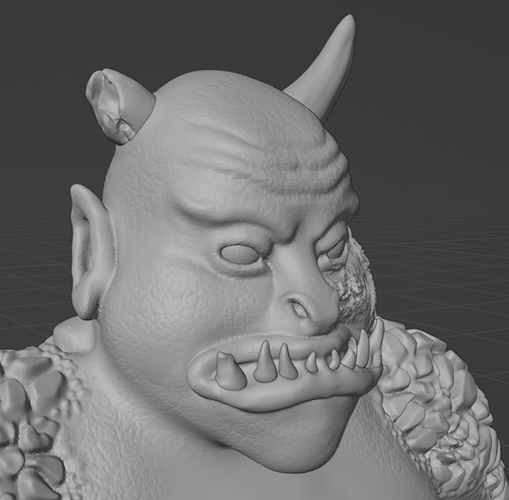
I have just finished the fine details section of the orc model. I have spent quite some time on the hands but only noticed later that the mirror was turned off at some point. Is there a way to mirror the left hand onto the right hand? As you can see, the alphas I applied are not symmetrical, having only a burn on the left side of the face. So I can’t use the Symmetrize option since that would also apply the burn on the other side.

1 Like

@NP5, I vaguely remembered you proposed a solution some time ago. Doesn’t switch on the mirror again do the job?

  • You can always, cut the orc in half and use the mirror-modifier.
  • Or delete the hand, and duplicate the good hand, and scale the hand with -1. Which inverts the hand. But this is a hard solution because then you need to connect a lot of vertices to connect them to the arm again.
1 Like

It is a bit tricky as you have now a non mirrored Orc, non symetrical.

(edit mode) However I would probably select the area of the good hand and Duplicate the selected mesh, then mirror it, Menu, Object, Mirror. Having set the 3D cursor centrally to the Orc, and set it as the pivot point.
Hopefully, some line arround the wrist will be pretty similar.
So you can delete the bad hand to the place where the duplicate comes to.
Then carefully hand join the new duplicate hand to the other wrist.

There is a lot of work in a hand so it is probably worth the time this will all take.

He has too much invested in asymmetry by now. For any full half mirroring I suspect, be it mirror or sculpt symmetry.

1 Like

Thanks @NP5. I will try that option. I also wonder if I can cut the hand off with a plane, then copy and mirror it and then just use a “Union” boolean. I’ll try both options and let you know which one worked or was the fastest.

2 Likes

Small update on my side.

I first tried to perform a “Difference Boolean” with a plane. For some reason this boolean just cuts off the hand and doesn’t keep both parts of the geometry… So I ended up with an orc without the left hand. That might be nice if you want to model a badly injured orc but it is definitely not what I had in mind. So I flipped the orientation of the plane to see if I would then keep the hand instead of the rest of the body, but the boolean simply didn’t want to work.
So Google is my friend and I came across some other options:

  1. Bisect: But since I have a lot of polygons this lagged and got me frustrated so I gave up on that idea.
  2. I found the following video on YouTube:https://www.youtube.com/watch?v=moPDPB4MY2U&ab_channel=FilamentsFolly
    It is basically the same idea as I had. The only difference is that you give the plane a very small thickness and you use the shortcut “Ctrl+Shift+Minus” to perform the cut instead of the boolean operator.

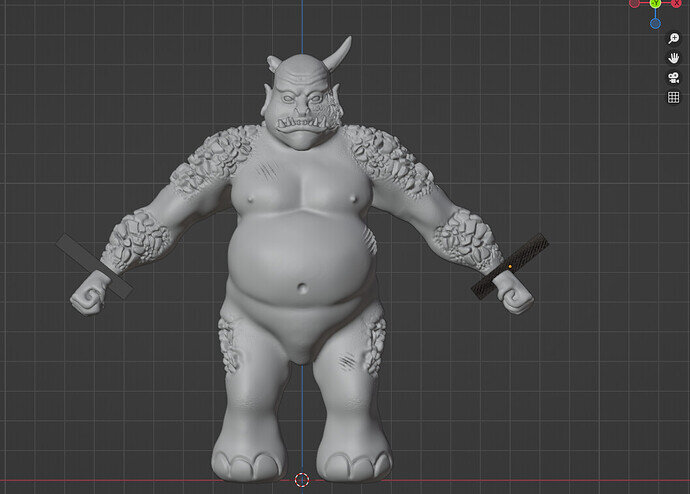
So I used the same cutting plane as for my boolean. Added a Solidify modifier of 0.000006 m and Applied it. Then I applied the mirror modifier for this plane and separated them so that I have 2 identical cut planes for the left and right hand.
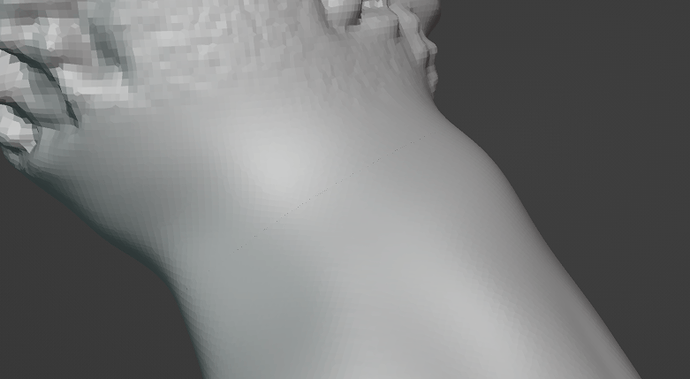
Then I selected the left cut plane and the orc and pressed the shortcut “Ctrl+Shift+Minus”. I then made sure to separate the orc and left hand by “Loose Parts” so that the left hand is a separate object. I did the same for the right hand, but then deleted it. Mirrored the left hand and applied it before selecting all objects and joining them with “Ctrl+J”. Zooming in you could still vaguely see the separation line. Remeshing removed it for the left side. But there was still a trace left on the right hand connection so I smoothed that out in the sculpting mode.

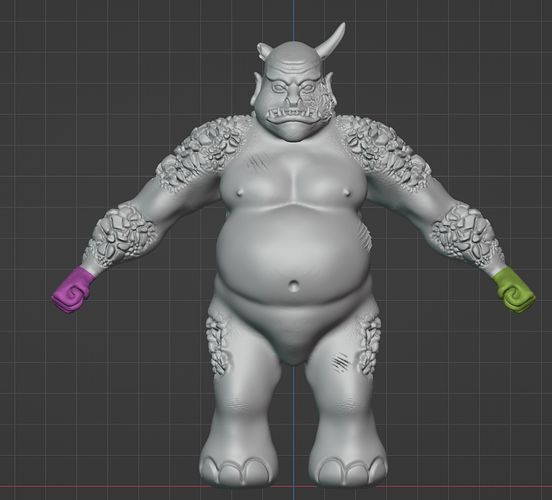
@NP5: I also tried your approach but already after I mirrored the left hand faces to the other side, I noticed that it would be very time consuming to ensure a similar cut on the right hand to nicely reattach it (See “Mirrored hand faces” screenshot). So the limited thickness cut planes approach with the command "“Ctrl+Shift+Minus” is the most simple and accurate one.

I have added some screenshots of the process. I hope that this helps somebody else having a similar issue as me.

Cut Planes location

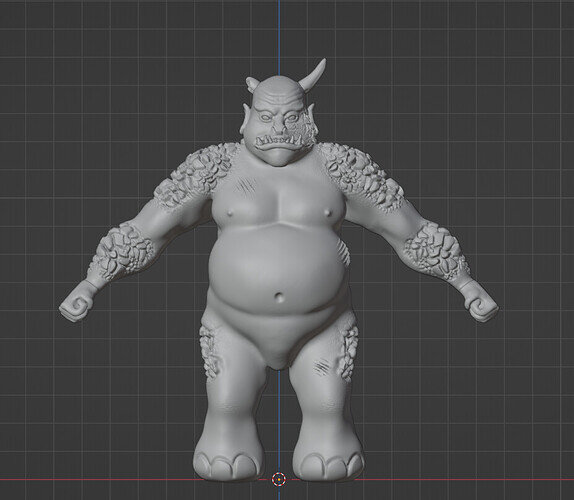
Resulting cuts

Trace on right hand before smoothing

Final Result

Mirrored hand faces

2 Likes

Oh I am surprised remeshing joined separate parts, but great that it did.

Well solved.

1 Like

No, I think that “Ctrl+J” joined the parts together. Although the parts were joined, you still had this faint line where the hands were cut off previously. So I don’t know whether it is just a visualization error or whether it’s there because it used to be the end of the arm and hand and therefore the vertices line up. Or maybe something else entirely but remeshing removed it :wink:.

1 Like

Ctrl J only joins the verts into the same object it makes no connections between the two sets of verts. Just possibly if you had auto merge on it might do, but I would need to try it to check.

Sheer closeness may have tricked remesh, an advantage of that really fine cutting plane you used!

1 Like

This topic was automatically closed 24 hours after the last reply. New replies are no longer allowed.

Privacy & Terms