Hello again everyone!
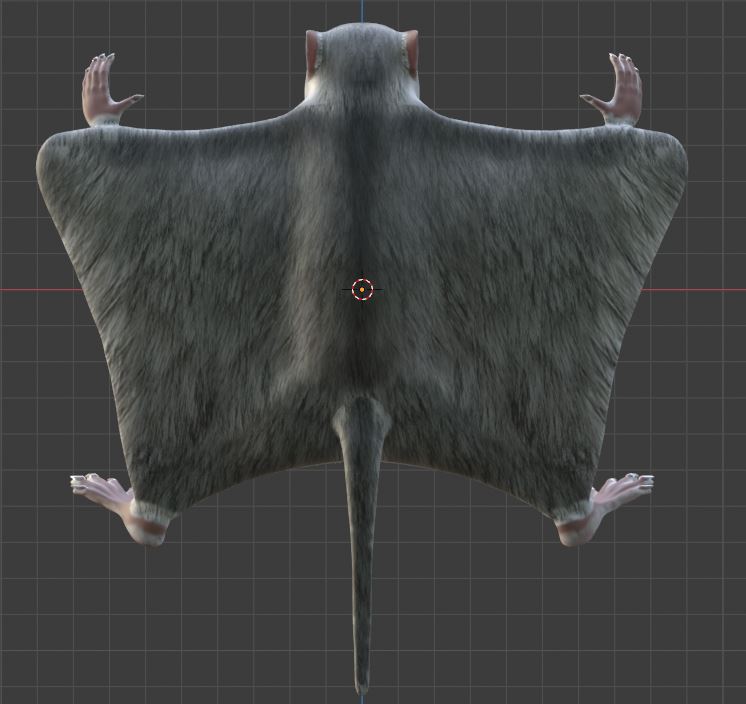
This is what I did for the furry heads section of the “Complete Blender Creator: Learn 3D Modelling for Beginners”. I wish I’d been more active on the forum for the last couple of months. But a lot has happened, graduated, got married, had to find a job etc ![]() . But I’m pleased to say that even though I had to take a couple of breaks from Blender, I have now finally finished this furry heads project! It is called “Milo The Flying Squirrel”, because I finished it on my nephew Milo’s 8th birthday.
. But I’m pleased to say that even though I had to take a couple of breaks from Blender, I have now finally finished this furry heads project! It is called “Milo The Flying Squirrel”, because I finished it on my nephew Milo’s 8th birthday.
So let’s see what I have to share about this project.
The sculpting was pretty straight forward, just used the tools as we were shown in the course. But I knew that I wanted to animate my squirrel, so to make things easier later, I decided to learn retopology.
Grant Abbitt shows you the basics of retopology in a 3 part series. Here’s part 1:

You can also get some better understanding of topology from this video:

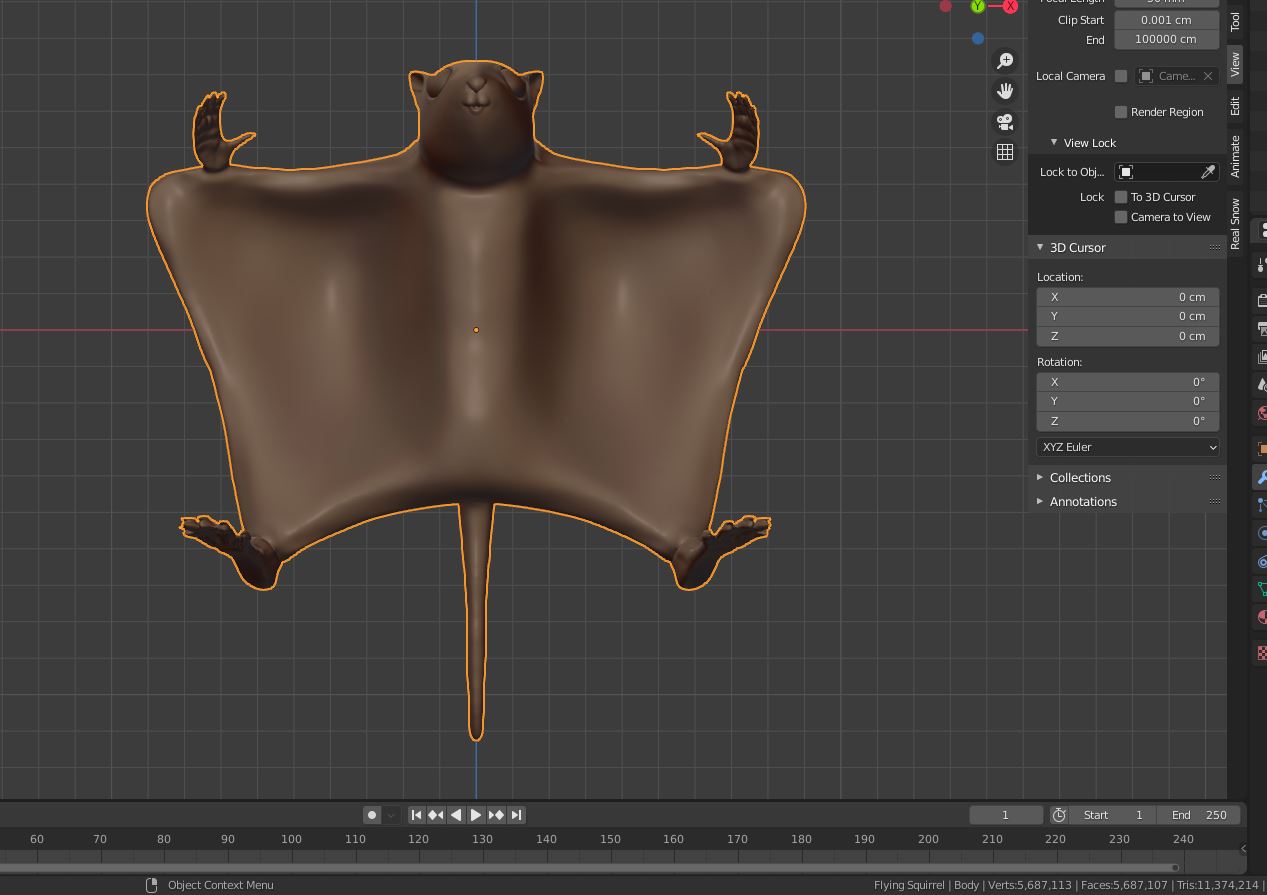
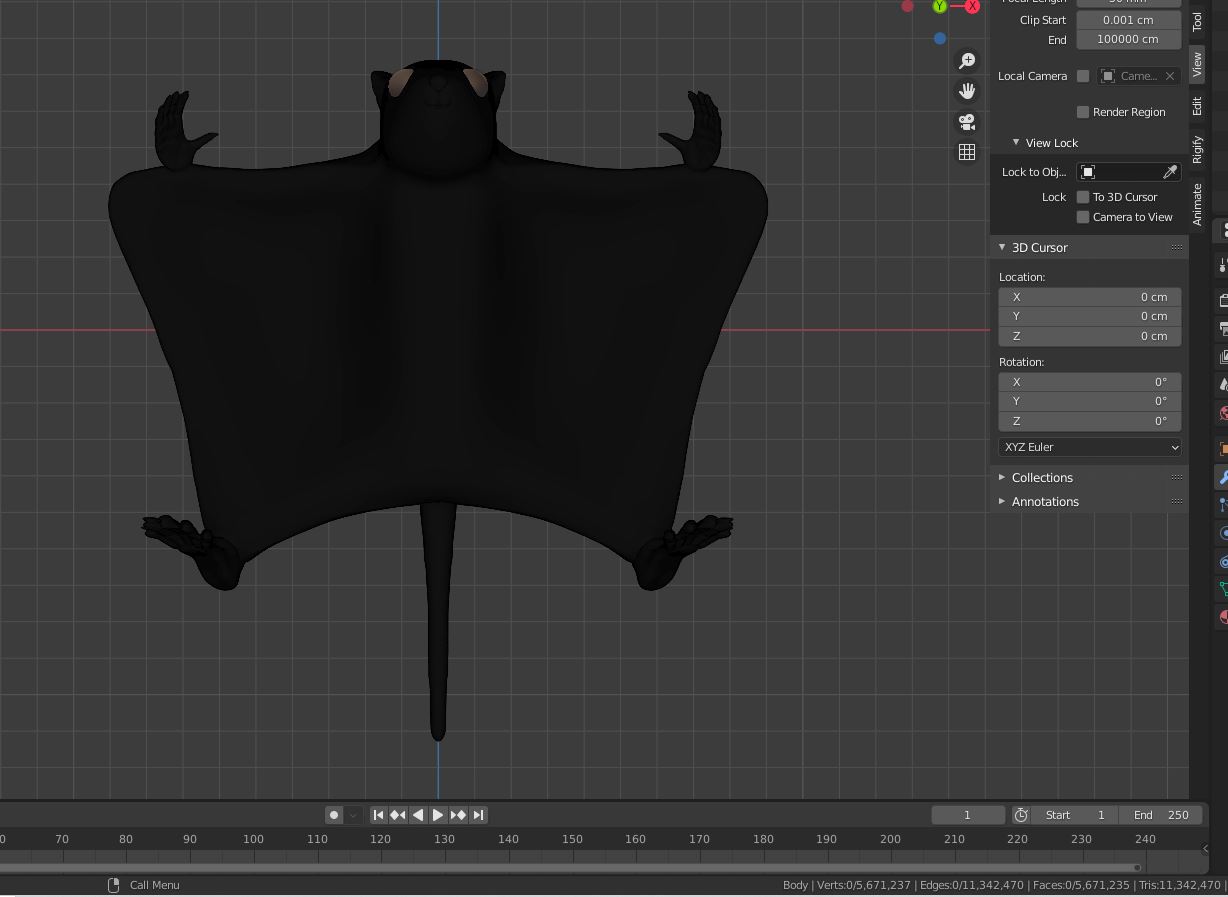
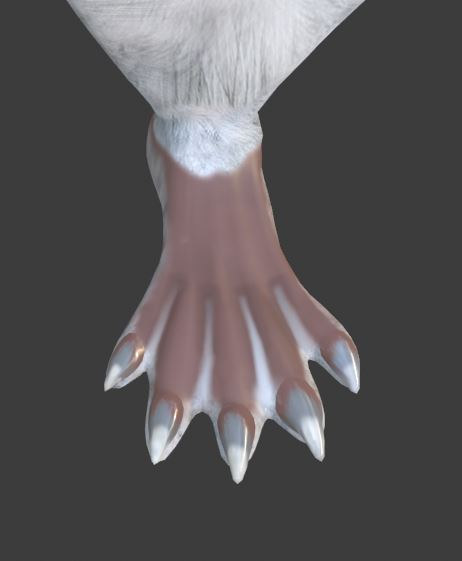
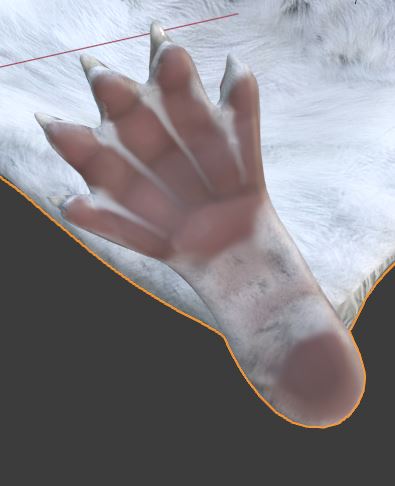
Before Retopo:
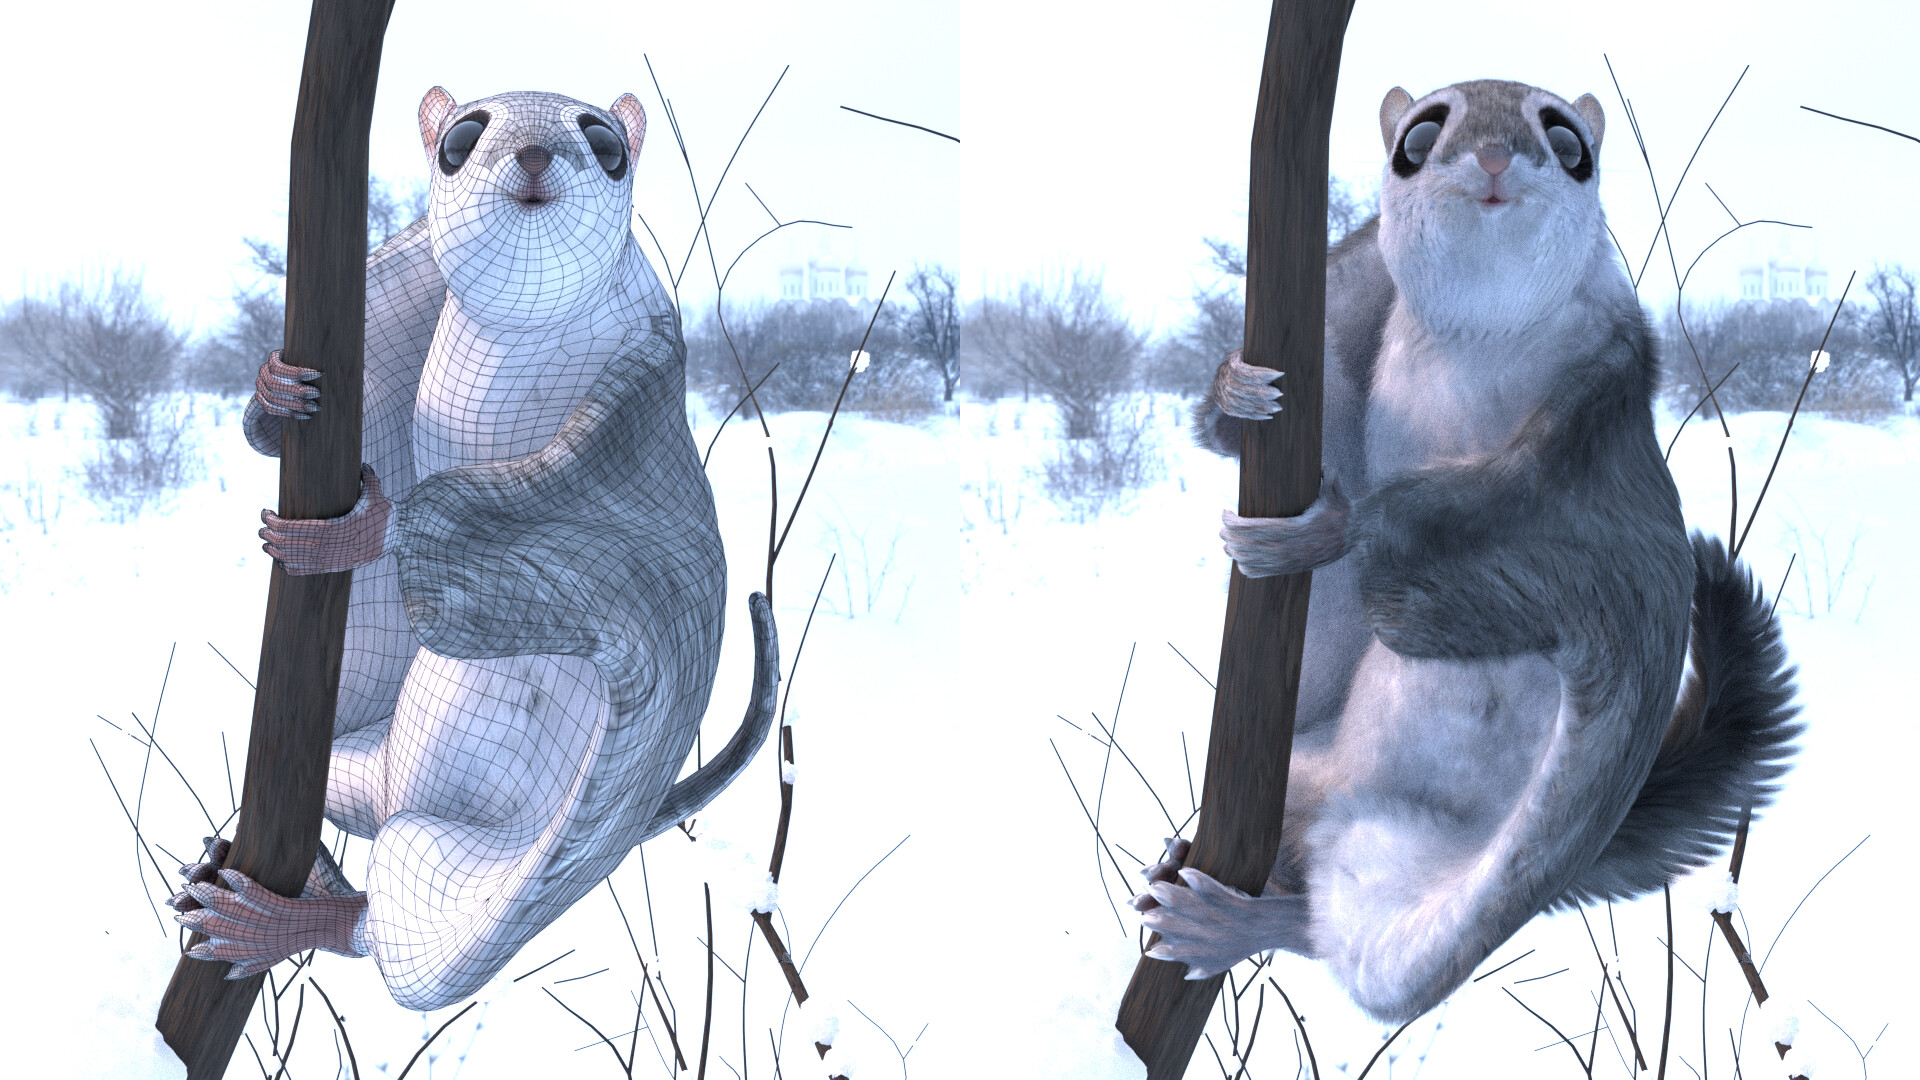
After Retopo:
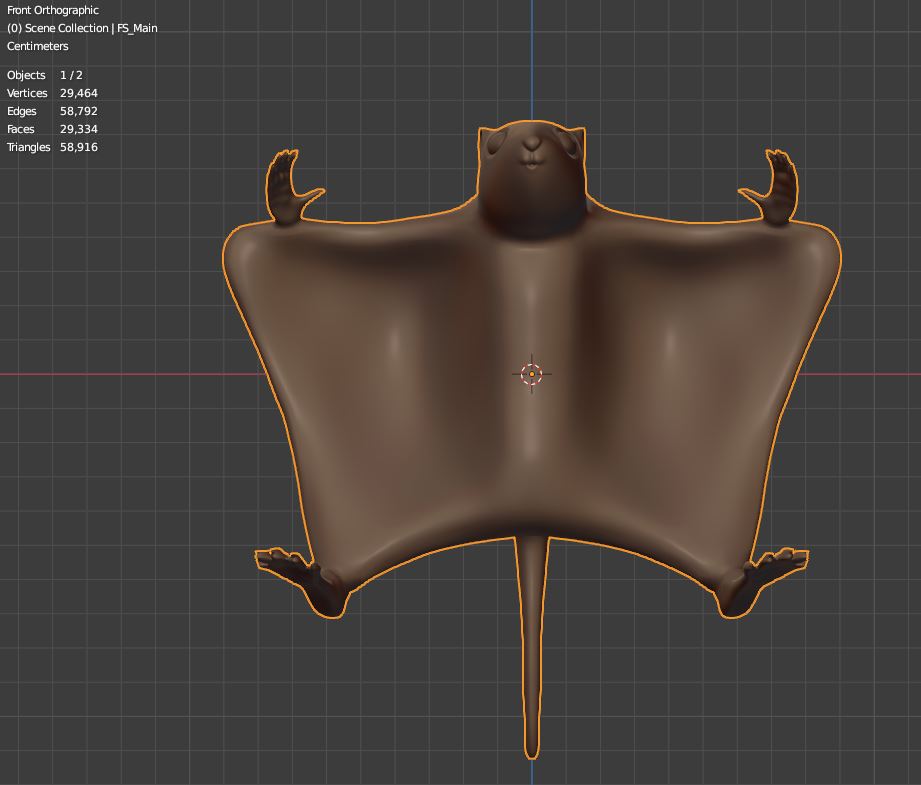
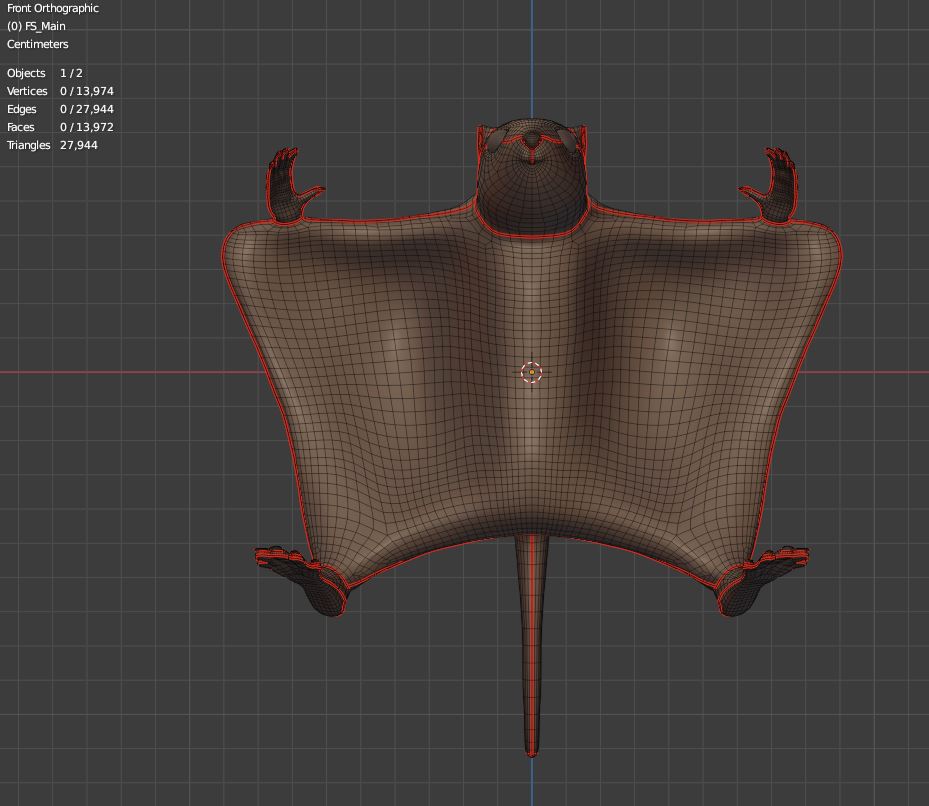
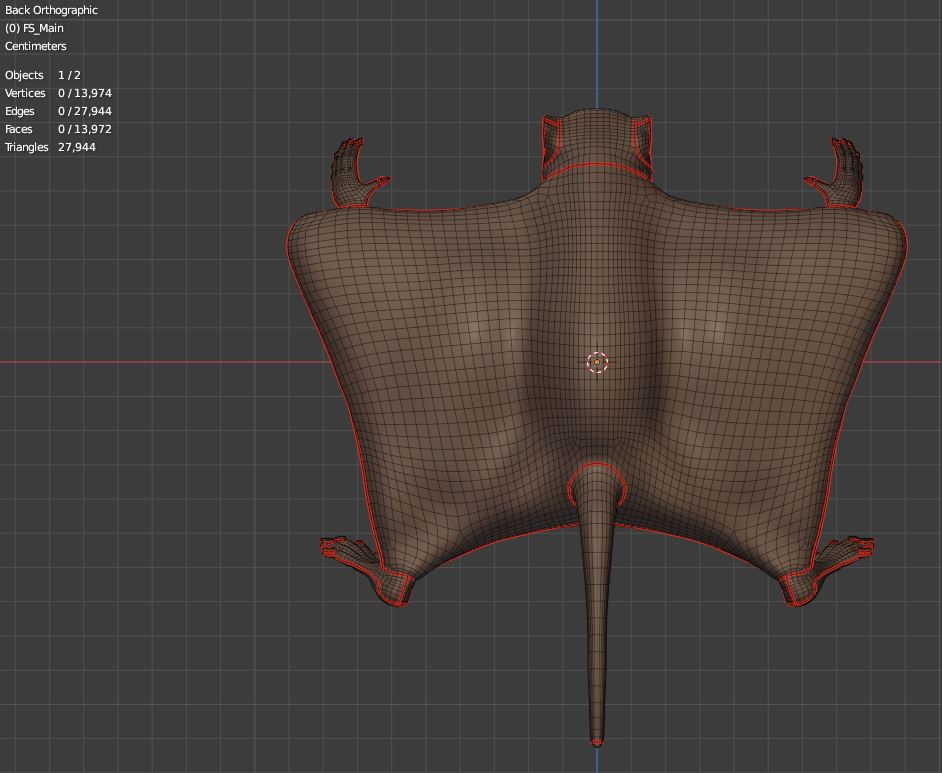
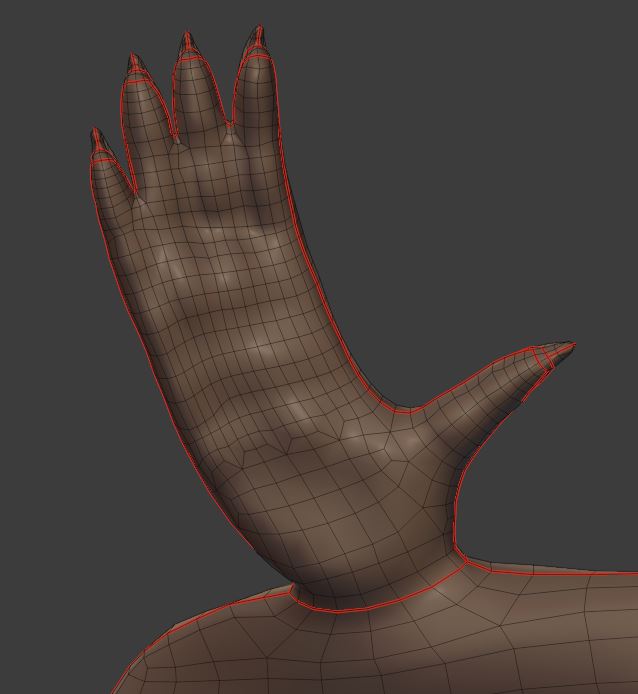


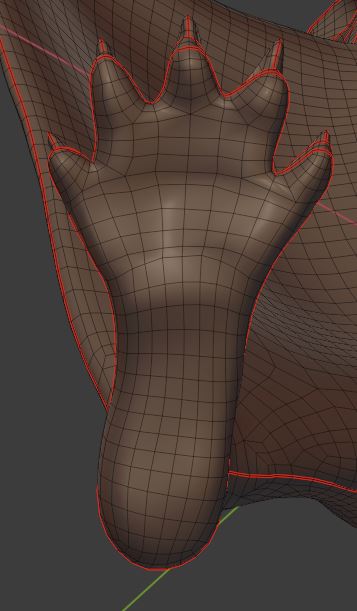
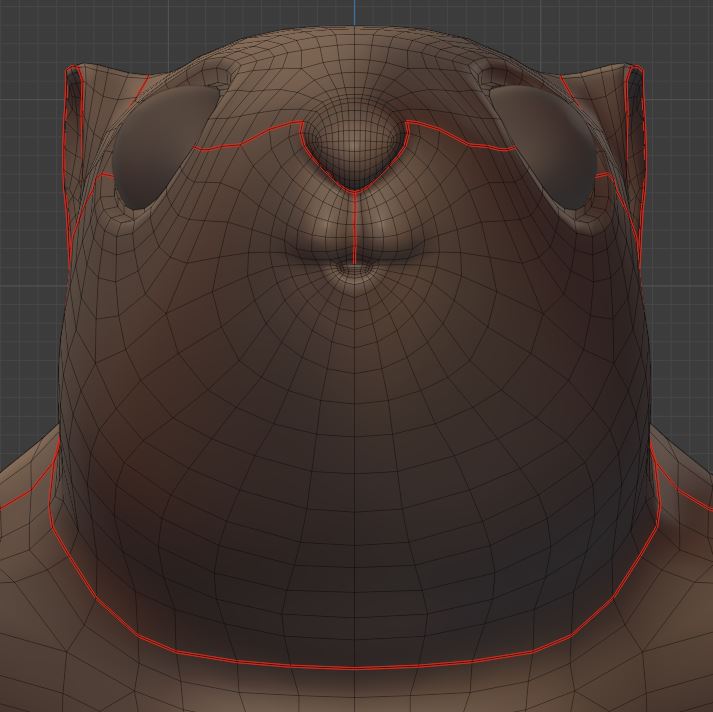


My retopology was not spectacular. But it did the job. The amount of tris went down from roughly 11 million to 27 thousand. I tried to keep poles to a minimum, but it was hard. In the images you can also see the seams for my UV unwrapping.
For UV unwrapping CG cookie shows some good techniques in this video.

For texture painting I followed the same stencil painting technique as Grant is using in this video.

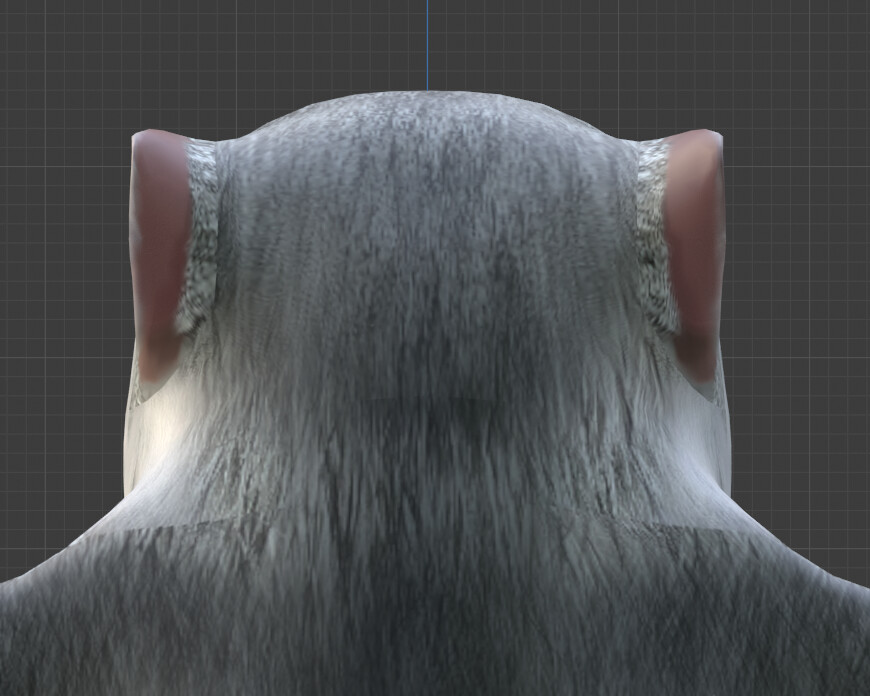
Here is my UV unwrapping and texture paint images.
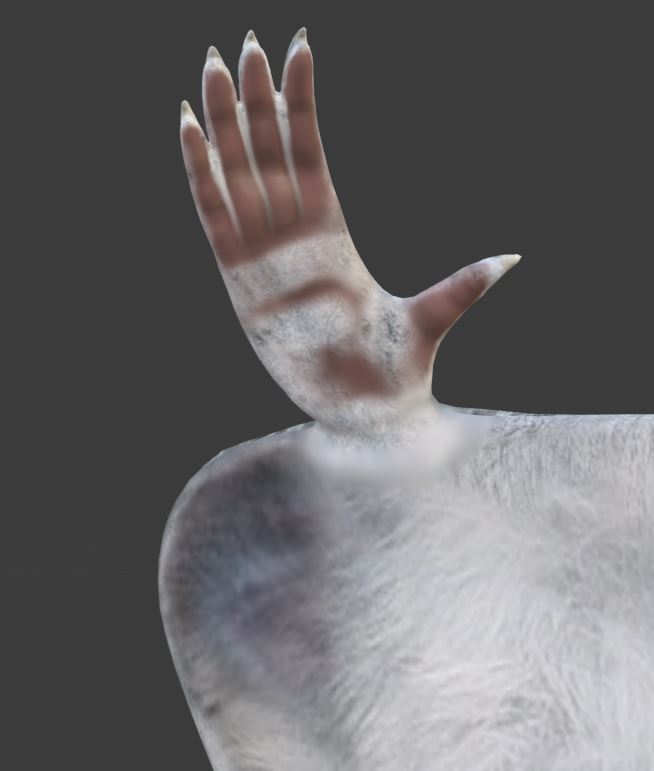
I moved some vertices around while texture painting and some parts got a bit funky, but it ended up ok. You can smart UV unwrap but adding seams and doing it yourself is not all that difficult once you get the hang of it, try!


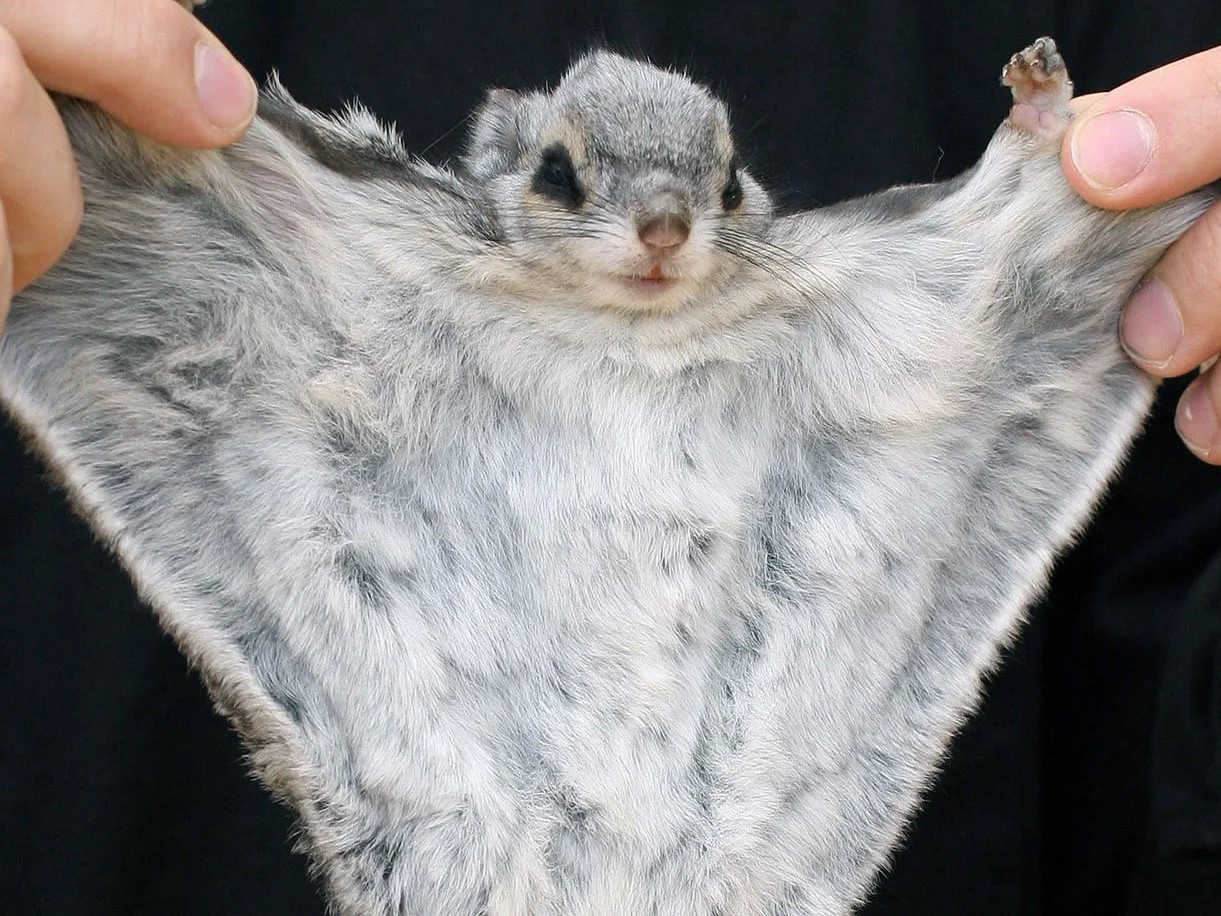
I used real animal pictures such as these for the stencil painting.


I think I got a bit sloppy with the texture painting, because I was eager to finish. I could have blurred the transitions between seams and tidied up a bit more. But I knew that a lot of it was going to be covered up with hair particles anyways.
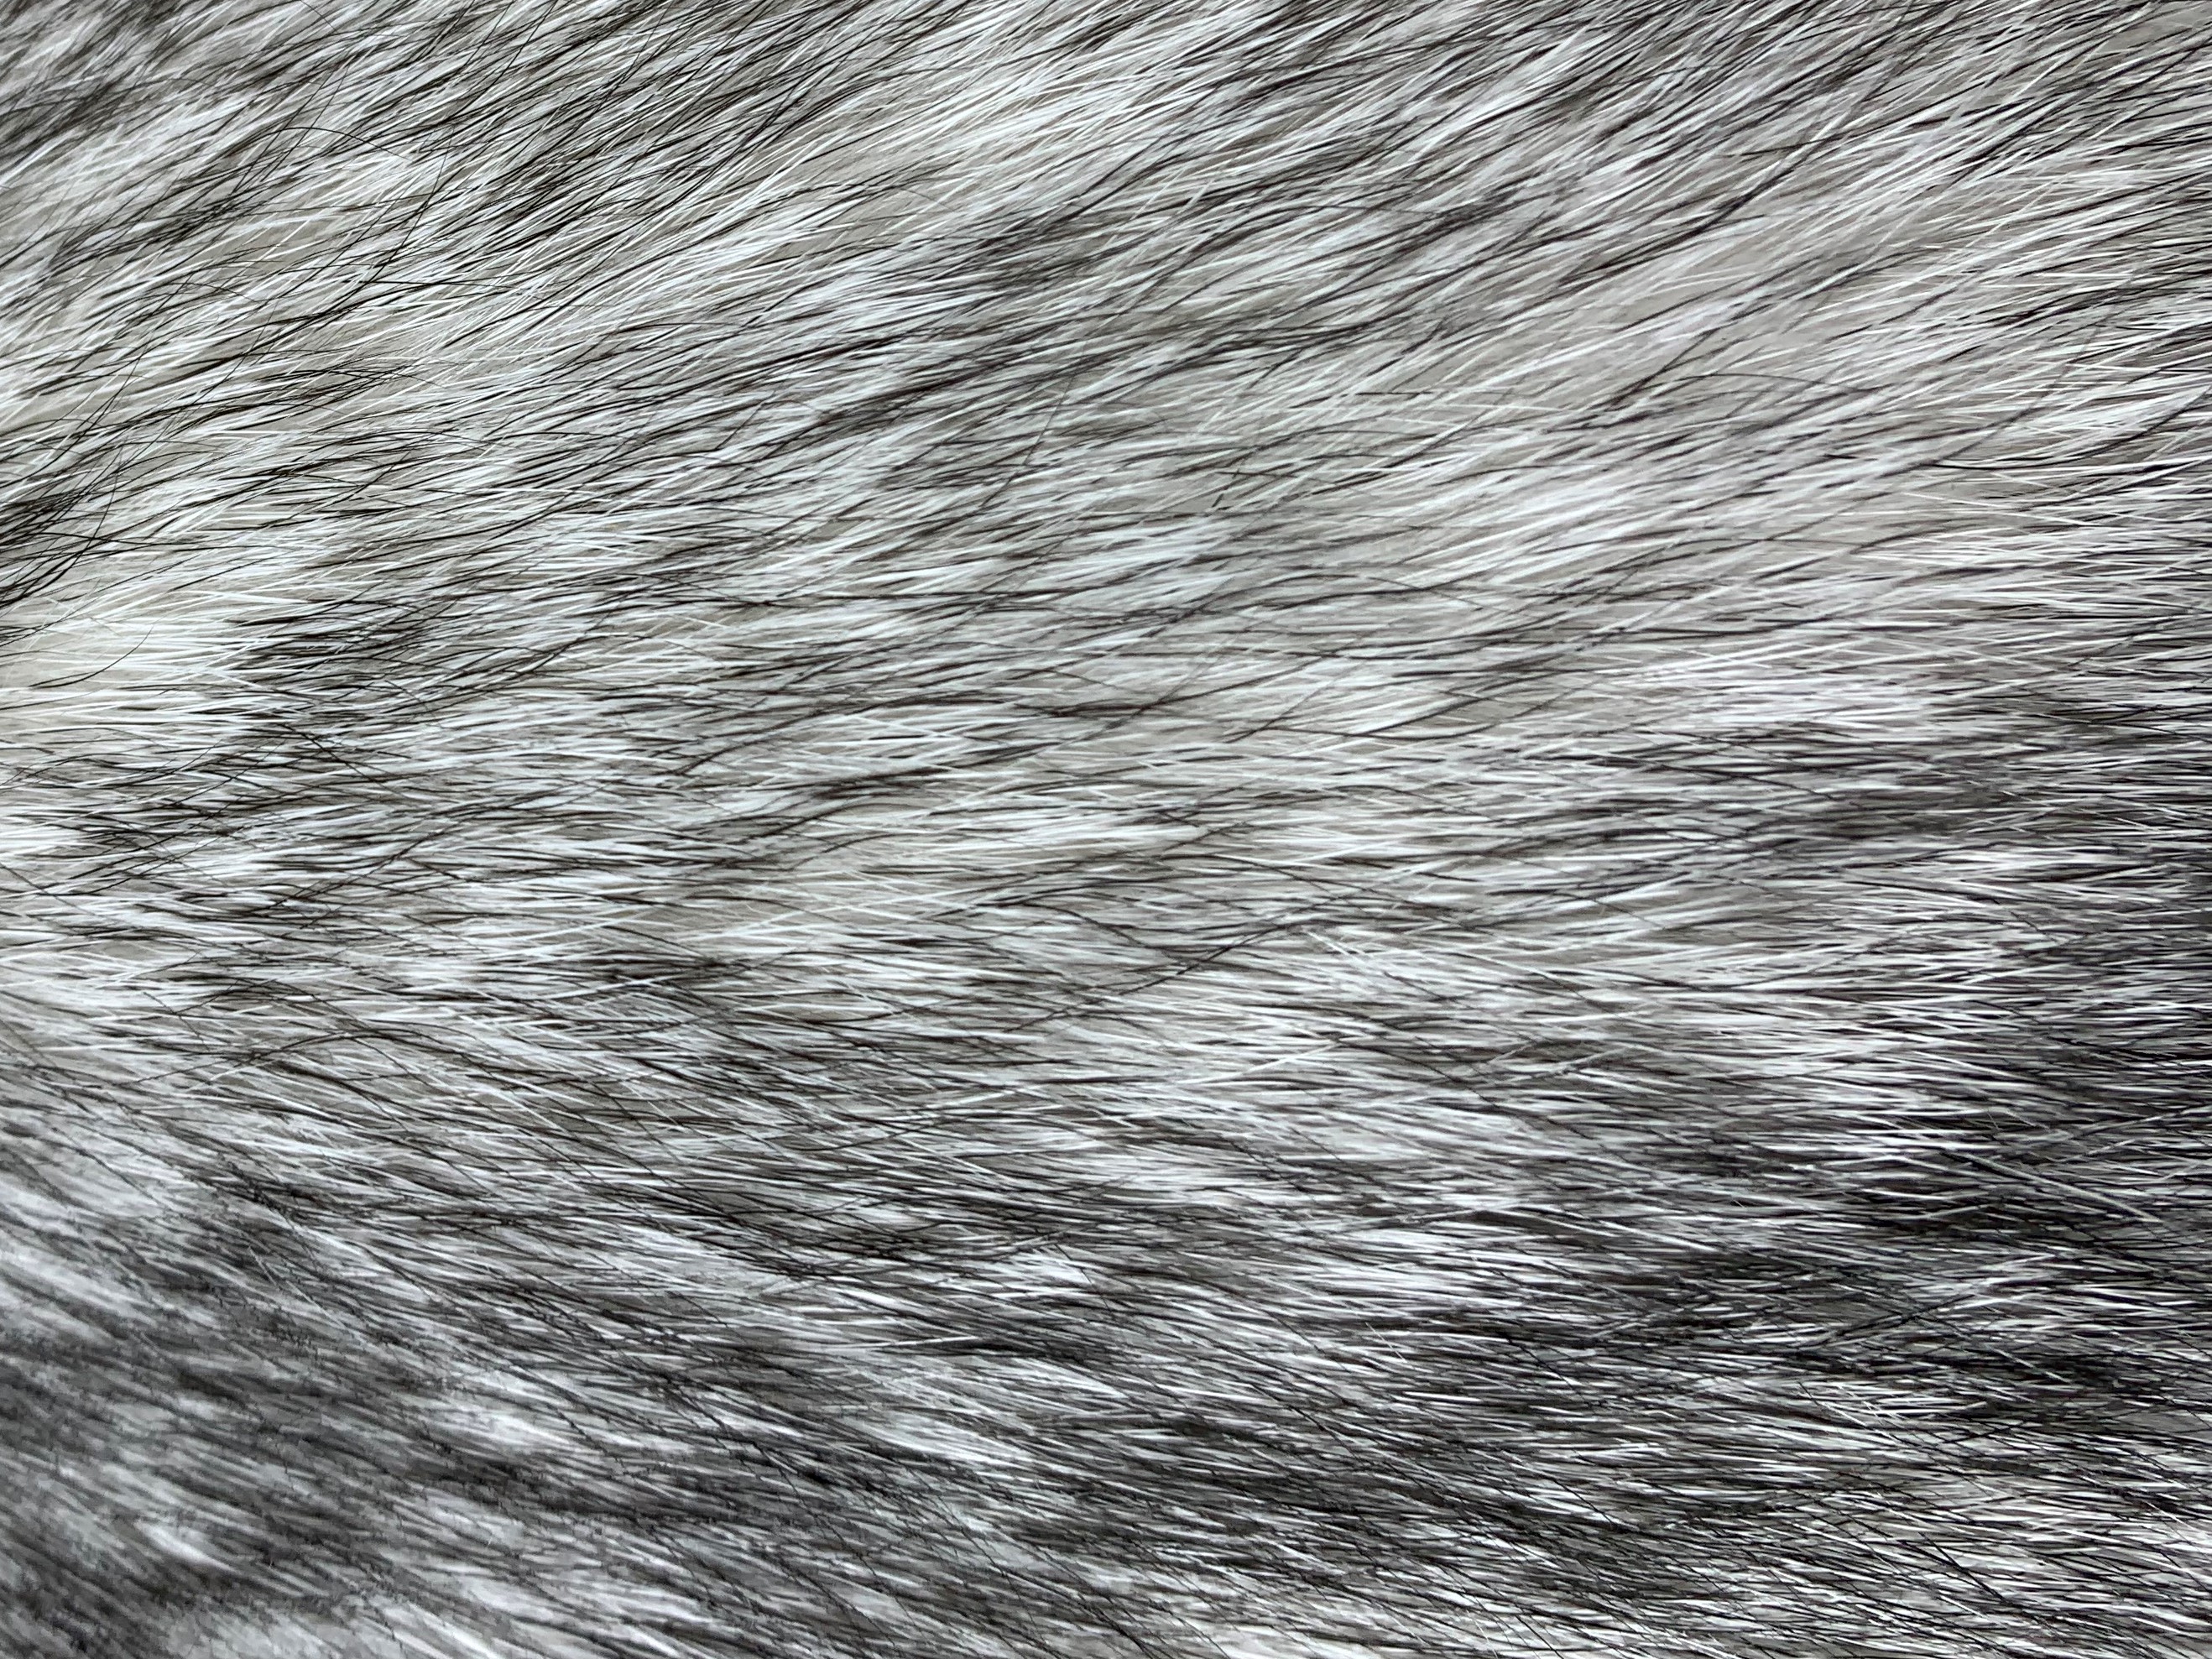
By the way, I took a picture of my cat’s back for the black and white texture. Haha.

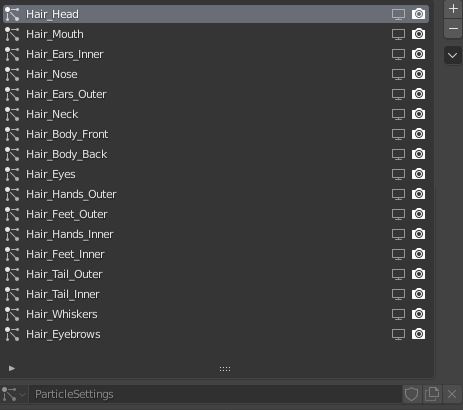
So next up, hair particles.
The hair particles had different 15 sections. You can see them in the animation. Maybe I’ll do some close up renders later. But I’m tired of wating for renders right now. The animation took a couple of days. 80 percent was building BVH…
Anyways, this guy does a realistic fur pikachu, and I learned a lot from it:

When it comes to hair particles, you just have to experiement to understand how they work. Also remember that you have to adjust the values to the scale of your model. For example, I had to put the diameter of the hair strands way smaller than the video, because my flying squirrel is very small. And if you have several hair particle sections, hide the ones you are not working on to speed up the process (maybe that goes without saying).
In my previous post, I have already mentioned CG Dives series about rigify. This time I took a deeper “Dive” into rigify and learned how to generate my own rig. You can see CG Dives series here:
For the wings I used a copy location, stretch to, and damped track constraint. You can learn more about that here:

I created my own rig. I made a nice little tophat for the head control, too. ![]()
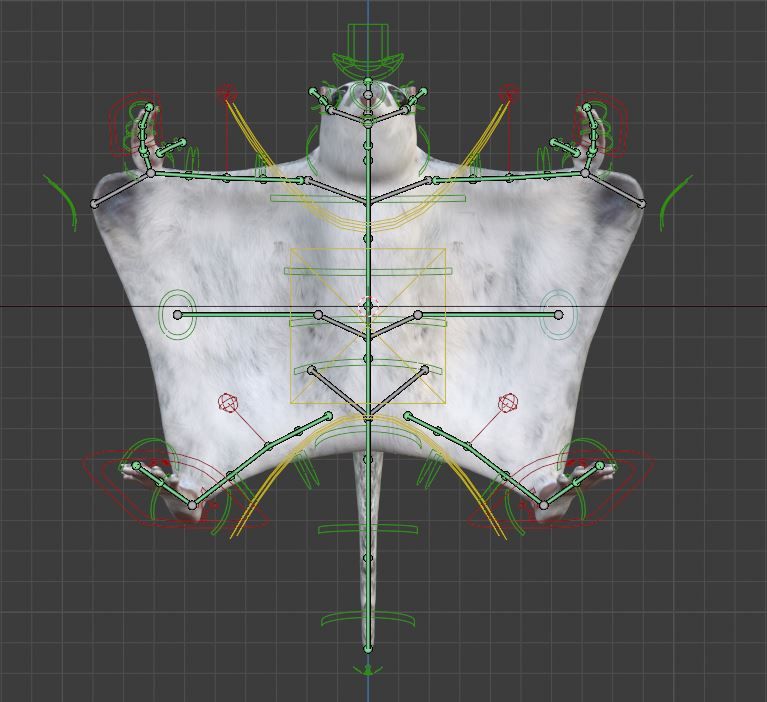
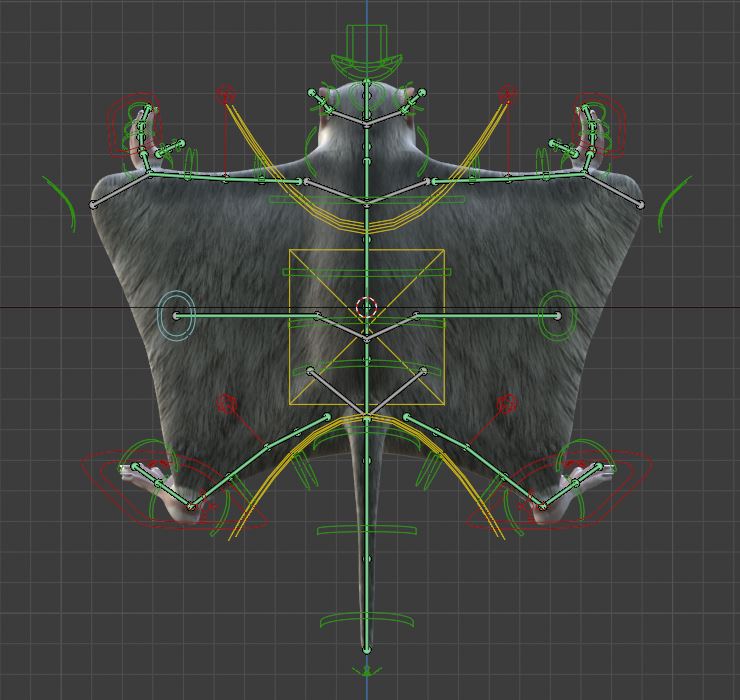
My topolgy wasn’t perfect. So I had to spend some time weight painting my flying squirrel to makes sure that my rig moved all the parts of the mesh in an acceptable way. To learn more about weight painting, this is a good place to start:
")
The tree was created with Blenders integrated “Sapling Trees”. I chose the preset Japanese Maple, and then moved the seed value around until I found something that looked like what I wanted. There’s alot of customizing you can do there if you want, too.
You can follow this tutorial for the sapling trees:

Here you can also see how to do a cool little tree wind animation, which I didn’t do.

The snow was also create with Blenders integrated “Real Snow”.
IMPORTANT. If you want even more realistic snow than in my animation, go to Render Properties > Feature Set > And set it to experimentel (not sure if you still need to do that in later versions). I didn’t notice that out until I rendered out half of my animation and I didn’t want to start over.
You can see how to use Blender’s Real Snow here:
")
Animating the everything was just classic moving controls and key framing.
You can learn ahow to do slow motion effect in your animations by checking out this video:

I tried his technique, but my animation was just one big strip and I didn’t want to modify action seperately, so I just cut my strip into parts and scaled them where I wanted the animation to go into slow motion. I really want to take his “Alive!” course later. Looks like there’s a lot of quality content in there, and I’m becoming increasingly interested in animation.
I used 4 different cameras in my animation. Moving and key framing cameras I think they already showed in the course.
You can see how to switch between cameras with markers here:

Also the track to constraint can also come in handy:

Finally I wanted to recap what I’d learned from the bowling scene, so I did a little snow breaking simulation. What I did was, separate a piece of the “Real Snow” by selected the piece in edit mode and pressing P, then move it to where you want it, and use cell fracture. Look at this tutorial for more details:
I live in China, and unfortunately my VPN stopped half way through my project, so I had to watch tutorials a lot on my phone’s vpn while working in Blender on my computer, and therefore didn’t save as many links as I normally do.
I think that’s all that I have to share now. Hopefully there is some useful stuff here for you guys. Cheers!


 Sapling trees is a very useful tool, I’m definitely going to use it more in the future. Happy you found some goodies in this post