Lost track … made a TREX …Got Stuck , Came Back … Tying to get different Materials on Tiles and floor … All been Joined into modules … then duplicated with Shift D …
1 Like
Right, so at this point, it’s just a matter of selecting faces, assigning them to material slots, and defining materials in those slots. You’ve done all of that before because I can see it in your walls.
Do keep in mind that you have X-Ray Mode turned on at the moment. You’re not going to be able to see your changes while that’s on.
2 Likes
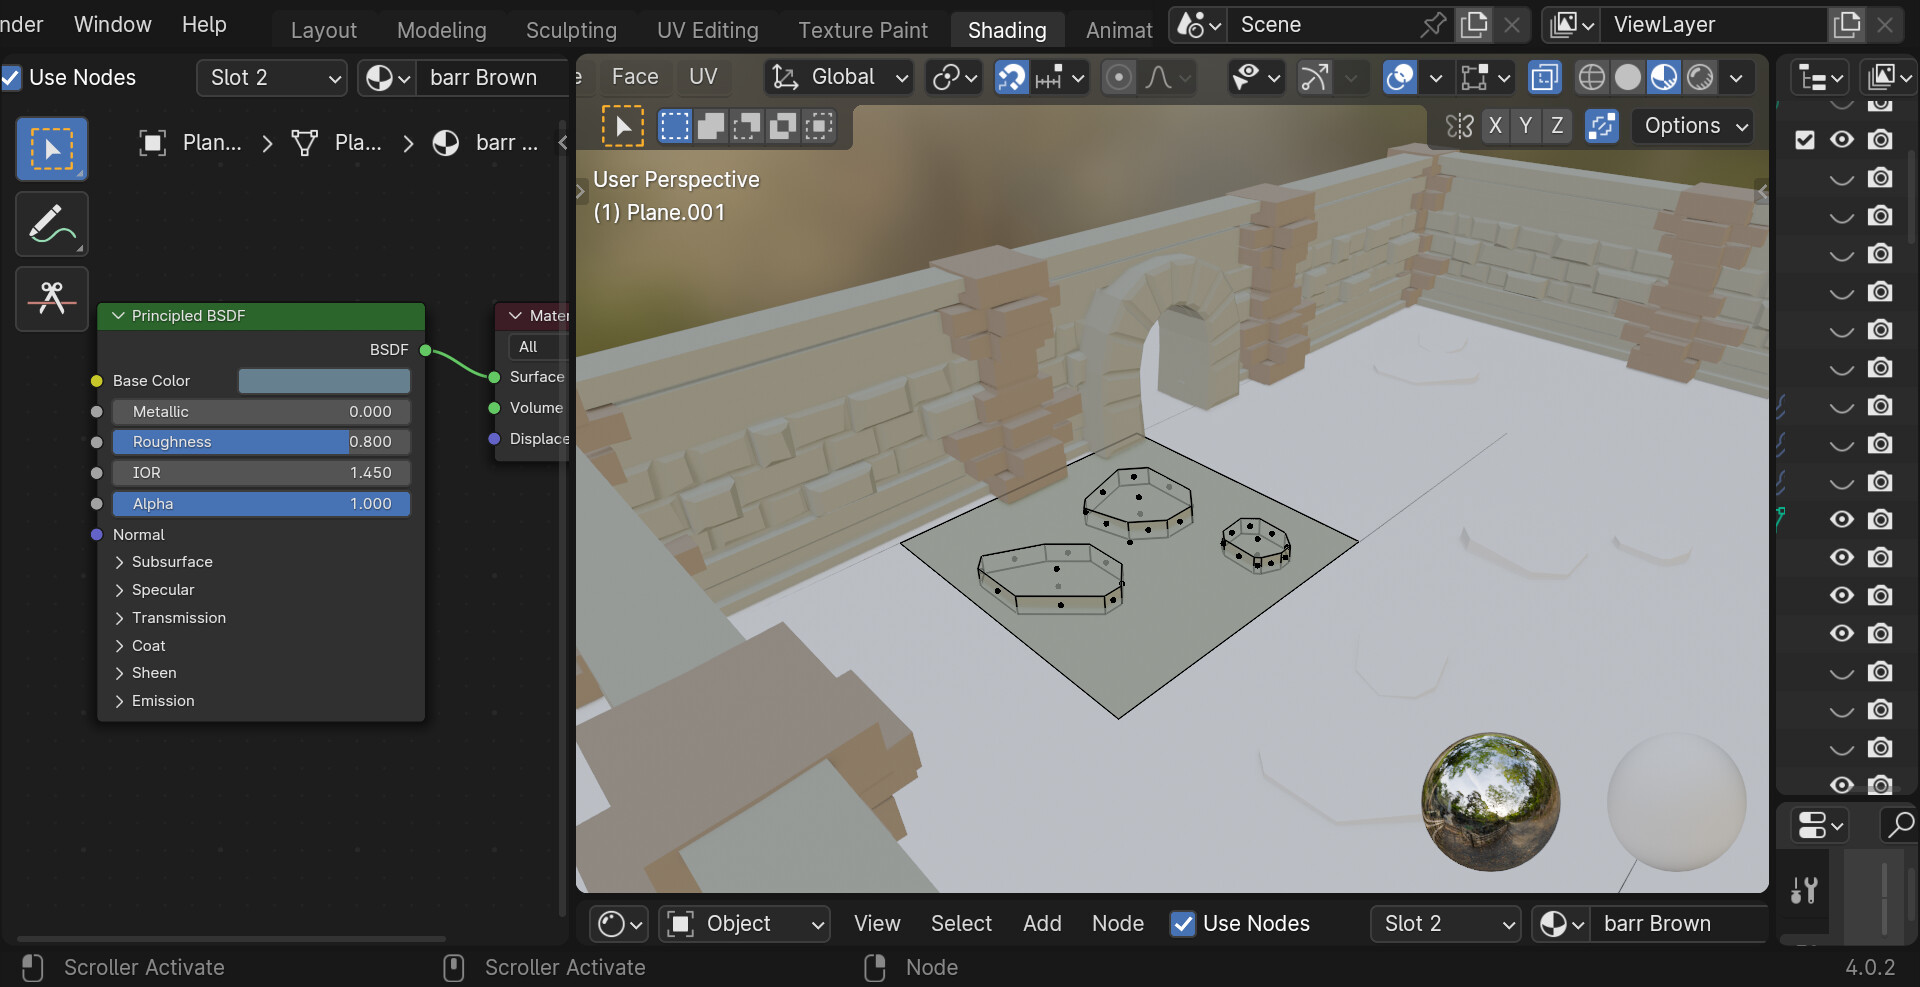
Last time I added the Materials before I Joined The Pillars and the Walls more or les accidentaly. In the Tutorial it says to join Planes and Modules before adding Materials … Now the materials of Tiles and Plane dont want to separate and no Idea why the rest of the Modules all stay white … Only one Module shows Vertices ?
So I guess I should have added Materials before I joined tiles and planes into modules and Duplicated them ?
Not really!
Try to see the basic Blender steps involved.
Suppose you select an object and assign a material to that object. By default, it will apply this material to all of your mesh faces in your object!
You can add more materials for this object to this material list. Remember the first material in the list, the top one, is assigned to all faces in this object.
If you want particular faces to have a different material, then first add those materials to the list!
Then select the object and go into edit mode to select the faces you want to change the default (top) material. Once a face is selected, select also the material in the list and press assign.
Now this material is connected (assigned) to this selected face.
2 Likes
Ok … thanks .
Ok … I think ive got it … Just now I have to do every module individually …
Good to get it burned on the brains — or if I fuse by distance all vertices of planes perhaps the coöot will spread ?
1 Like
It depends on how you created those assets.
- If they are LINKED DUPLICATES, then you need to change one, to change all!
- If you have unique duplicates, then you can quickly copy materials as below.
Select all the objects to assign materials and at last the object to copy the materials from. Meaning:
All selected objects are orange selection color except the last selected object. Which is yellow selected. What will happen is that the yellow selected object materials will be assigned to the orange object, with the following command:
MAIN MENU > OBJECT > LINK/TRANSFER DATA > MATERIALS
2 Likes
Thanks .[quote=“FedPete, post:7, topic:243880, full:true”]
It depends on how you created those assets.
- If they are LINKED DUPLICATES, then you need to change one, to change all!
- If you have unique duplicates, then you can quickly copy materials as below.
Select all the objects to assign materials and at last the object to copy the materials from. Meaning:
All selected objects are orange selection color except the last selected object. Which is yellow selected. What will happen is that the yellow selected object materials will be assigned to the orange object, with the following command:
MAIN MENU > OBJECT > LINK/TRANSFER DATA > MATERIALS
[/quote]

 … Ive repeated the action for each one sigly and hopefully burned the process into the Neurons Forever !!!
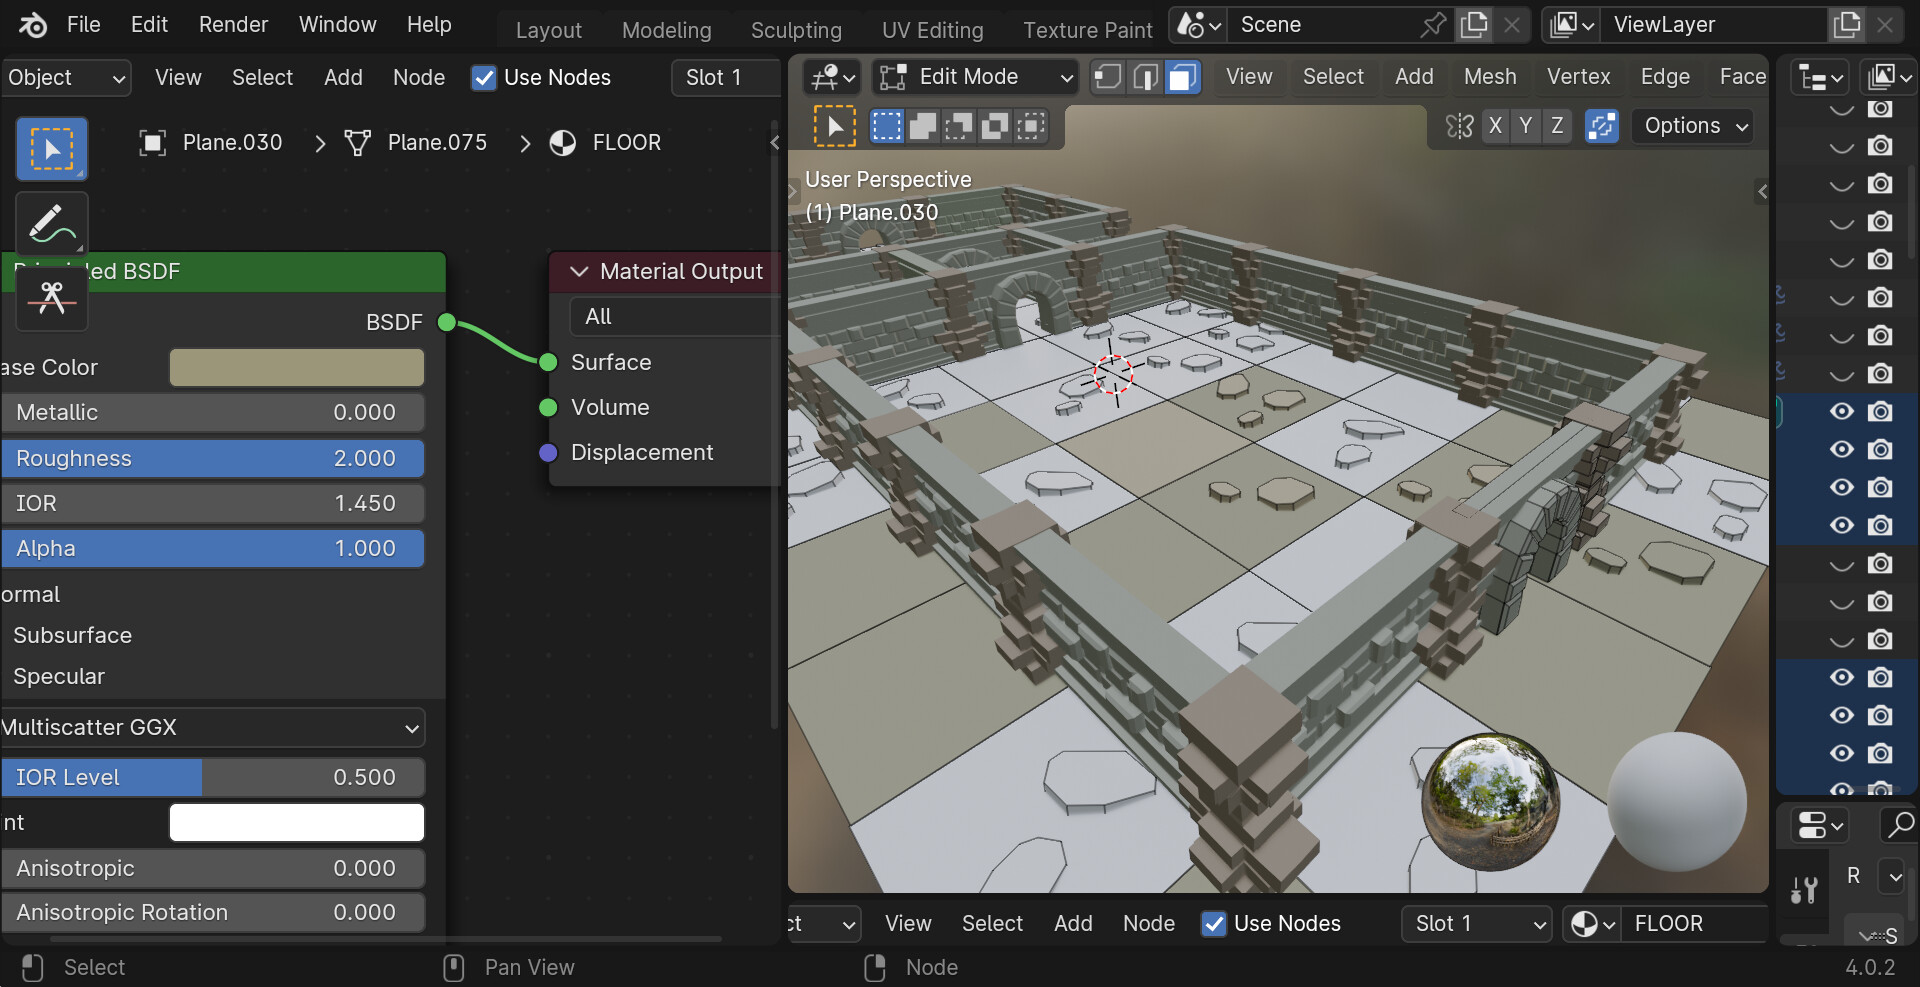
Just between the planes one can see lines wher they didnt join up perfectly … I Tried to join the vertices by distance to join them but it didnt seem to work ?
Because those are probably in different objects …!
You can join vertices in different objects.
To do that you need to join the objects. But than other problems occur … no good solution here.
If those ‘planes’ are (partly) LINKED DUPLICATES, You can edit one to edit all.
If they are different objects, then select all plane objects en go into edit mode.
Then select the vertices (in vertices mode) to be aligned, or moved
Press sx0 for scaling the select vertices on the X-as (it will align them on the X-ax.
OR
Press sy0 for scaling the select vertices on the Y-as (it will align them on the Y-ax.
the same trick if you need this for the Z-ax.
2 Likes
Ok … Bedtime Overdue … Ill Try that in the Morning … Thanks for the Help !!!
1 Like