To be honest, I am not understanding the workflow of marking seems. The lecture came in to fast and with no preparation; You have seams, unwrap, mark seams, here is the seam. I just don’t get what unwrapping has to do with marking seams? and if we unwrap the object, why we had to do it multiples times?
I would appreciate a clear work flow on why marking seams, clear steps, and the relationship between marking seams and unwrapping an object.
Did you ever cut out cardboard models and fold them up as a child to make a 3D object?
That is the basis of ‘unwrapping’.
Only here we start with the 3D object and want to lay it out flat.
We want to do so with the minimum of distortion too.
Also with the minimum of seams where the two ends that come together might show up as a ‘join’.
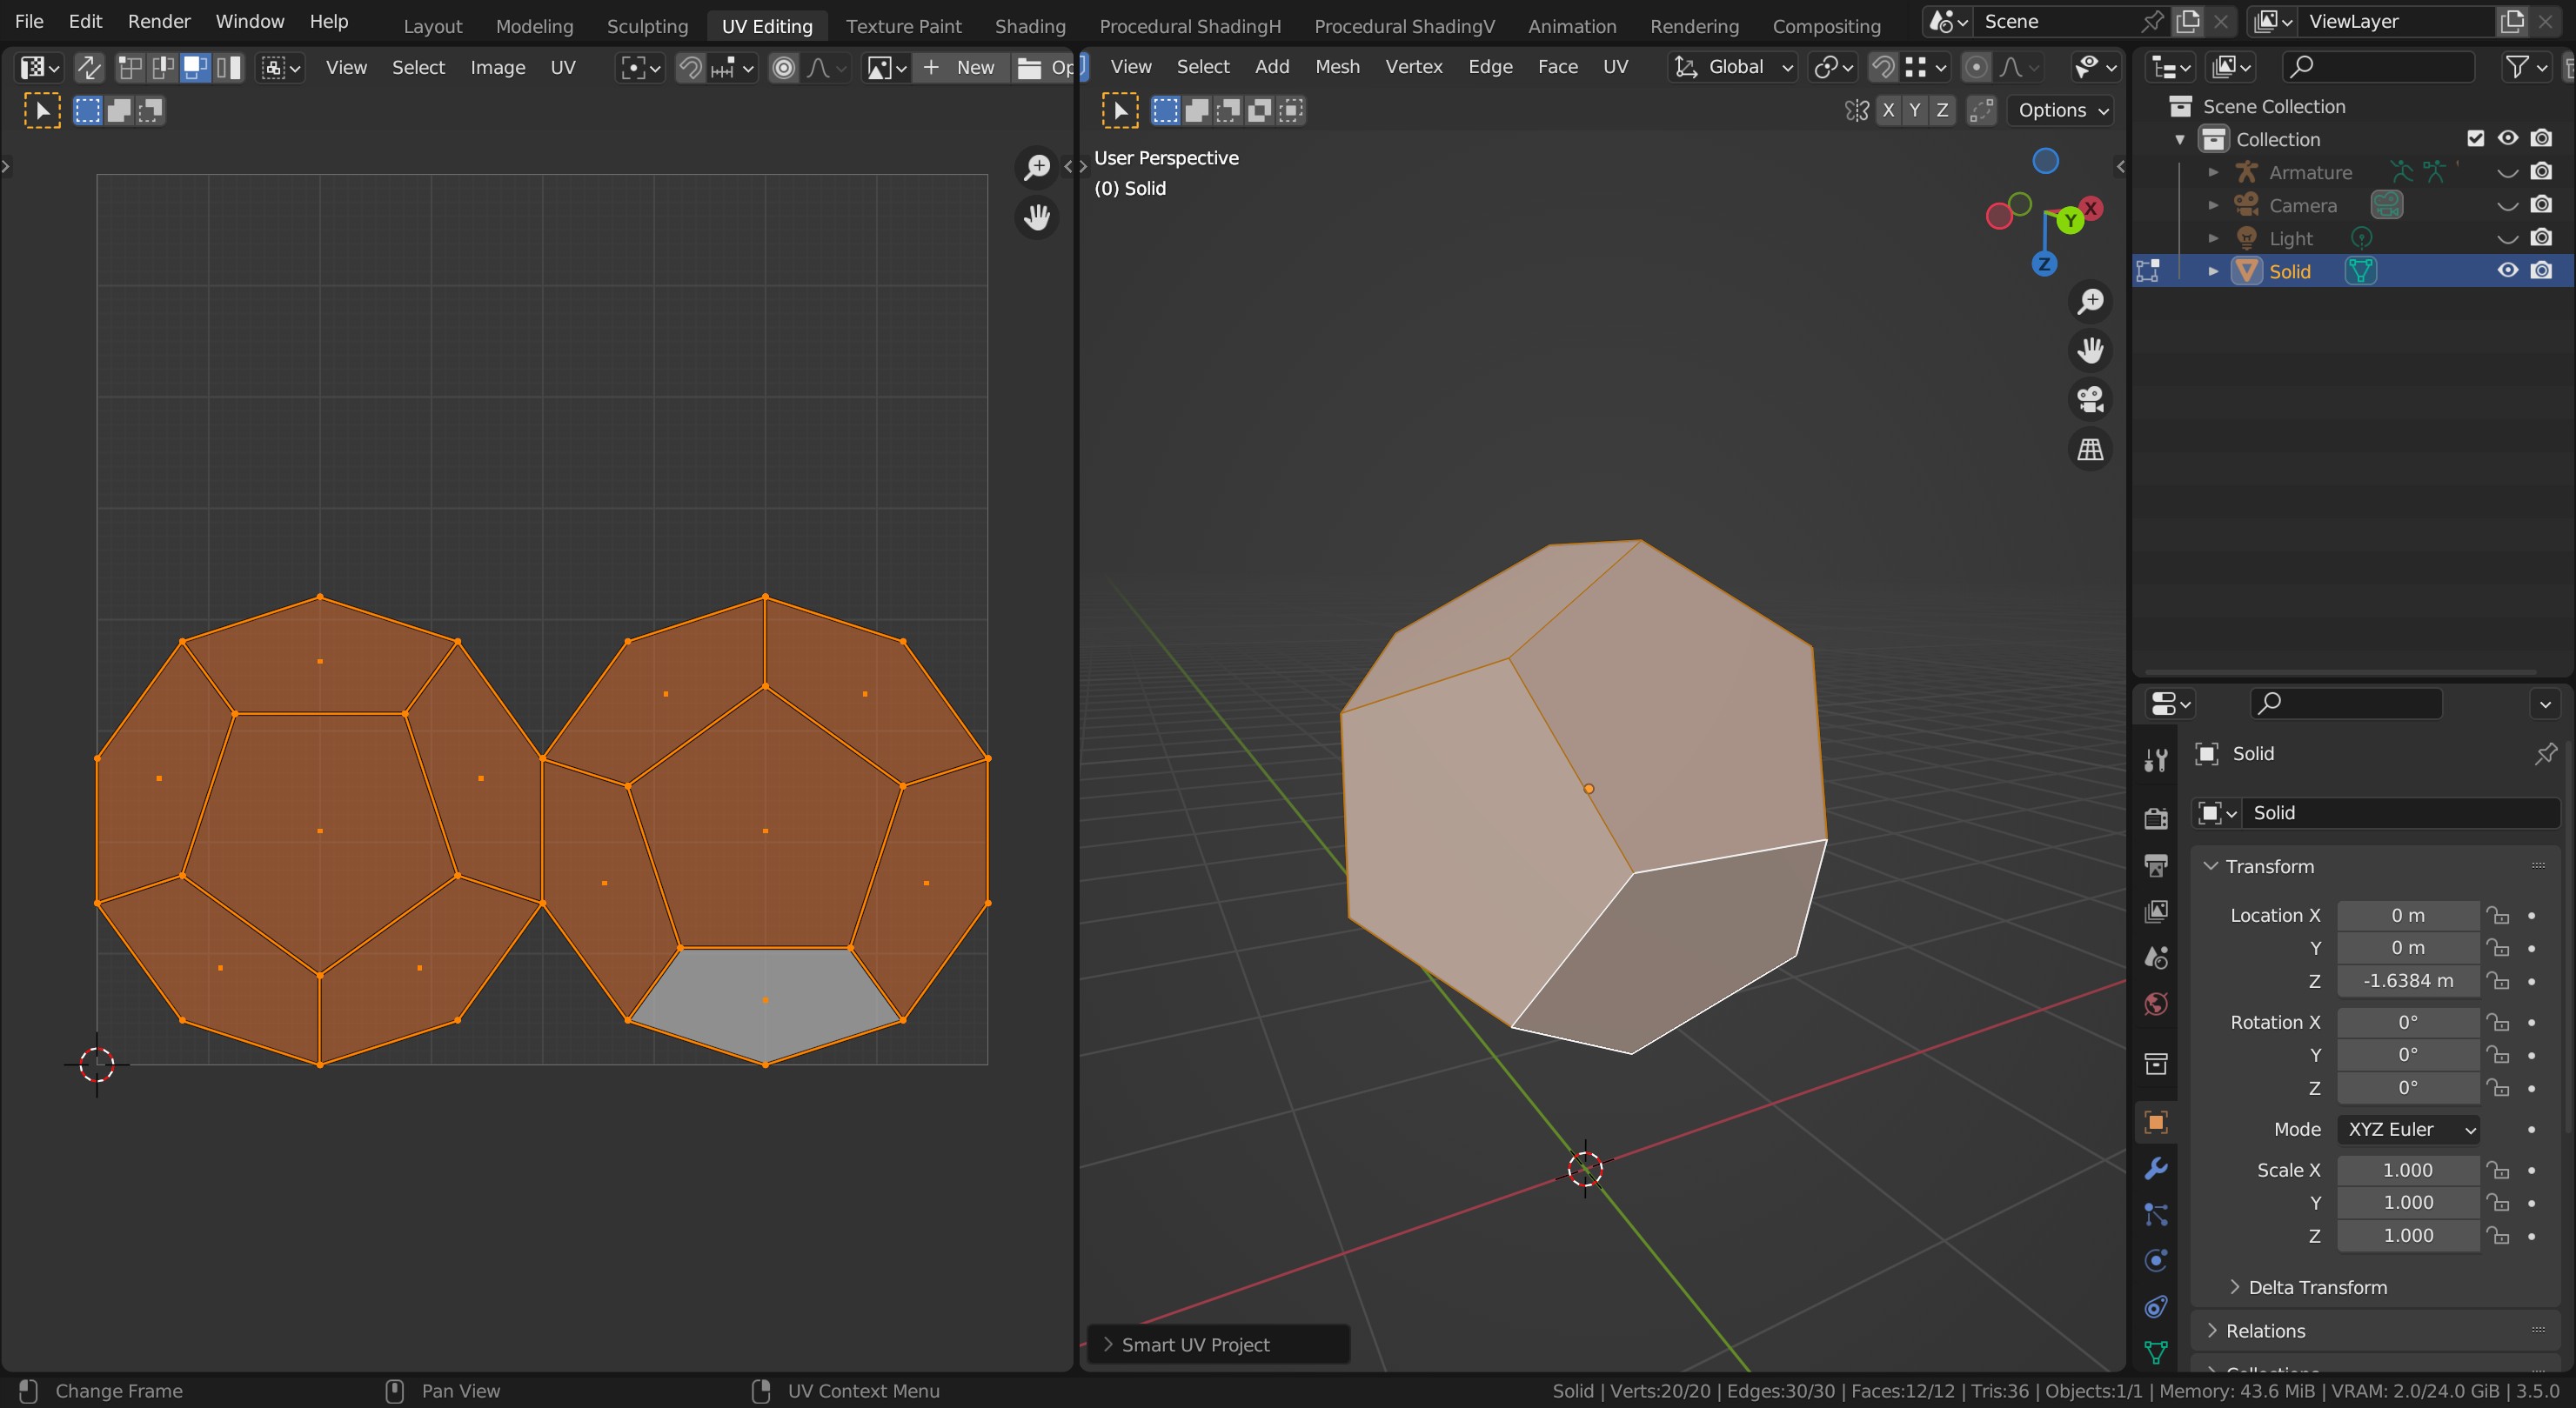
So on the model in edit mode, and edge select mode, we can select all the edges and mark them as a ‘seam’, where we want a ‘cut’ to be made such that the other edges can just bend out flat.
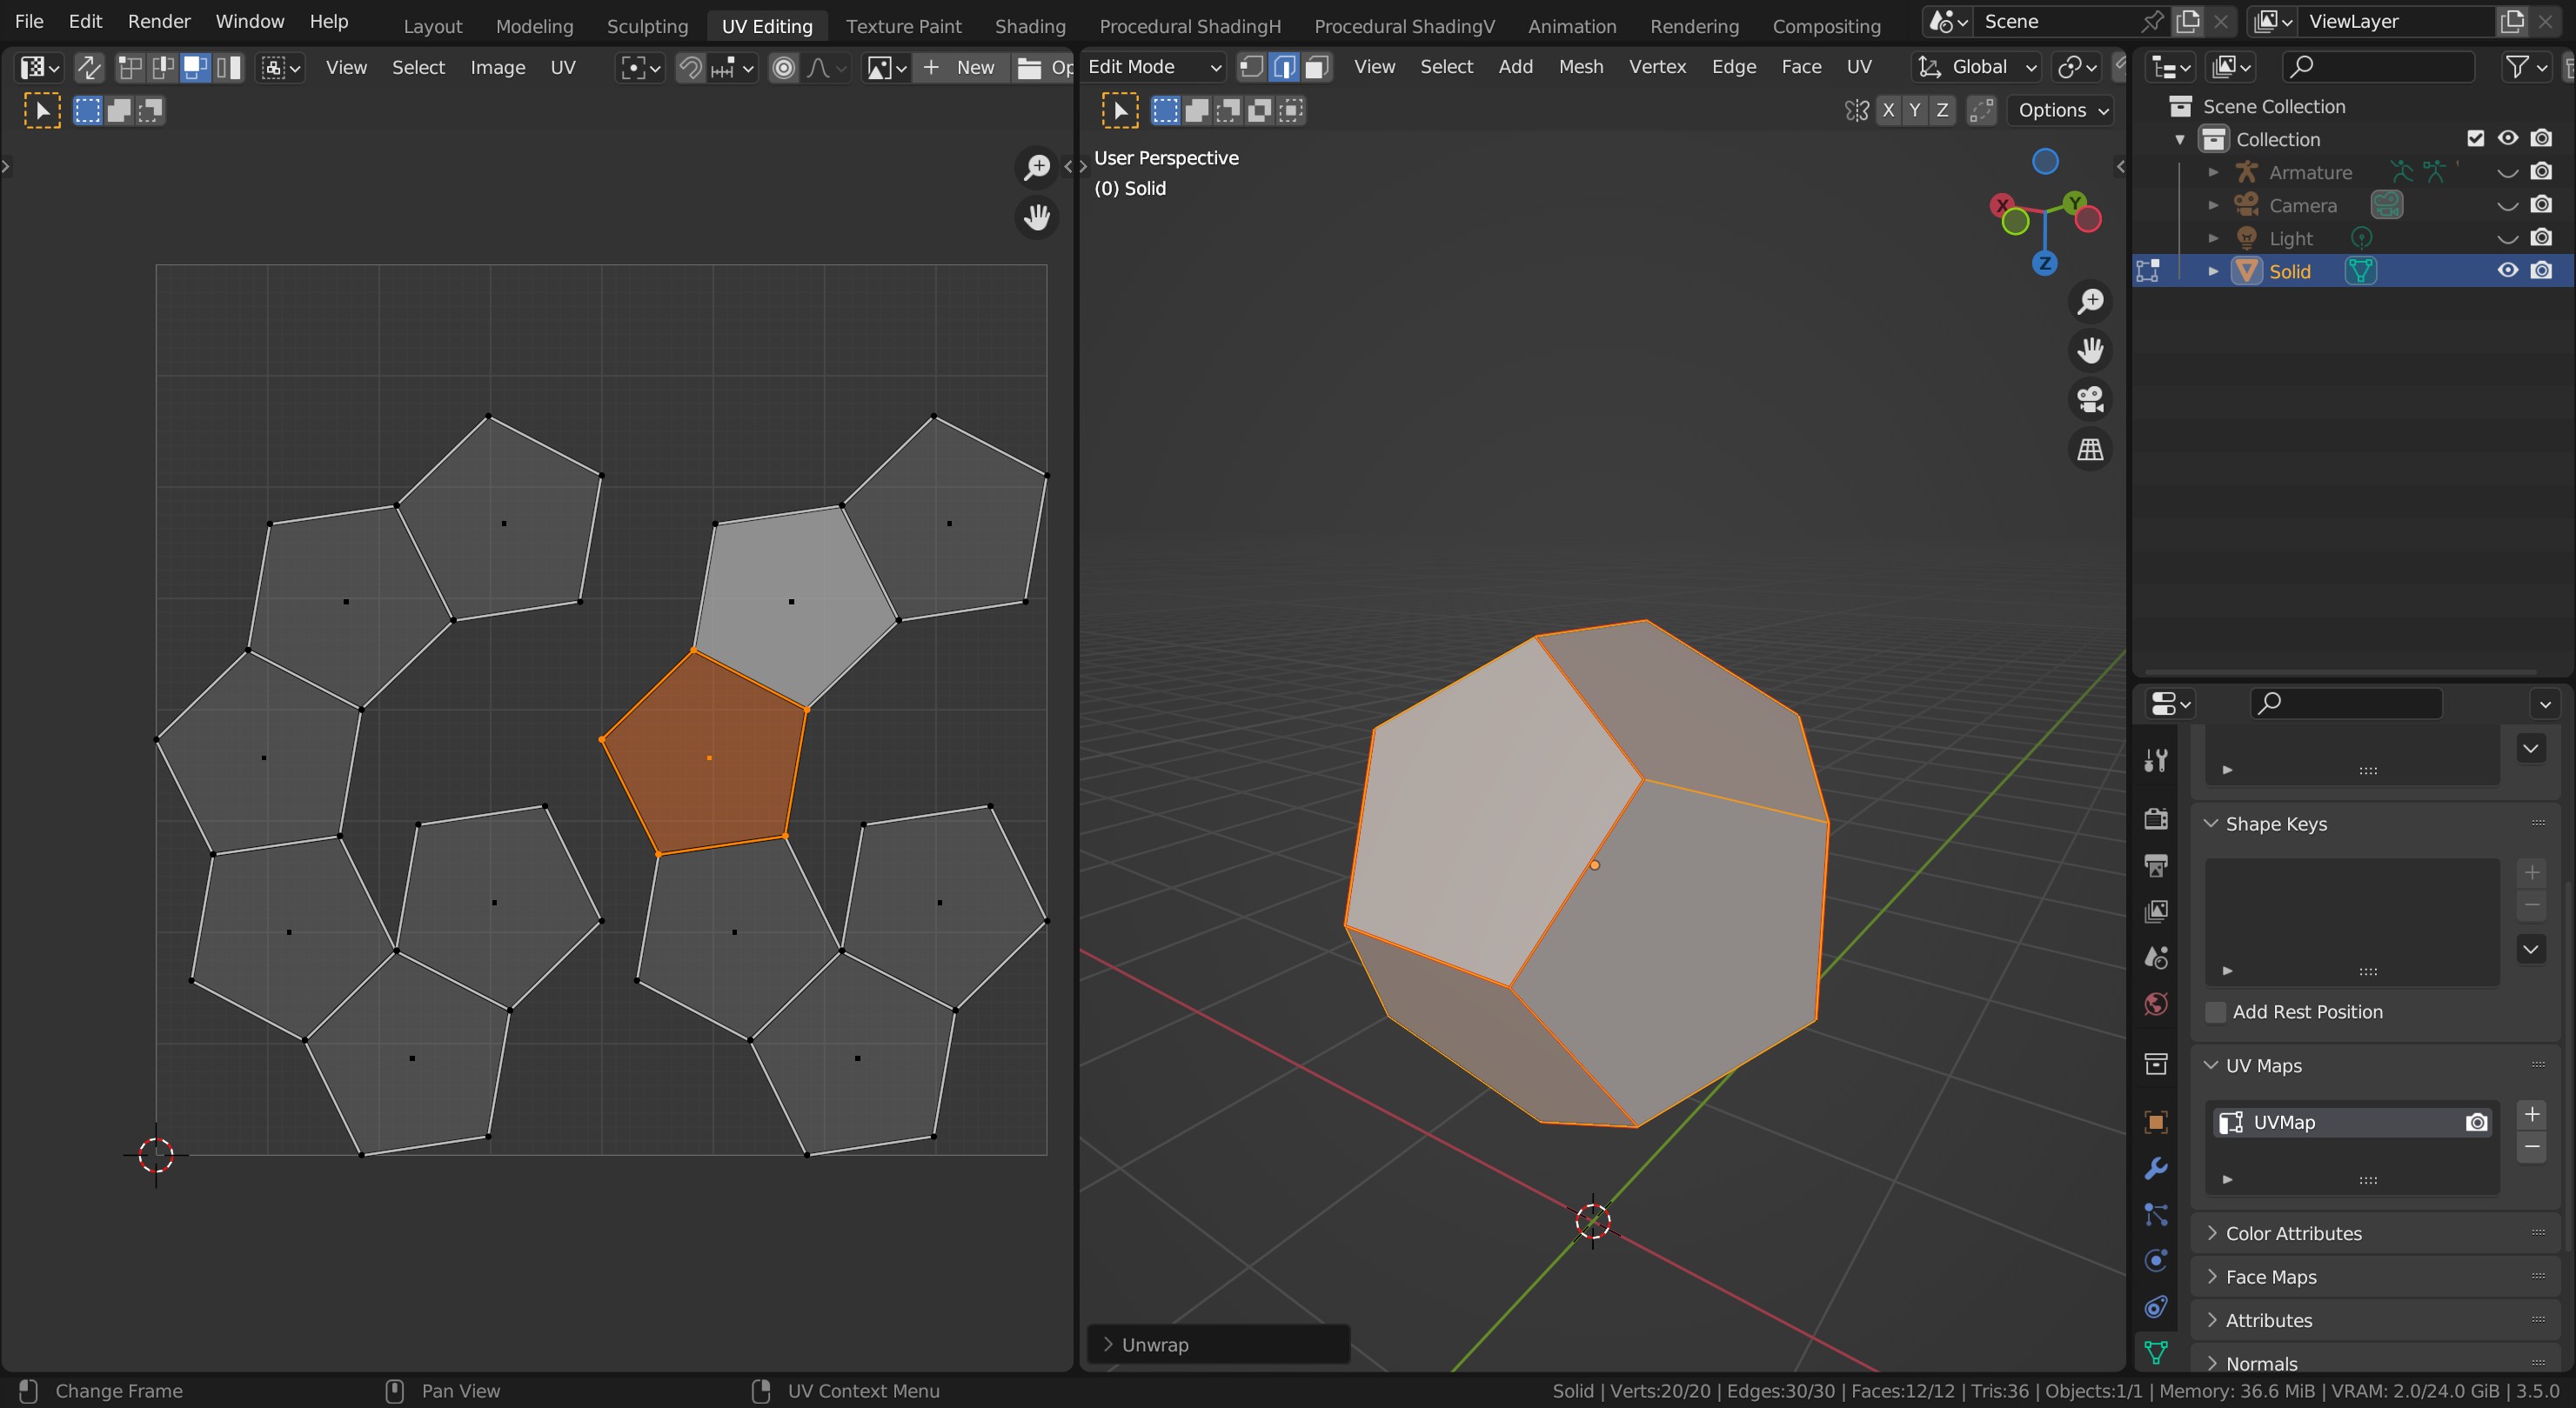
If you unwrap an object with no seams, Blender will make a mess, it is asking the impossible with a basic unwrap. Often stretching other faces a lot, because it can! It (stretching) is also needed a lot of the time at a controlled level.
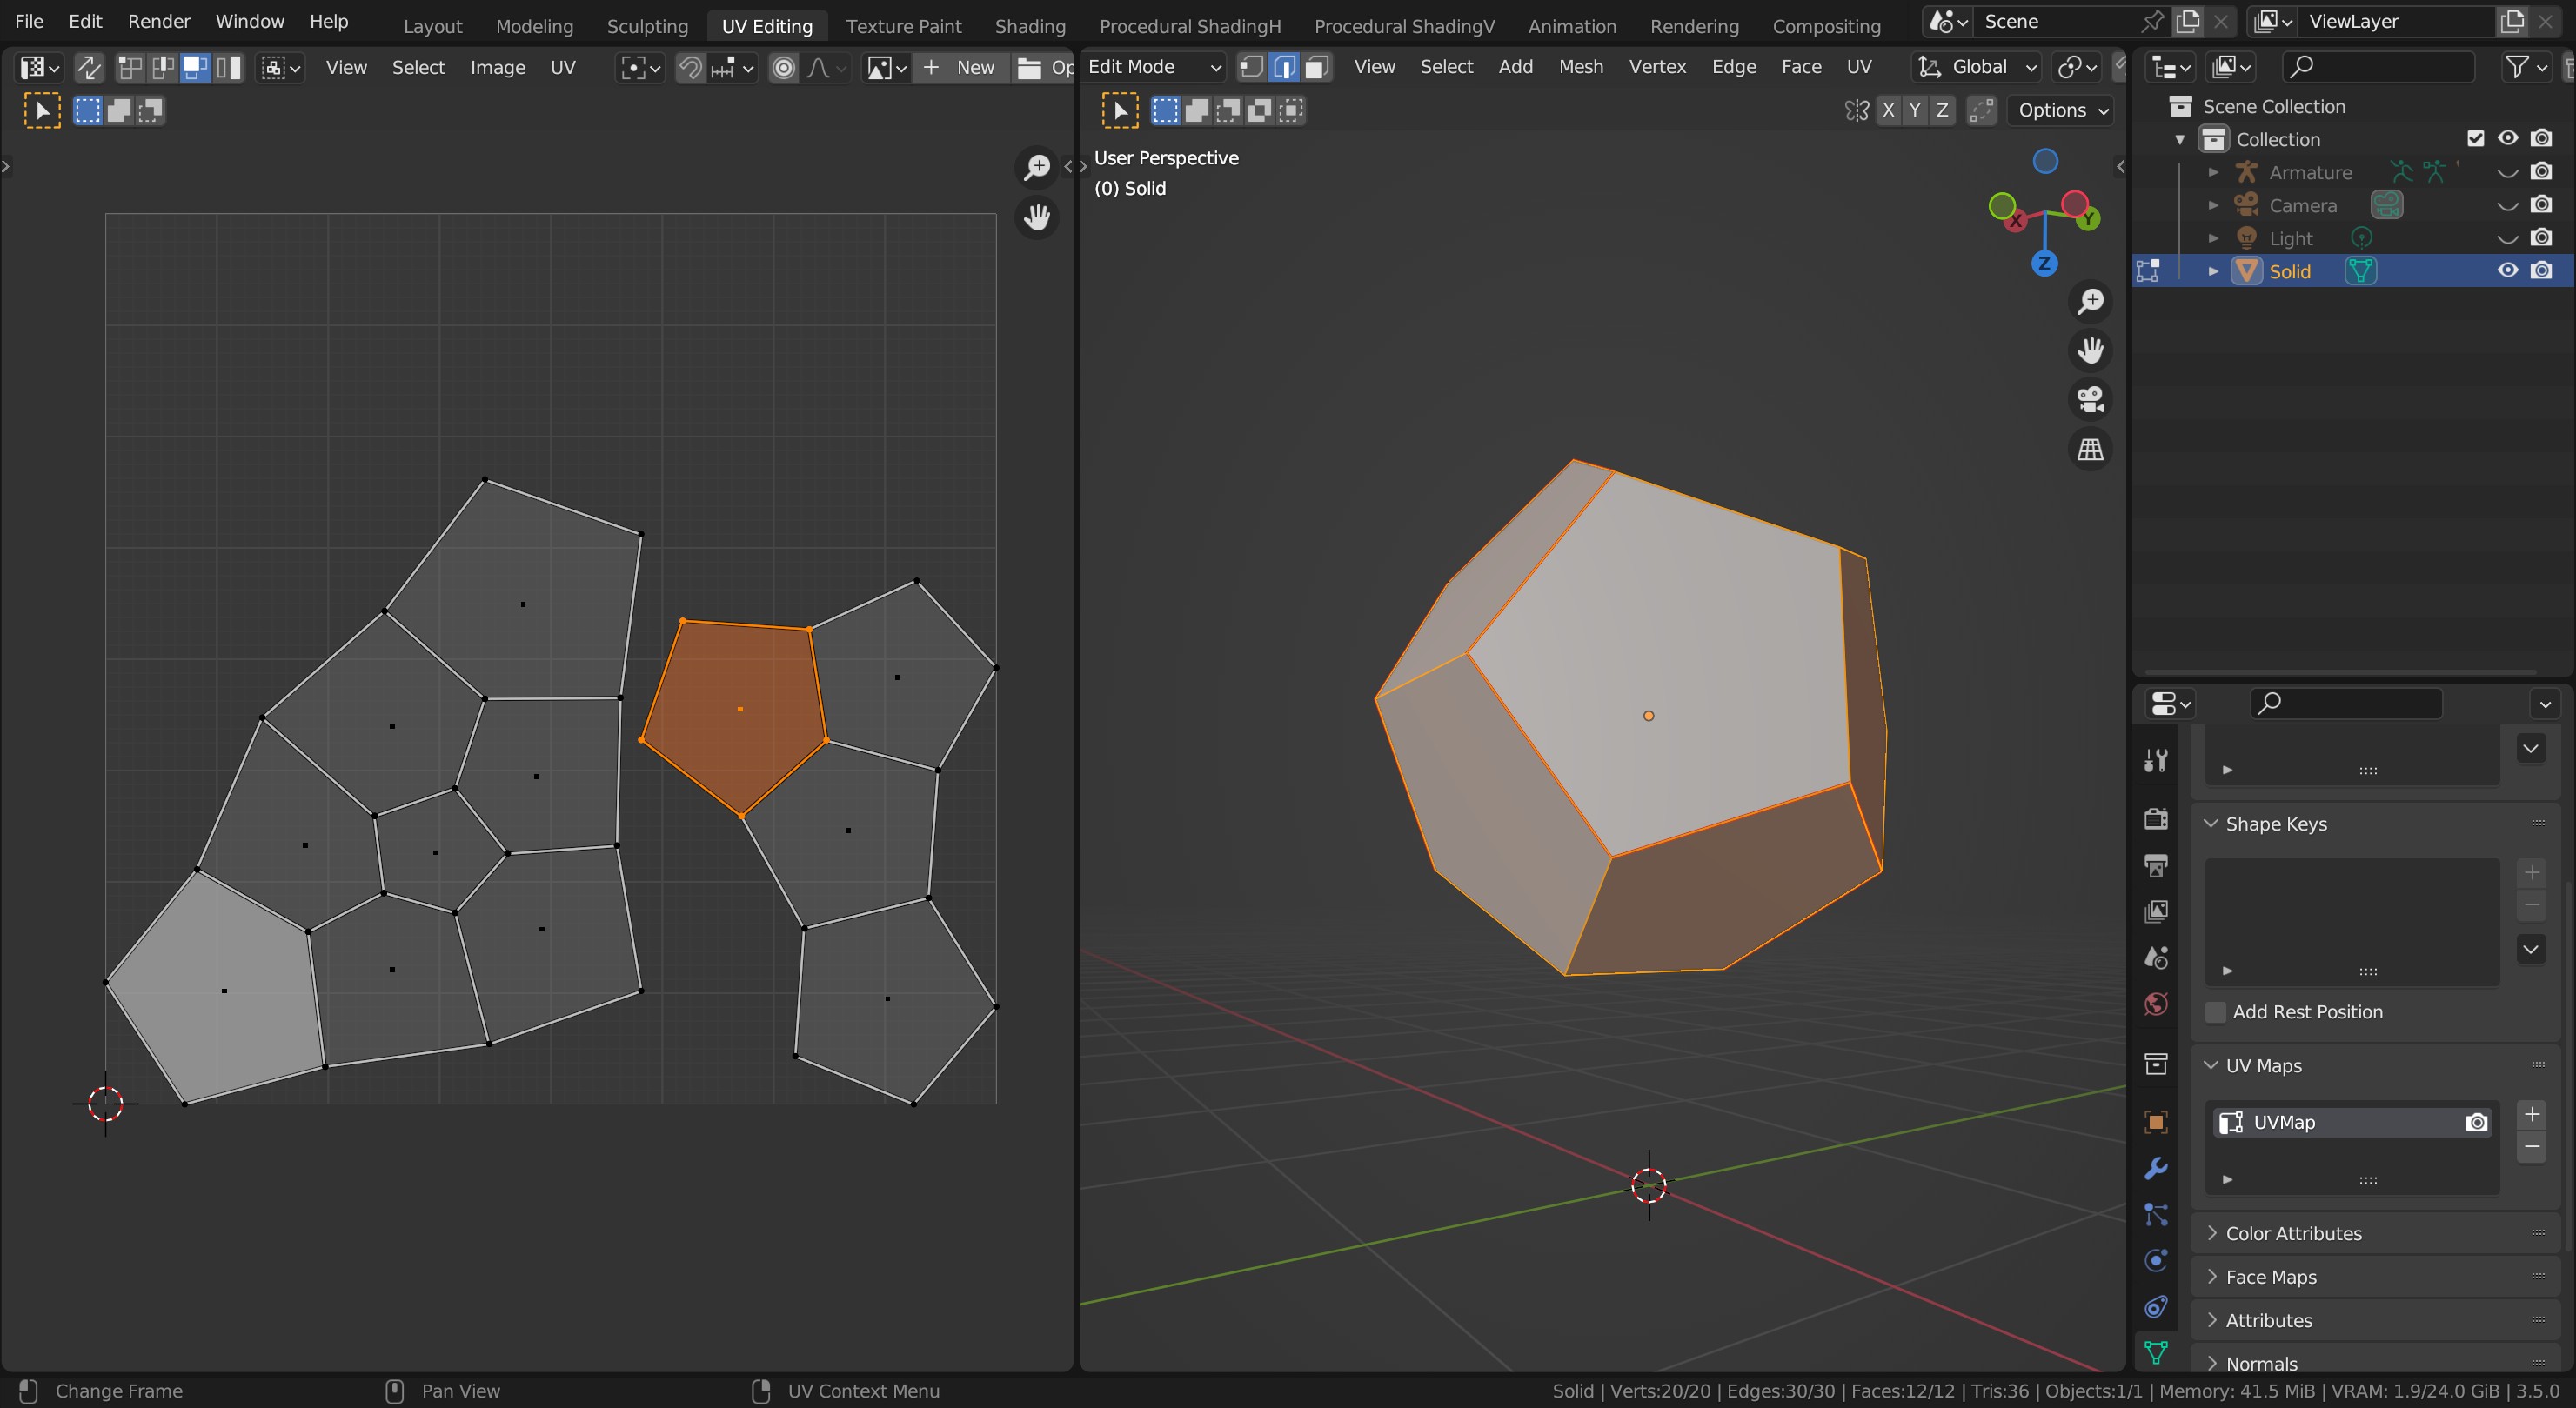
If you ask for ‘Smart UV unwrap’ it will make a good unwrap but usually broken up in a lot of parts as it tries to maximise no distortions. This creates problems adding textures across all the separate parts. But is fine if texture painting.
Multiple times unwrapping. Mostly this is done when seeing problems with one unwrap, adding or moving a seam and trying again. In the course it may be demonstrating things at times too.
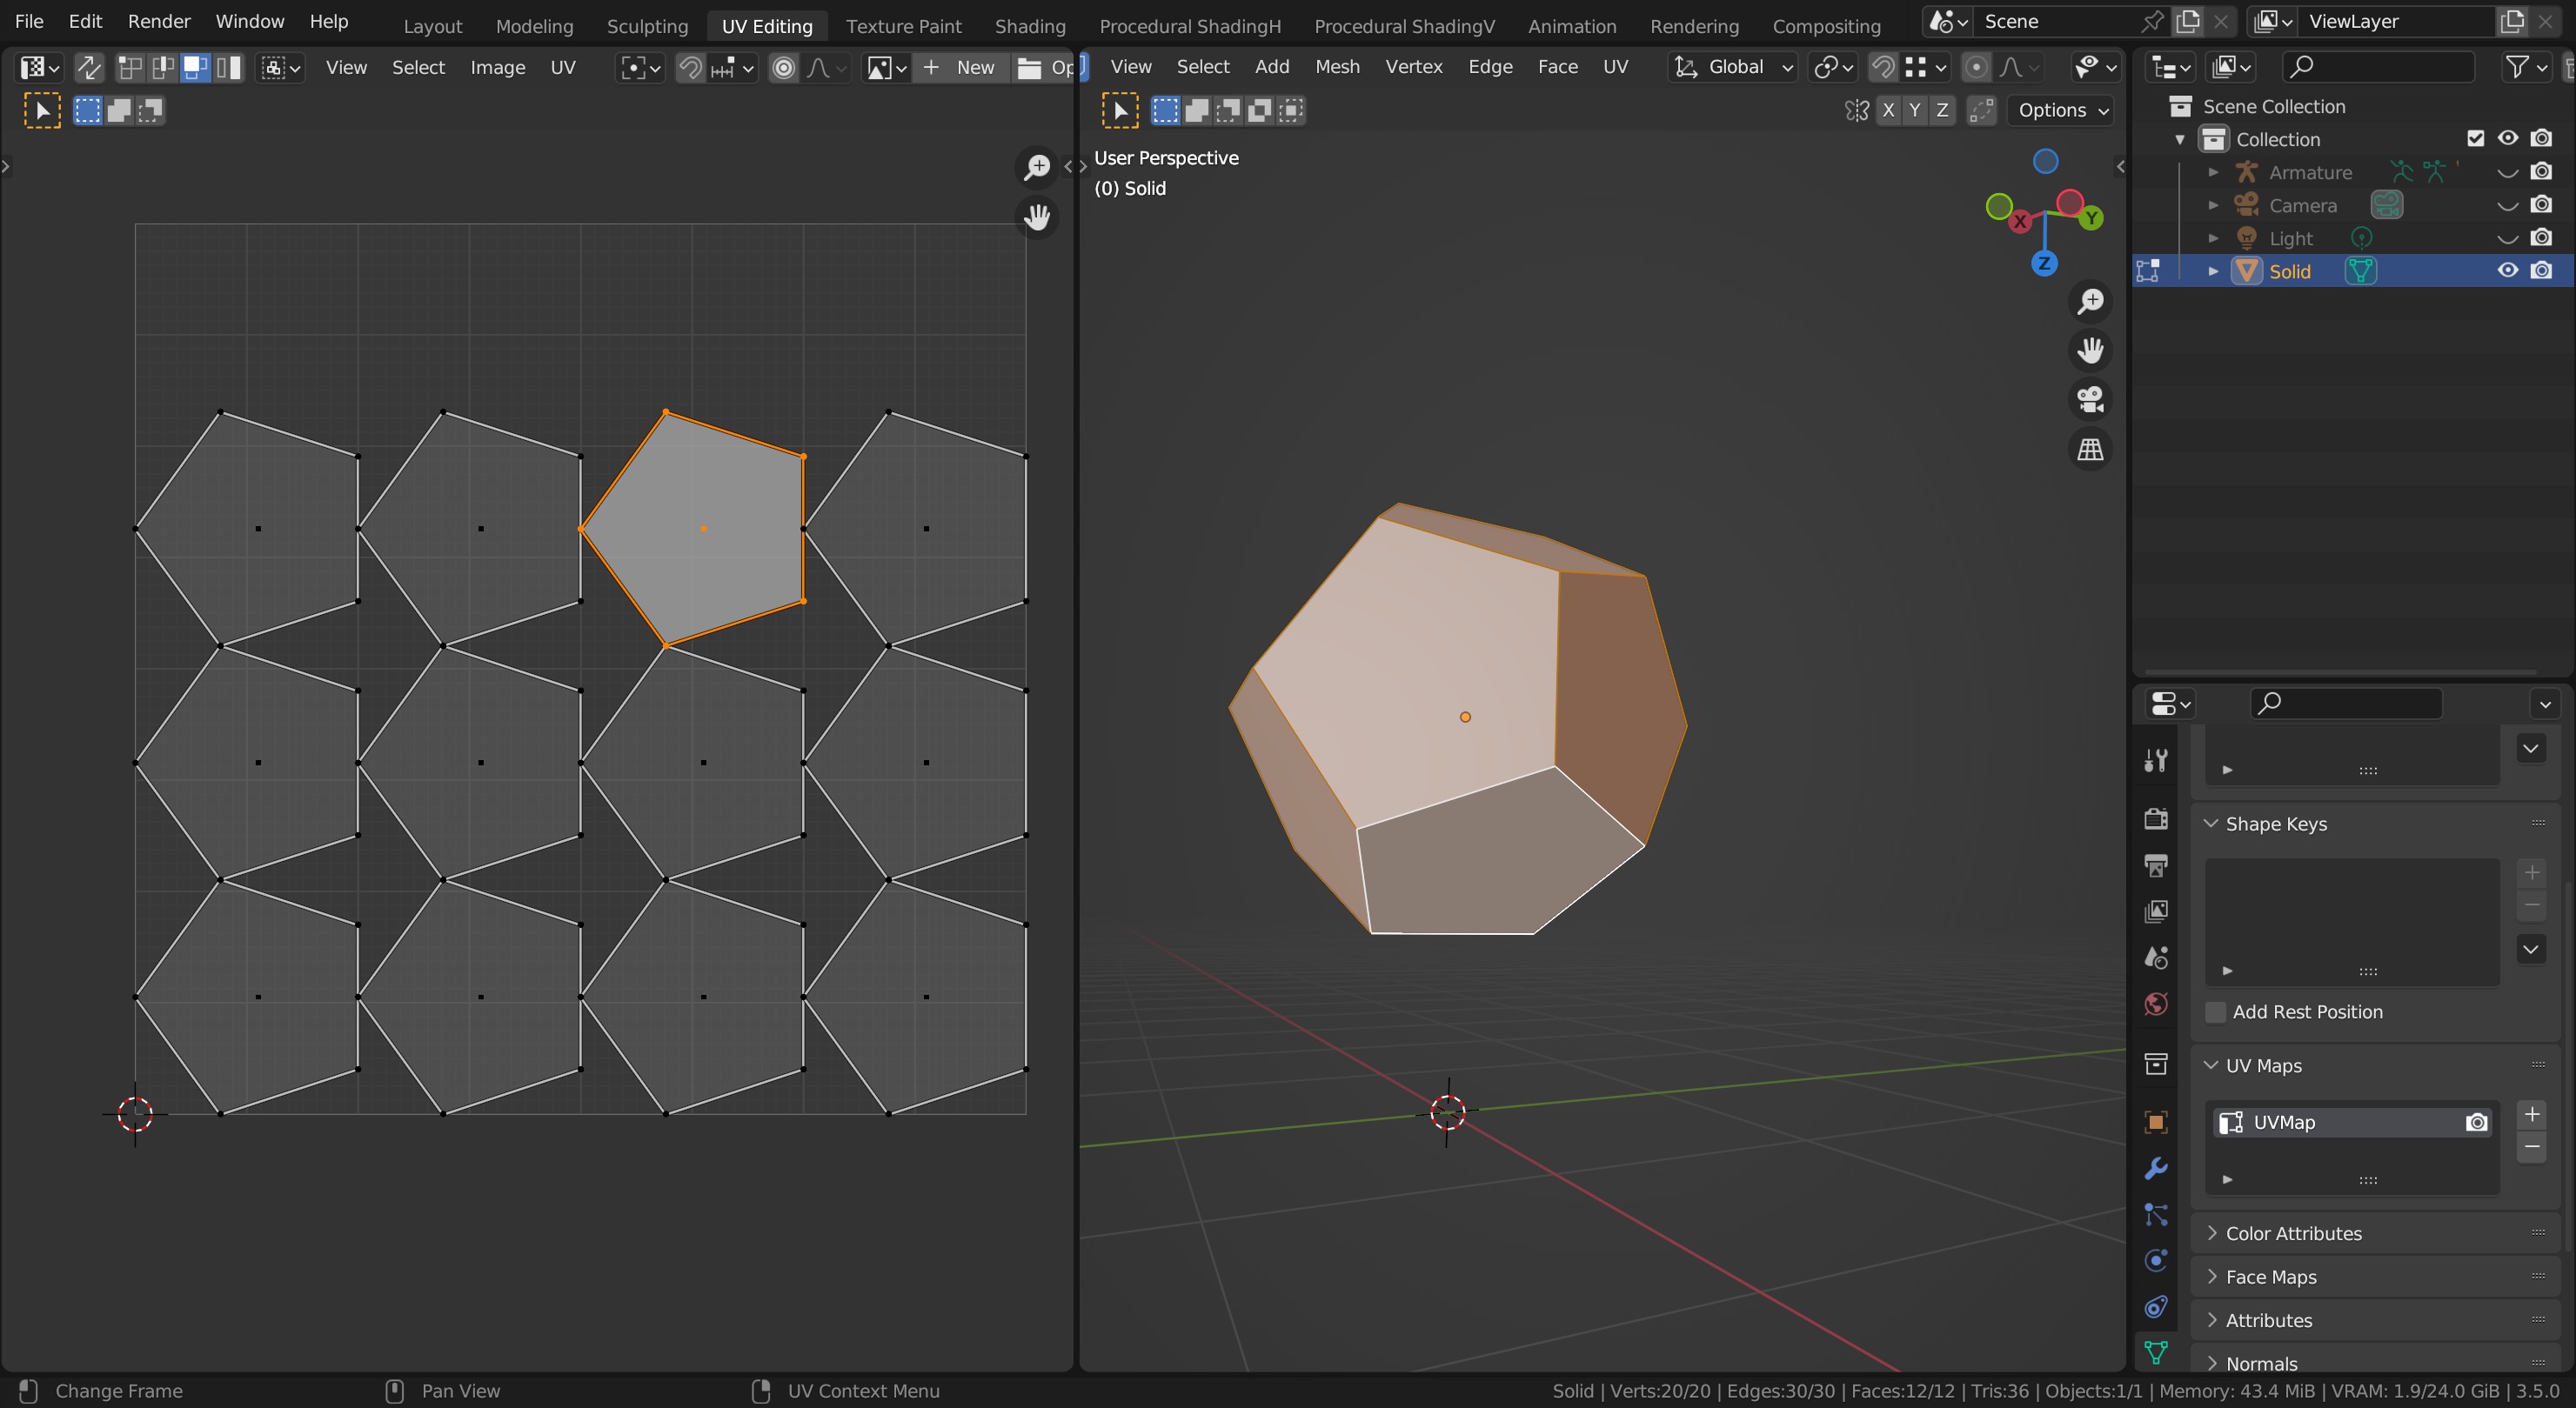
Ok this may not have been an ideal shape to demo with but makes a change from a cube.
Various examples. This first might be best for texturing, best run of connected faces. Less ‘joins’ to show up
@NP5 - This is an excellent description with images, to explain how making seams works, and how it helps depending on which method is used.
I’ve been unwrapping and marking seams in Blender for years. No matter which 3D modelling software I used to create the object, be it a prop or clothing, Blender is where I imported it in order to get my UV Map.