
Making Tileable textures.
How?
Ok, I have made a ‘tile’ of a section of wood. I photogammaterised it. Then baked the colours and the normals to a flat plane. Now I could probably tile the colour map in photoshop. BUT how to tile the normal map at the exact same time and the exact same way so everything still lines up? I am terrible with photoshop, basically, I lighten darken crop contrast, photos I take. Beyond that, it becomes a struggle.
Images.
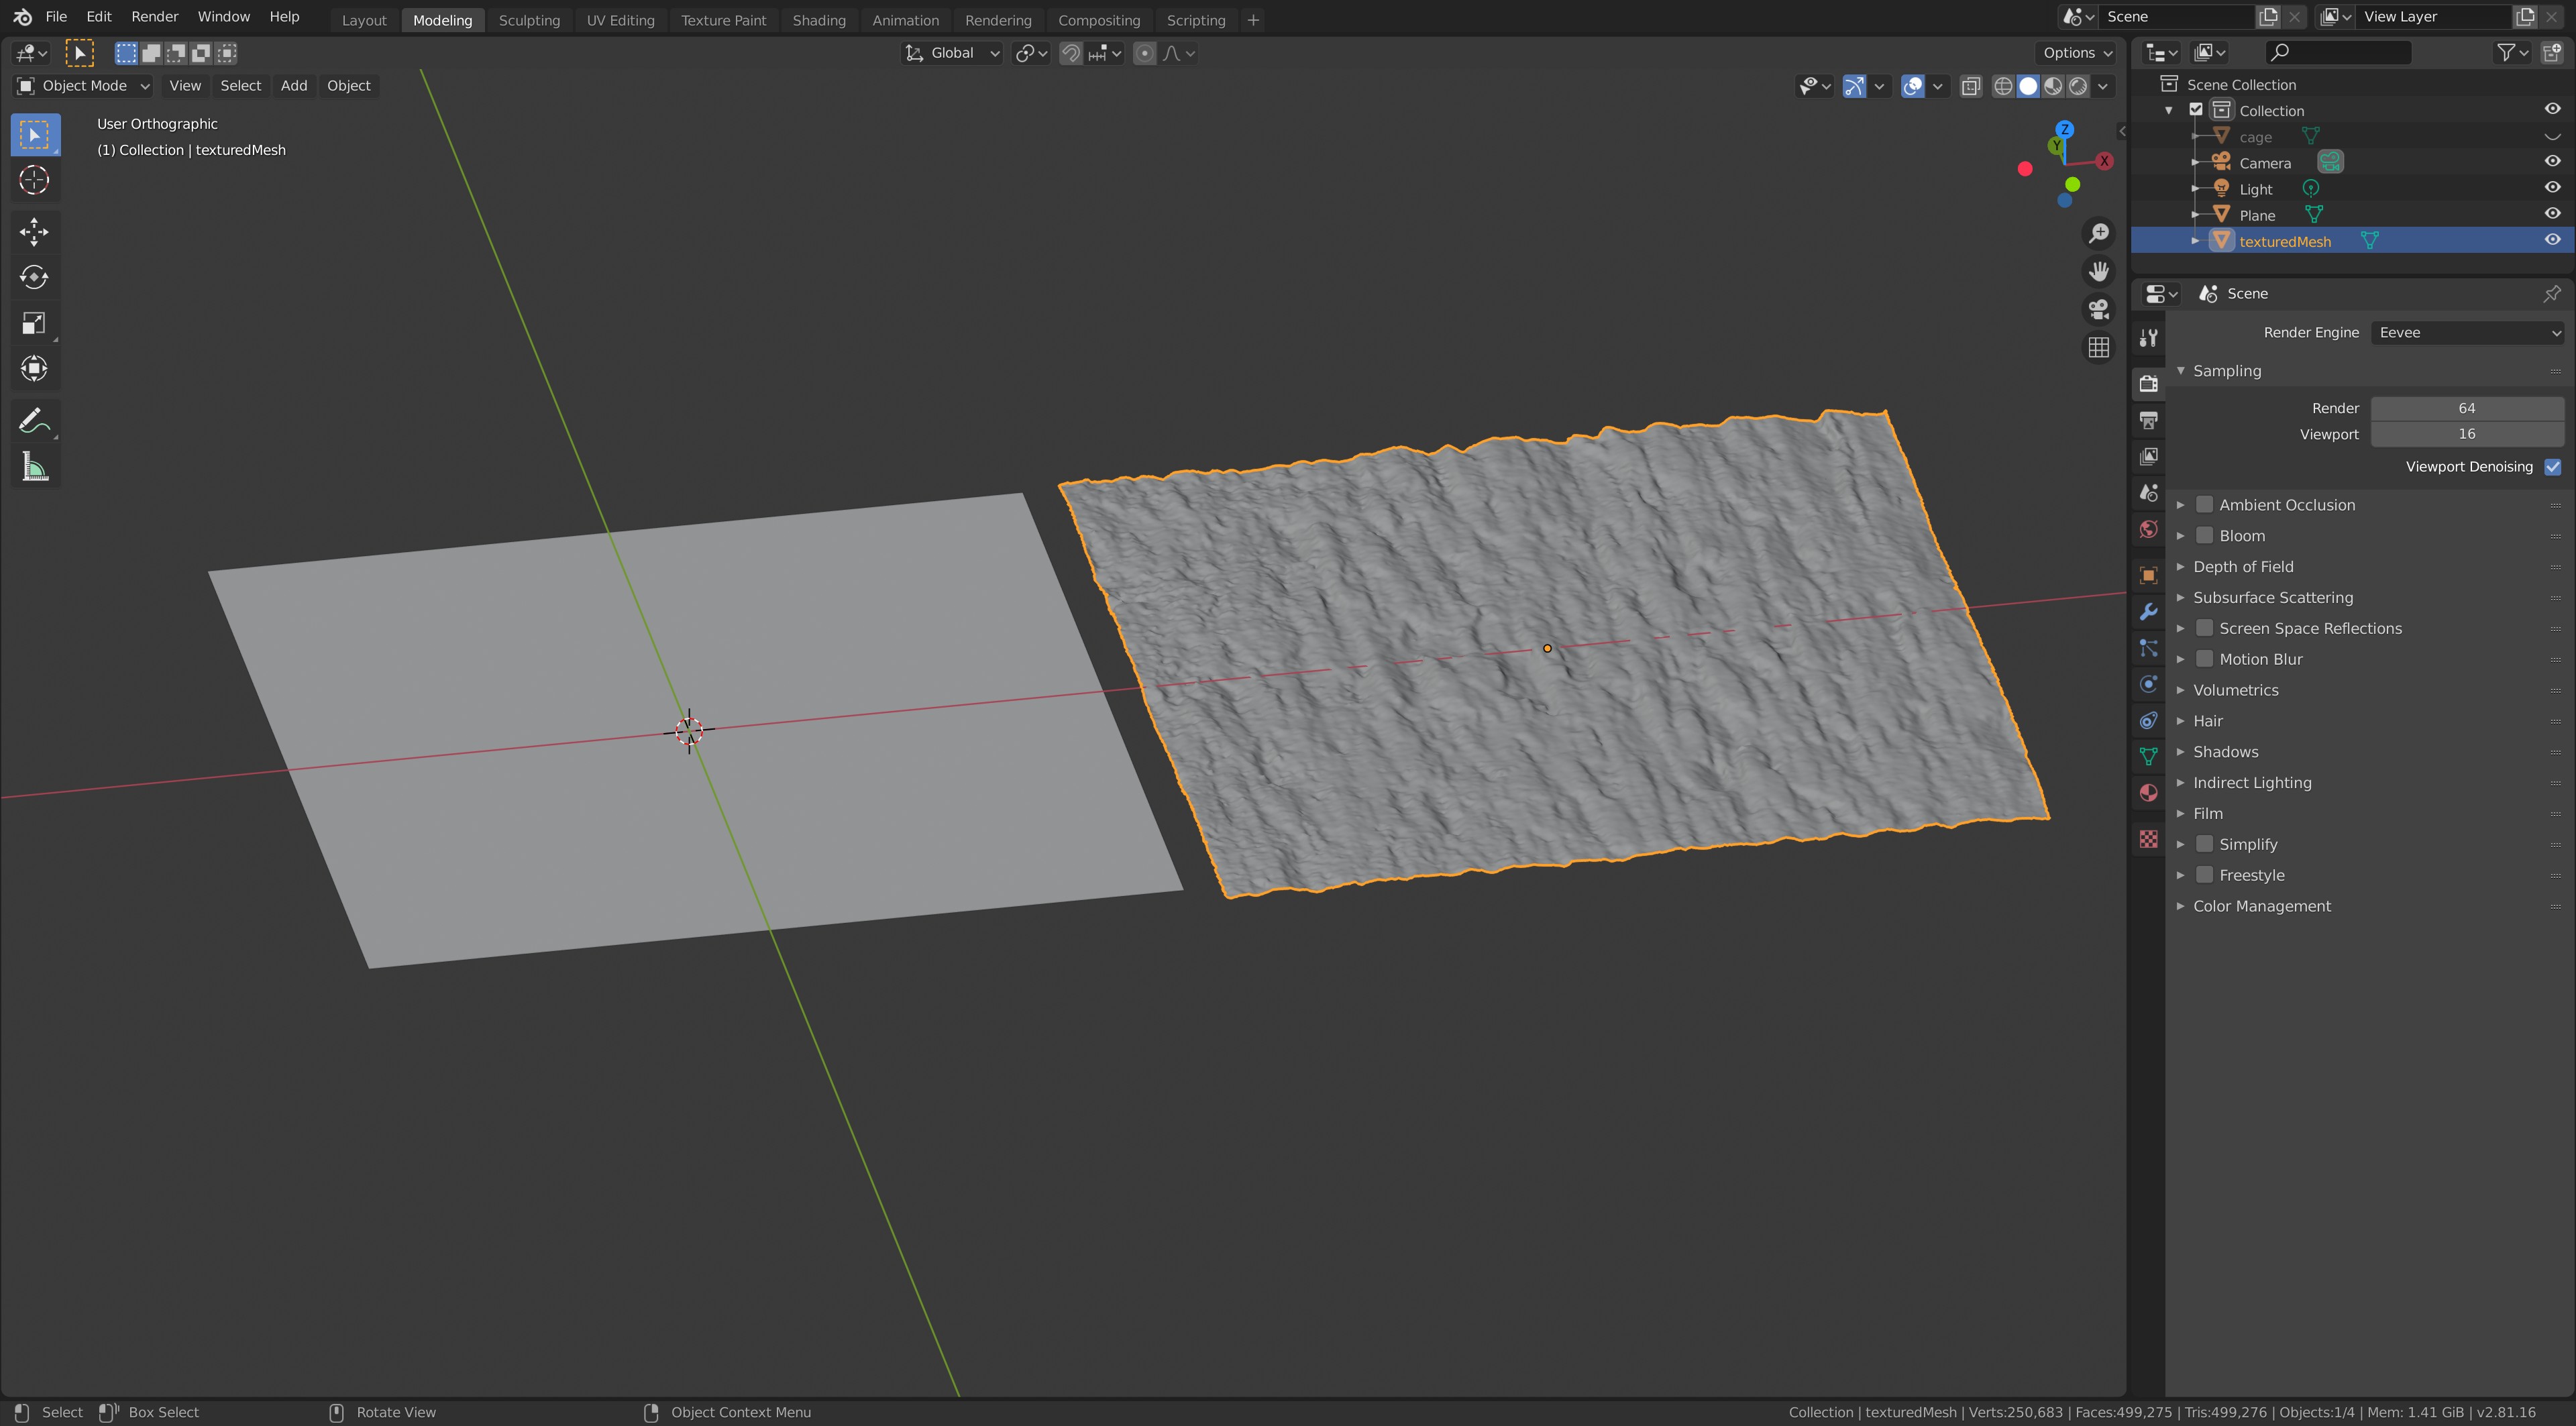
First On the left a simple 4 vert plane. On the right the mesh from photogrammetry with 500,000 triangles!
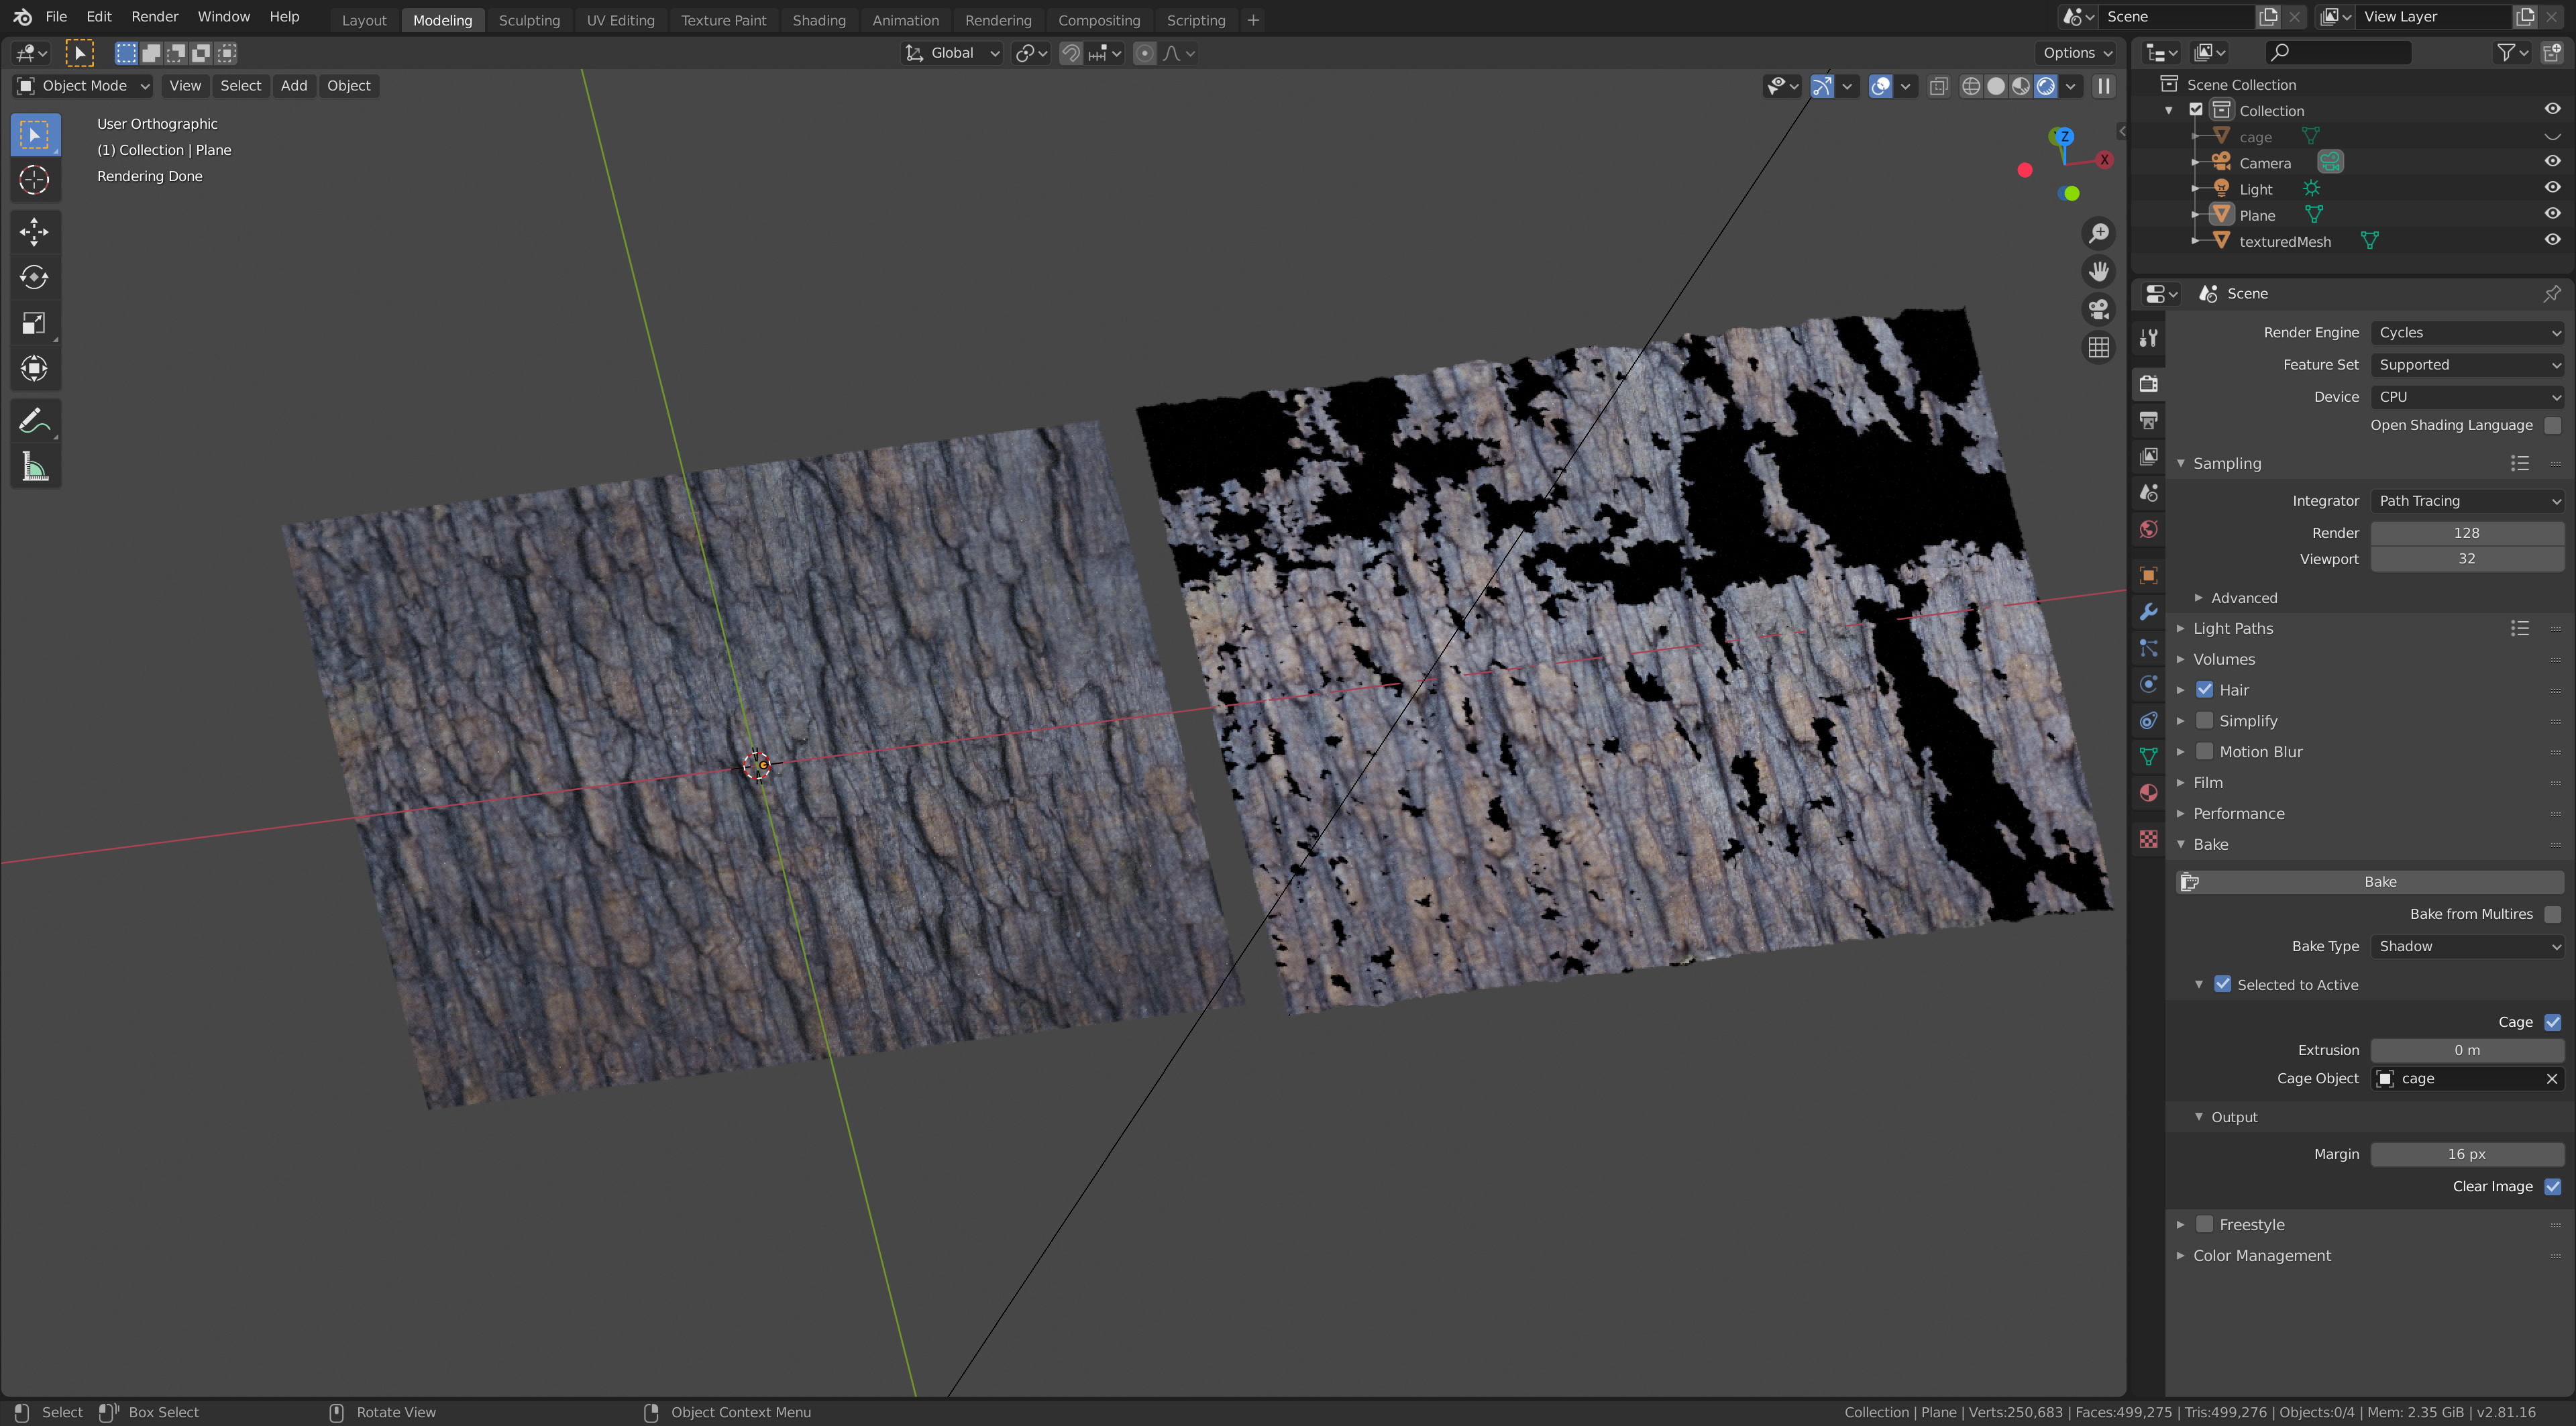
Now the left has the bake creates normal and diffuse maps applied!
No idea what ‘damaged’ the original on the right. It imports with four whole image maps that seem to work as one when they feel like it. Whole other area of confusion. Not worried about that at the moment, this is experimenting to make my own pbr textures via photogrammerty.
Lastly the non tiling issue. I get that I can cut the base texture image in half, rematch the outside edges in the middle, repeat vertically. BUT how to do it at the same time, on the normal image and the diffuse image, so whatever is moved about and blended in, happens to both at the same time? They are identical sizes.
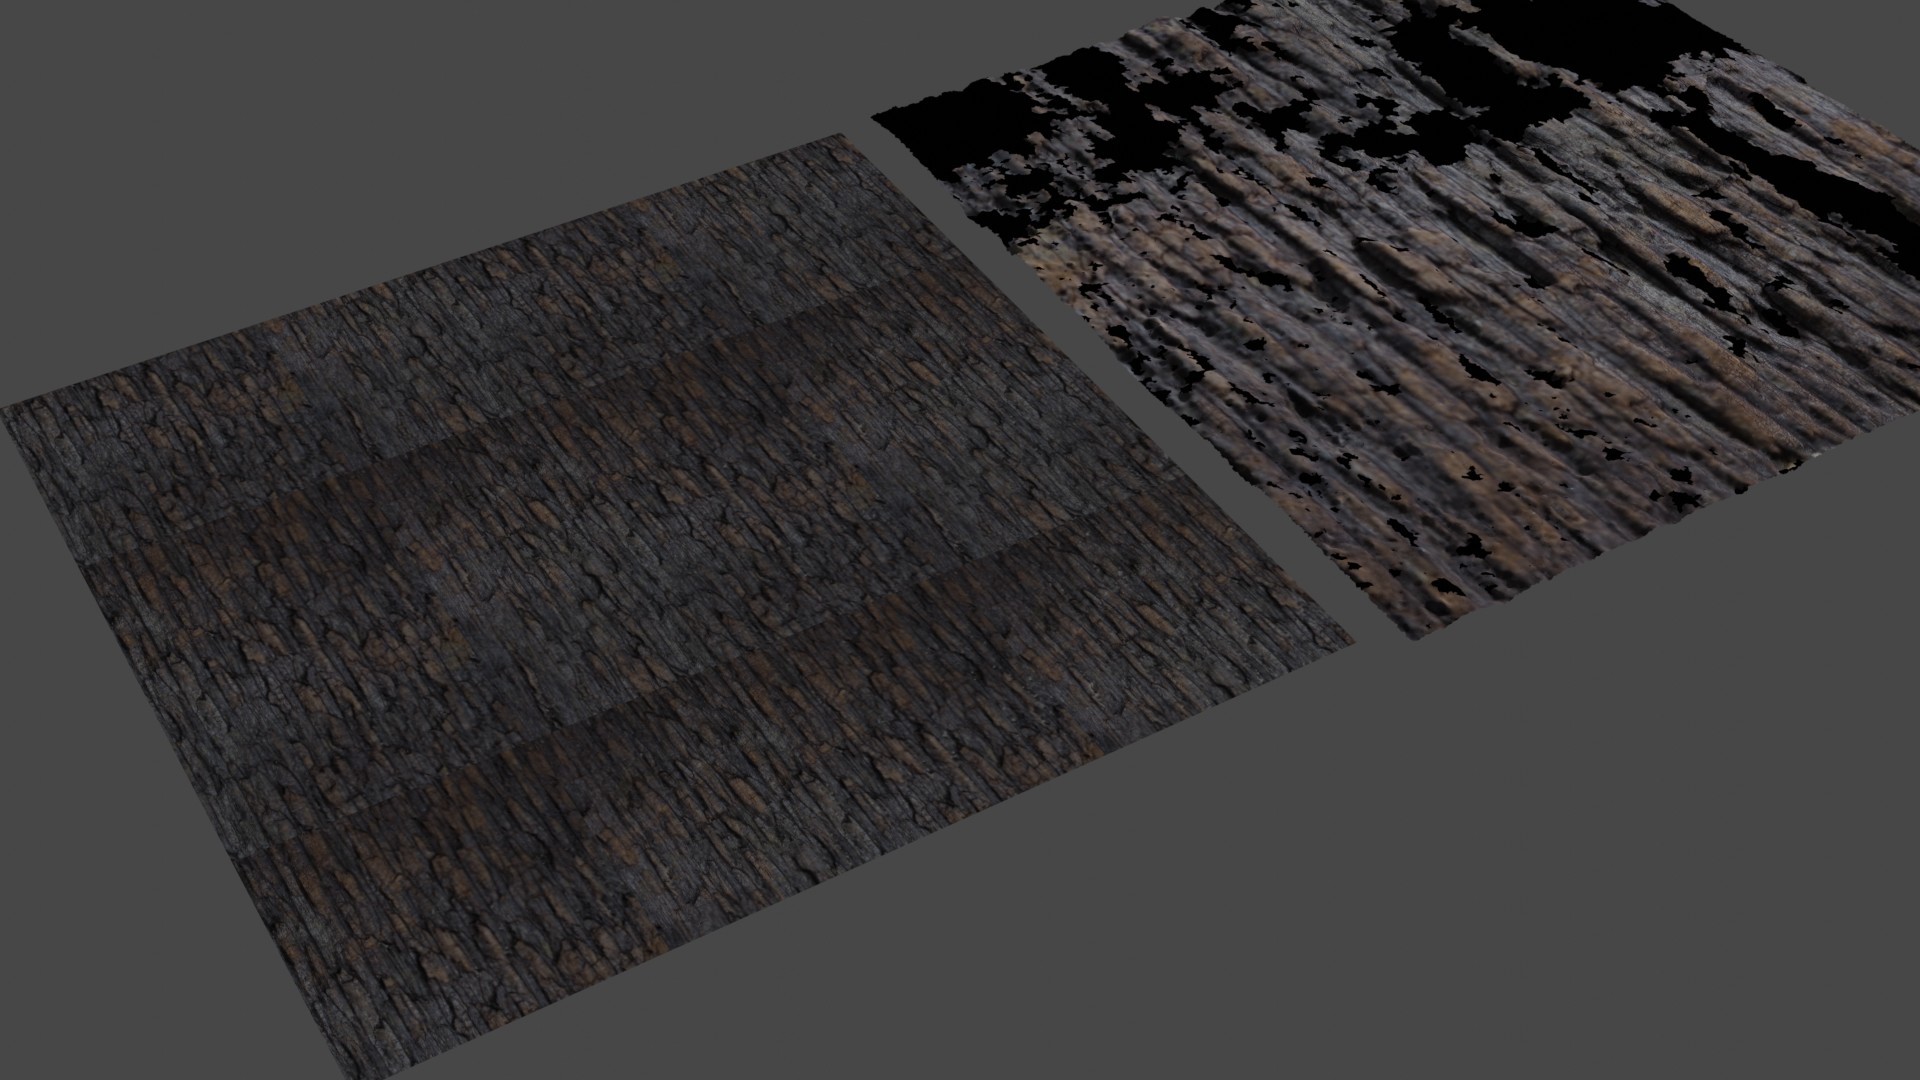

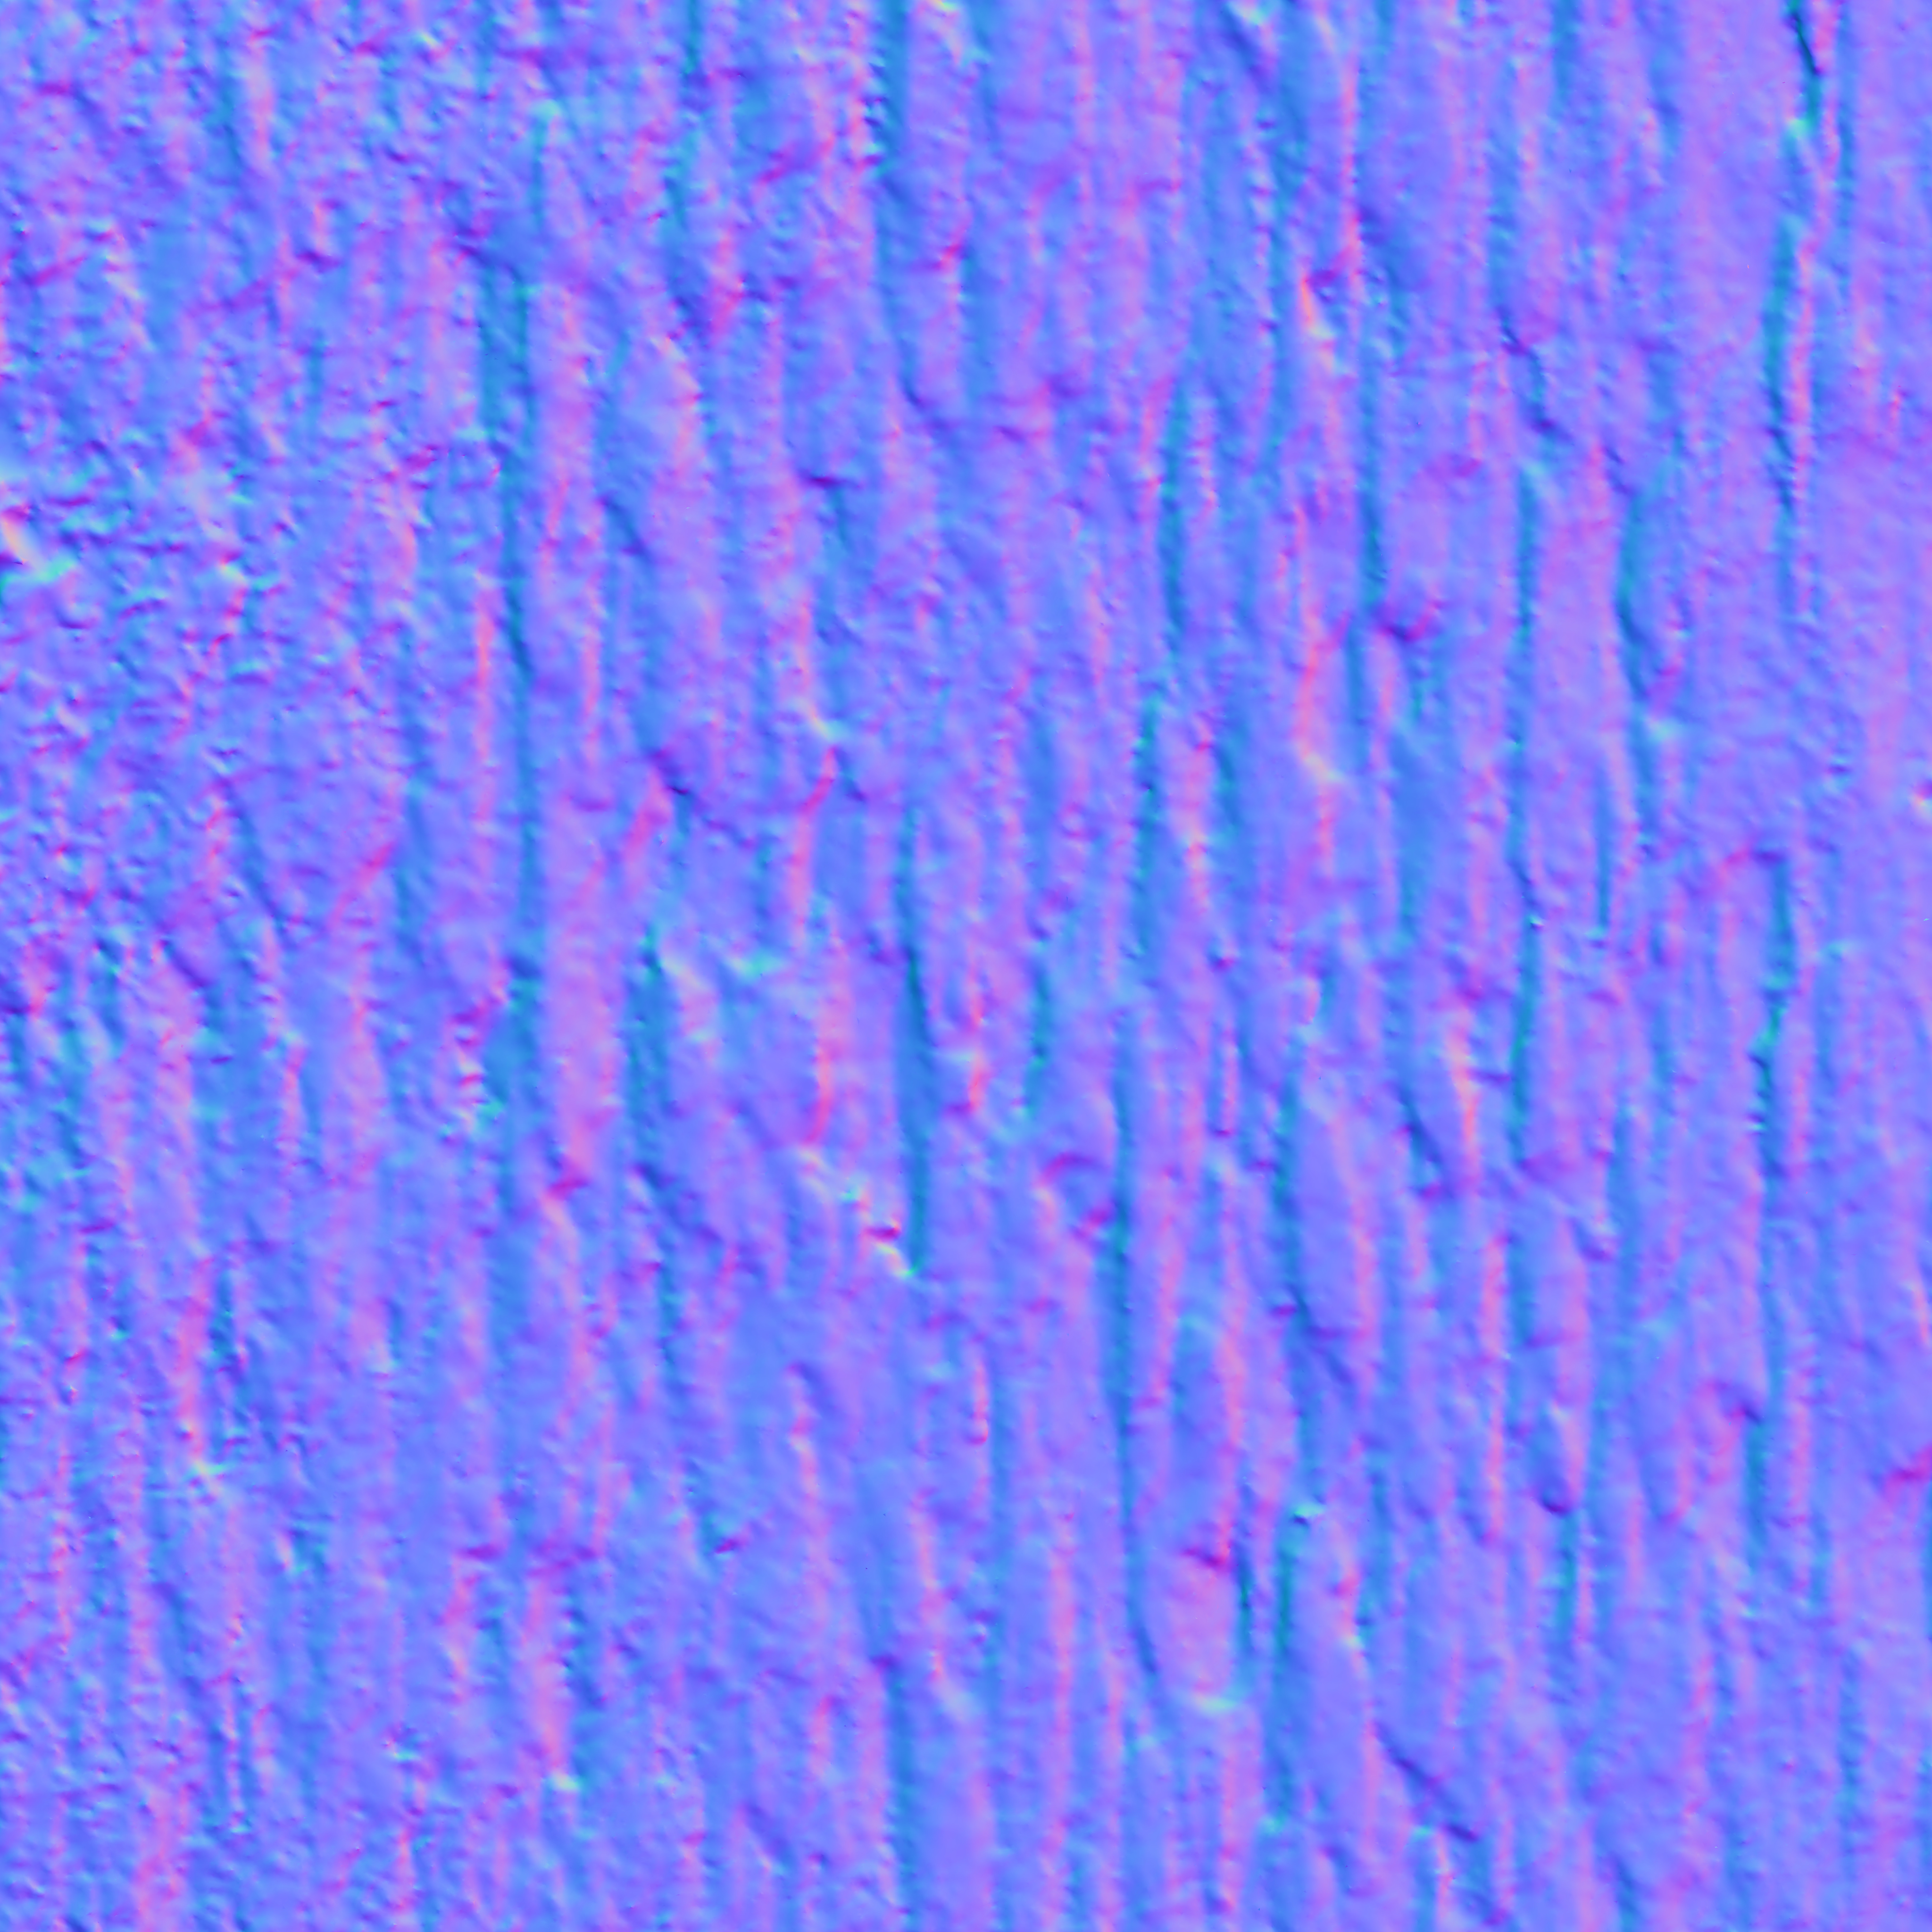
Above the two maps needing making tileable.