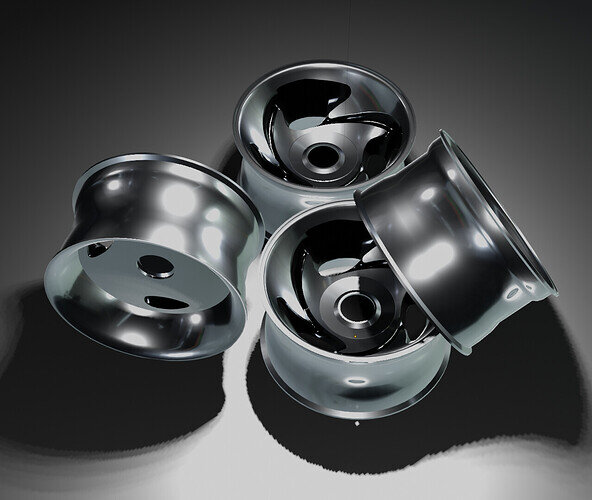
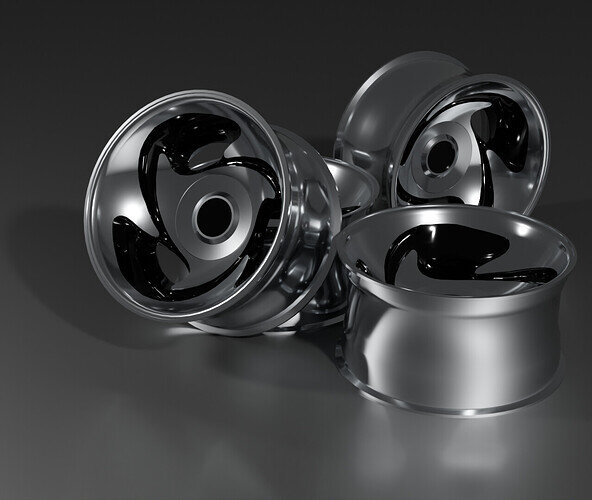
I decided to make a set of rims, specifically the 15x8 American Racing AR39, with what I’ve learned so far. I’m very happy with what I’m able to do with my limited knowledge!
I put center caps that cover where the lug nut holes would go, because I don’t think I’ve learned enough to go that far. But here’s how I did it:
This rim has 3 sections that are all identical, so I made a 66 subdivision and 66 loop UV Sphere, cut it into a dome, and z-axis scaled it to 0. 66 specifically because it’s divisible by 3. Then I used the knife tool to cut the black painted area out, as well as the holes in said areas. I made sure to add polygons where needed so that I wouldn’t have any irregularly stretched faces, mostly triangles.
Once done with that section, I placed an empty at 0,0 and used an object offset array to copy the third I had modelled twice, resulting in a full, but flat rim. Then, I made another UV sphere, cut it in half again, and stretched it until it matched about the concave of the wheel I was going for, and used a shrinkwrap modifier to lay the flat model along the concave.
I extruded the black parts down, moved the holes down, and manually added a concave to the inside of the black area. The outside of the rim is just a cylinder that I kept loop-cutting to rescale the cuts until it matched the shape I was going for. It took me an afternoon, a lot of guess work, and a lot of redoing the same steps over again, but I’m really happy with what just my current knowledge could get me!
I assume I’ll learn a technique to evenly cut holes into a shape like this in the future, which is when I’ll go back and add lug nut holes to this wheel. The method used on the bowling ball wouldn’t work for this, unless I was to make it a 6-lug pattern. I’m having a lot of fun with this course!


