IT’S BEEN A WHILE! I’ve been so busy at work and school that I just couldn’t work on that project in the past weeks, almost a month and I missed it a lot.
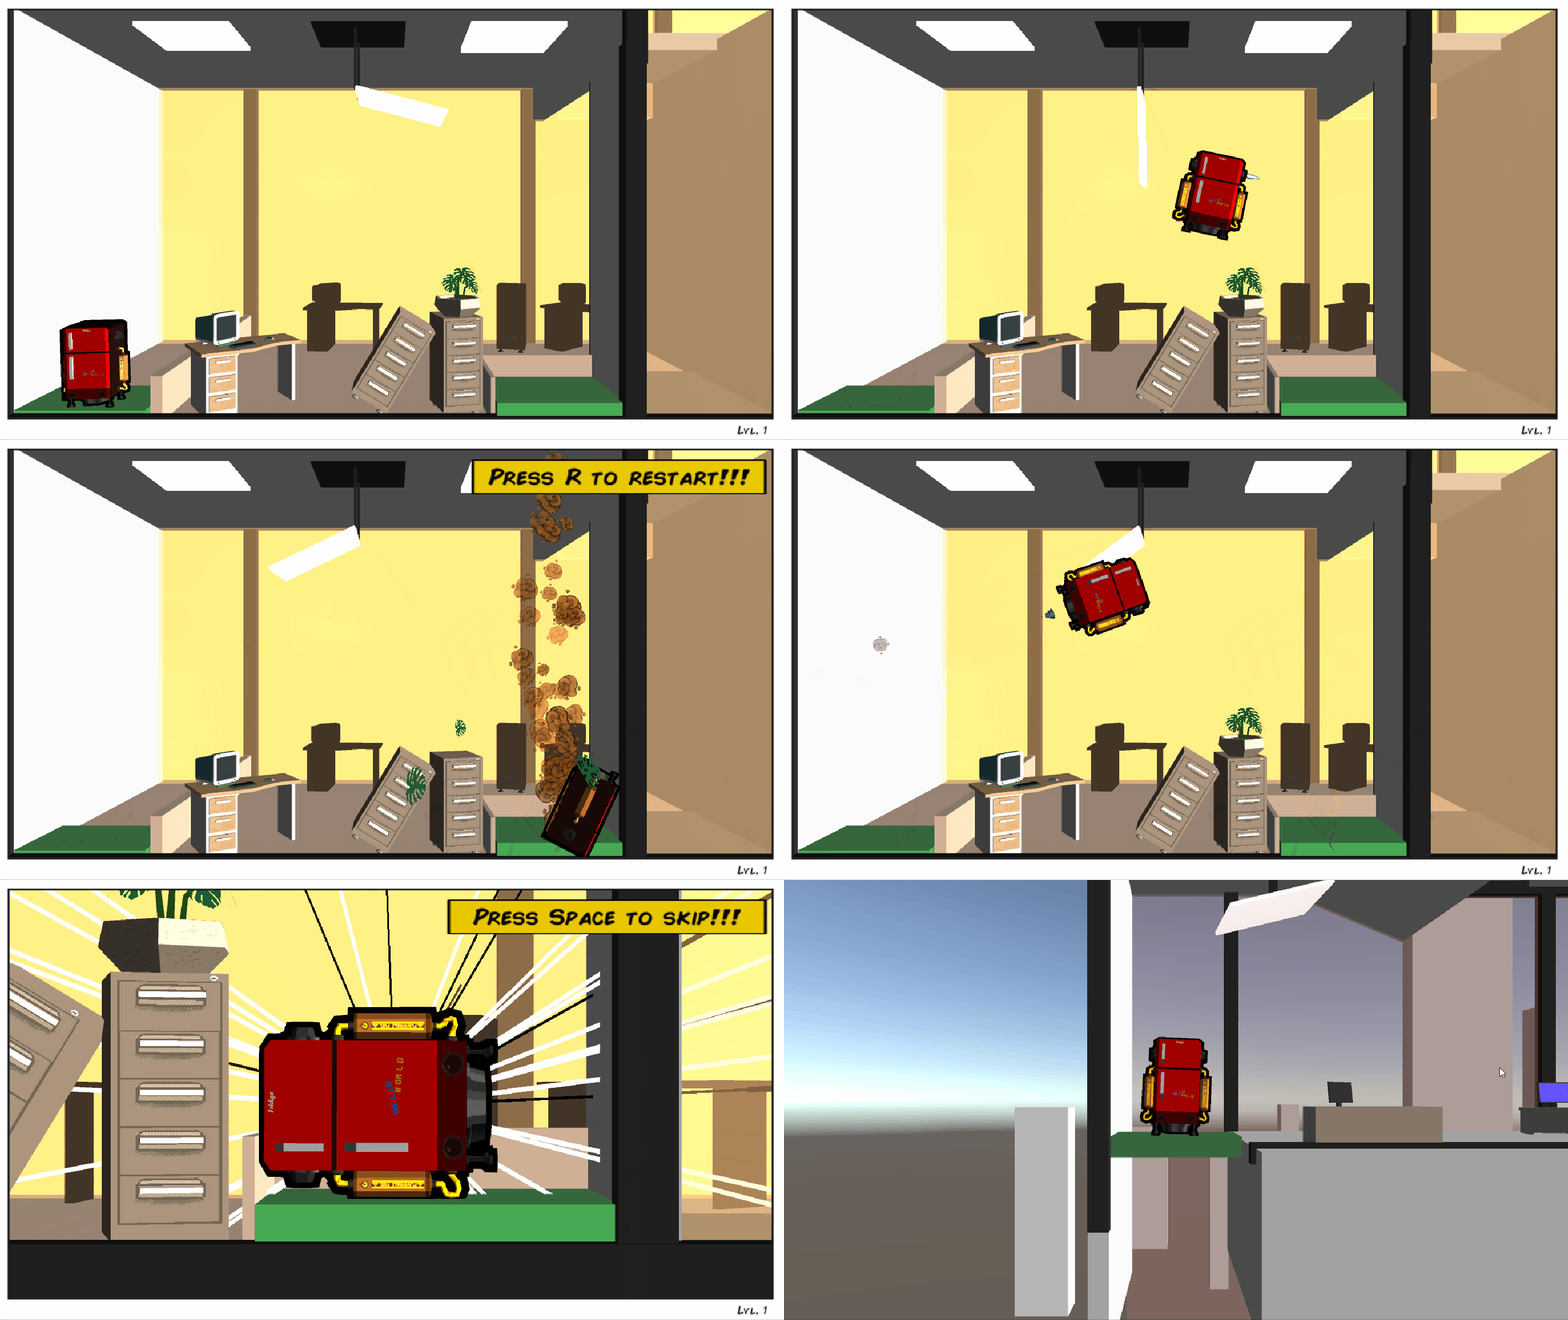
Also, I’ve been in a bit of a pickle with actually transforming the efforts I’ve produced so far into a full game.
The problem? Actually there were two!
- How to make more levels that are a bit bigger without having to make them from scratch everytime?
- How to deal with the camera?
Let’s talk about 2) first 
My first attemp was to simply add a script to the main camera. I already have two scripts on it: one for the zoom-in in case of victory, and one to shake it up in case of crash. What I needed was a follow camera, and the code looked like this:
public class CameraMovement : MonoBehaviour
{
    public Transform mainCamera;
    public bool IsMoving;
    public Transform player;
    public Vector3 offset;
    Vector3 startPosition;

    private void Start()
    {
        startPosition = mainCamera.localPosition;
    }
    private void FixedUpdate()
    {
        if (!IsMoving) mainCamera.position = startPosition;
        if (IsMoving) mainCamera.position = player.position + offset;
    }
}
I basically had a bool, IsMoving, determine if the camera would move for this level or not, then if true, the camera would update its transform position to match the player, except with a Vector3 offset (on the Z axis) that I could set in the Unity editor. It worked…kinda. But it had a huge flaw: the camera didn’t care about the level boundaries, so you could see everything surrounding the level, which of course ruined it 
So I went and searched for something else, more complicated and versatile, and I actually discovered that Unity has an addon called cinemachine that’s specifically addresses all the problems you can run into when programming a camera, be it in 2D or 3D.
Basically you install the addon and you create a Virtual Camera that will guide your main camera with tones of options. And let’s say that understanding what I was doing was not as straightforward as I thought…
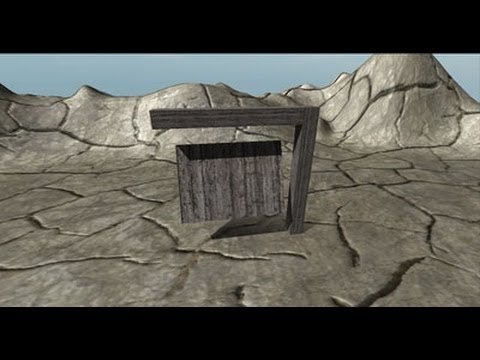
At first I came out with this weird LSD angle:
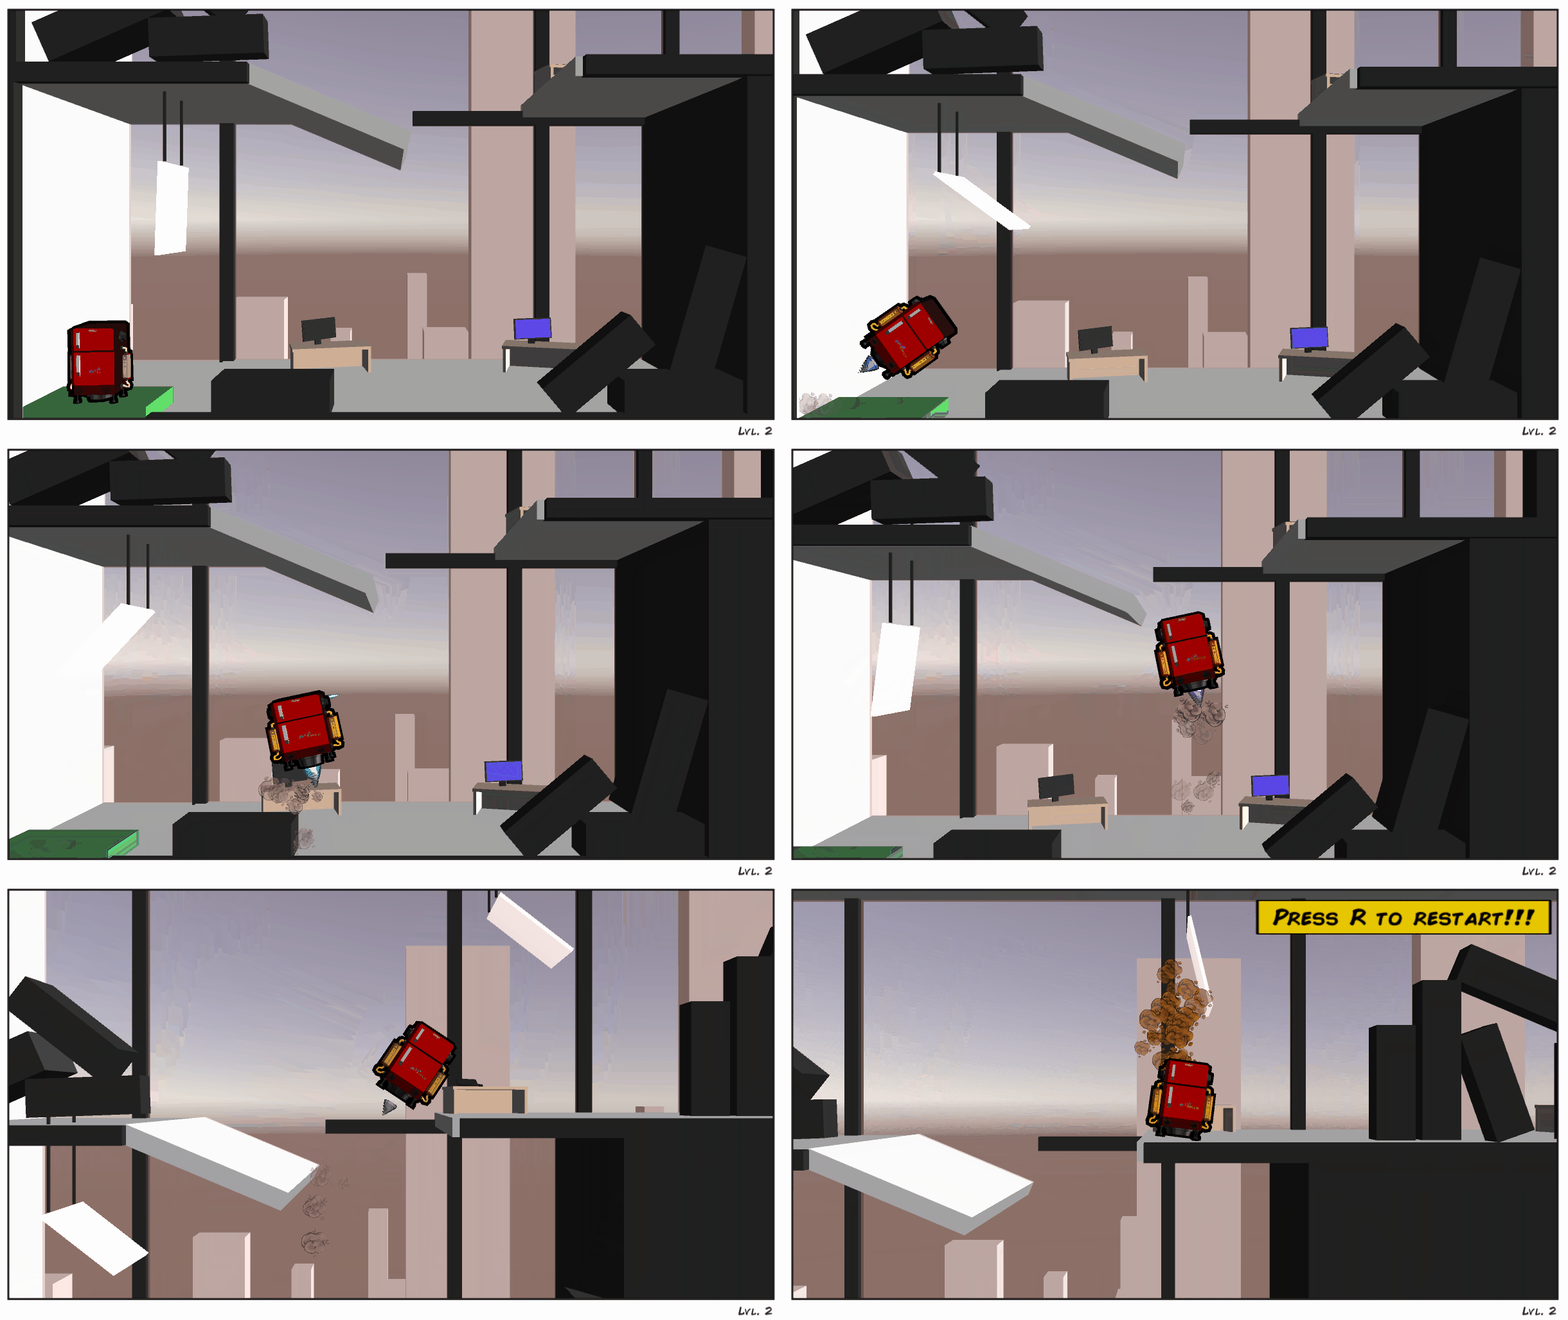
After tinkering a lot, and actually understanding how the 3D bounds work in Cinemachine, I made this:
Now that this is done, I can move on to the other issue, 1) 
So far I’ve been struggling to move on from my little tutorial first level because I’ve dreaded the moment I’ll have to create everything from scratch for every new level, having to tinker with the camera, the basic assets placement etc. Now I have a plan.
I want to make two basic templates, empty levels: one the size of the first level, with a fixed camera position. And a second same size, also empty, but with a follow camera and 3D bounds. With the second one, I’ll basically duplicate the box and stack them on top of each other to make bigger levels. And it’ll duplicate the bouds too, so that I don’t have to worry about the camera going off track.
 ) and Hervé (her assistant) I want the player to be able to skip dialogues and cutscenes if they don’t care about it. I like that stuff, but I don’t feel like imposing it on a game like that.


 And really nice devlog
  Have you finished your game?