So, I’m up to “The Door” episode in this tutorial and have been having a problem from about the time I was halfway through putting the window frames on the shoe (using torus 8 segments and three horizontals). No idea if that is relevant. Anyway, the problem I have been having is that I cannot select anything when I’m close to the house. I have to back out further than shown and then I can select some of the items. I made do with that until now, I can no longer go into Edit Mode. I’m guessing I have clicked somewhere that is blocking this, but cannot figure out what and I did have this problem before but then it let me get into Edit Mode and all was better until now. I have organised all the bits and bobs into collections. Is it possible to embed too many - the lighting is in a collection in the LightsnCamera collection, for instance? I have been strict about CTRL A to scale things and also the M to merge to avoid the multiple vertices piling up. Any ideas?
1 Like
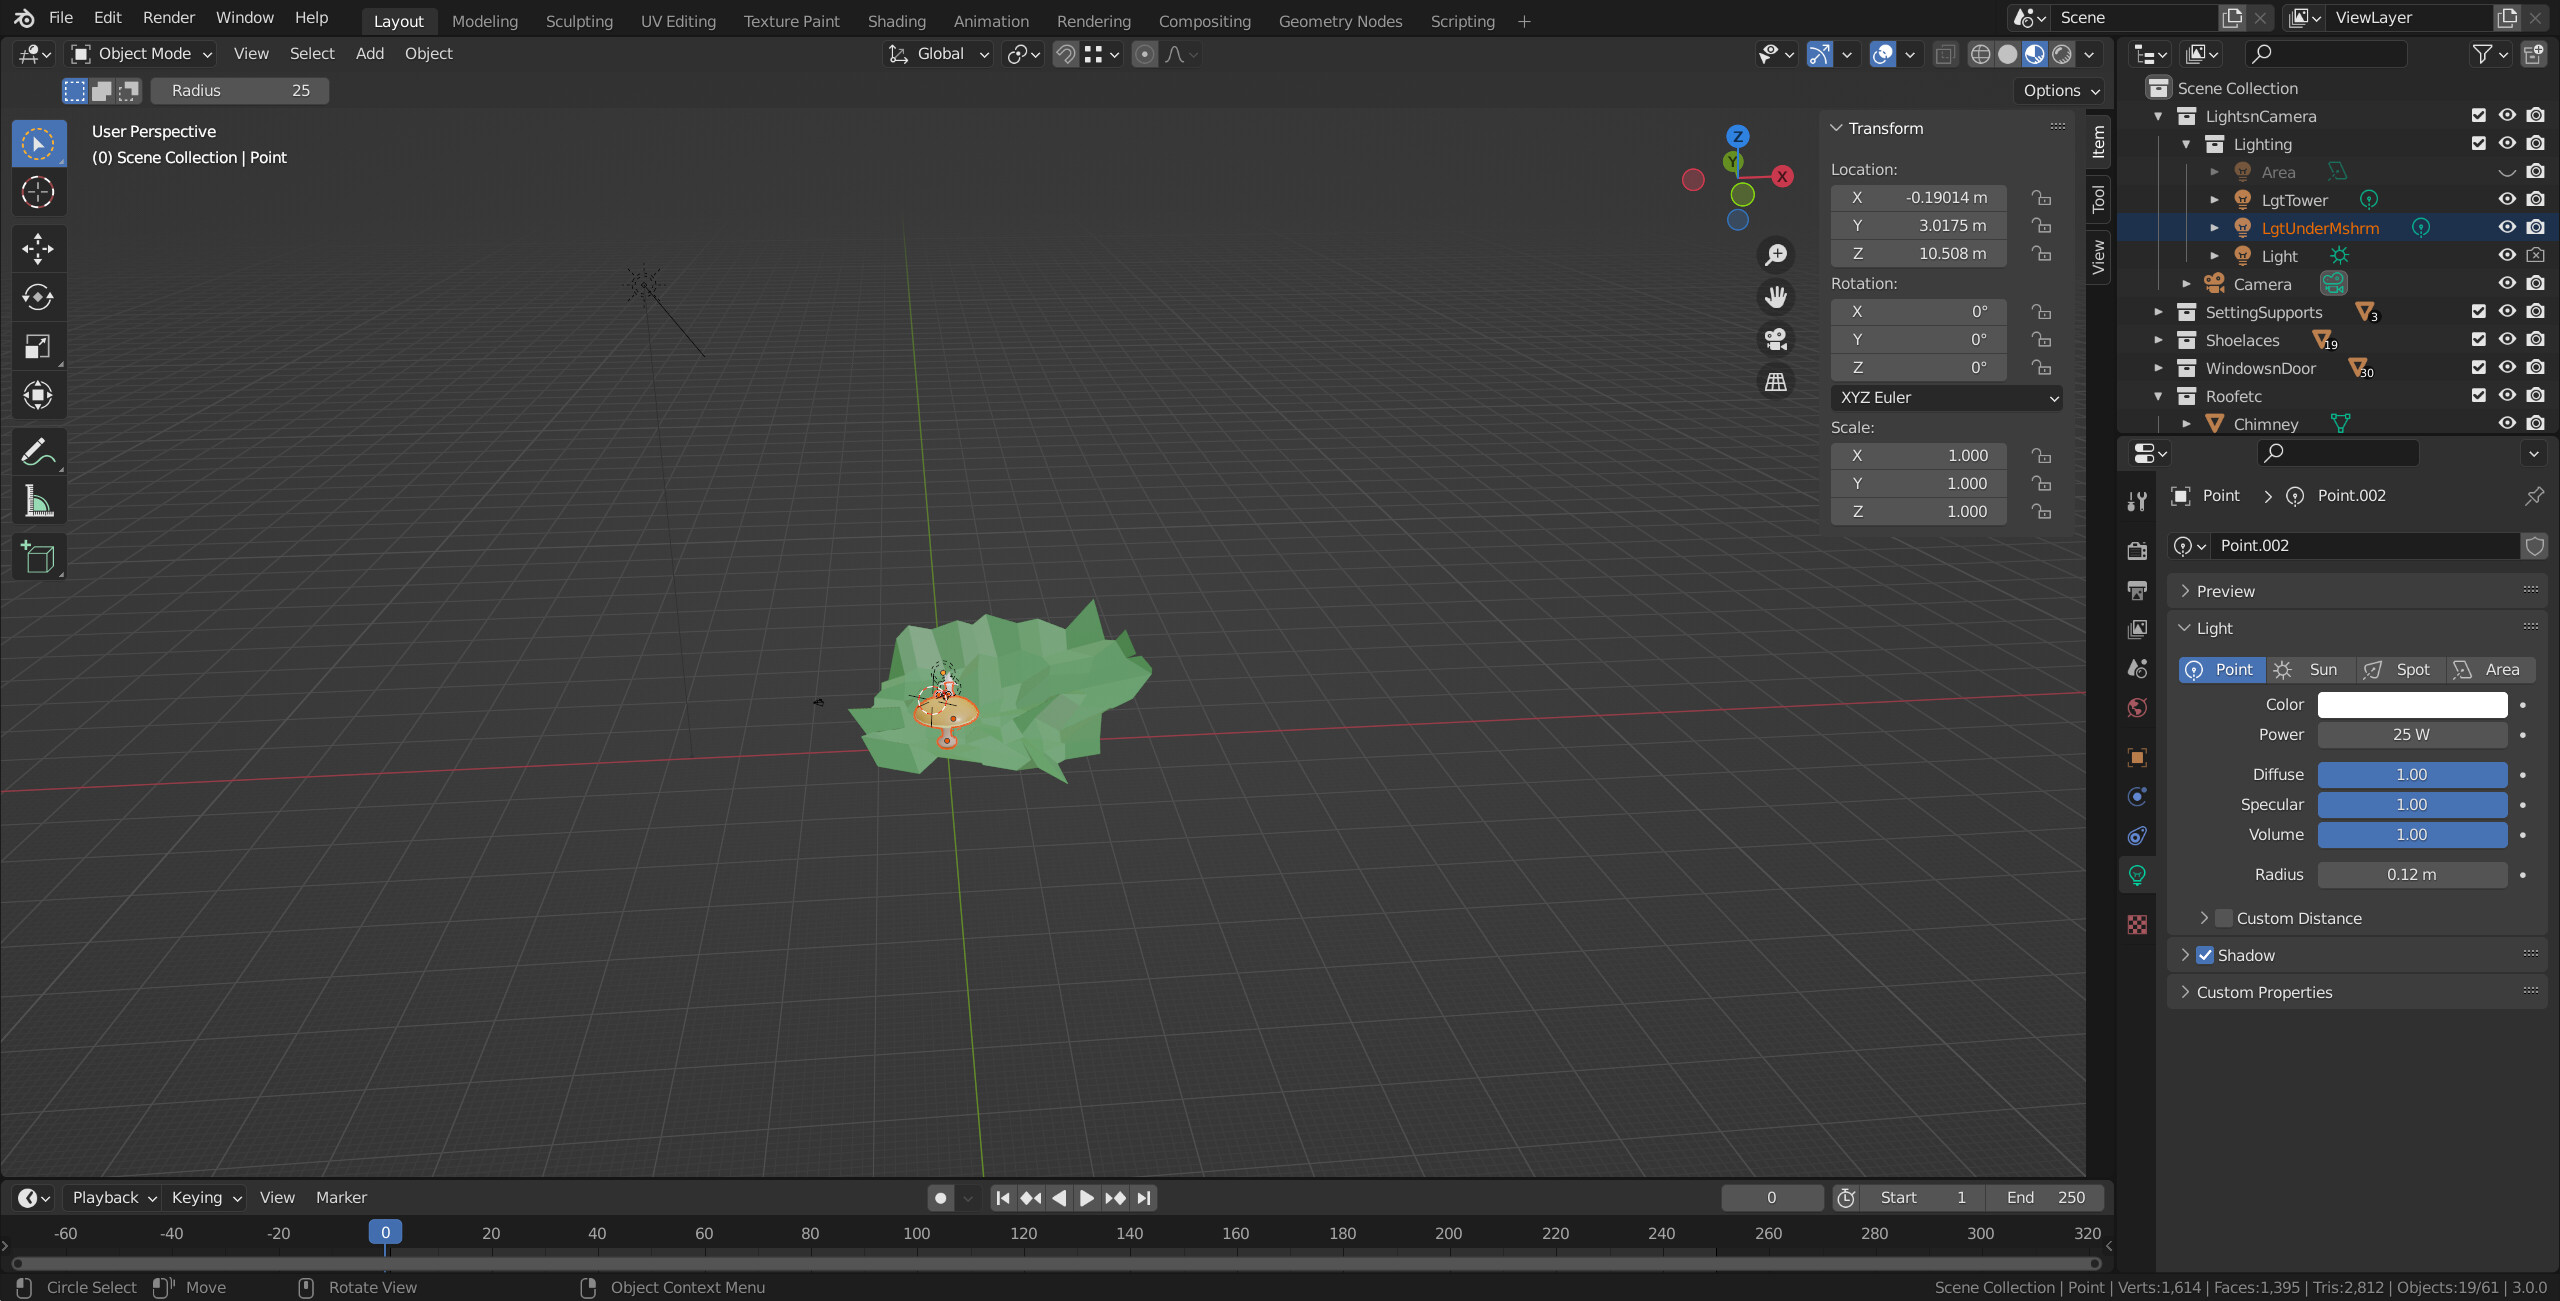
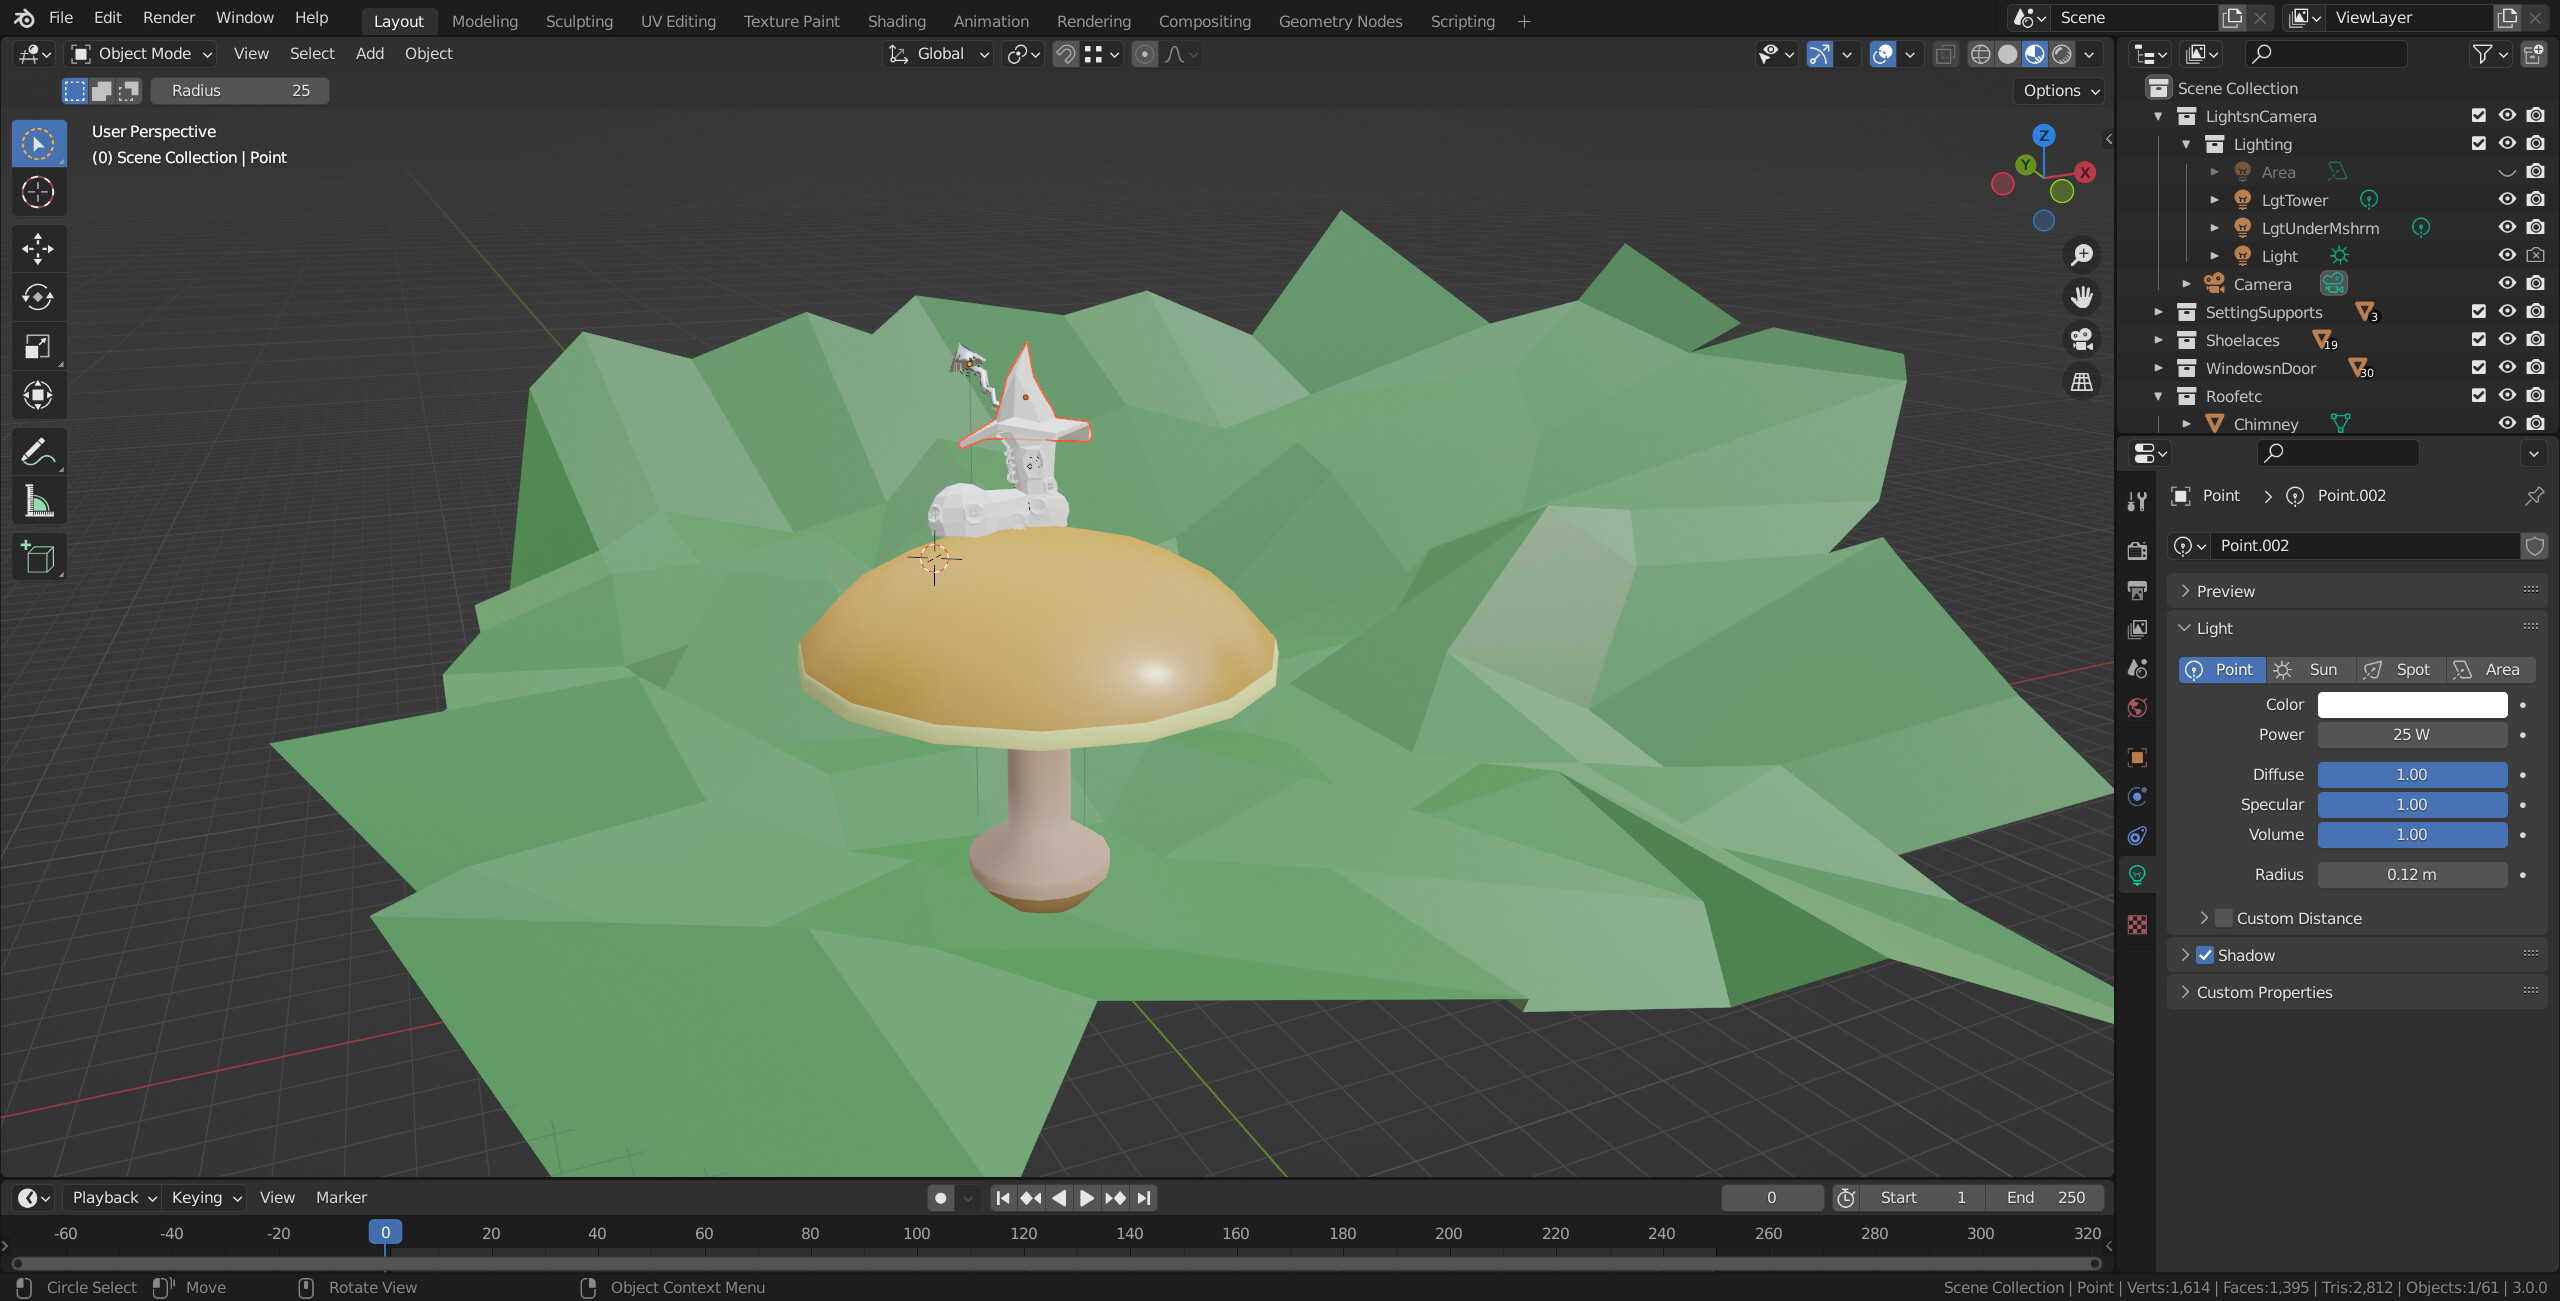
This is the distance at which I can select the mushroom. Closer, I can select the shoe, but not the roof…
1 Like
Aha! I just found out that I can get into edit mode if I first go into Shading…
1 Like
This is very odd. It may be the computer struggling? Generally, work in the grey Viewport shading unless setting up materials. Though most computers should handle the material view.
You could try opening a new file and appending in your models. This often gets round some odd glitch or accidental mystery keypress action that causes problems.
1 Like
I hope it isn’t the 'puter struggling. It runs Painter 2022 with no problems and that’s supposed to be demanding. Not running at the same time, btw  I do prefer to work in the grey viewport but sent the coloured pic just in case materials mattered. I’ll try the appending thing. Also, if I join all the shoe parts - there are many and I don’t plan on changing anything except materials - will I still be able to change the materials on the various parts or will they just take over the whole joined object? Making all the parts into one object, would that strain the 'puter less? And finally, when I initially started this version of the low poly, I paid no attention to size - a human could’ve fit into it - and I had all sorts of motion problems which I interpreted as too much for the machine. Does that indicate that the current problem might be 'puter ability related?
1 Like
Parts should not be any problem.
You can assign materials per face of a single object so it is not a problem as one object but I would avoid it unless there are other good reasons to do so.
Scale ought not to make any difference. All the same data. Just generally seen as good practice to work in ‘real’ sizes.
1 Like
OK. Thanks for your help. I appended all the parts - a bit like moving into a new place - saved it and it seems to be working normally so far. Yay!
Why is joining the different parts to be avoided? Can joined object parts be separated again with P? or is that a potential cause of unpredictables?
1 Like
Oh they can be separated again. It is just personal preference in the end. But separate items are easier to manage, or even reuse. Materials relating to the items they are used on etc.
1 Like
Yes, that makes sense. I just don’t have the notion of reusing stuff yet.
2 Likes
Select an object, the roof and press numpad ‘.’ (dot)
It with realign (scaled) the viewport.
When zooming in and out switching object/edit mode.
Blender looses it focus and seeing details can be difficult.
Using the ‘.’ will rest everything to the select object and or selected vertices.
Yes, I am great friends with the ‘.’ Thanks for the tip.
I was in the process of typing about the fact that I seem to have turned off/lost the coloured frame that outlines a selected object or vertex or whatever and wanted to double check that the problem is still there in Edit mode and this is what happened… is this a crash of the program?
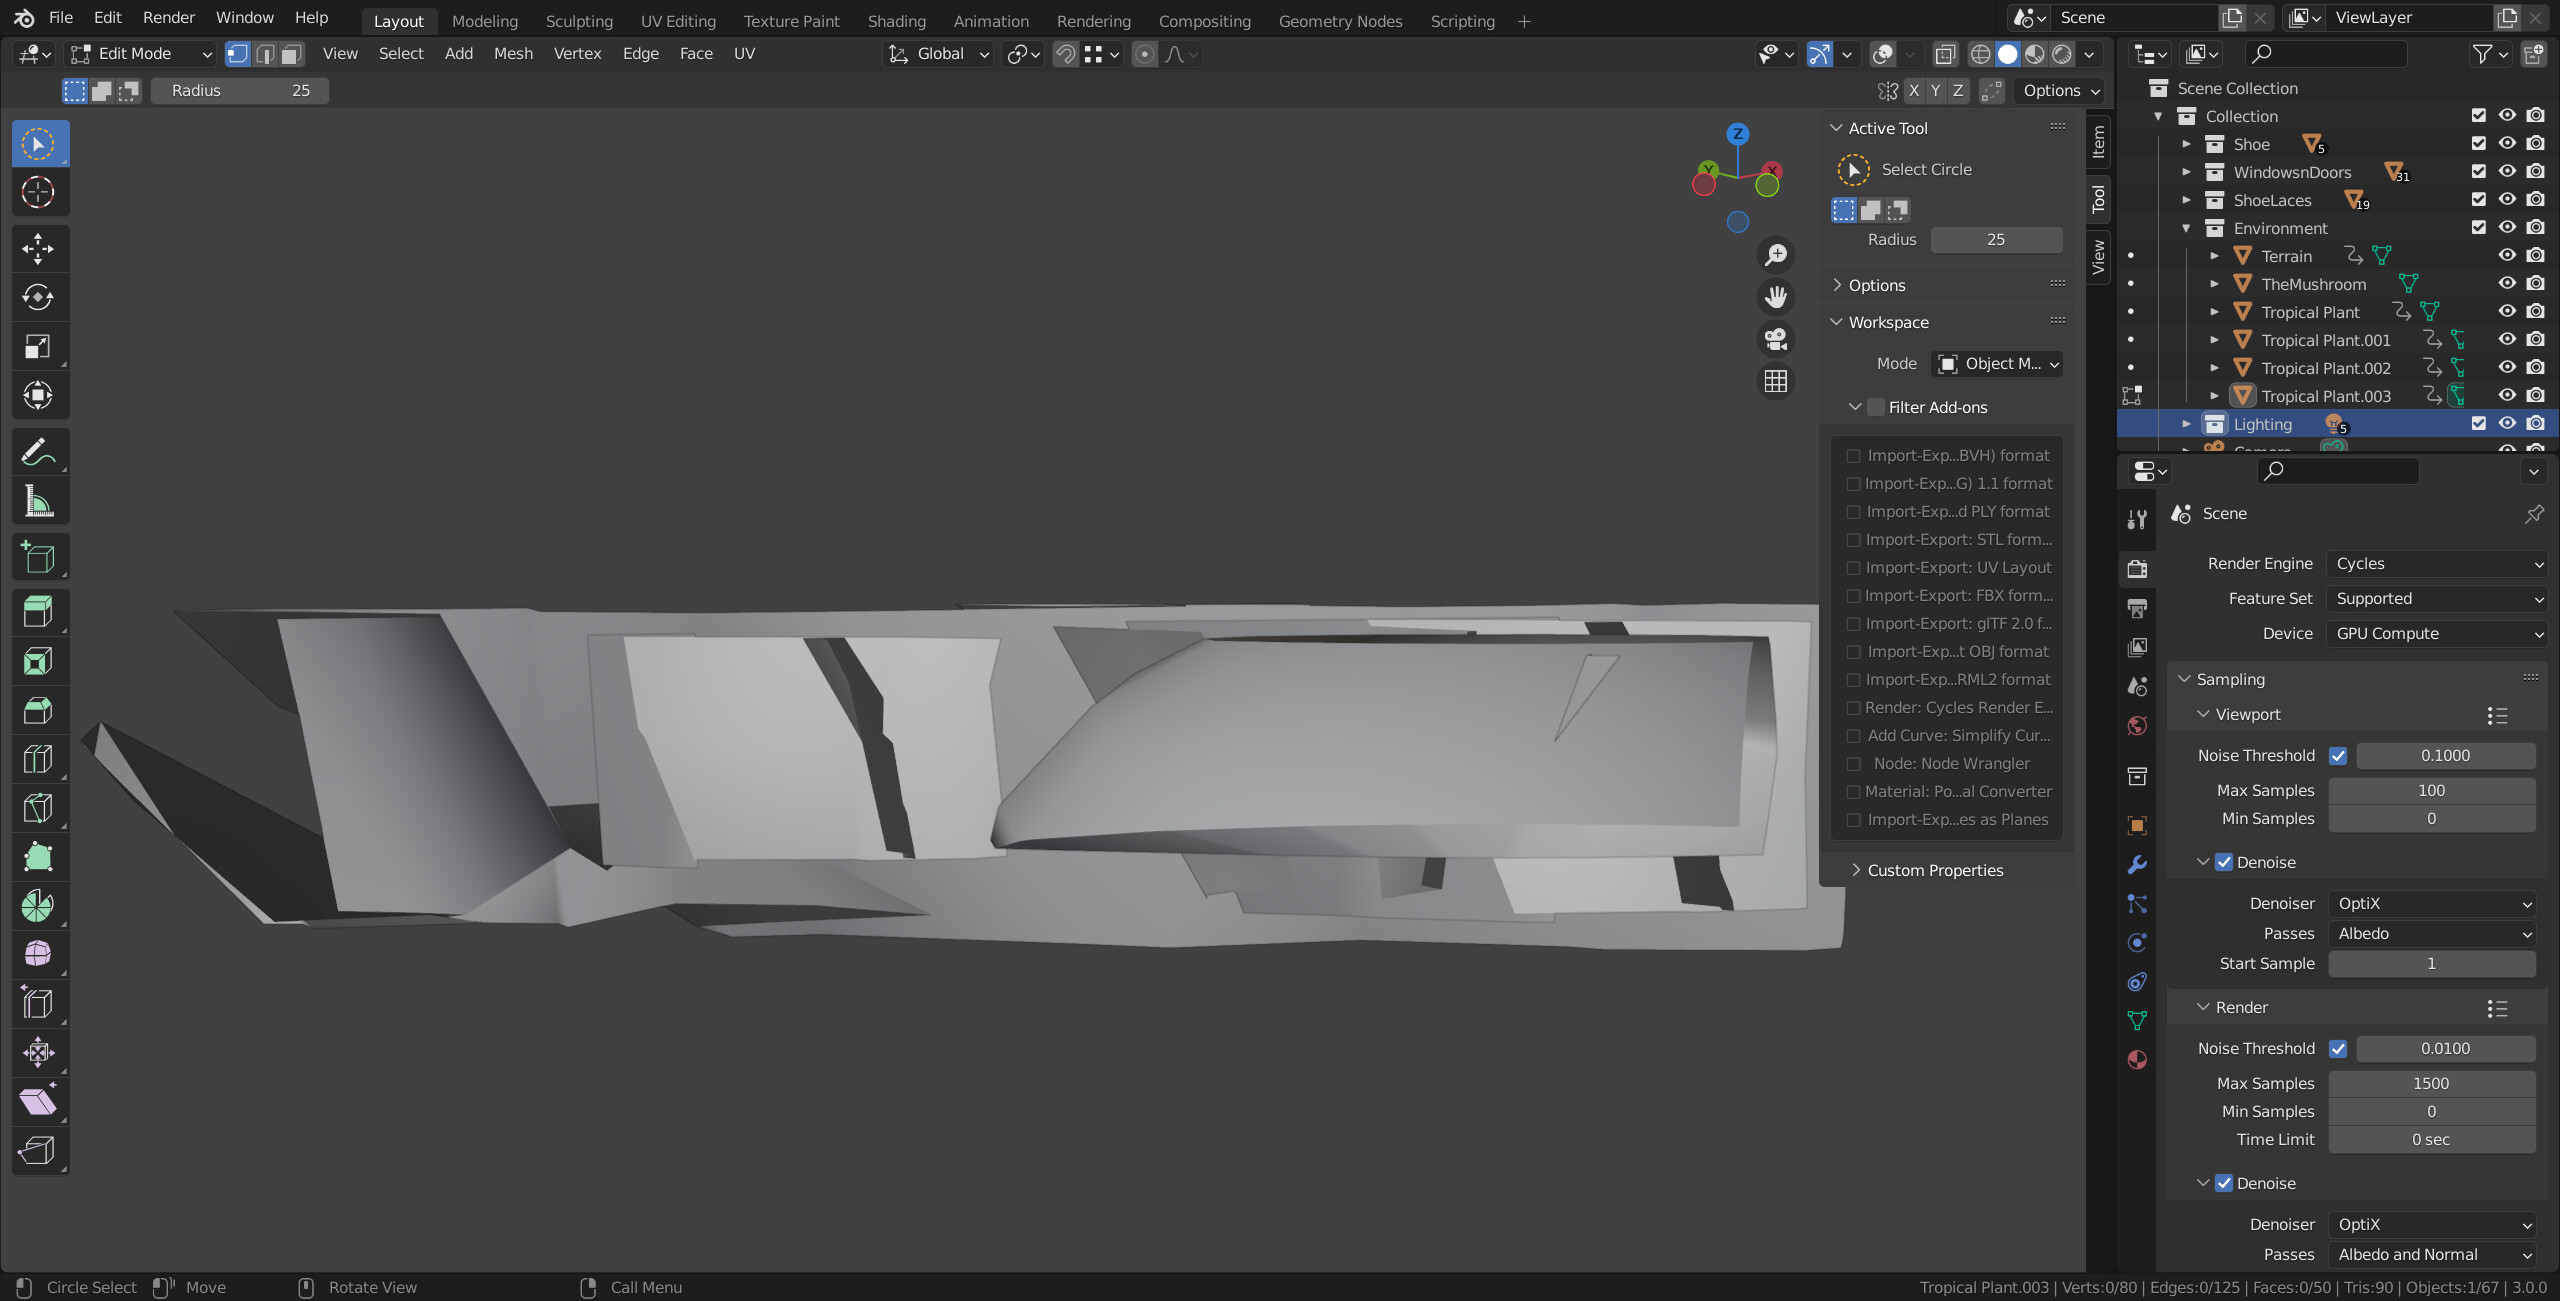
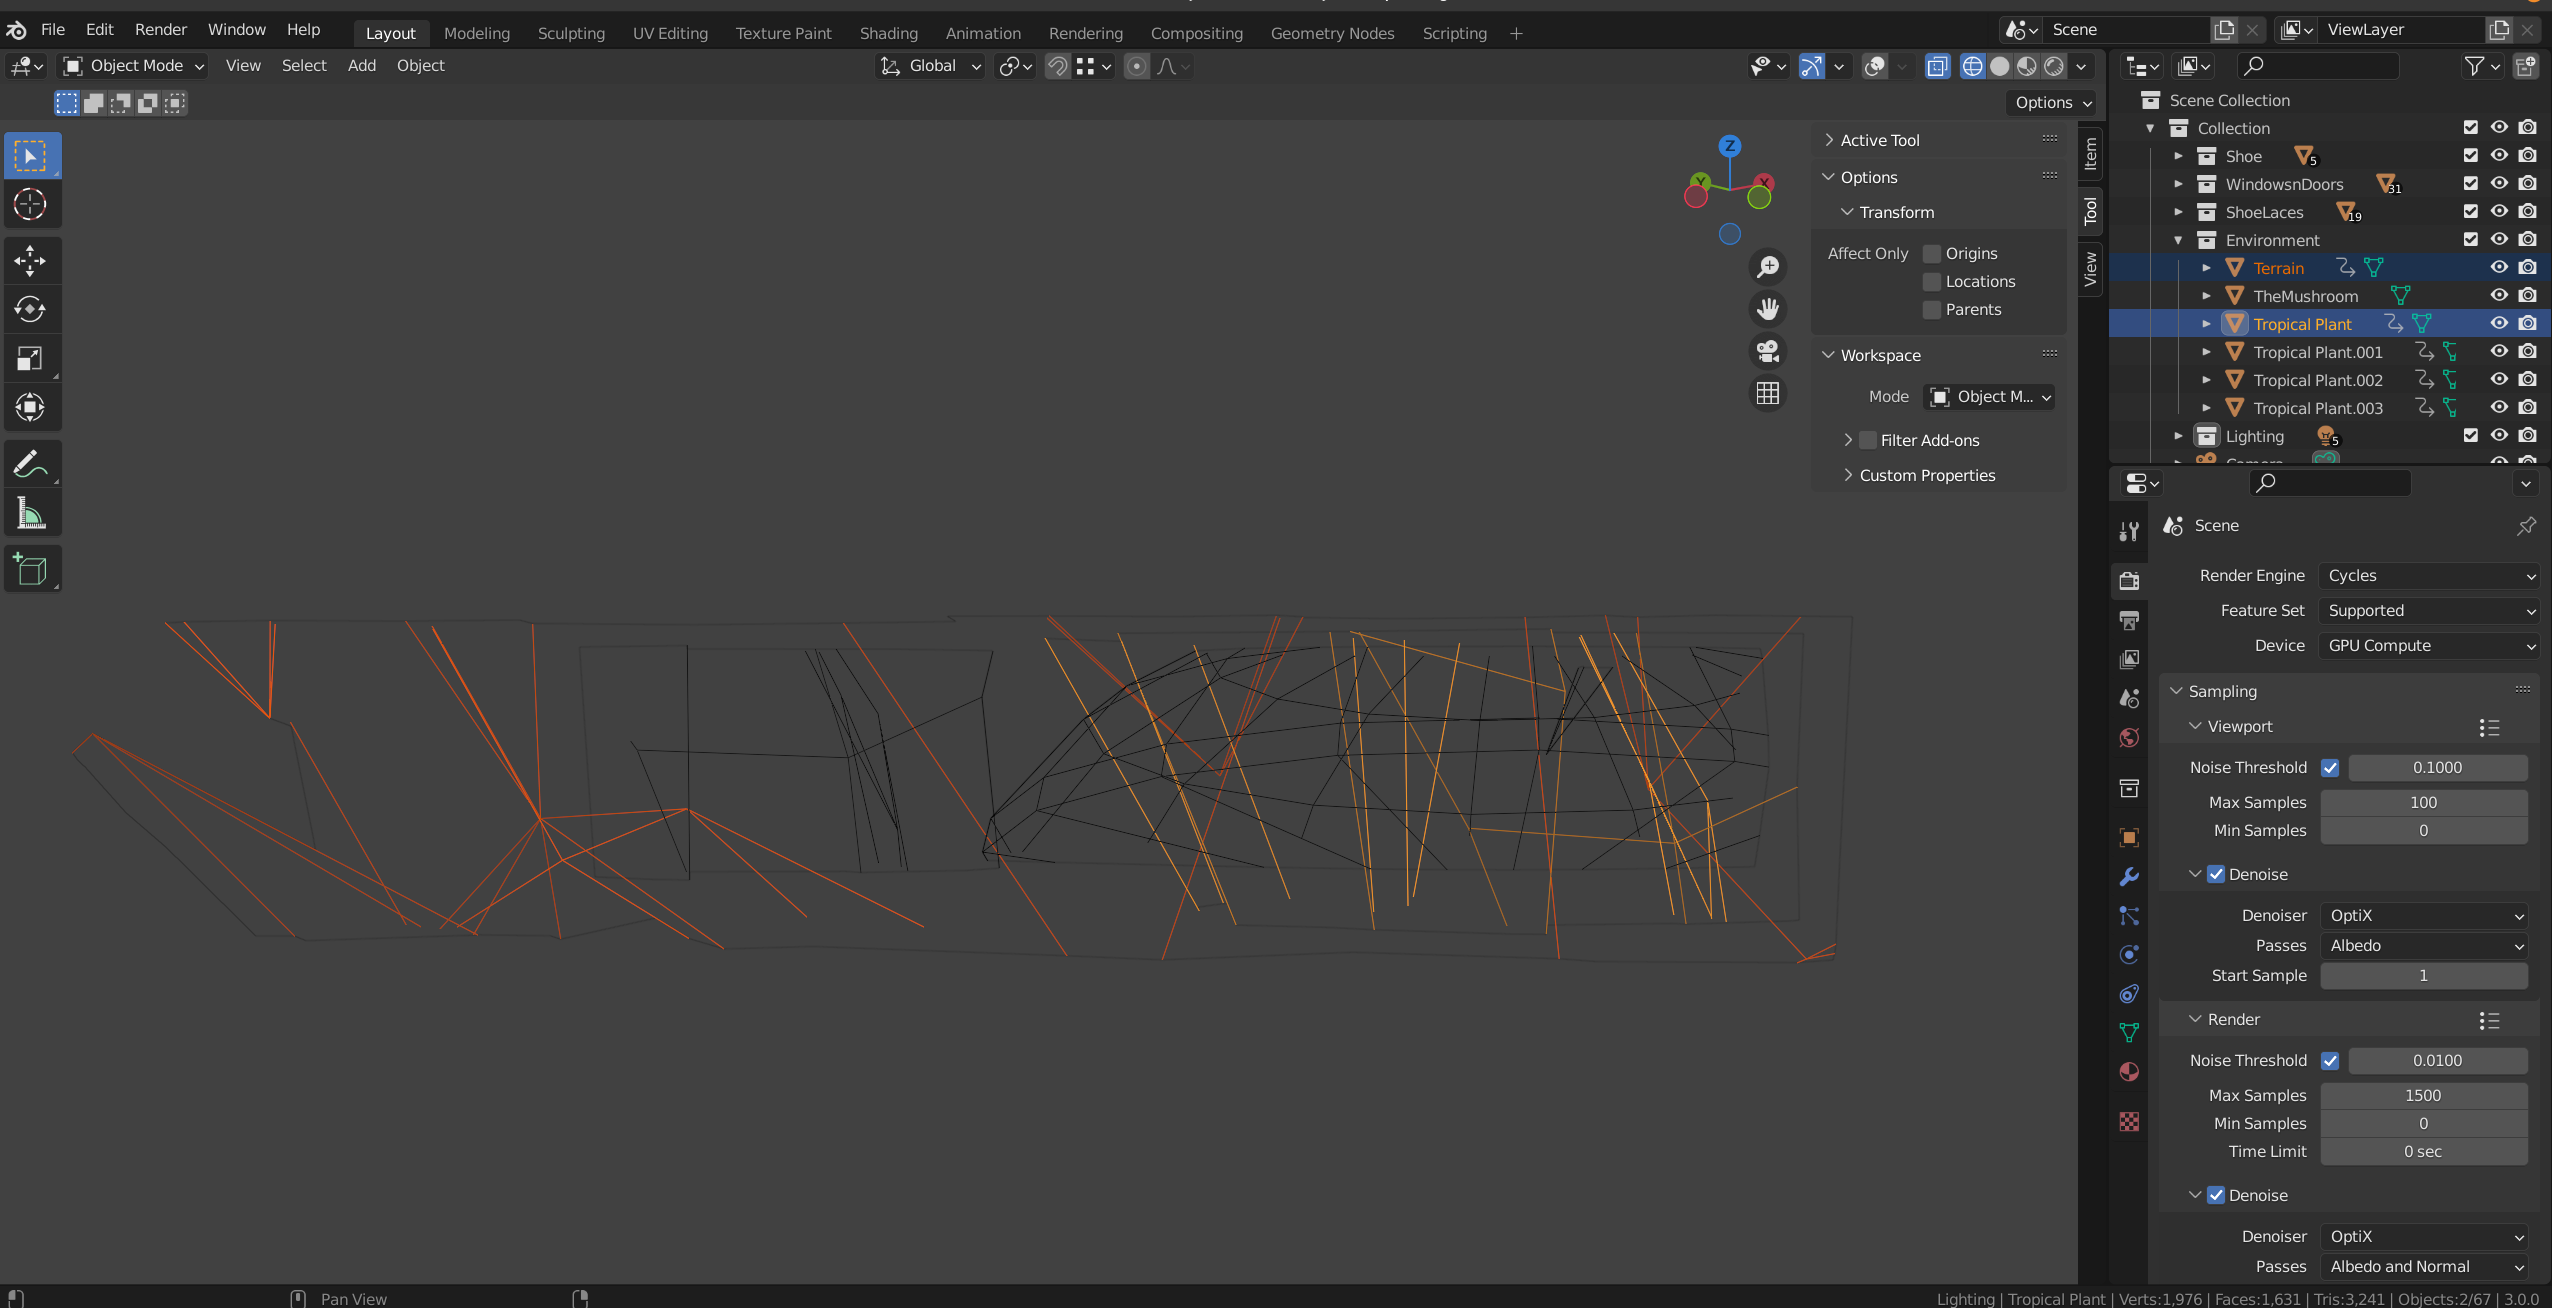
The Filter Add-Ons is open because I was clicking methodically through all the tabs, trying to find an option to have the selection highlighted. That was in the solid view and if I go to Material Preview I get the ‘normal’ image. Rendered view is also normal. Aha in the Wireframe and the see-through square thing this is what I see.
The highlights for selections. Any ideas on what is causing this? computer problem or am I doing something to cause this? I re-opened the file and all is back to as it was, including no coloured outline for selections. They were there a bit in wireframe, but now they’re gone again.
1 Like
Did you work / experiment with the camera setup?
Because sometimes, the camera is set in a sort of clipping mode.
Viewing through the camera, everything looks ok.
But switching the viewport (numpad 1,3 etc.) get you this effect.
unfortunately, I forgot how to recover from it (which option to switch off/on).
Maybe I remeber
I am at the chimney bit of the low poly course, but doing my own set up and getting carried away, adding stuff before it comes up in the course. I have been experimenting with whatever comes up in the courses - I was halfway through the chess pieces when I felt like trying the low poly. I’ll go back to the chess set in a bit. So, it is possible that I messed around with the camera set-up. And yes, viewing through the camera, all is fine. At this point, I am stuck. I cannot make any changes in edit mode unless I click and see what moves. I just wandered into texture paint and things highlight just fine. So all I have to do now is figure out how to do texture paint, hahahahahahaha! Please let me know if you remember how to switch the highlights on and off.

OK, great, thanks. I’ll check it out when I get out of colouring in a mushroom, hahahahahaha!
Oh joy! back on track! Thanks, that was it. So simple! and I clicked everywhere except there, apparently…
1 Like
This topic was automatically closed 24 hours after the last reply. New replies are no longer allowed.