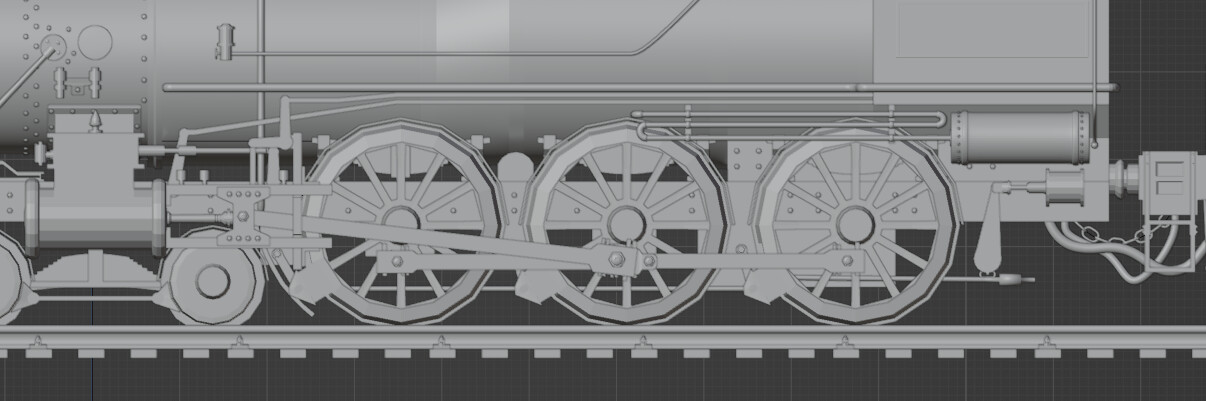
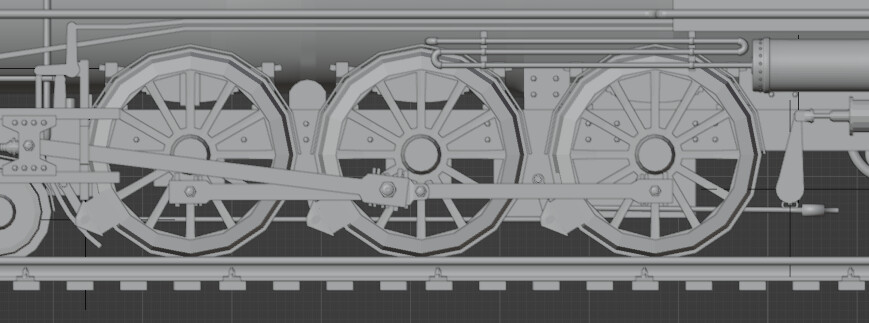
Things are going well but I wanted to ask if all the pistons, rods, valves etc in these pictures look convincing enough to you or if there is something that really doesn’t make sense / sticks out to you or should be adjusted.
I don’t need it to be perfectally functional. Just make it look like it is. It’s a bit difficult to visualize some parts of the reference, and I though some people here might know a bit more of where the parts lead and what they are connected to.
Great project! I would know nothing of the details and workings of the engine. I can only suggest asking in some USA rail enthusiast forum where there will probably be people that can tell you one rivet is half a millimeter out. lol.
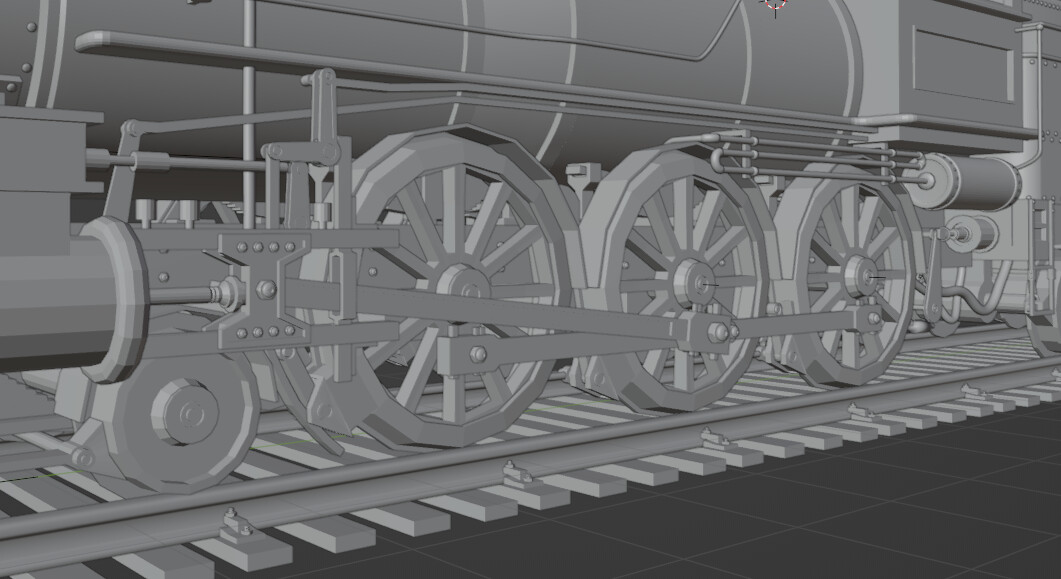
On the modeling side, I would suggest making the wheels higher poly so the outer shape looks more perfectly round not faceted. Often you can get away with that sort of thing but I suspect the eye is drawn to the wheels more than many parts.
If nothing stands out as weird looking to a non rail enthusiast then it’s good enough for me. I just became a bit insecure because I’ve been making up a lot of parts based on the reference and a little bit of googling. Started to invest a lot of time into this already so want to make it look like I at least had some clue of what I was doing. Haha.
As for the wheels… nonono I will not leave it faceted like that. I have a subdivision modifier on it that is disabled while I’m working. I make everything round with 16 vertices and then put in cuts where needed to make sure that it deforms correctly after subdivision. I find that 16 vertices is a good balance to work with, not too much and not too little.
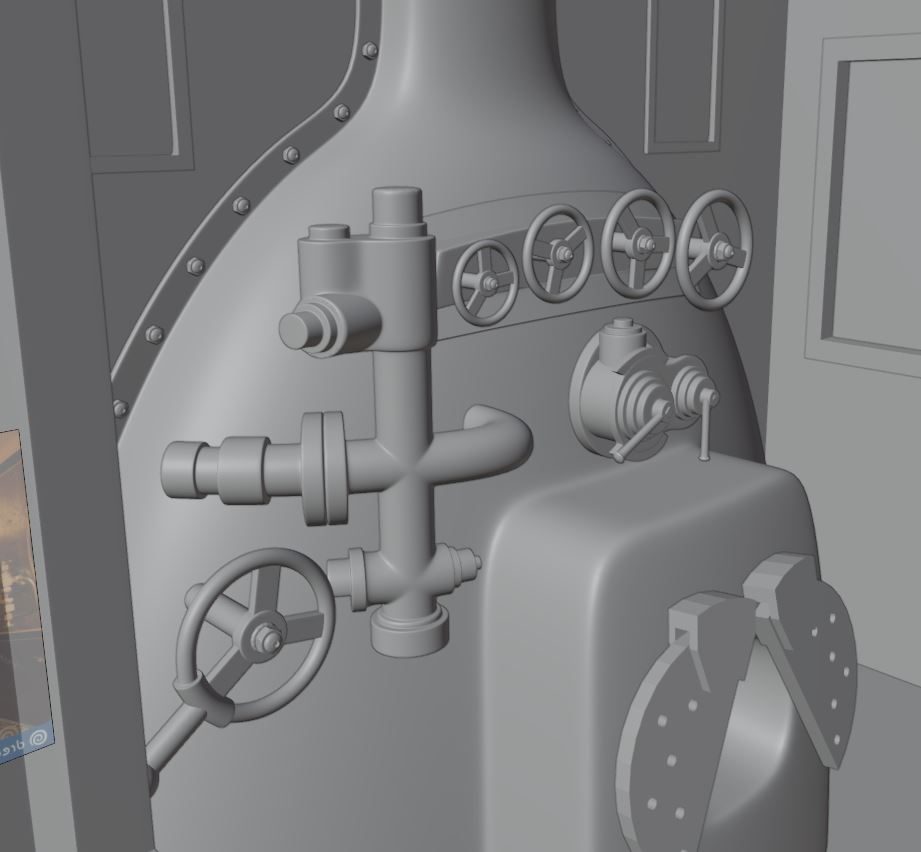
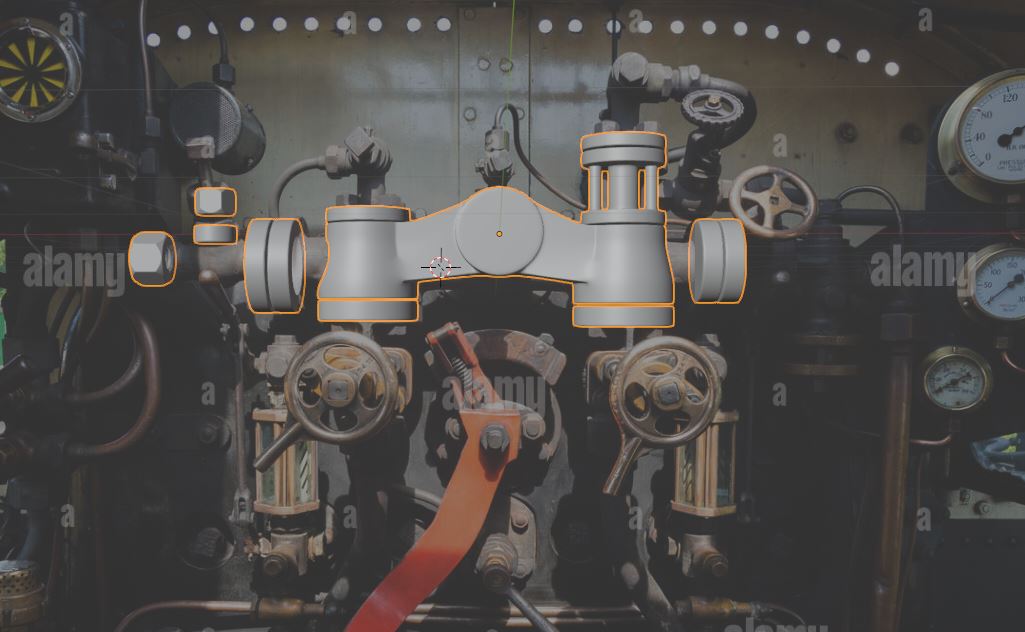
Right now I’m working on the control panel in the cabin.
In that, you are making it ‘look right’ whereas I came across measured drawings to use.
it would be so much faster in some ways to make it by eye, rather than my obsessing over fractions of millimeters, though without these drawings I would spend ages looking for references of odd corners and angles.
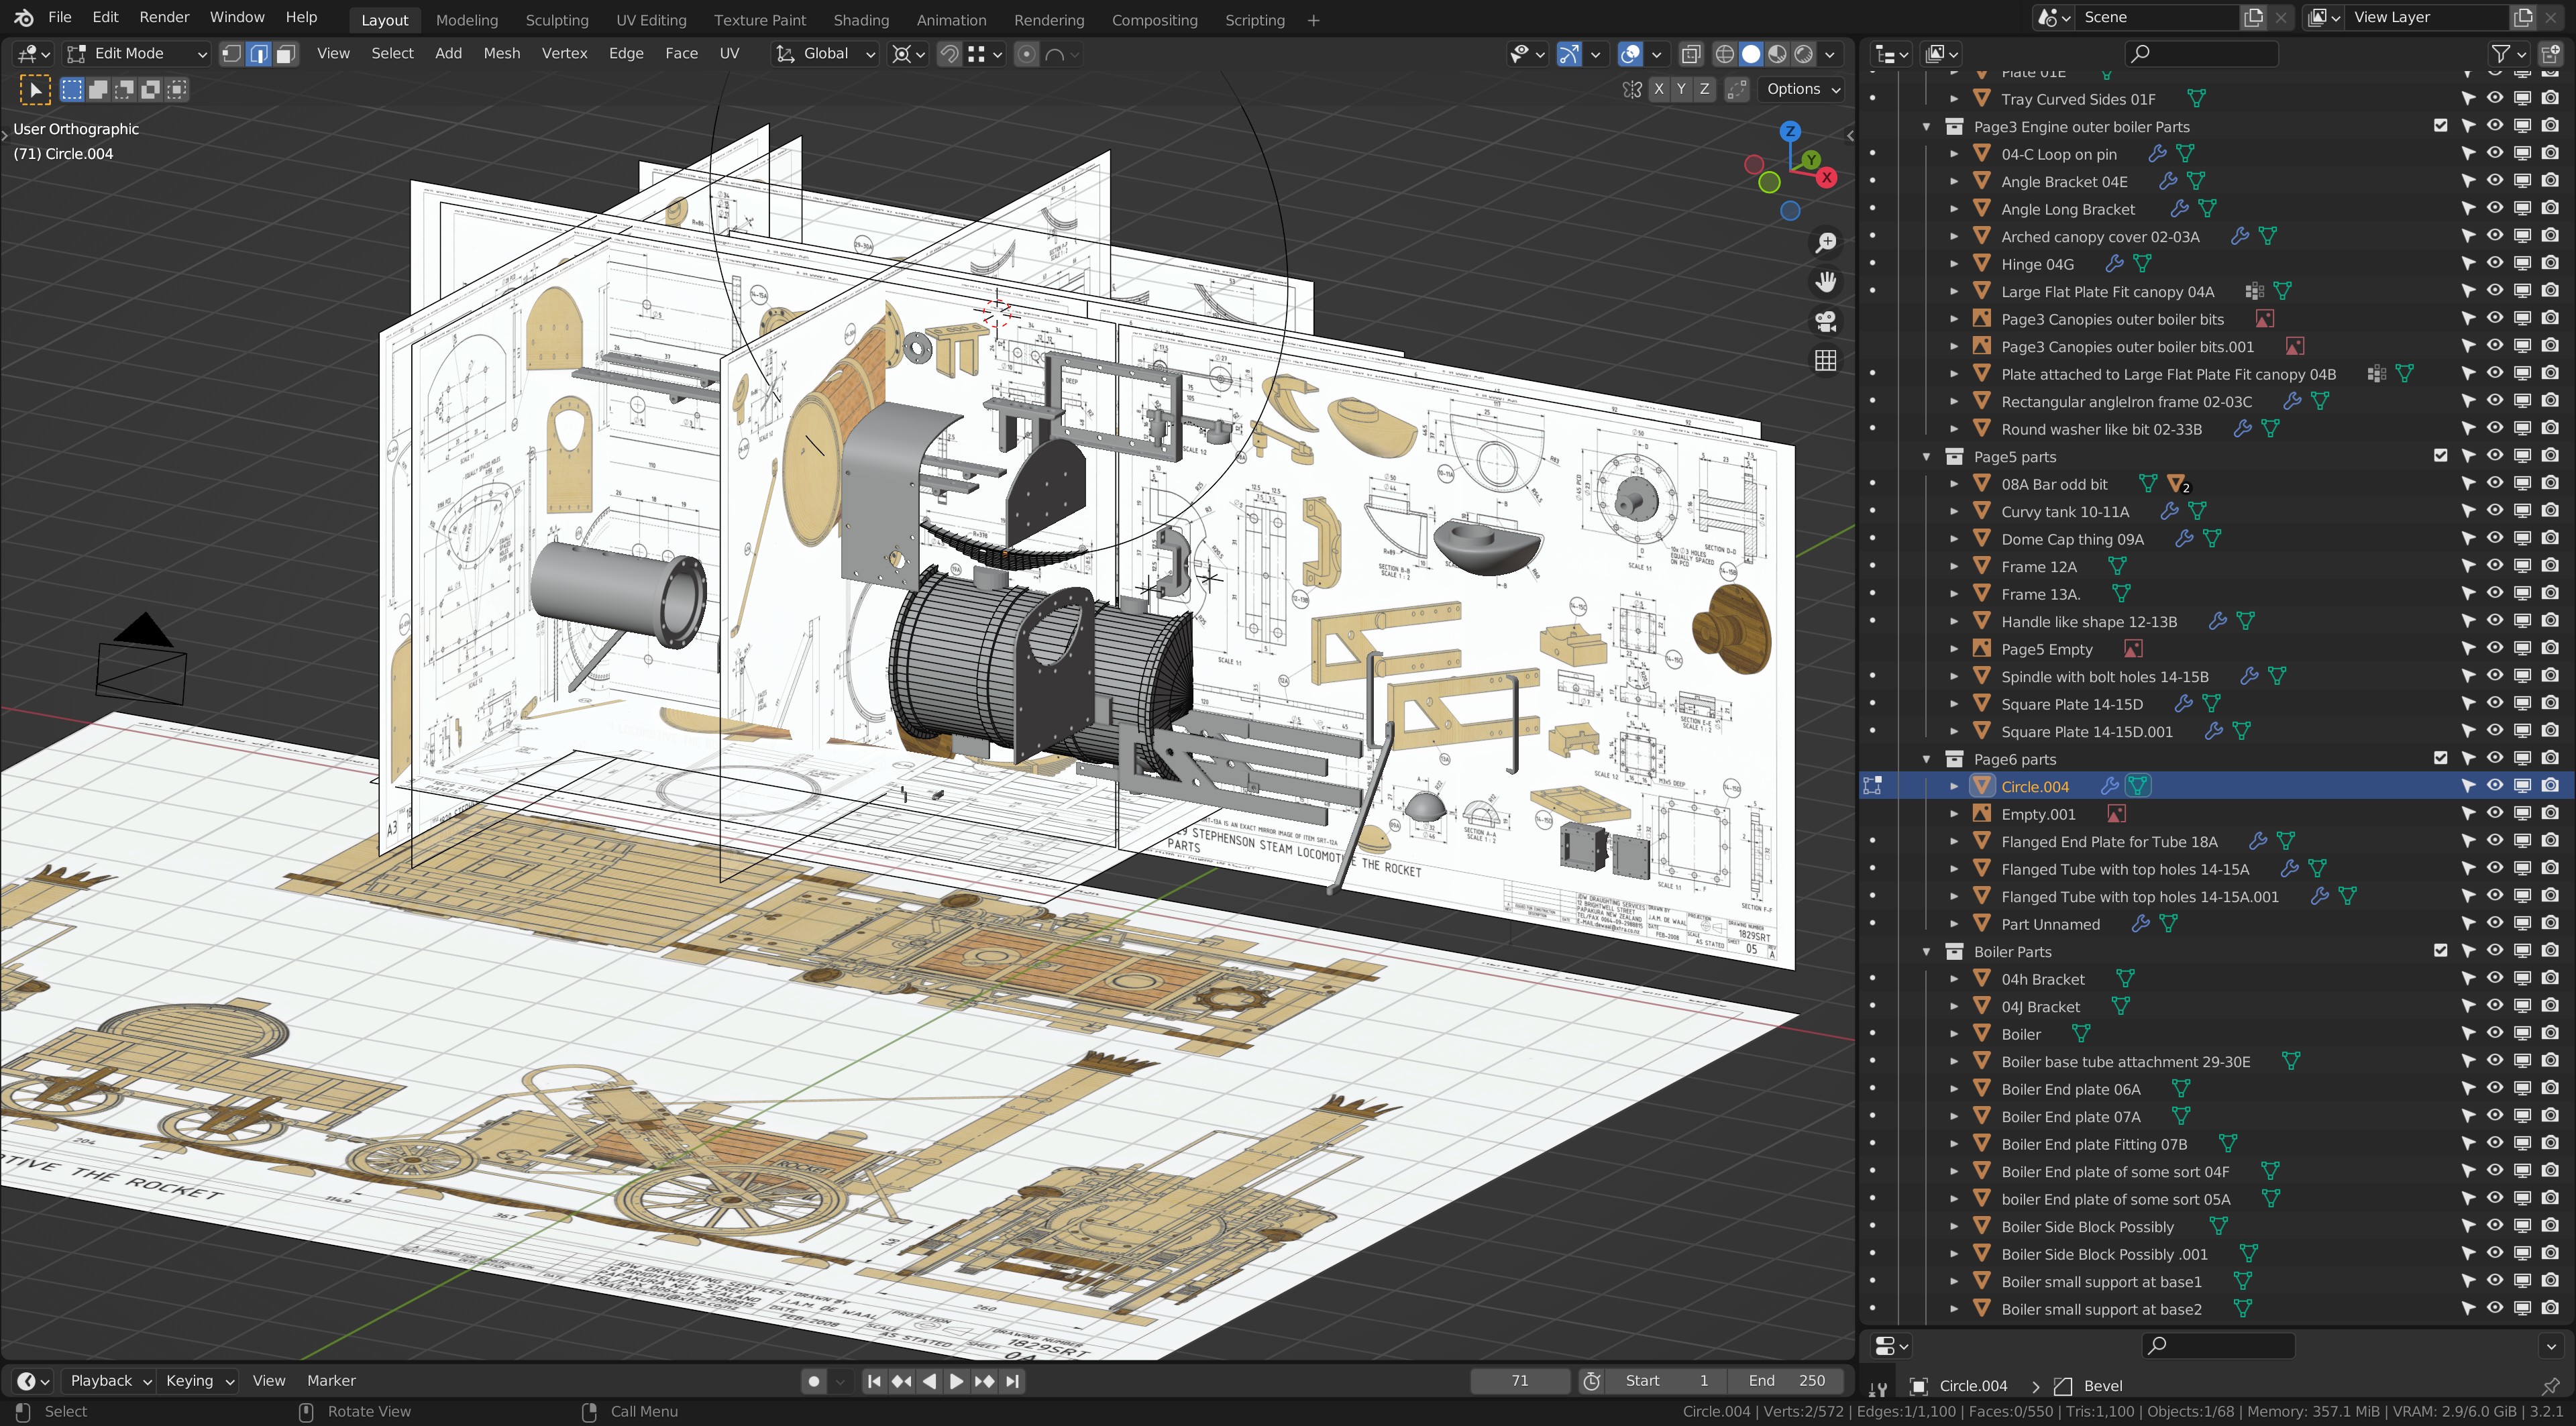
All made visible! Pages of the drawings and the modeled parts are usually hidden once done, lol.
Wow that is really cool though! Must take a lot of patience working on a project like that, but it’s fun that you found those great blueprints. And totally worth it. I bet you could sell the model afterwards with that type of accuracy. You’ll also have a library of hundreds of parts that could be used for other projects.
Yeah I just look at some different reference pictures, put the watchamacallit in the gizmo and then call it a day.
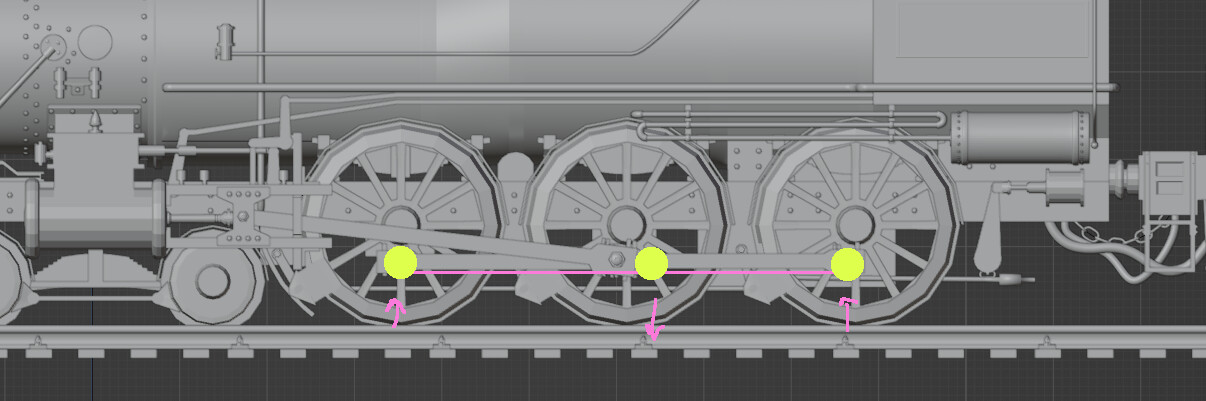
The horizontal bar is meant to be a ‘synchronizer’ between those 3 wheels. Rotating at the same speed. But wheels 1 and 3 are going up, wheel number 2 is going down. But that said, I can see where the real joints are. But visually, nobody notices!
I love to see it in full texture. It is a lot of work, but a beautiful subject to work on.
Oh I think I understand what you mean. So if I set each joint in the middle of the wheel like this with even distance from each other it should be able to move together correctly right?
Edit: But now I just realized that the piston would not be able to push the rod out enough to go around to the other side of the wheel. Hmm I need to think about this a little bit.
Sure, it’s a small detail. But I’m thankful you pointed it out because it’s such an easy fix and I bet other people would notice it too. I will post everything before I stary texturing later. Maybe I can get some more useful suggestions about other parts.