
My base so far:
Method
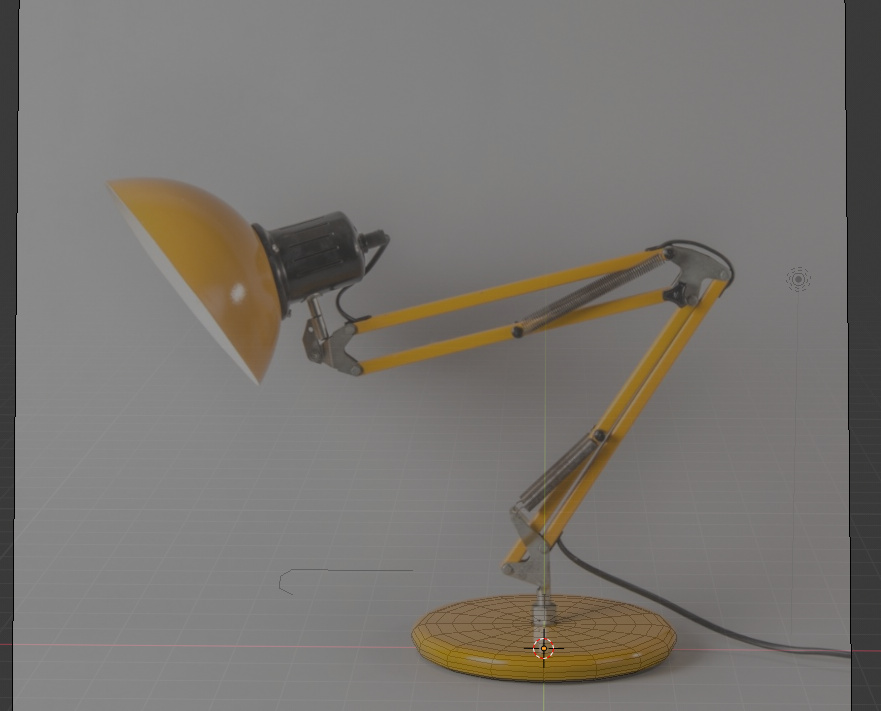
This is my final reference setup:
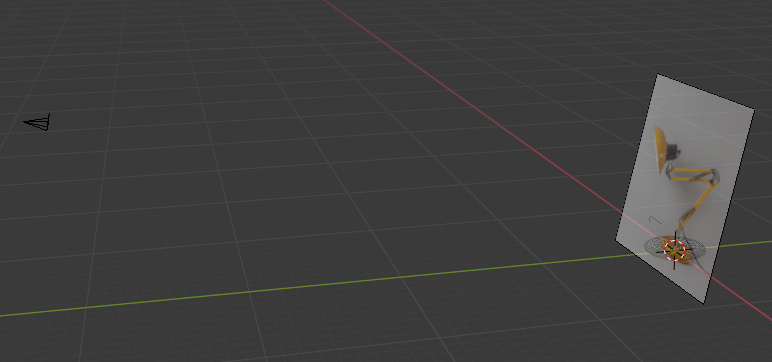
I achieved this by having the view-port roughly looking at my best-guess modeled base in a way that matches the reference the closest, and then adding the reference image… this was to get the plane of the image roughly aligned with the viewport…
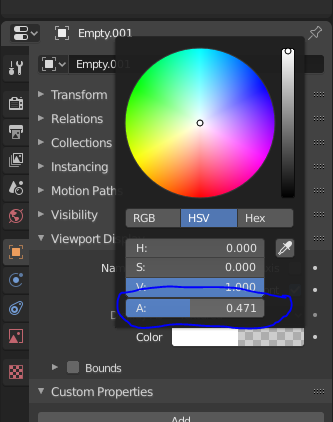
I then did the transparency settings with the reference image selected:


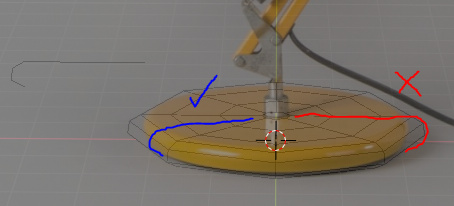
I then did some final tweaks to camera settings and moving the reference around in its plane to get the base’s edge to match with the reference’s edge (see image below for clarity on what I mean: the center of the enclosing edges we eyeballed and not the vertices). I then did some final tweaks to the bevel curve to get this:
I kept the resolution of the Bezier curves to the bare minimum required to enclose the volume I’m modeling.
I then applied a subdivision modifier to the base curve and because the edges of the enclosing mesh was eyeballed correctly, it just fit. I was surprised to see I could add a subdivision modifier to the curve without converting to mesh first… so I’m seeing how far that gets me.
A camera was set up at the point in the view-port where I saw the best match (default Ctrl-Alt-Numpad0) and will be locked in place there for the rest of the modeling exercise as an over-draw reference… My reference isn’t visible in the orthographic views which is where I will be doing most of my modeling.
It seems as if Blender fixed the bevel curve scaling issue. Rotation is key still, so you can rotate your bevel curve on the X axis by 90deg to make modeling easier, just don’t apply the rotation transform. You can apply scale, the bevel seems to take scale into account. The origin of your bevel curve is what follows the “beveled” curve.