Jada´s unwrapping journey

UV unwrapping: I find it so difficult… But I will try it. I have bought two other courses here on udemy focusing on this topic only and it helps a little bit. I watch the videos of the blender environment course over and over and this is also helpful.

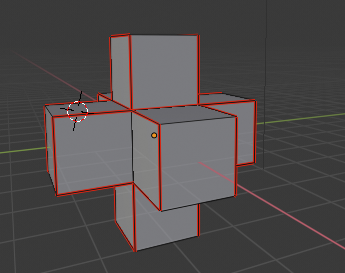
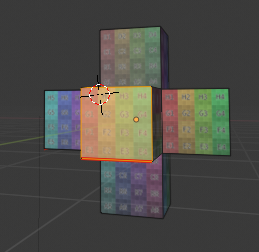
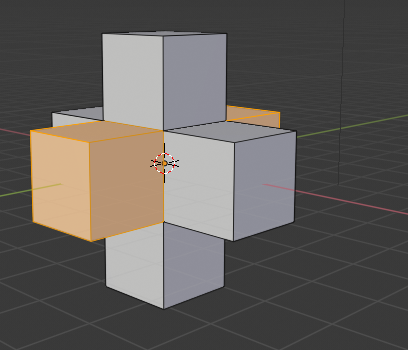
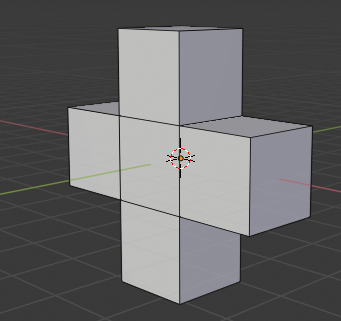
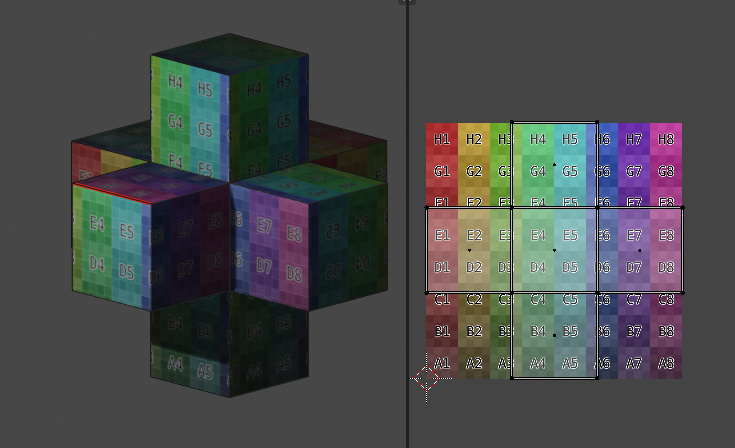
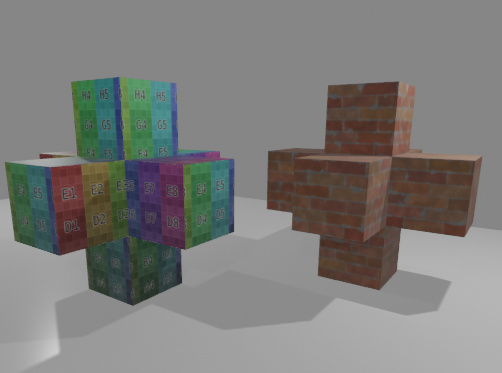
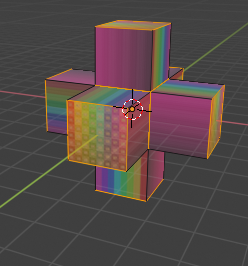
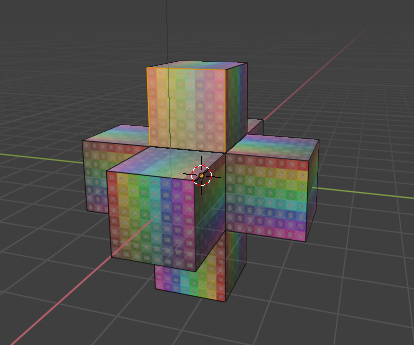
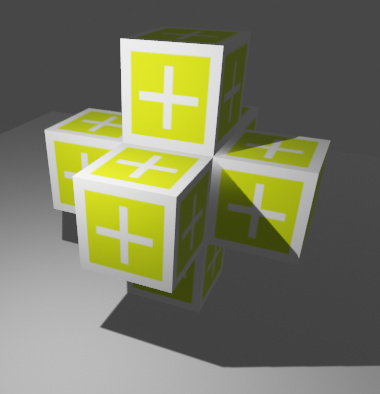
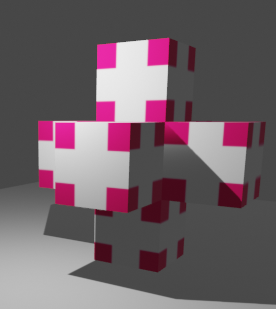
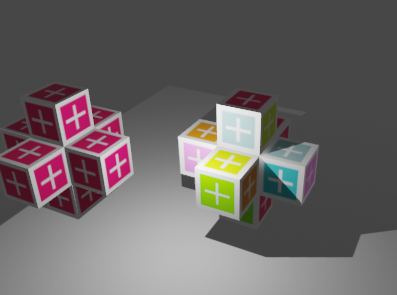
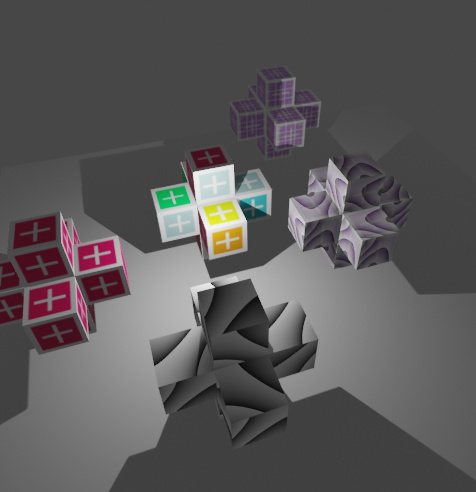
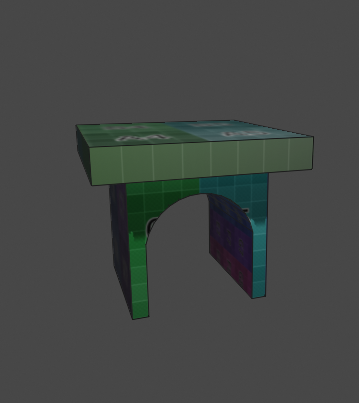
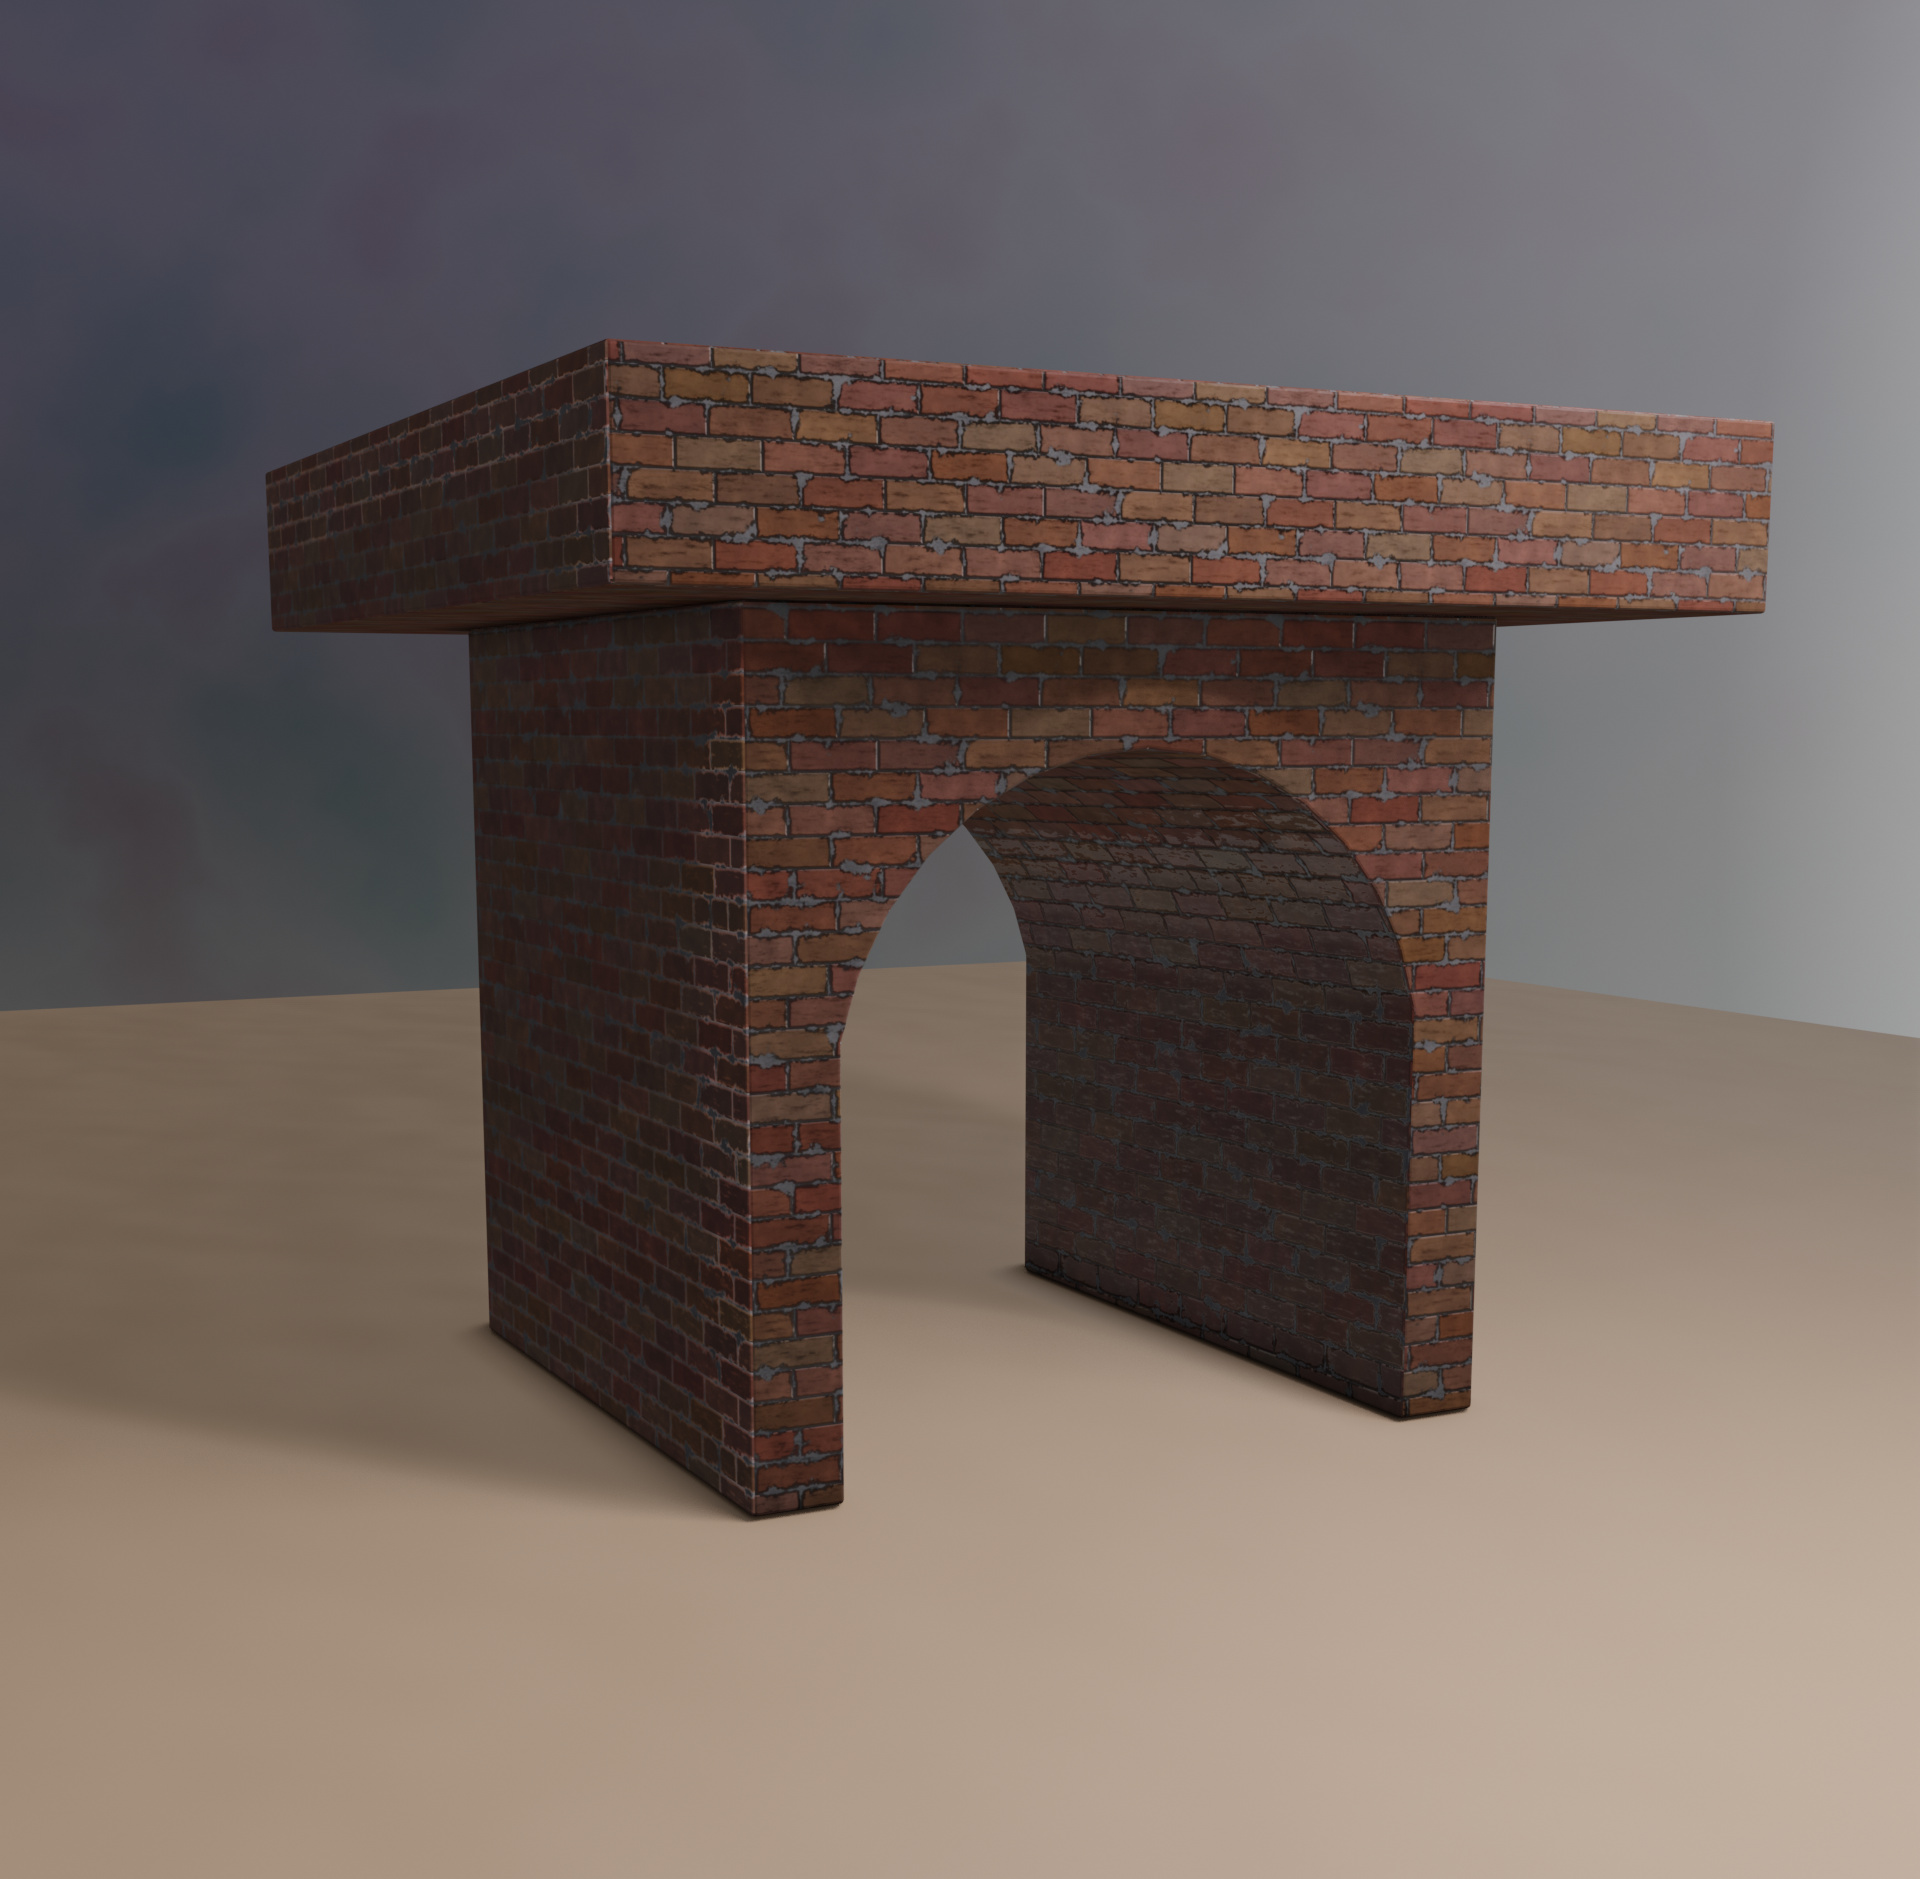
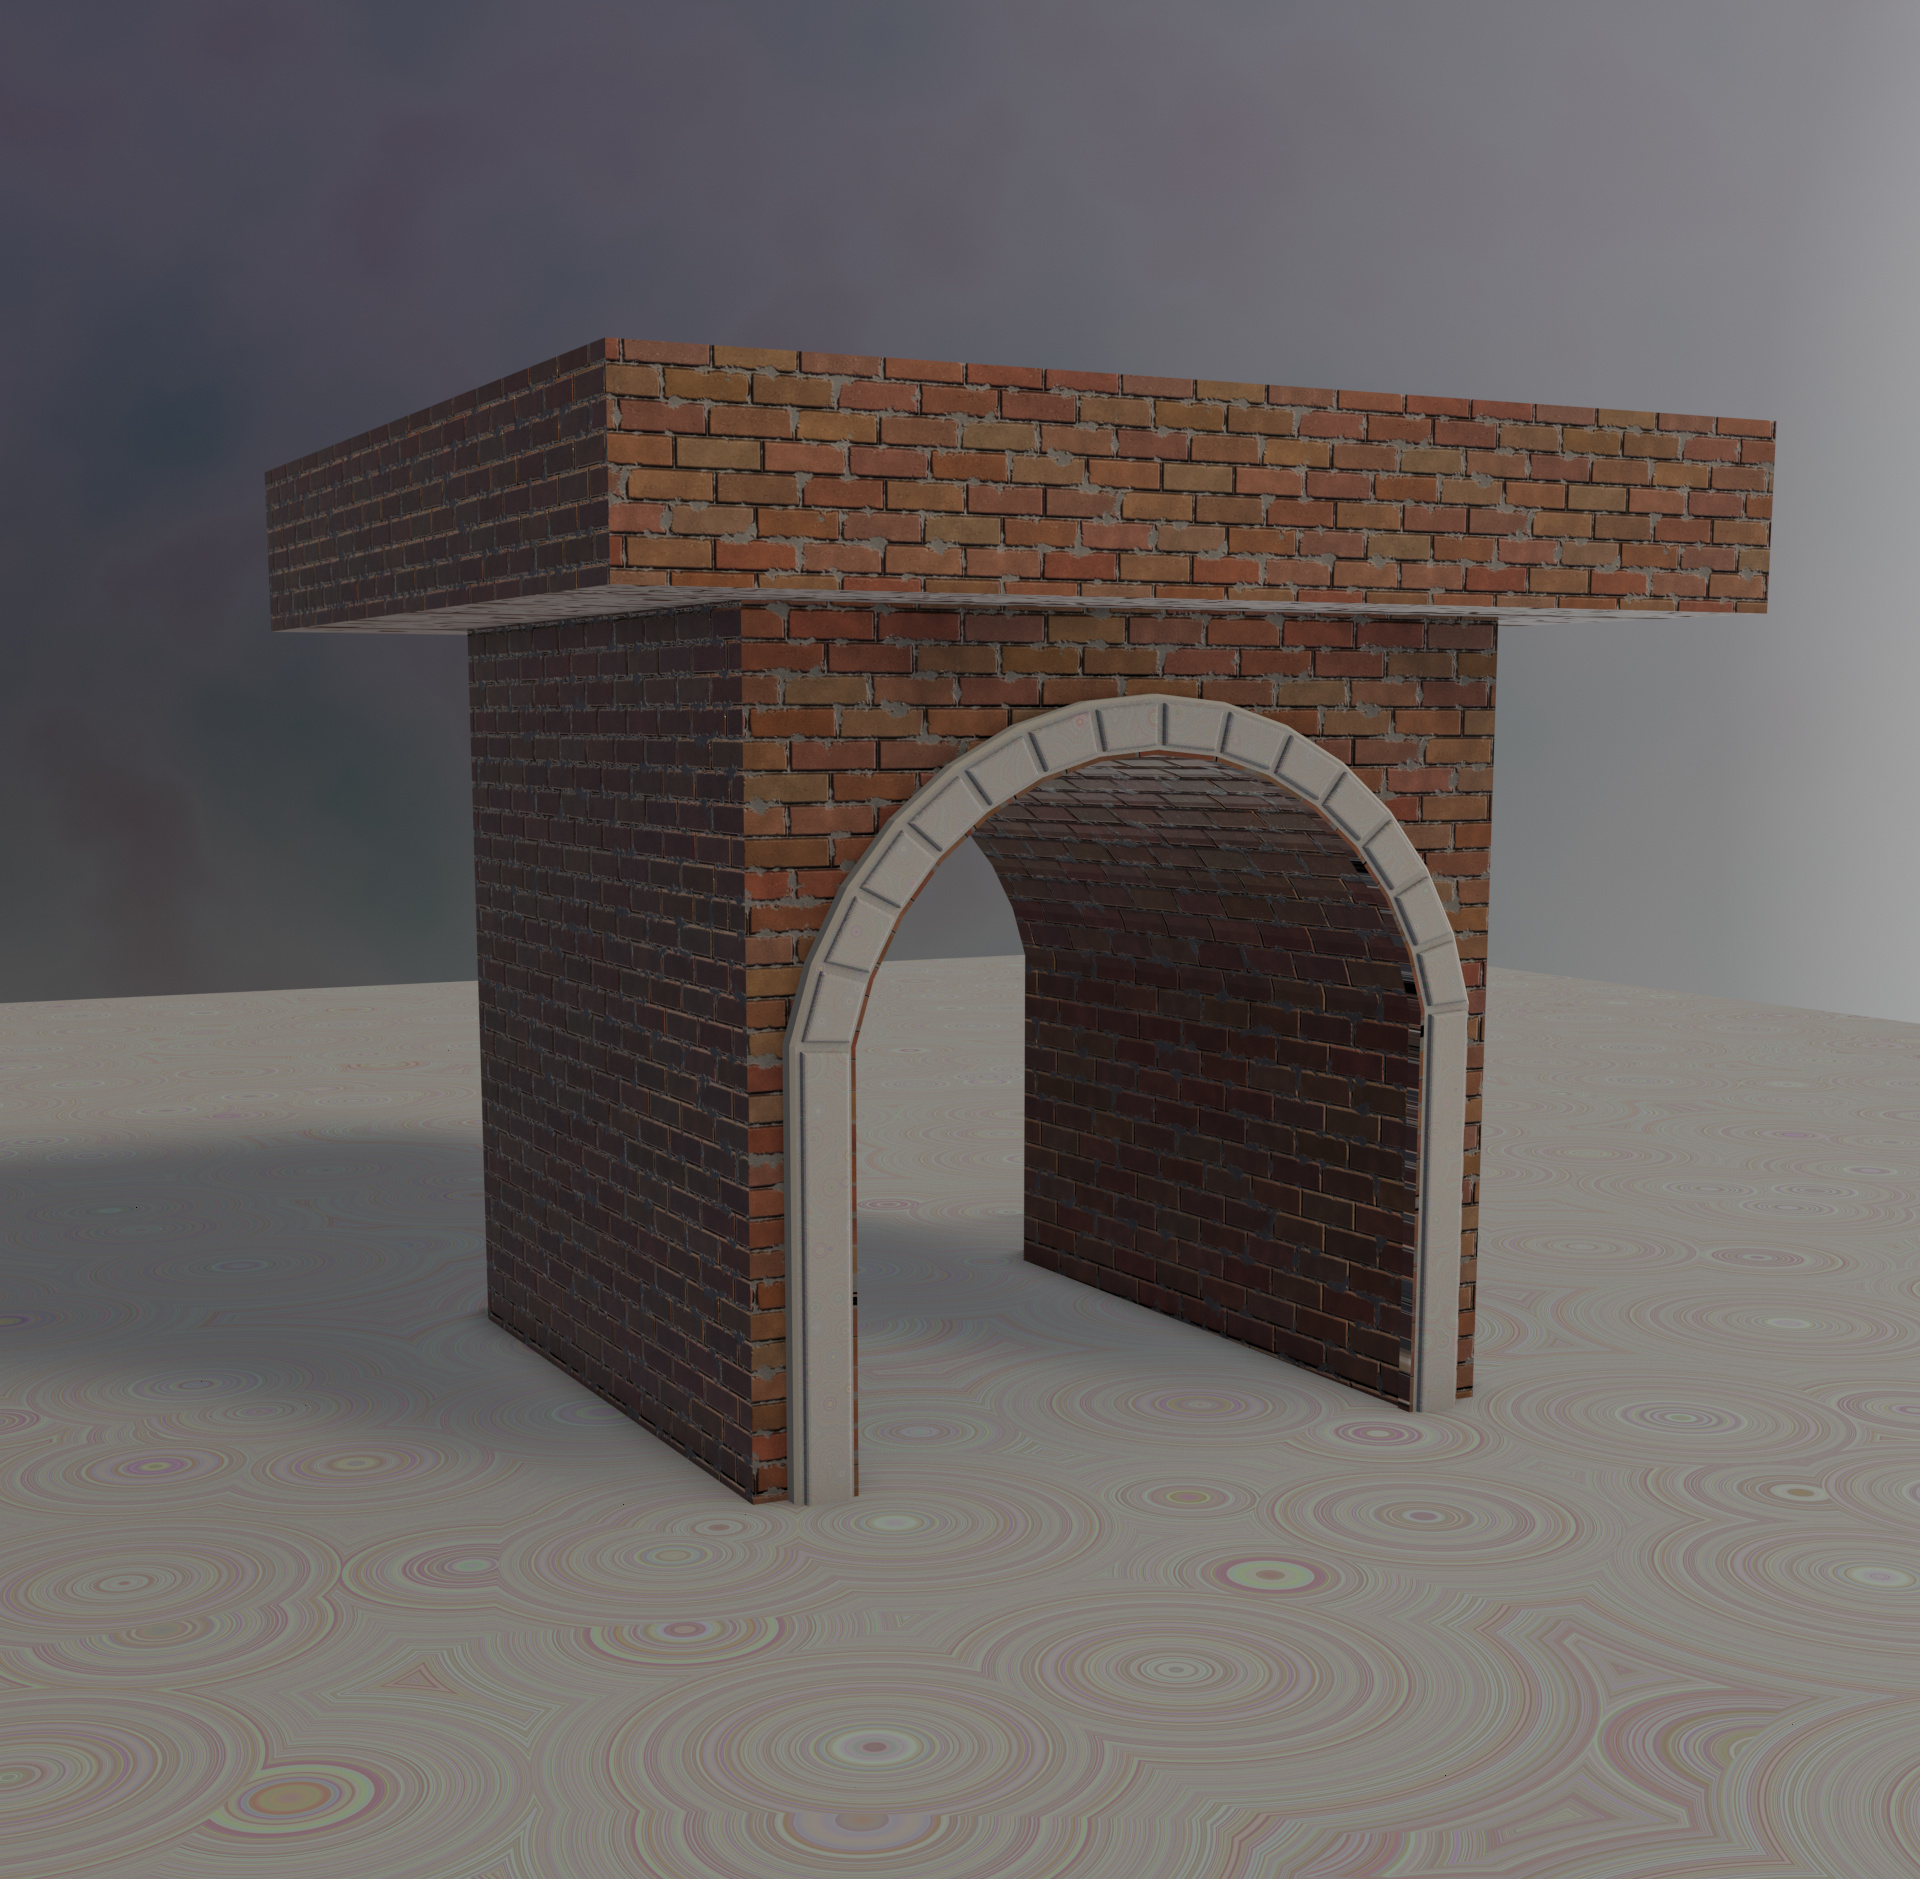
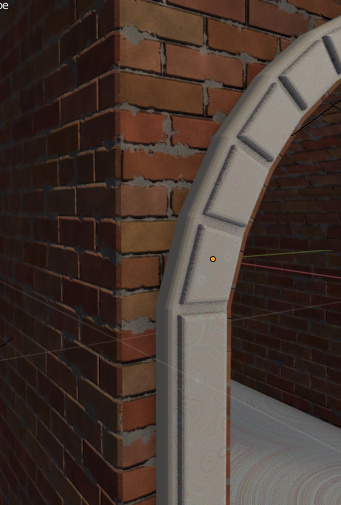
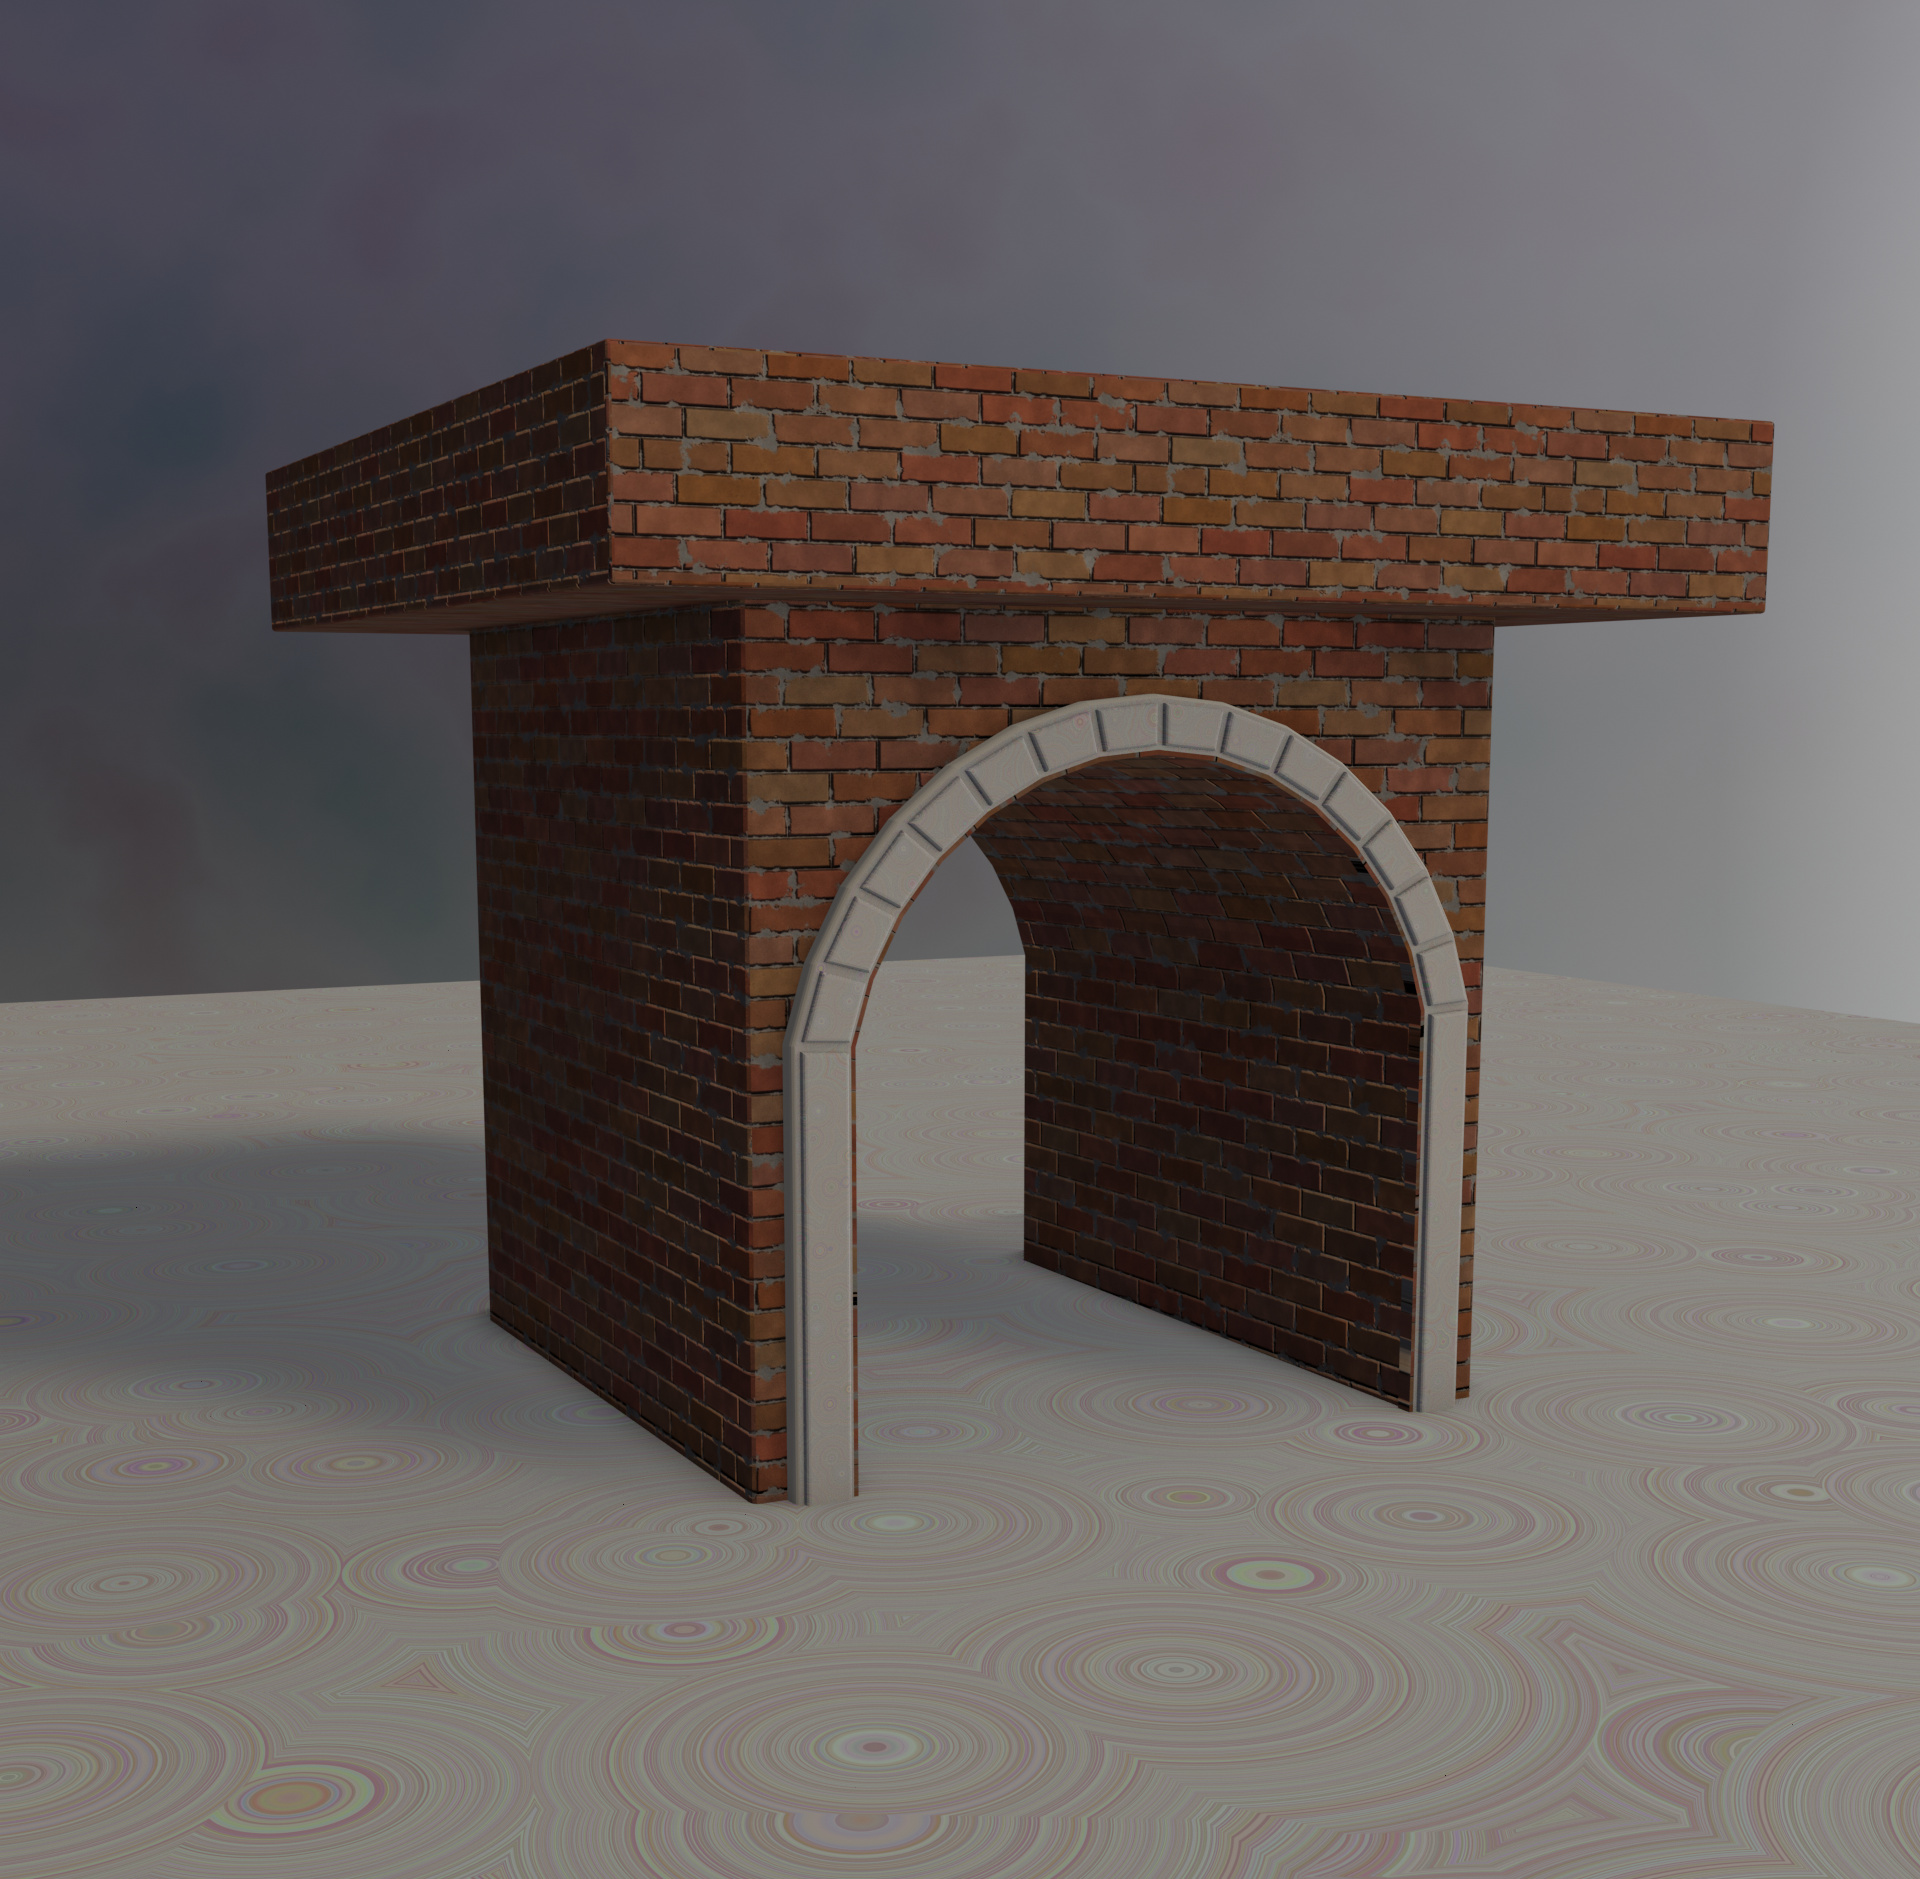
My bridge is a little bit to difficult to unwrap…because I have modeled a very complex one… So I tried to unwrap a very simple test model. My aim was that the texture fits in a perfect way to the model and that the texture is neat around the edges… It was not so easy, but I am proud to fix the problems…

grafik

grafik

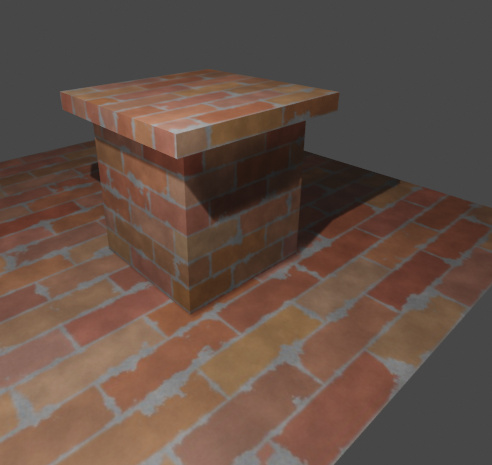
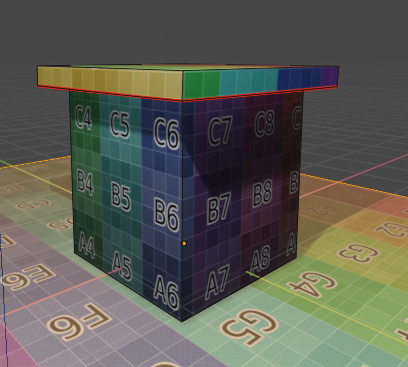
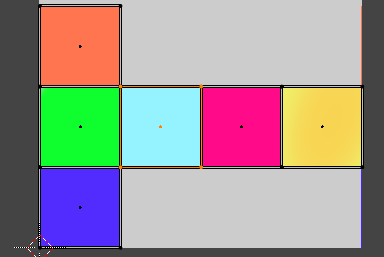
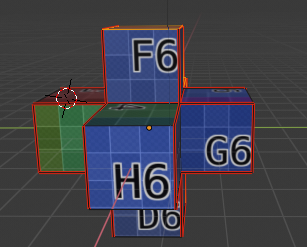
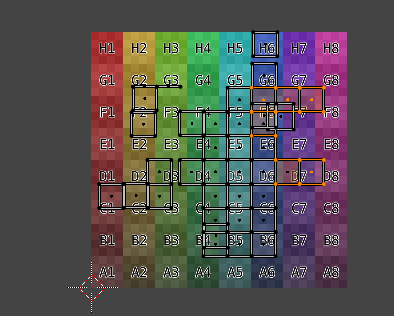
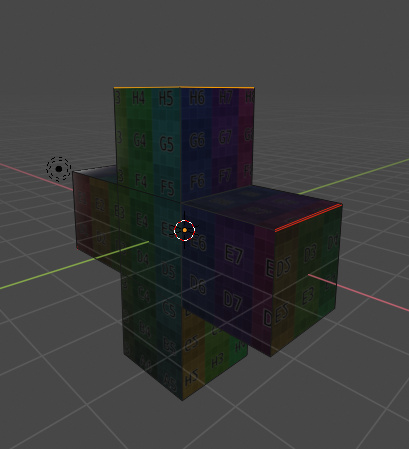
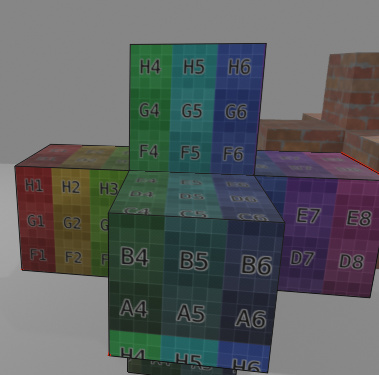
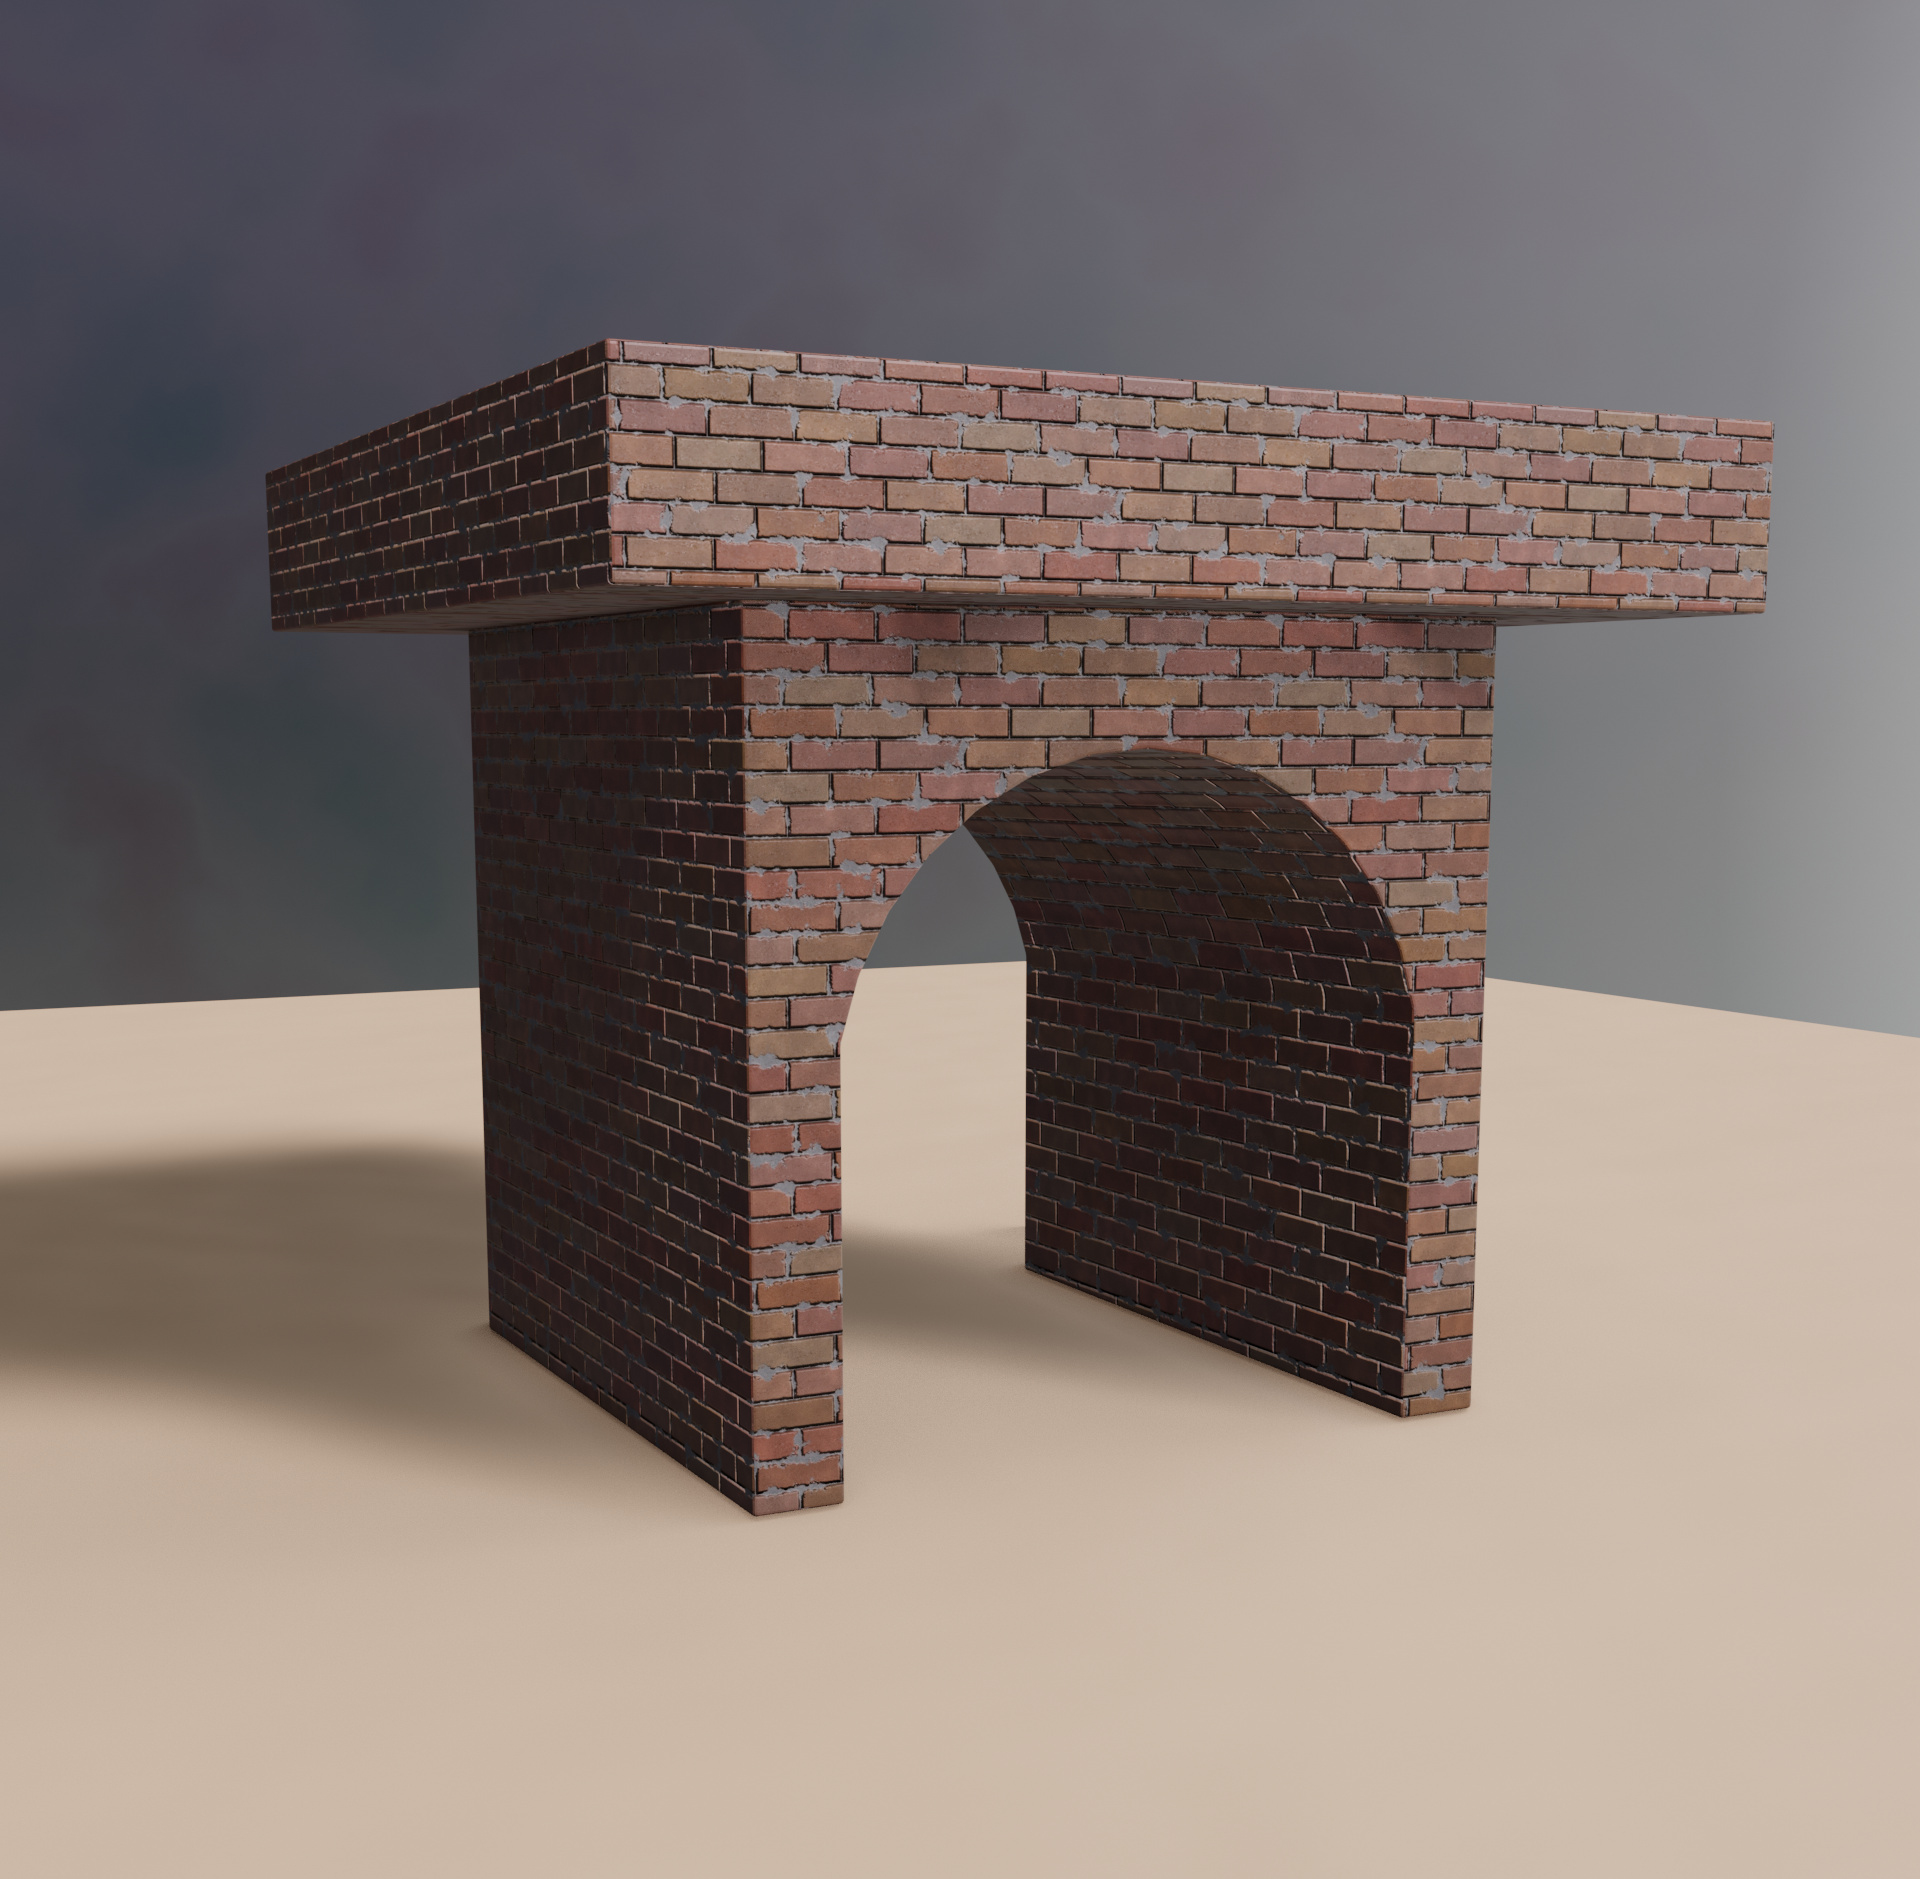
My aim was to continue with the tile structure in a perfect way, as an example A6 - A7.

for me to remember:

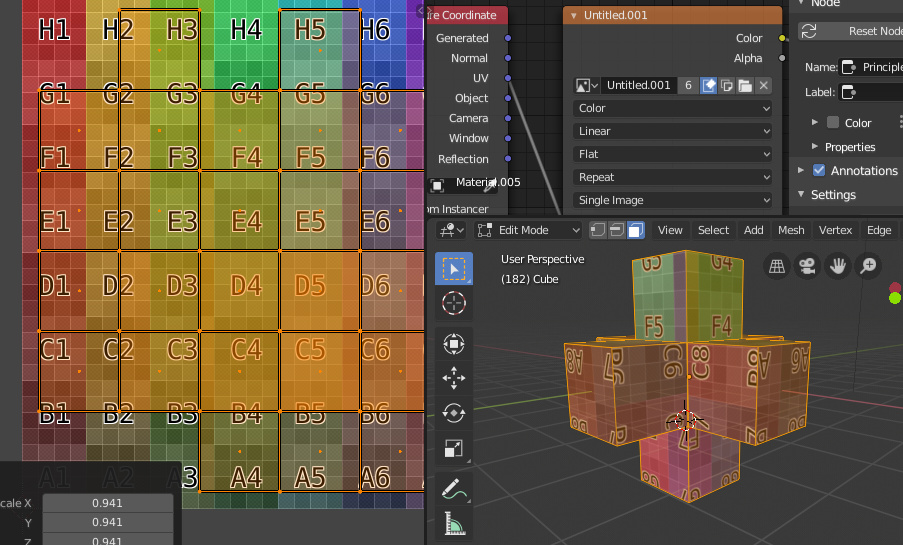
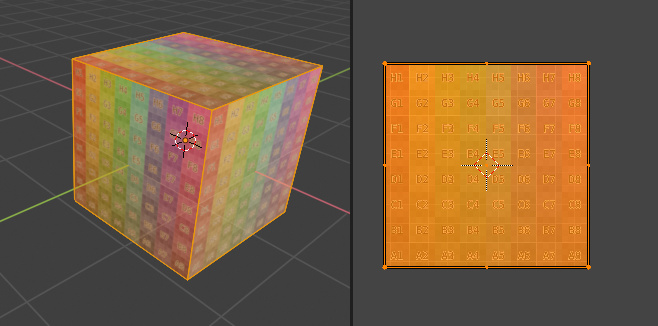
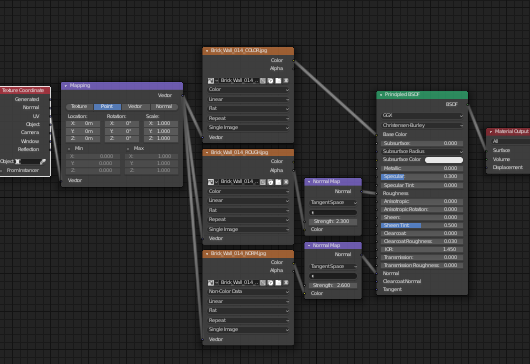
to switch between texture and colour grid texture, I have to go into the shader editor and load the image “colour grid” or here named “uv test”.
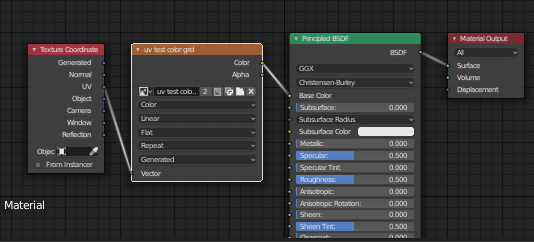
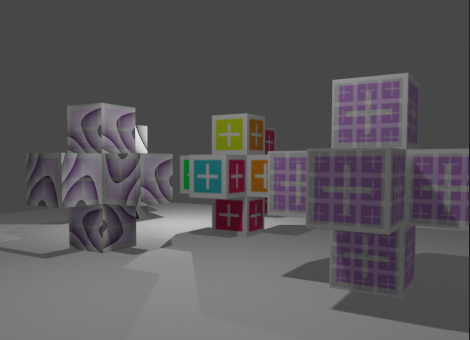
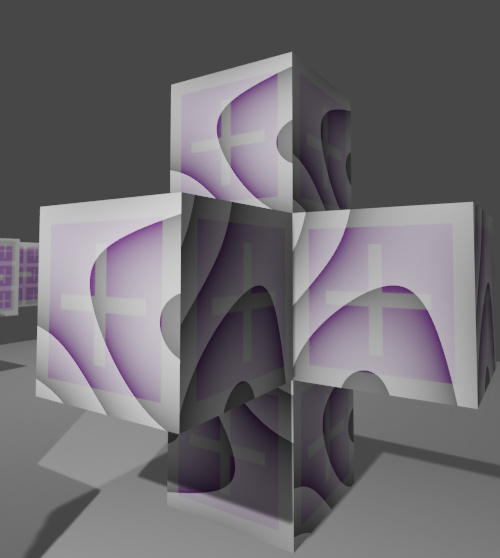
grafik

The workflow is:
working with the texture (by scaling and grabbing) and control it every few seconds with the colour grid texture (by scaling and grabbing)… a little bit annoying, but the best way to achieve perfect results.

1 Like

Simple Cube - unwrapped as a T-Shape

The model was unwrapped with two C-cuts and one extra Linecut on the top. To understand the process of unwrapping you can imagine, that the cube is a closet and the green square is like it´s backboard. The blue square is like the door of the closet.

grafik

grafik

grafik

The end result of the unwrapping process is a T-shape.

cube unwrapped as t shape.blend (649.4 KB)

Maybe it is helpful for some beginner.

unwrapping with cross shape in comparison

grafik

Unfortunately I haven´t got Gimp on this laptop, so I used a kind of online photoshop I didn´t use normally… It is just a short vizualisation.

A complexer model. I find it difficult to unwrap. ;((
First try. Looks ugly.

I have made a lot of c cuts…

grafik

grafik

I was grabbing and scaling…

grafik

/////////////////////////////

SECOND TRY - no mark seams, only a simple unwrap with following active quads

//////////////

THIRD TRY

a little bit better…

grafik

//////////////////

Fourth try

grafik

then hide >>>

grafik

grafik

unwrap with cube projection…

Last try

Unwrapping the whole model at once with cube projection. No mark seams.

/////////////////////////////////

grafik

Not so bad for the first approach. Needs some kind of tweaking.

/////////////////////

After some tweaking:

grafik

I am little bit satisfied with the result and learned a lot of things while doing. Now I will continue watching some further lectures in this course…

Next and hopefully the last try

  1. Start with a cube. Unwrapped it. The six sides are above eachother as Michael explained us in this course.

grafik

Then I extruded the arms by alt + e + snapping turned on:

grafik

The texture doesn´t look good at this moment.

But it is only a matter of seconds to fix this problem.

grafik

The solution: I have unwrapped the squares one by one. Only one at the same time.

grafik

grafik

grafik

grafik

////

grafik
grafik

1 Like

grafik

It is not very perfect, but a first approach… I find texturing sooo difficult…:face_with_raised_eyebrow:

/////

I have fixed the problem with the non color data in the normal map.

grafik

1 Like

Strange to see a normal map node plugged to Roughness… :smile:

1 Like

That´s a funny mistake, thanks for your hint. :face_with_hand_over_mouth::stuck_out_tongue_winking_eye:

I have unplugged the normal map and tried to bevel the edges. Not perfect, becauce the texture doesn´t fit precisely, but maybe it is a step in the right direction…

Privacy & Terms