So, your dream weapon is nearly done and the last step is just to outline it but those rebel’s x-wings are coming and you don’t have much time?

Not a problem (hope you are using “LibreSprite”). Just turn on your favorite march to chill out and press “F9”
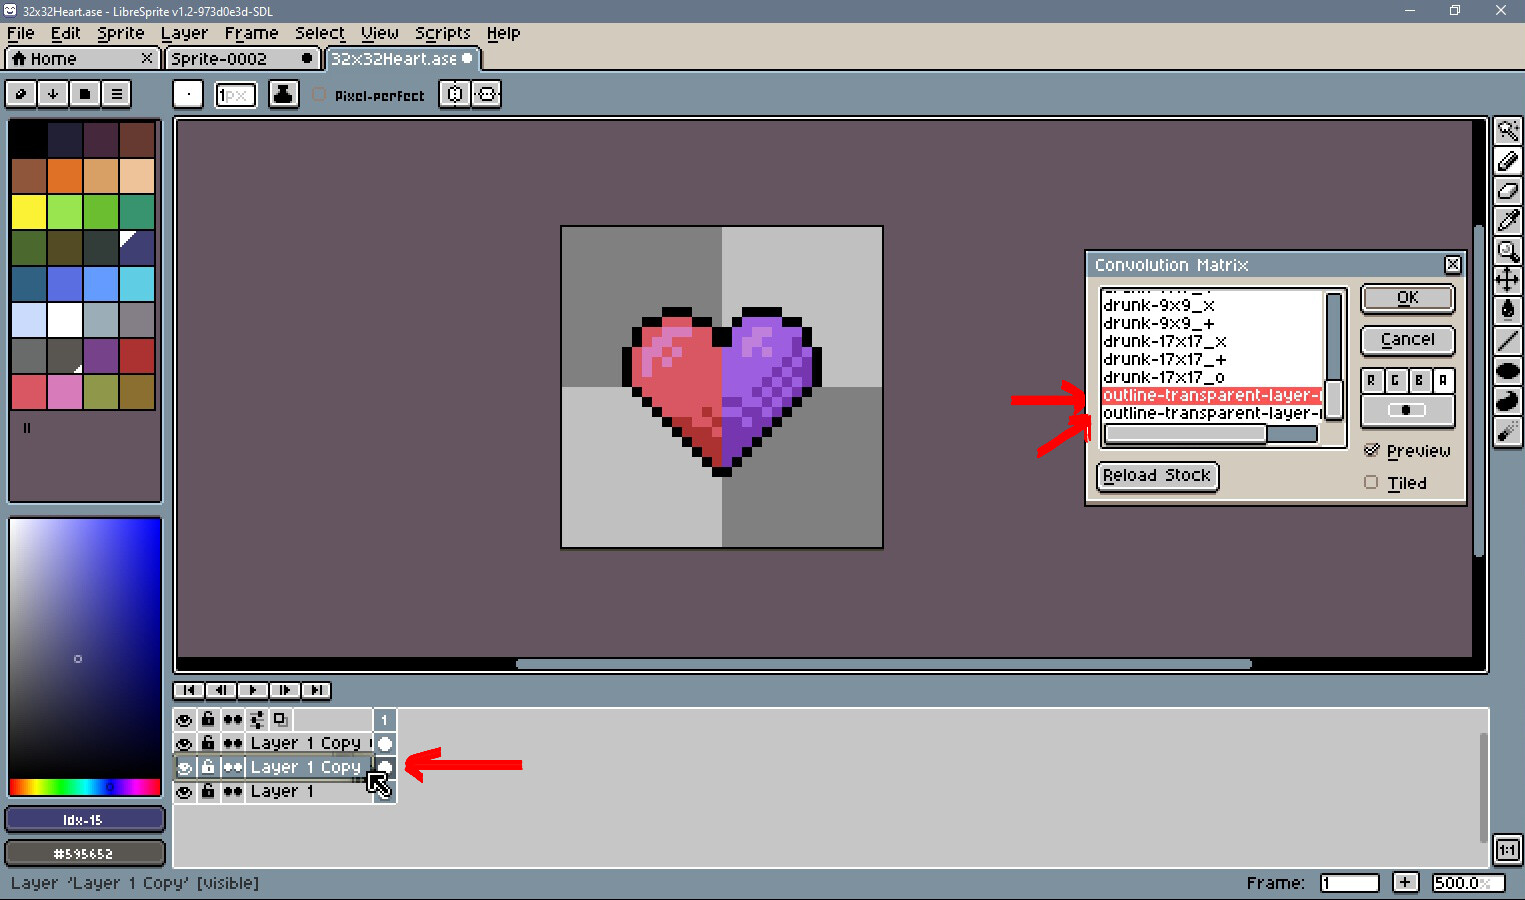
(or select Edit → FX → Convolution Matrix as in image below):
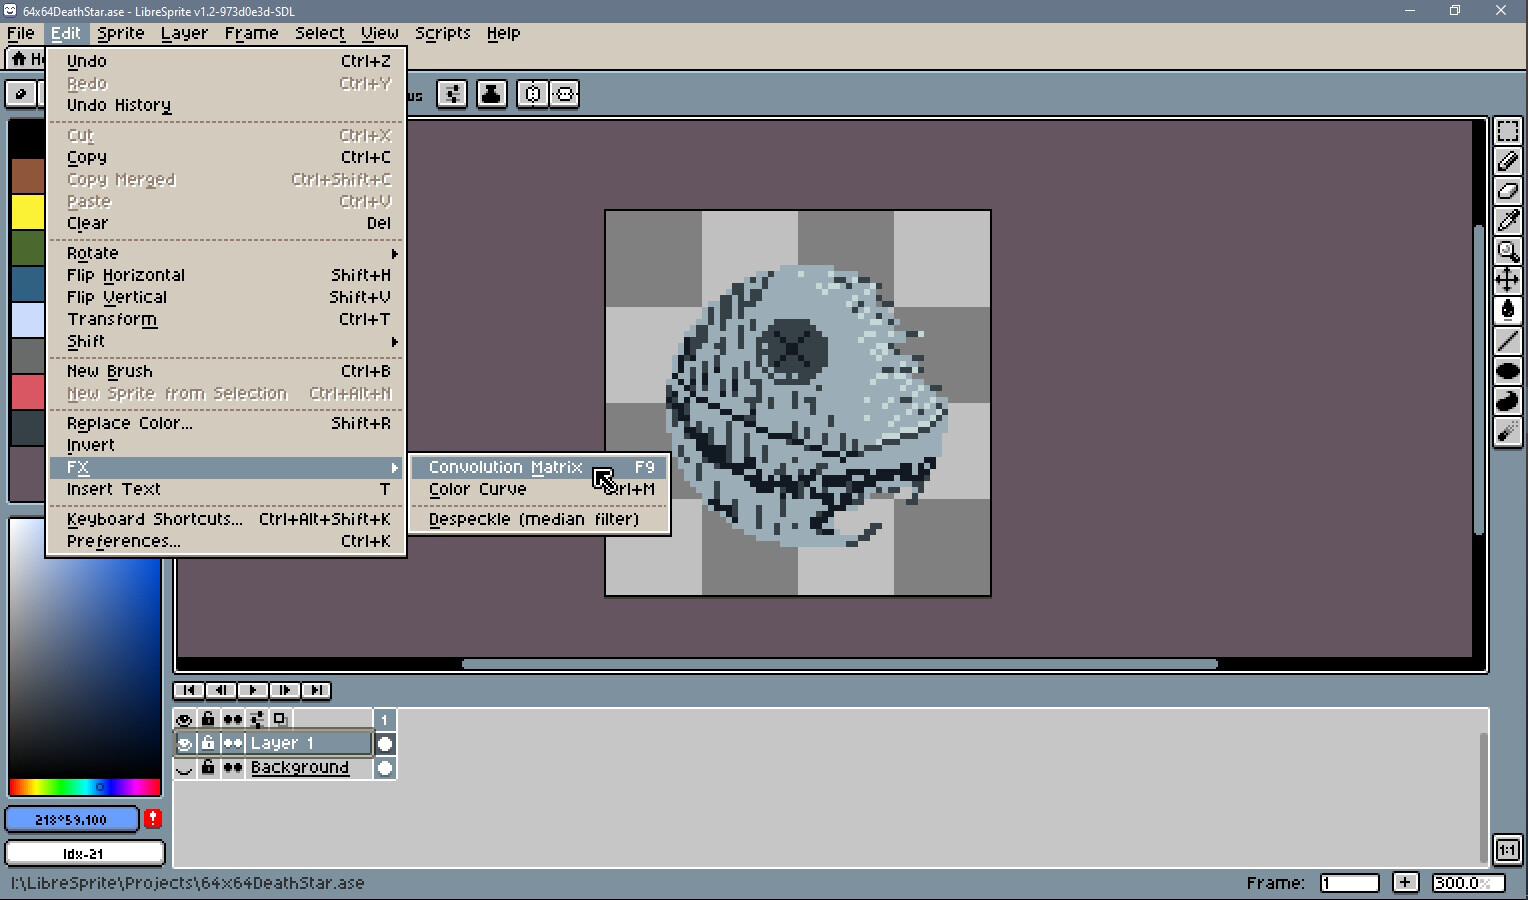
Now go to the top down of the list and select one of the “outline-transparent-layer” options. One is for bold outline and one is for thin outline:


That’s it: The victory is yours!
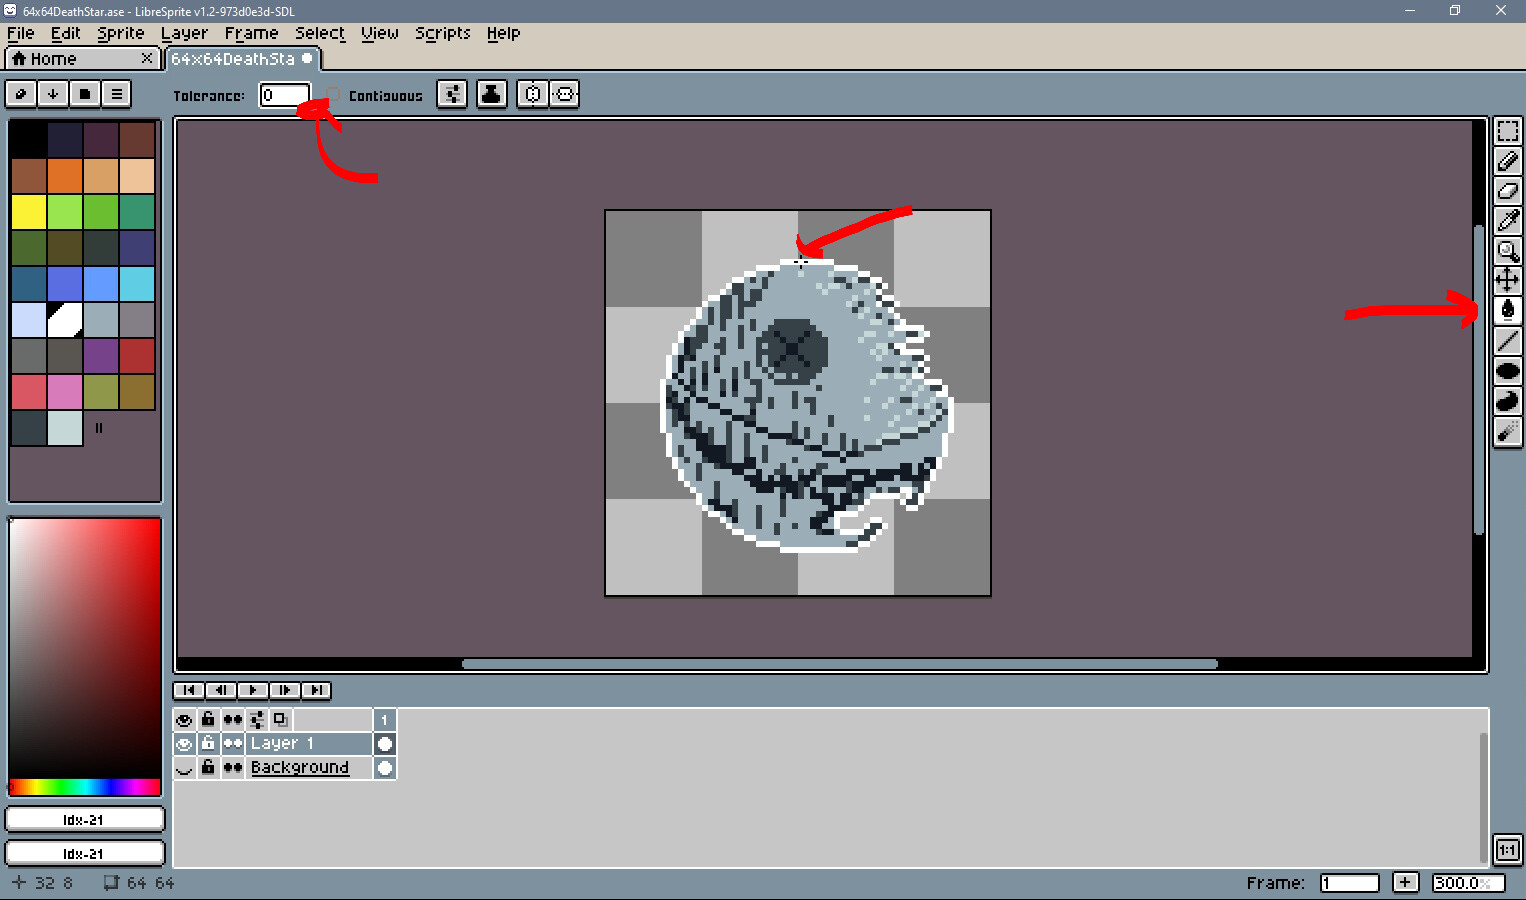
But you can also select the “Paint Bucket Tool” (shortcut “G”), turn off “Contiguous” option, select white color and recolor black outline into white in just one click:
I hope your heart is satisfied now.
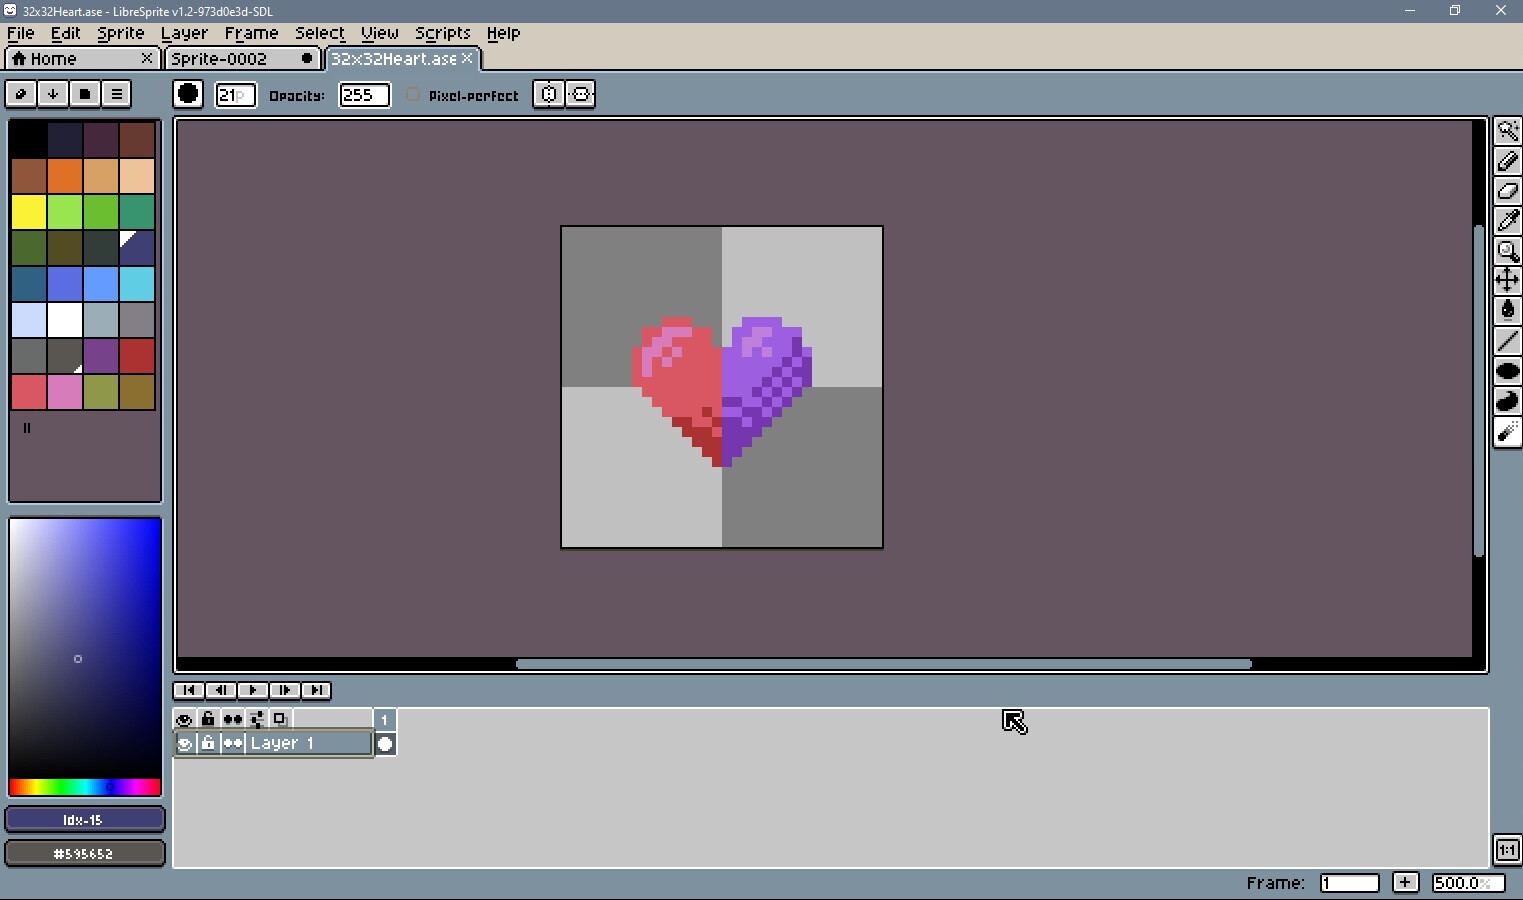
But what if you need colored outline? I’ve tried different technics… and let me show you this one. It might looks a little bit complicated but only at the first sight.
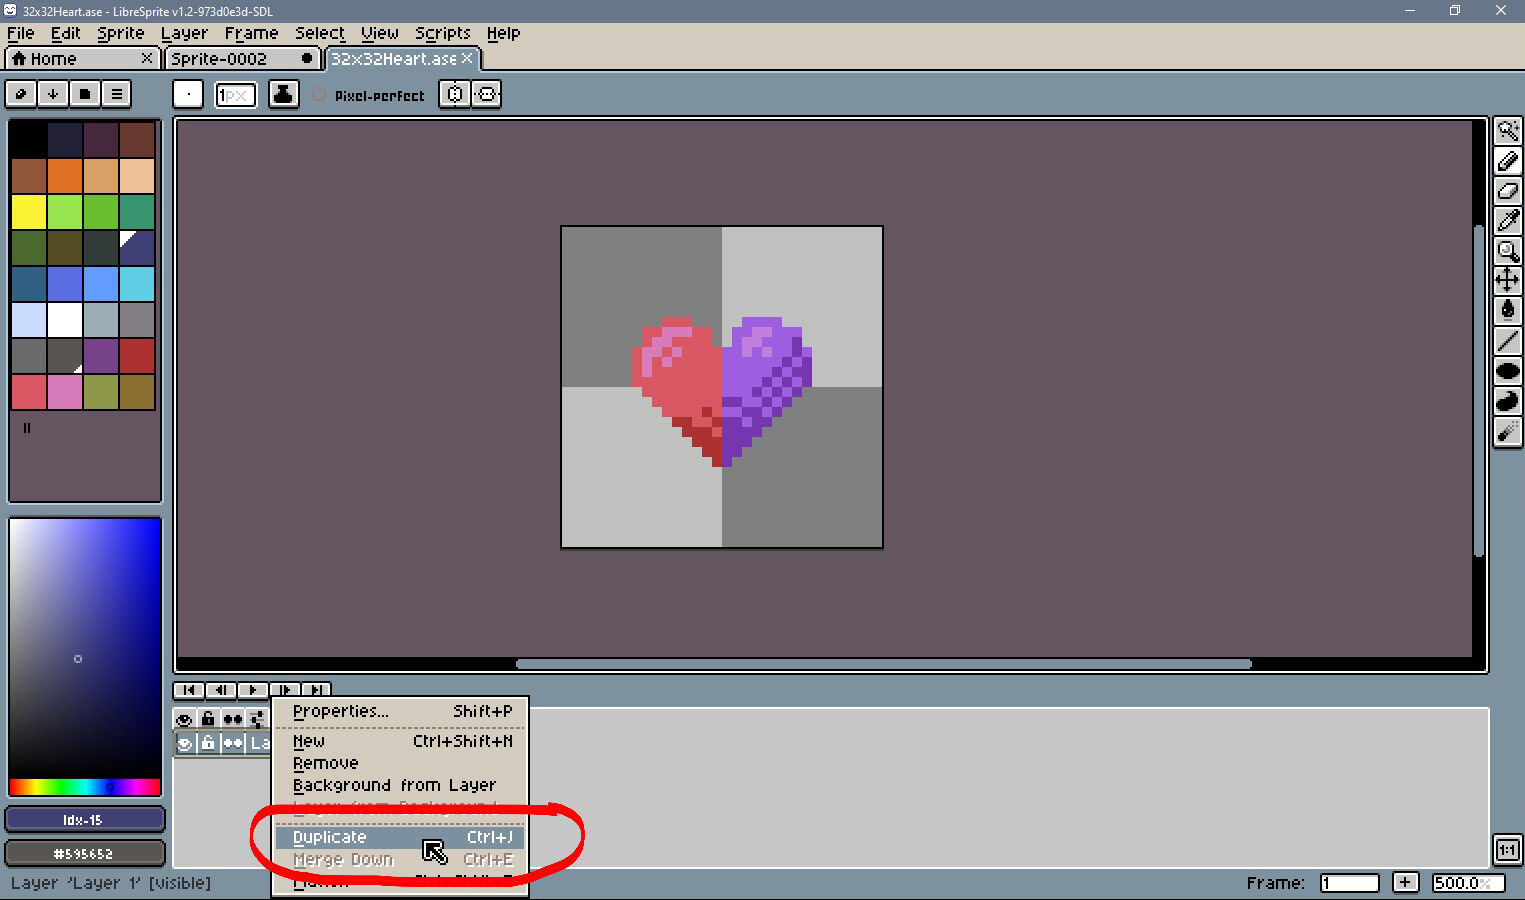
- First of all duplicate object layer two times (right click on the layer → Duplicate or chortcut Ctr+J):
- Select middle layer and outline it with black color (shortcut “F9” see the previous instructions):
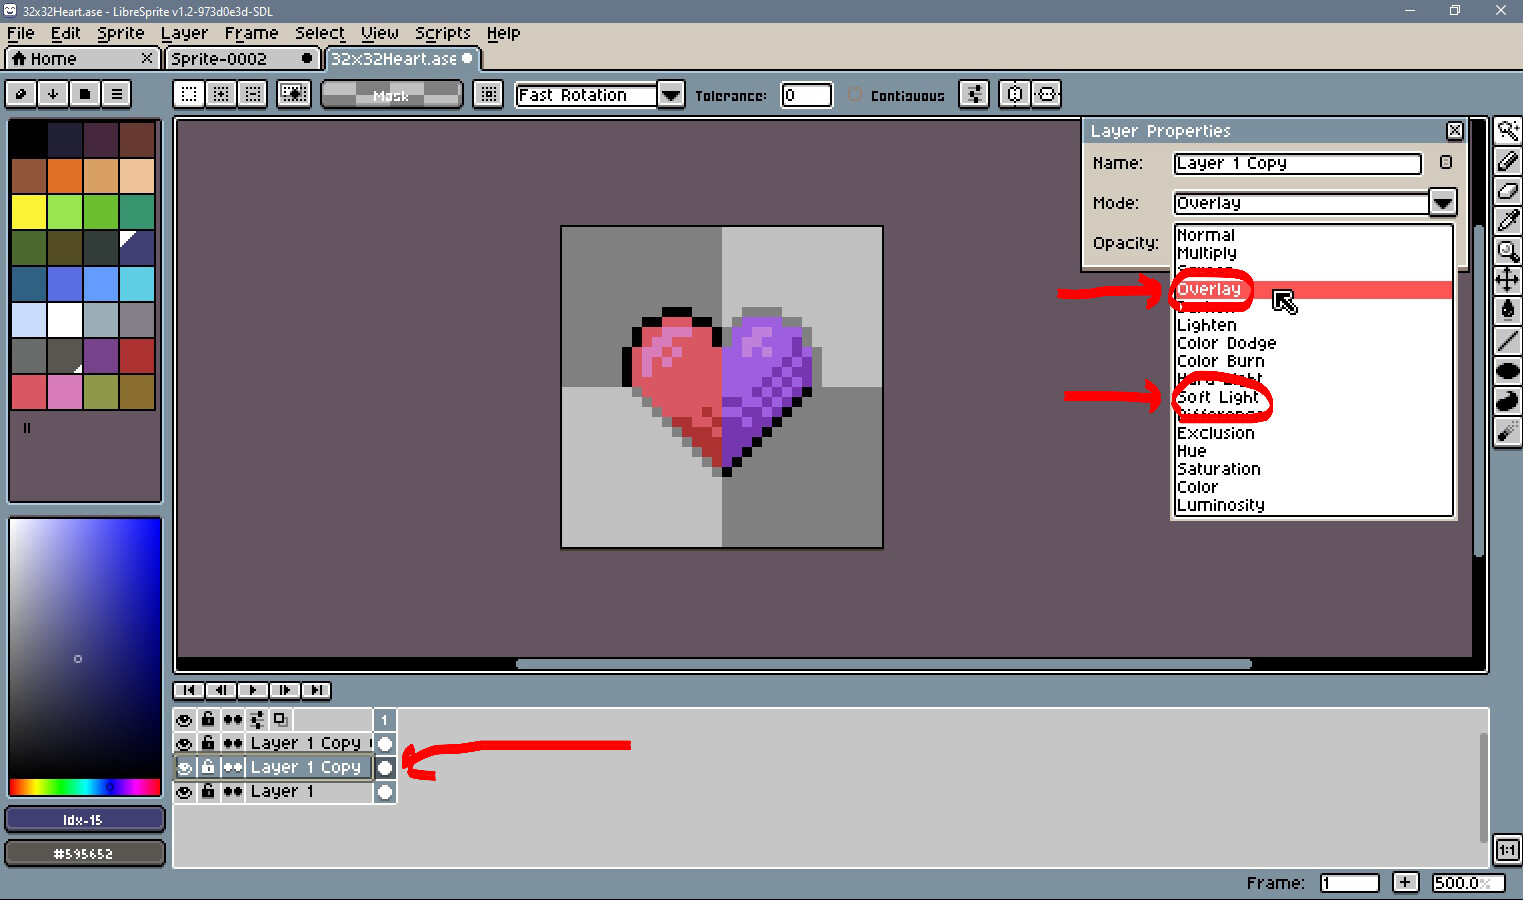
- Now double click on the middle layer to open it’s properties. And as “mode” (actually it’s blend mode) select “Overlay” or “Soft Light” (later you could change it and see the difference):
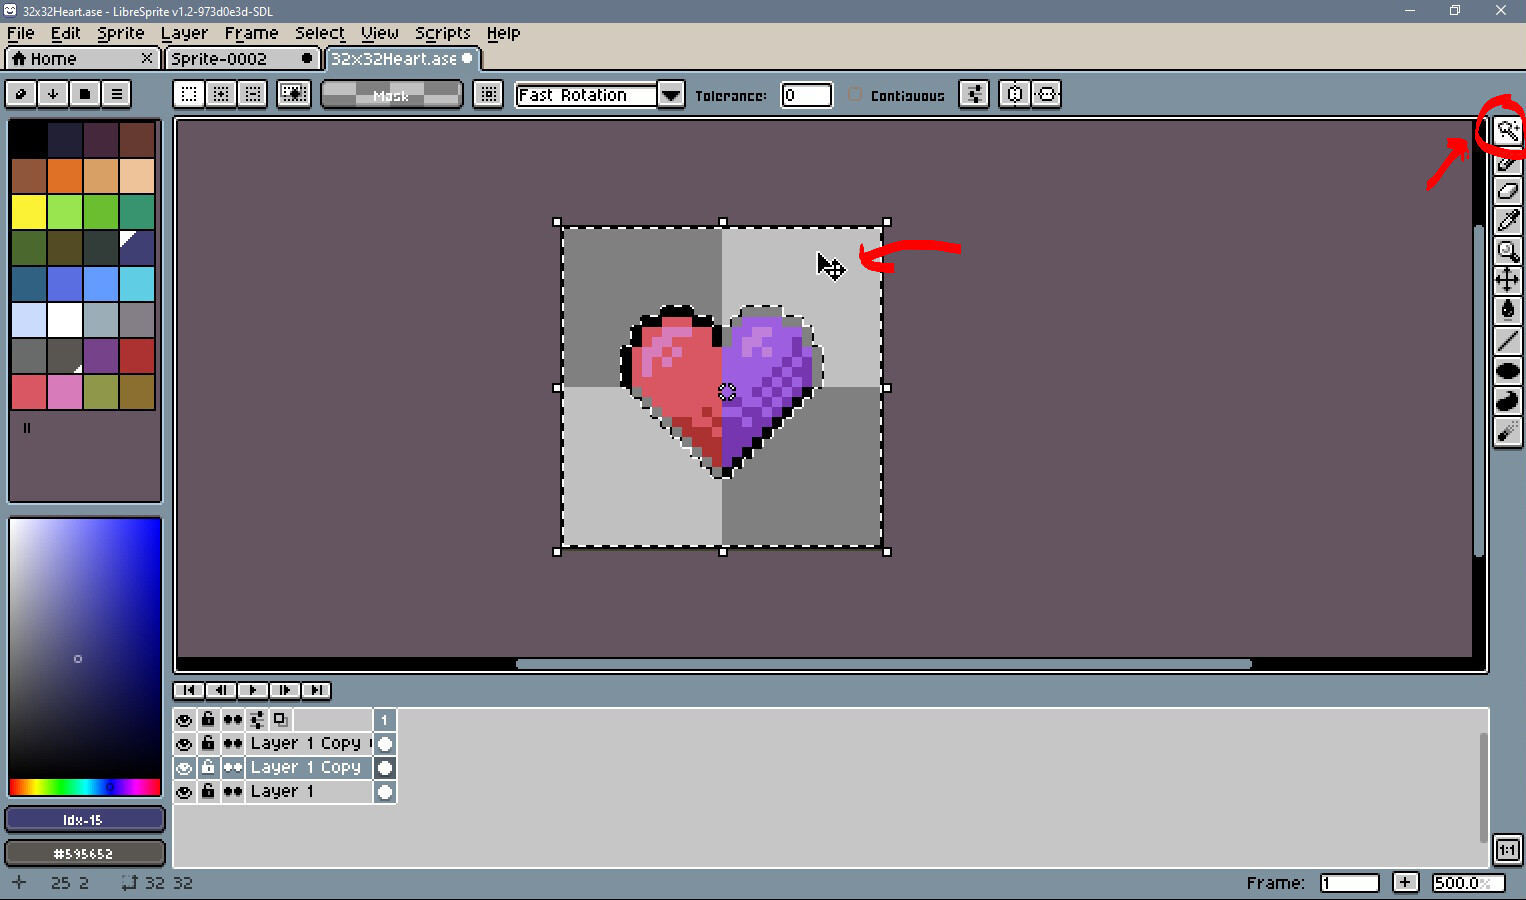
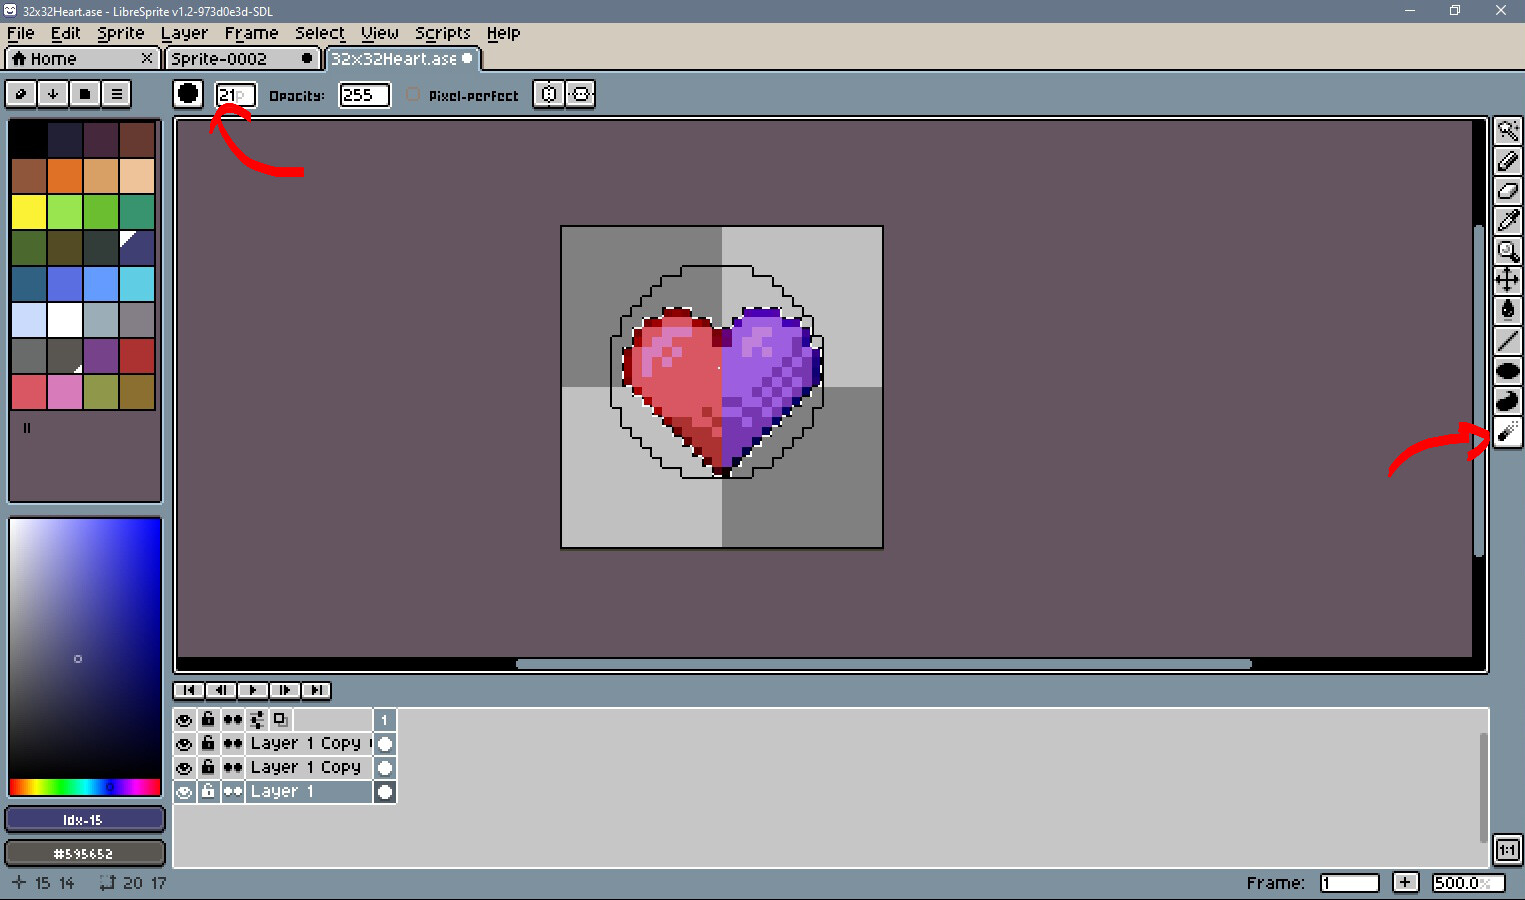
- After that select the “Magic Wand Tool” (shortcut “W”) and click somewhere beyond your image (but inside canvas):
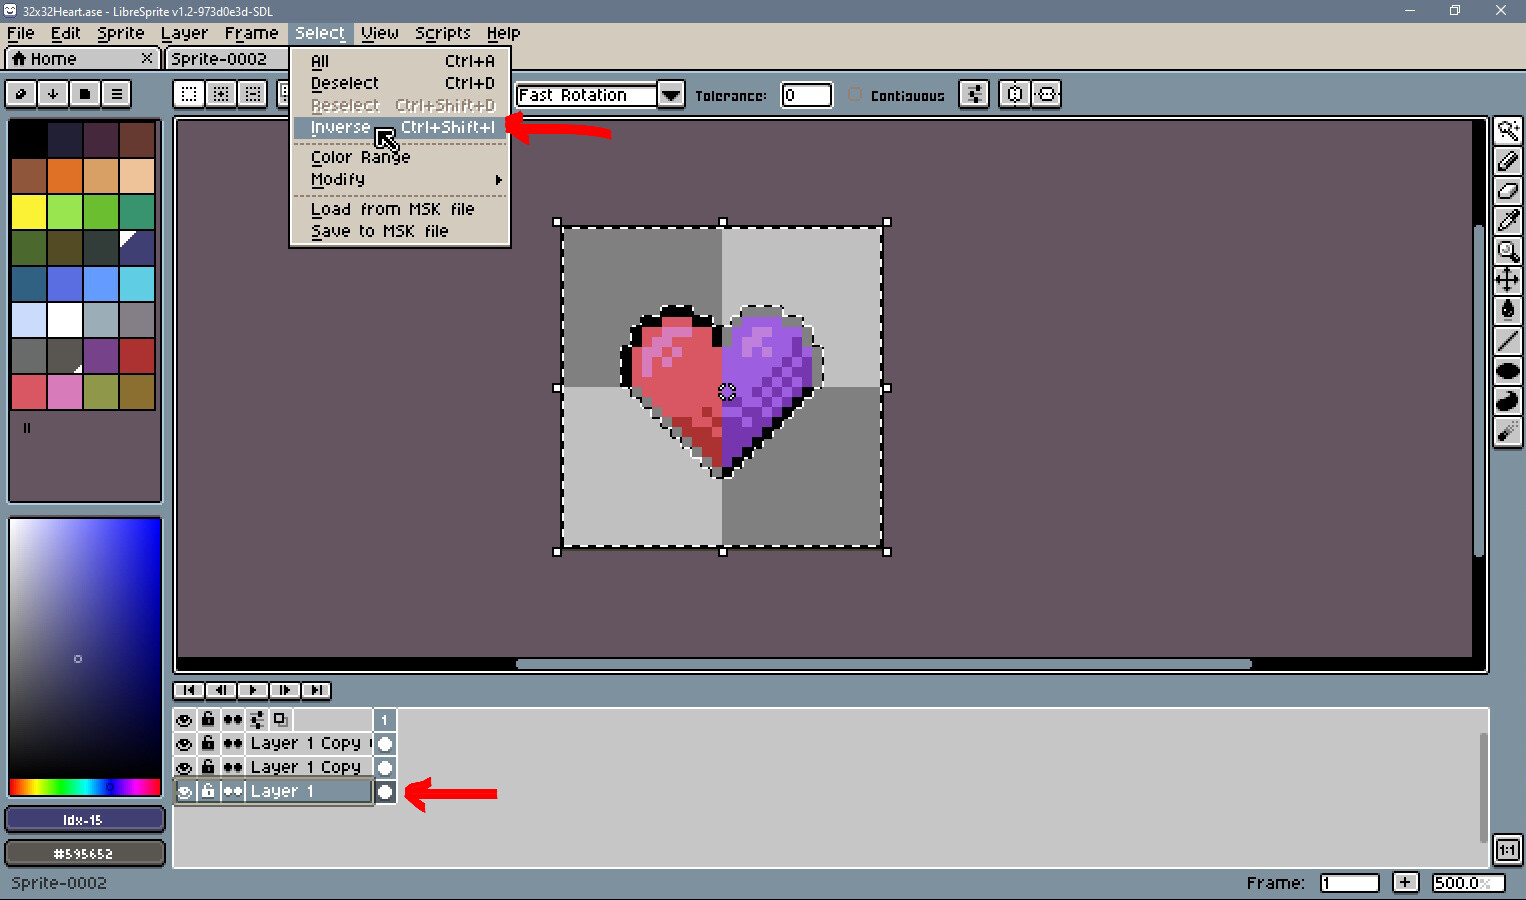
- Inverse selection by selecting Select → Inverse (shortcut “Ctr+Shift+I”). And after that select the lower layer:
We are nearly done.
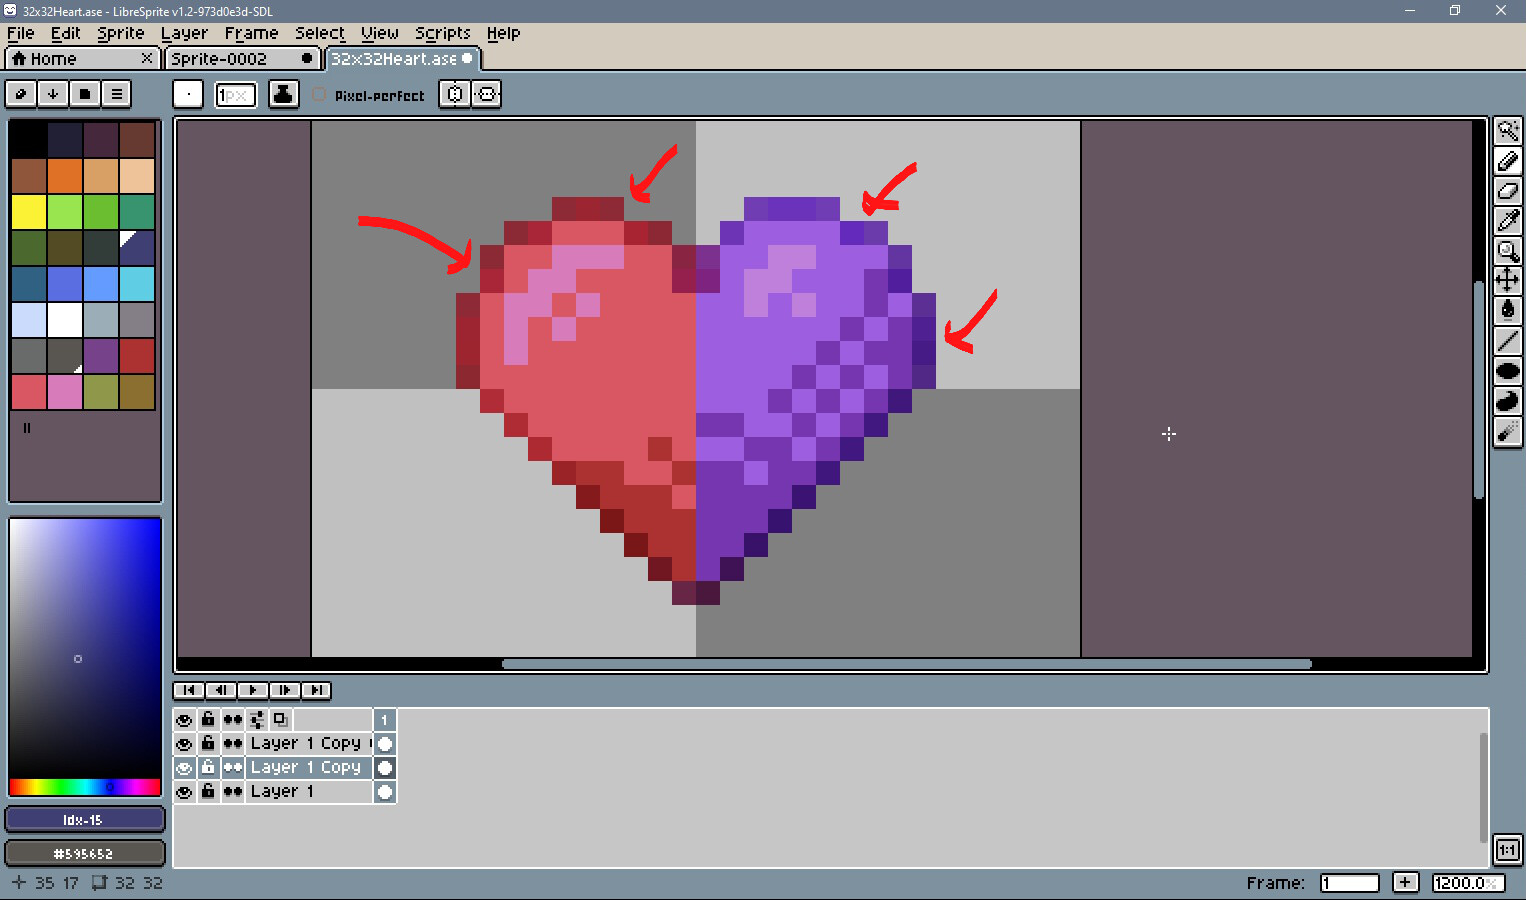
- Select “Blur Tool” (shortcut “R”). And make the size of your brush bigger than your active selection.

- After that make about 3-5 clicks over your selection. Now you should have something like this:
-
Press “Ctr+D” to deactivate active selection (also now you can try to change the blend mode of middle layer between “overlay” and “soft light” and select better result. You can also set the blend mode of the middle layer to normal and experiment with the “Opacity” level.)
-
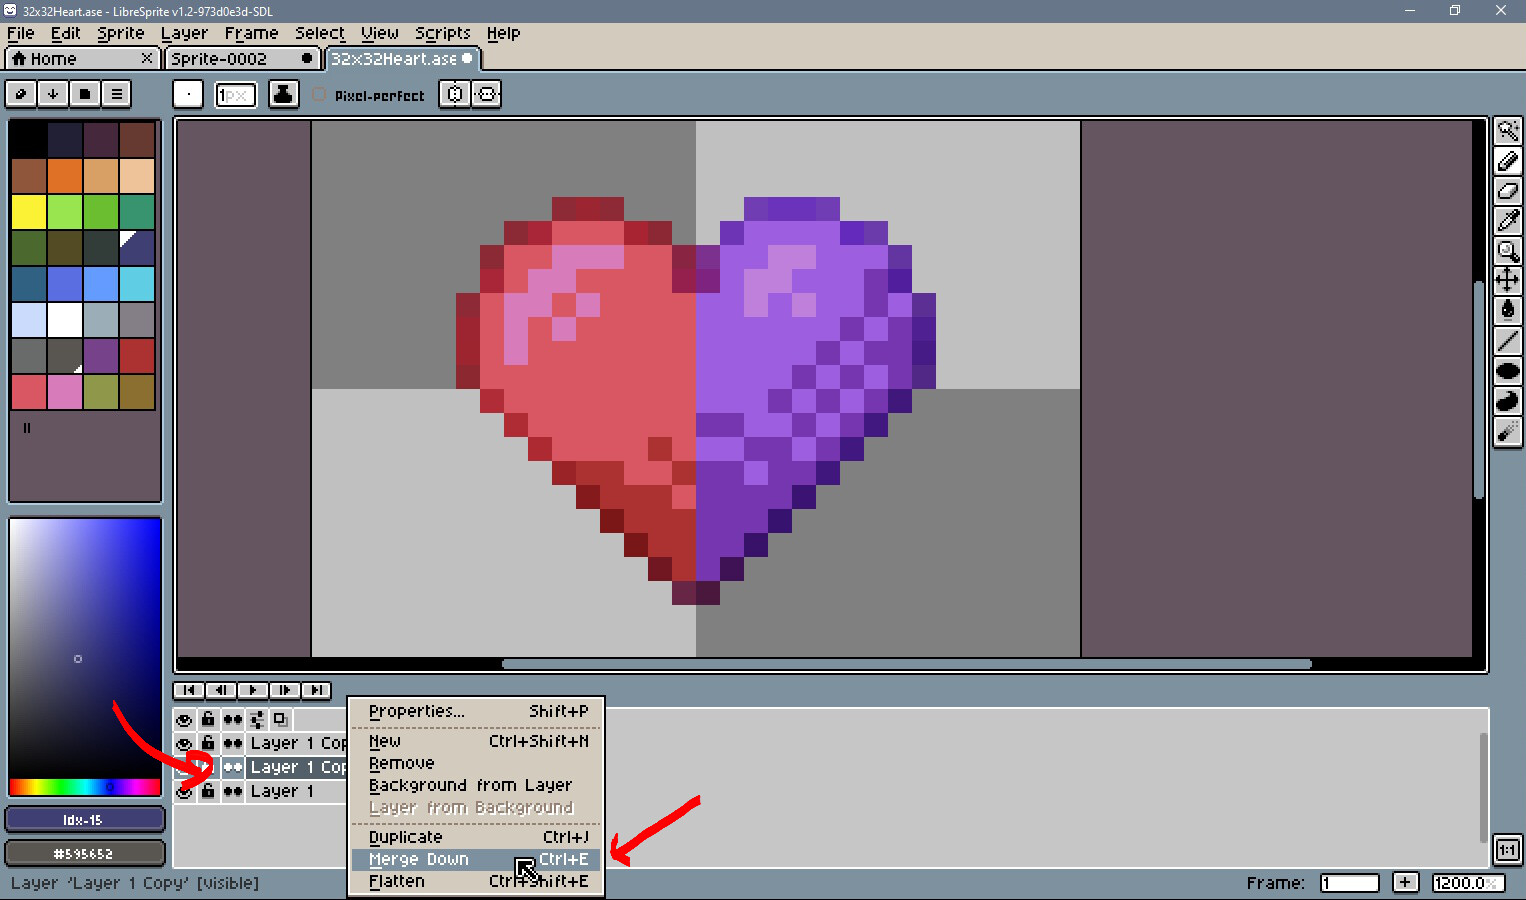
As you could see there might be some unnecessary color artifacts:
- Don’t worry. Just select the middle layer and merge it with the layer below (right click on the middle layer → Merge Down or shortcut “Ctr+E”
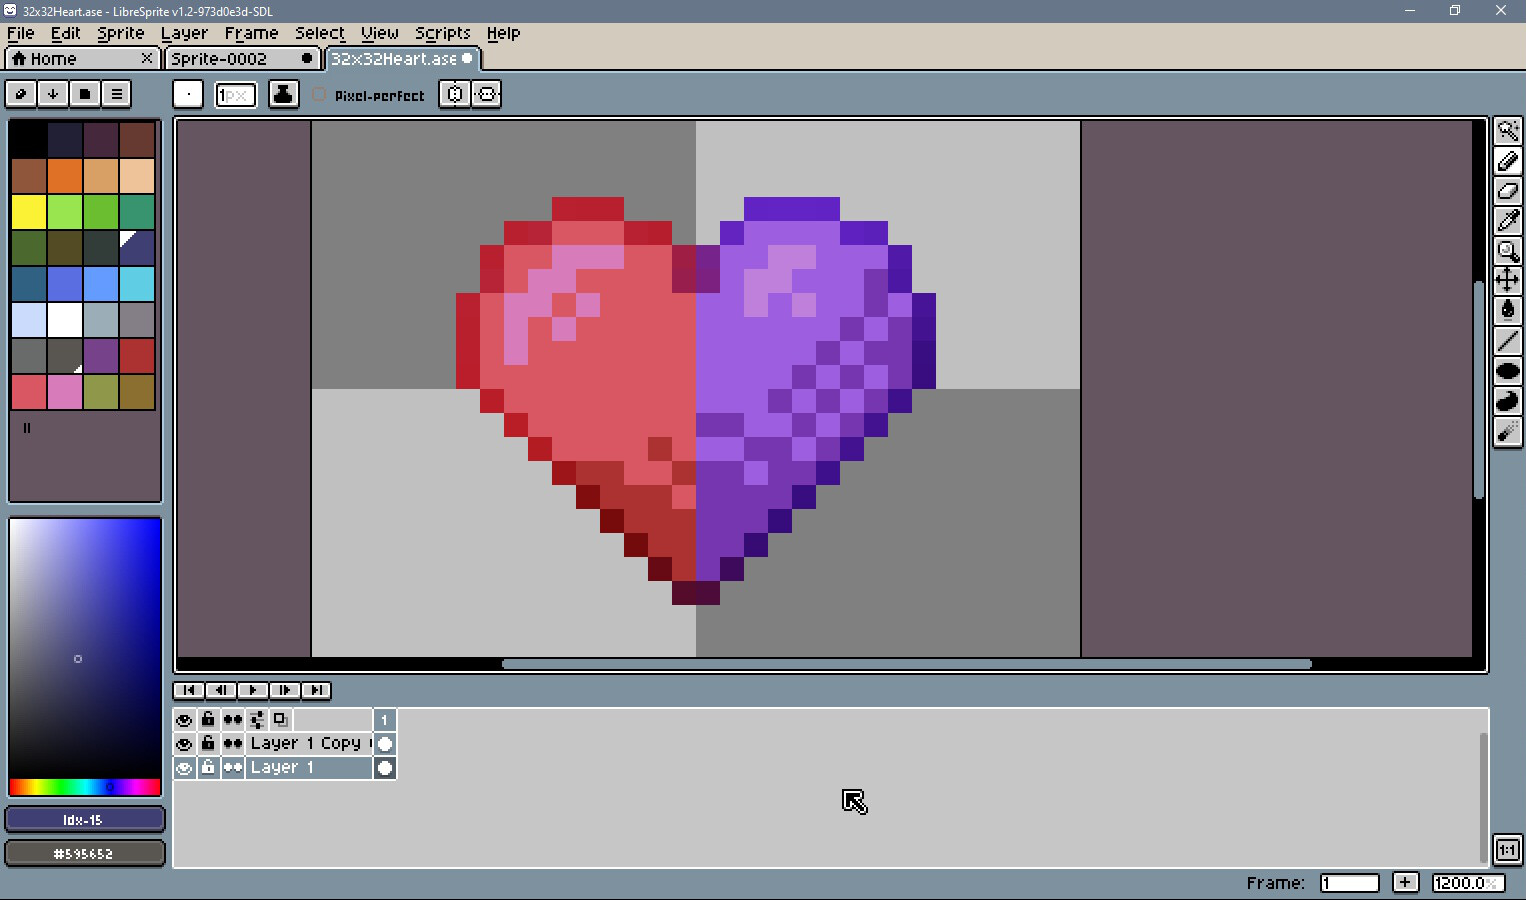
And now that’s it! Looks better:
As I said before this technic might looks complicated but try it a couple of times and you’ll see that it’s much faster (especially if you use shortcuts) and easier than making colored outline manually pixel by pixel.
And one of a cool features of this technic is that now you don’t need to search and add extra colors to your palette to make colored outline, the program will make it for you!
Have a nice day! 
 Thanks!