
This is a high definition render? Best I could get. At least it was less than 5 seconds.
Hi Ray_H,
It looks like an extremly low sample amount render. I can’t see the amount of samles from the screenshot, could you provide it for us or trying to put it higher?
You can find it under samping section visible in your screenshot. Try to crank up the “render” samples, something like 128 and up. This is the samples amount used when rendering. The preview effects the editor view port shading mode when you have it on “rendered”.
If this do not help then we need to dig up more  Hope this helps!
Cheers, Jax
Hi again,
Out of curiosity, how much have you zoomed in that picture?
Cheers, Jax
Jax,
I am unsure how to answer that, but the base in the picture is 1 blender unit across.
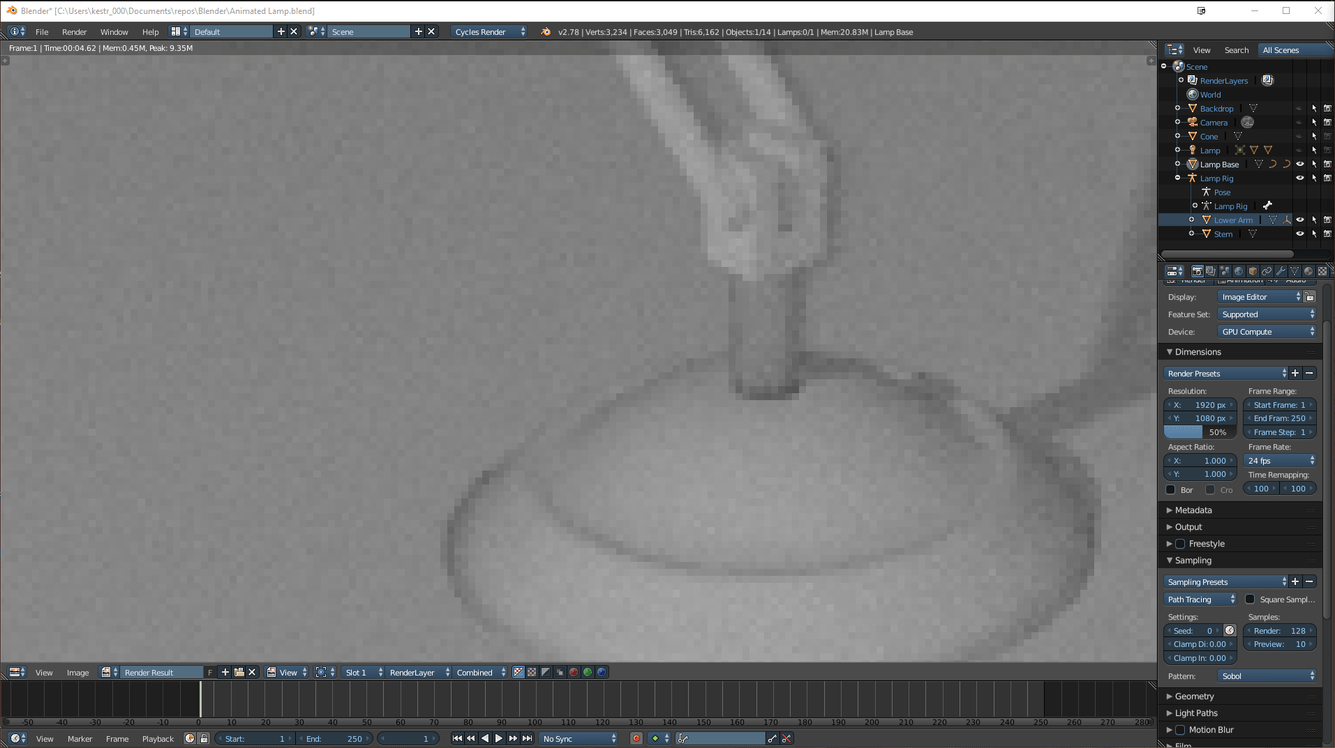
I think Jax is on the right track with asking about your zoom level; note in the right hand render properties window that you are rendering at Blender’s default values: 1920 by 1080 at 50%. The last bit is important because, as you’ve mentioned, you’re not actually rendering at “high definition” but rather half of what is considered high definition (960px by 540px).
The noticeable pixelation is a combination of the resolution of the image being low (lower than display, at least) and being zoomed in on it. For example, here is a screen cap of a test render I did at the same default values (1920 x 1080, 50%), there is a grey border since the image is at 100% of it its size, which is technically 960 x 540, and displayed on a 1080p monitor:
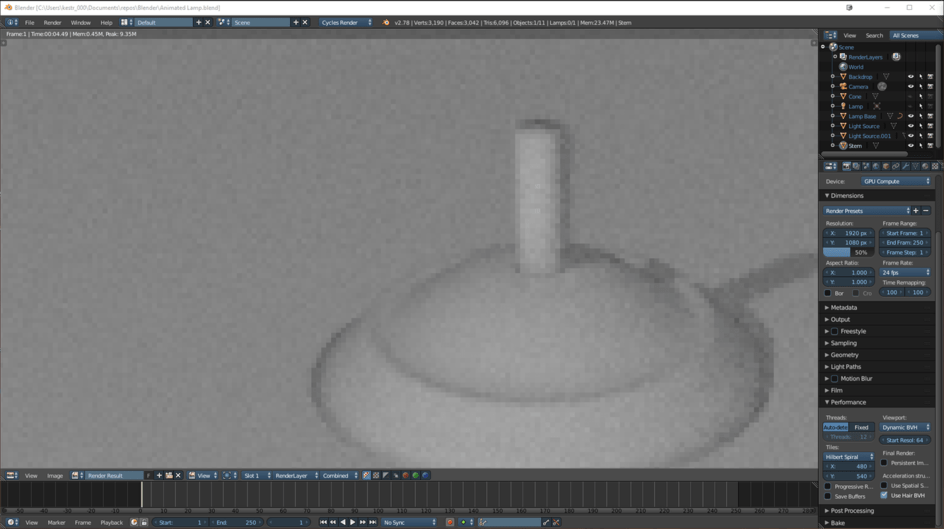
And here is another one with the same settings, but after using the scroll wheel to zoom close enough to fill the entire viewport, much like your image:

To view a crisper image I would suggest trying to zoom out in the viewer (using the scroll wheel or pressing “1” on the numpad, if you have either of those) until you have a similarly sized grey border, or increasing the render settings to render 100% of 1920 x 1080 if you want to output a “high definition” image. If you try to render at a higher resolution you still might be zoomed in in the viewer, so I would still try to zoom out, or save the image to your computer and open it in a photo viewer where you can see the zoom level in percentage.
I hope that might explain the issue you’re having, but feel free to let me know if I’m off the mark.
(Edit: replaced high sample images with lower sample as I thought it might be more representative.)
2 Likes
Hi Red,
Very good answer. This is what I am think the problem OP is having. But if not, then let us know @Ray_H
Cheers, Jax
Several things: It seems that the render window is completely independent of the camera. If I render in the view window (as in the following) even at 1920 x 1080 100% and 128 Paths, it only takes < 2 seconds!
Something is not right here…
So, I’m having difficulty following whether you are still having the same issue as before since previously we were looking at images that had been rendered out into the editor and now we are looking at a rendered viewport, which is a bit different.
As you noted, when you use rendered mode, it renders whatever you’re looking at in the viewport and is disconnected from the camera (although if you hit numpad 0 the view will flip to camera mode and will only render what is within view of the camera).
The resolution settings (1920x1080 @ 100%) don’t apply when you set the viewport to rendered mode because you are automatically rendering everything that is going on in your viewport at your whatever your screen resolution is set to. Right now, in your scene, there aren’t very many objects to render and with the preview samples being set at 128 a time of under two seconds doesn’t really seem that outlandish to me (especially as you’re on GPU rendering).
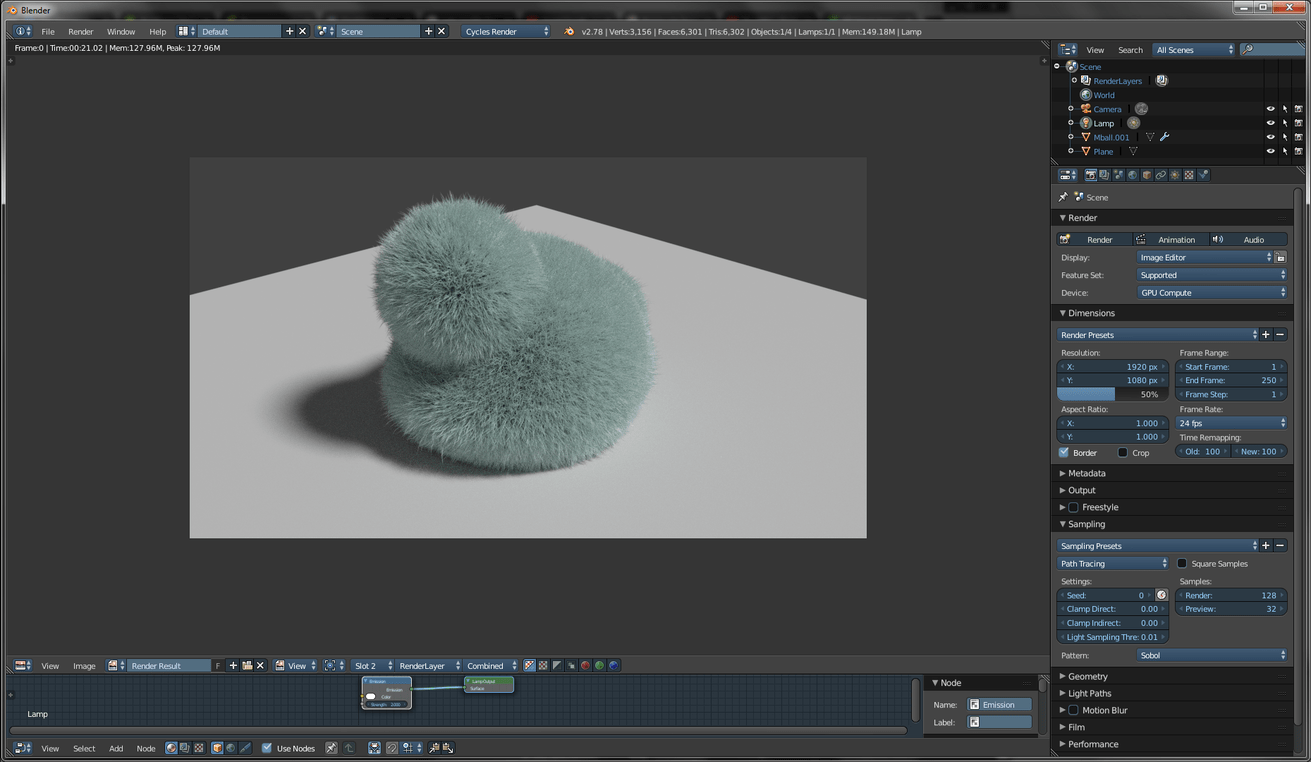
I booted the lamp file that I had been working on with just the lamp visible (no backdrop) at 128 preview samples and it builds the image in less than three seconds – and that’s with the lamp having a very glossy/reflective base so it would be difficult for me to say that there’s anything wrong based on that metric.
If you don’t mind using a file sharing service to share your file and have other people poke around to see if they can find anything wrong with it, that’s also an option – screenshots can sometimes be more difficult to troubleshoot.
Hi Ray_H and Red,
I was so intrigued by this so I also took a look at the blend file. I think you have at least two things going on there:
-
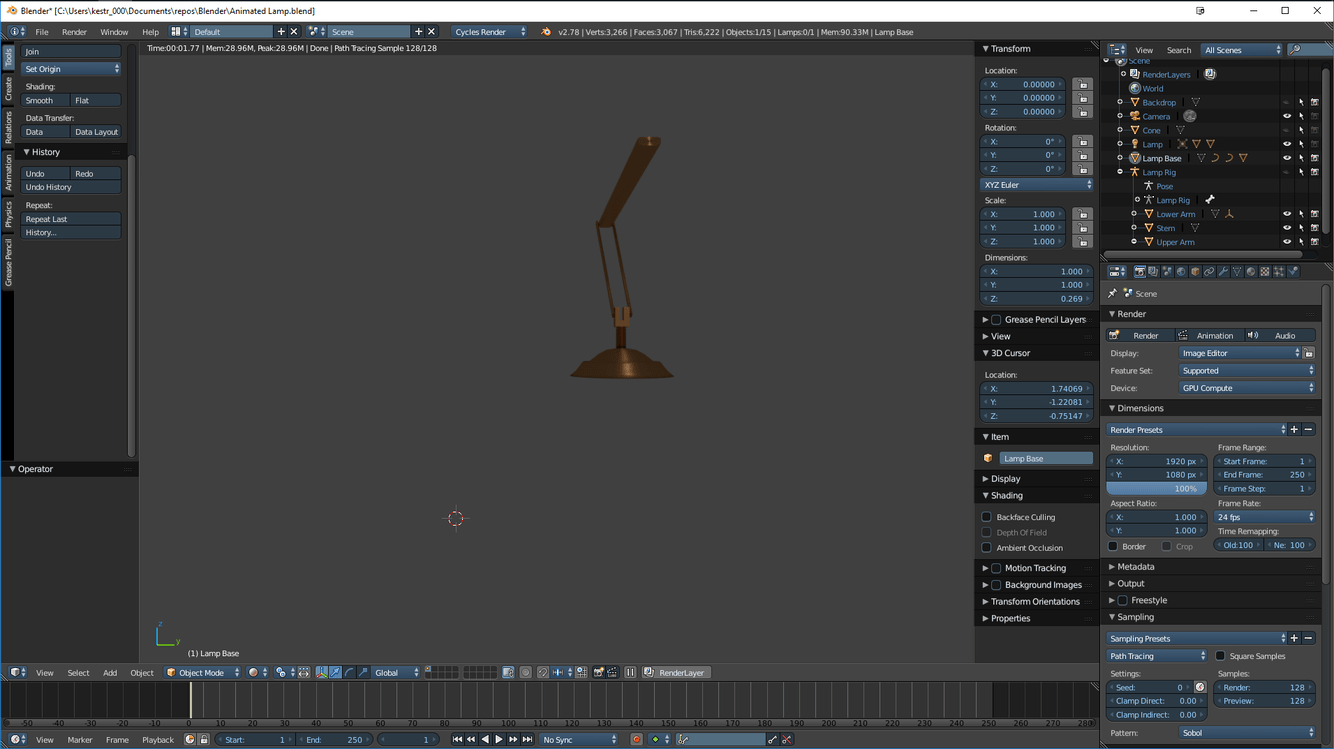
If you are rendering you have your backdrop between your camera and your lamp so that gets rendered instead. You can see that you have hidden that object from the viewport but you haven’t hidden it from the render, thus it’s rendering. The icons on the right side of the object in the hierarchy are eye (viewport), cursor (selecting), camera (render).
-
Your camera has some really funny setup. I am not sure what have you tried to do or if you just altered some values but forgot to set them back to default. Your camera horizontal and vertical shift are not 0, so it’s really skewed. Then you have set aperture size not zero which gives defocus. This can be fine if intentional but this will give a blurry result.
So I would delete your current camera. And add a new camera by shift + a + camera. This is default camera with default settings. Then move around in the viewport by using middlemouse so you have wanted view of your lamp and press ctrl, alt + numpad 0. This sets your camera to current view. Now your camera is automatically on “lock camera to view” so if you move in this mode your render camera will move. Uncheck the “lock camera to view” if you don’t want to touch the camera or switch away from camera view by pressing numpad 0 (zero).
Then you are ready to render and at least when I render it comes out good and it’s as good as you want it to be in the terms of samples and resolution (like Red explained before).
Hope this helps you forward!
Cheers, Jax
1 Like
Jax,
Thank you for taking a look. The backdrop problem was definitely mine. I was sure I had screwed up the camera somehow; the camera and I do NOT get along! I’m on my 4th camera (5th now) and I still have problems.
- Numpad 0 is switching between two views; the view I wand to camera to see, and the view the camera actually sees; both of which show something to render.
- Rendering shows a totally grey screen (although it IS a high resolution grey).
Hi Ray_H,
If I repeat the steps I wrote I up I can render the lamp correctly. It’s zoomed in to the render, so if you scroll out with middle mouse you should see it better. One mistake I have made up. If you add a new camera it’s not automatically “locked on view” so you might want to check that so you can see what your render it going to cover. (“lock camera to view” is in the properties panel in 3d view (switch by using N) under view section.
Cheers, Jax
Thanks Jax.
I guess I am completely baffled by the camera. I cannot get it to do anything I want. And, as I mentioned earlier, the camera seems to be totally disconnected from the render.