How to shrinkwrap, for example clothes / Retopo with BSurfaces

Here’s a small guide how to set up a (for example) clothes shrinkwrap :
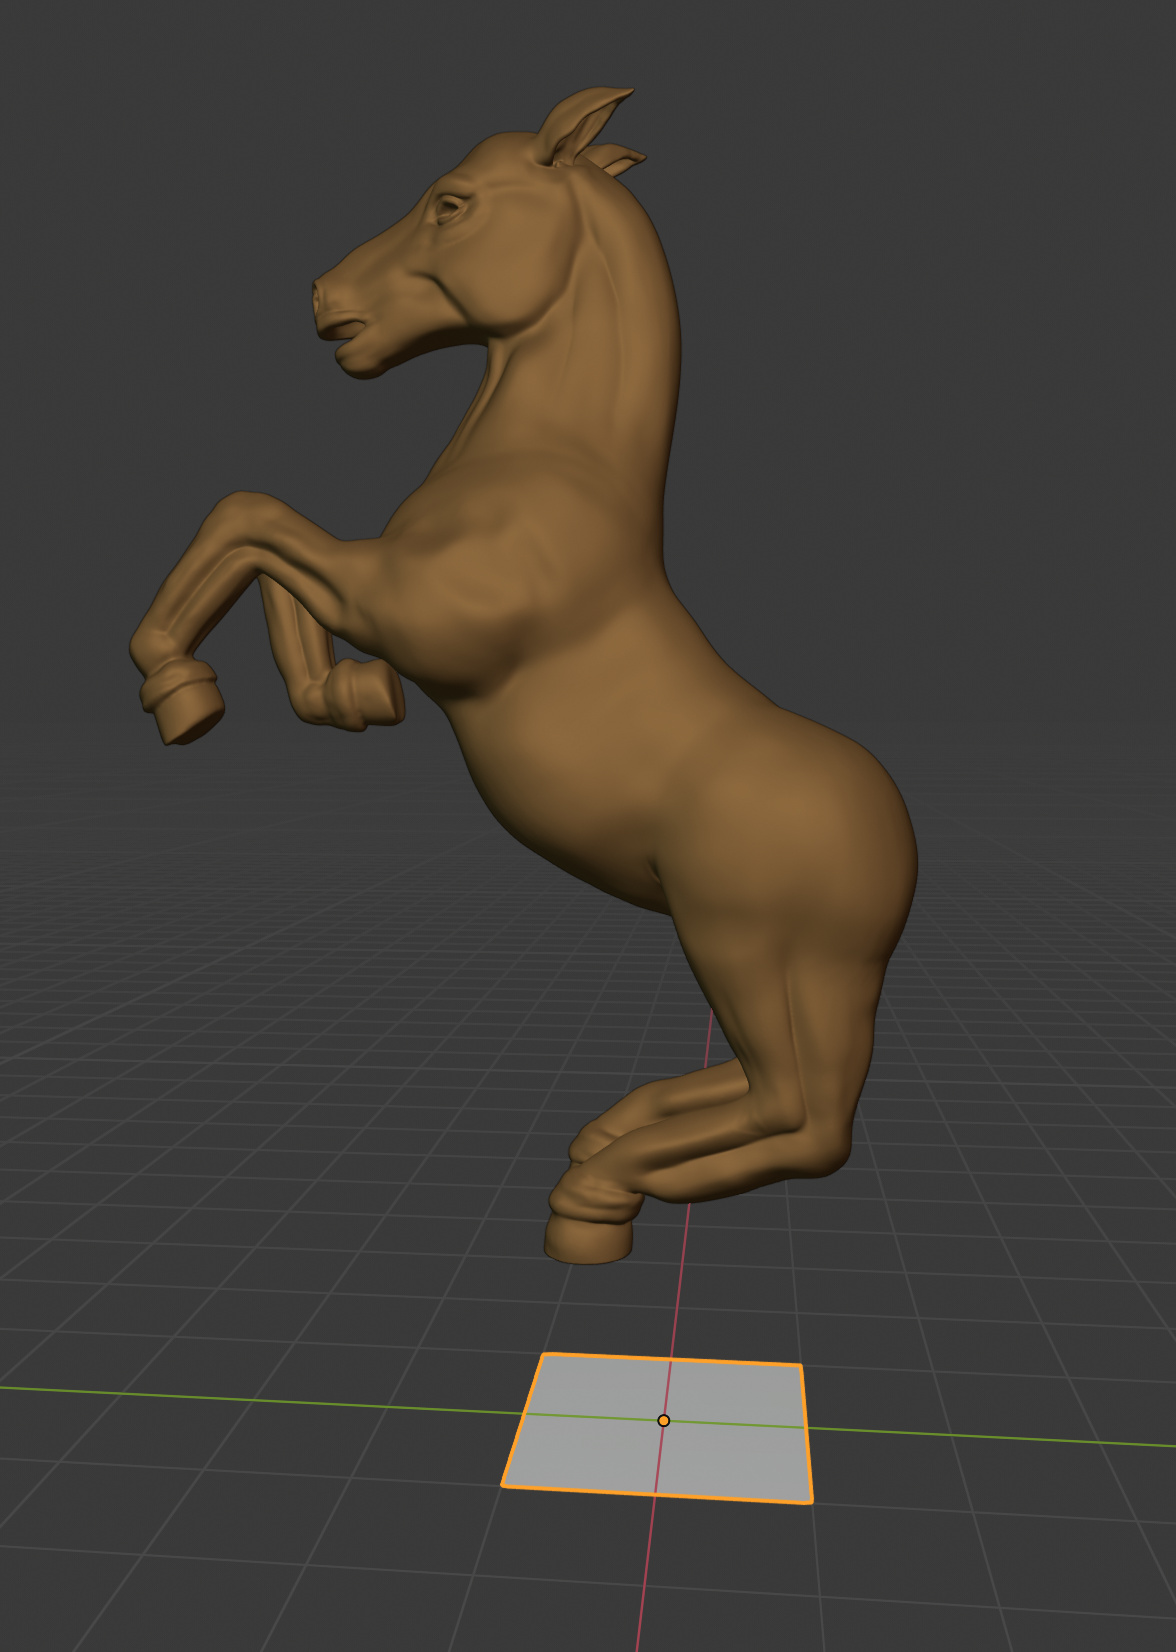
Create a plane.

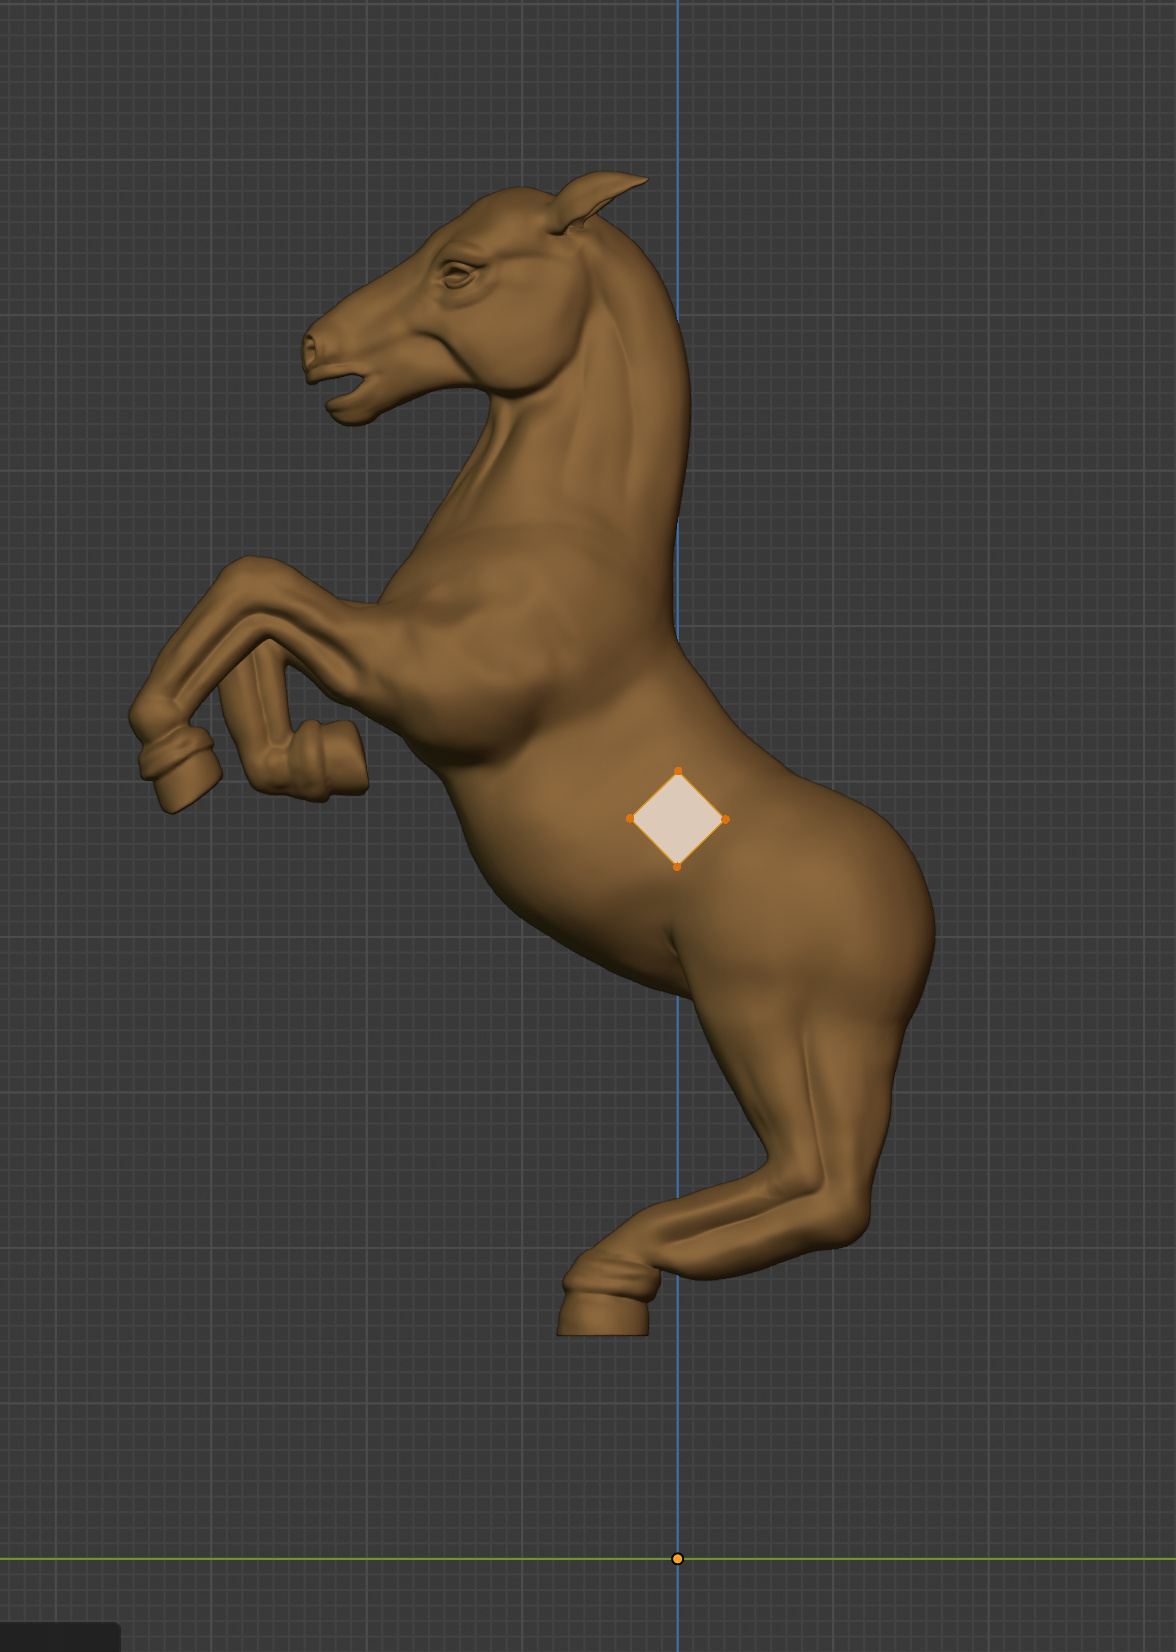
Switch to Edit-mode and move the vertices where you want the geometry to be.

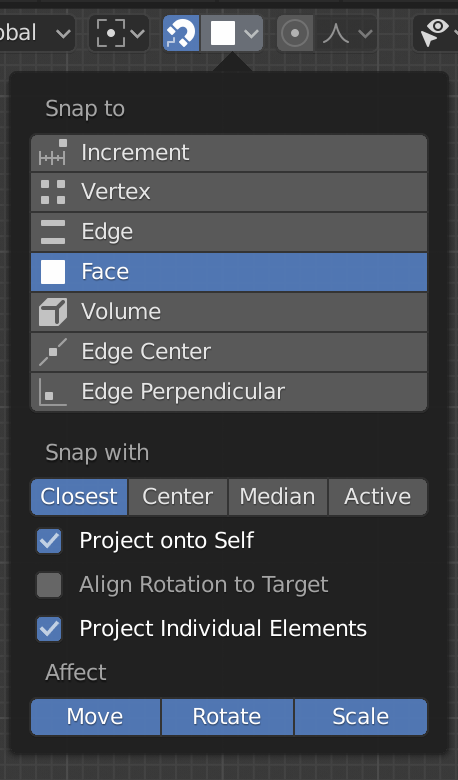
Activate the snappings setting and choose face and tick the box “project individual elements”

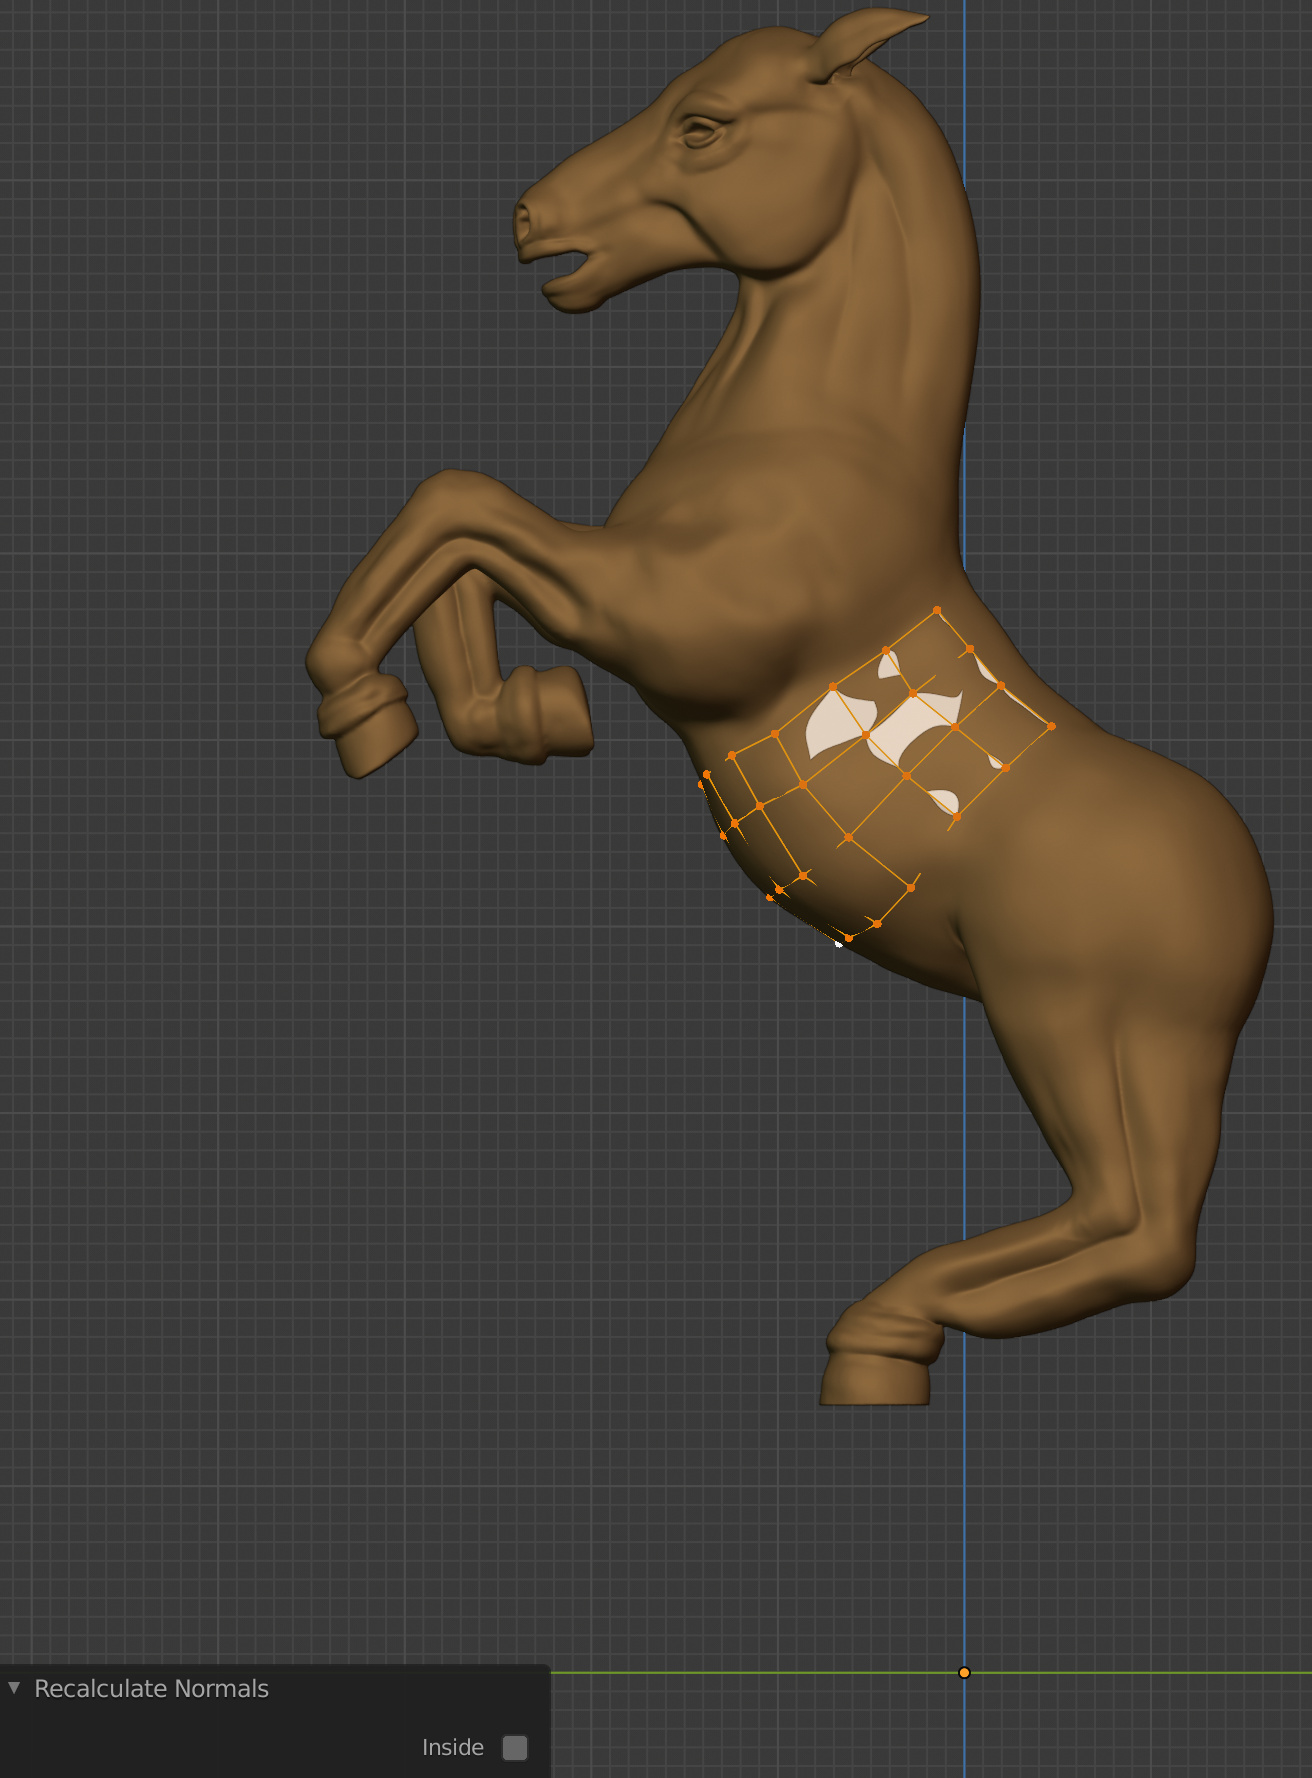
Expand your mesh the way you want, the vertices will snap to the surface now. In some cases they probably won’t, in that case select the specific vertex and press g and then left-click. Also, recalculate your normals, sometimes they face inwards.

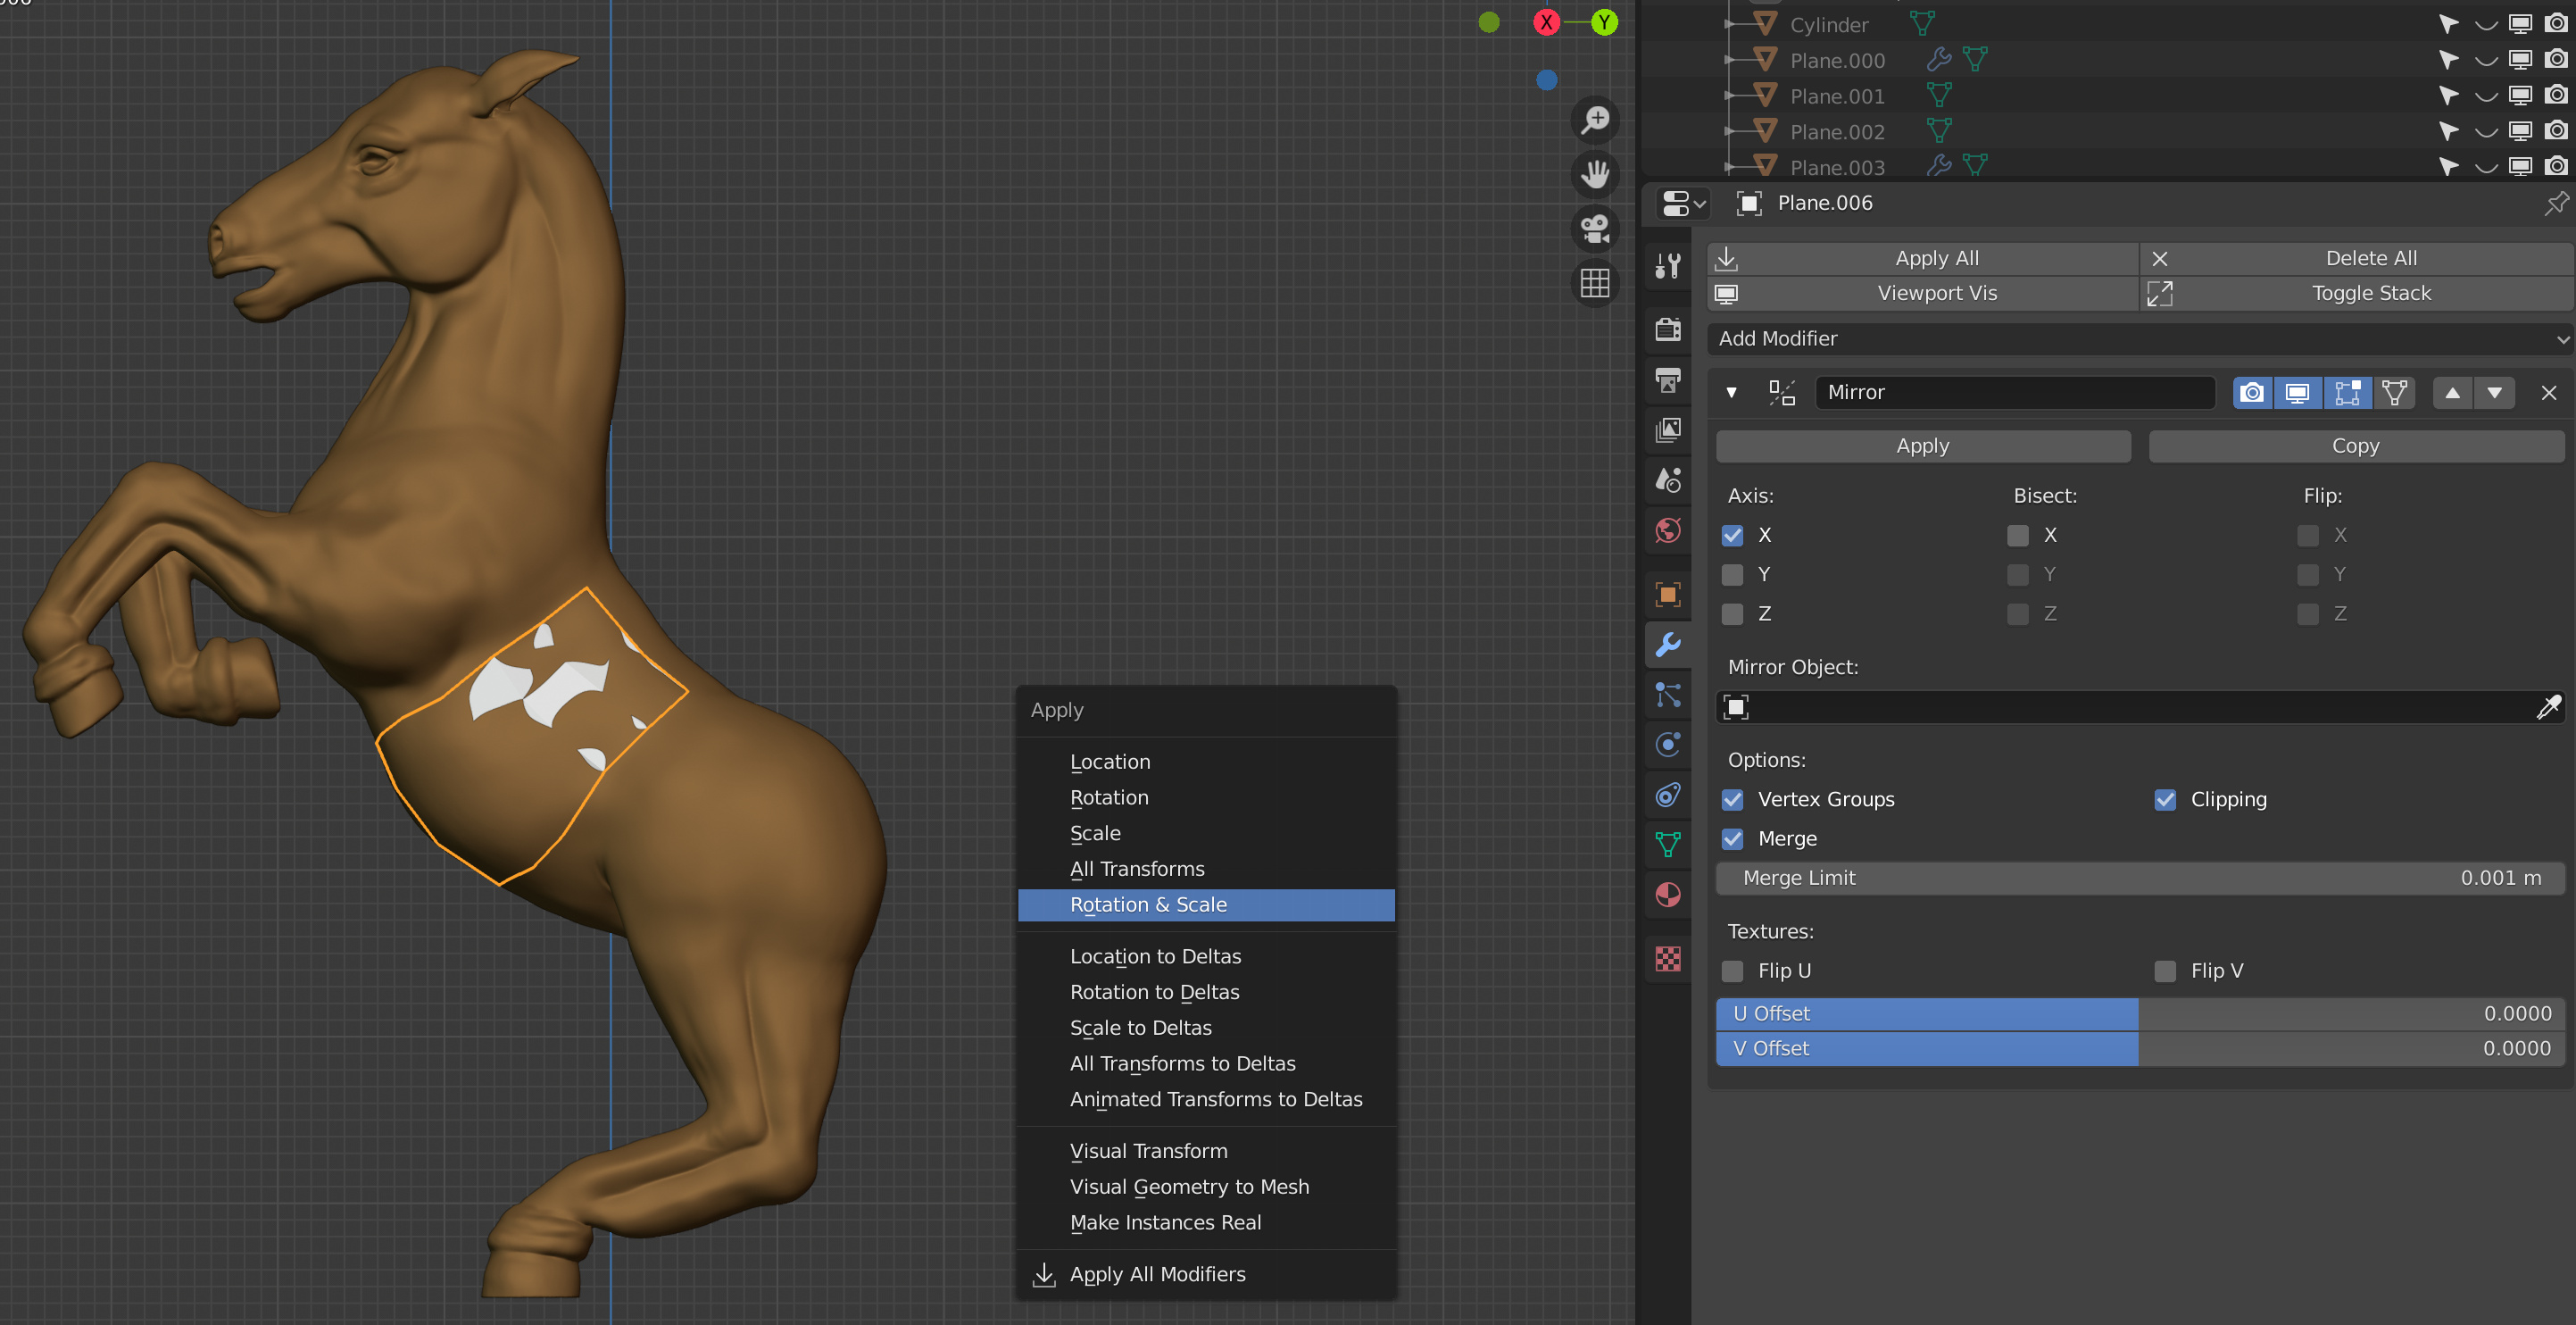
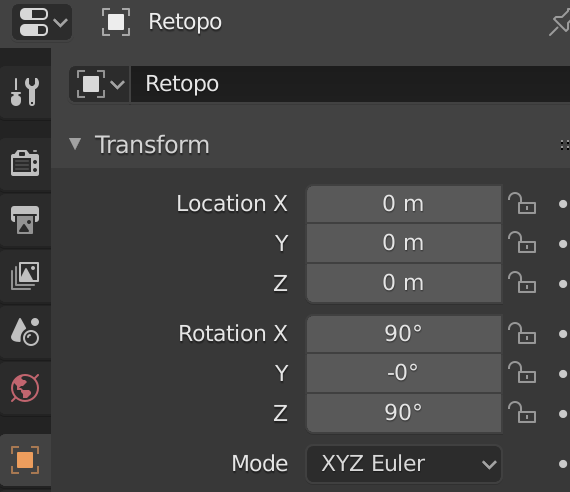
Add a mirror-modifier and in case you get a strange result, don’t forget to apply the rotation & scale. In case your mesh meets in the center, tick clipping to remove overlapping vertices in the center.

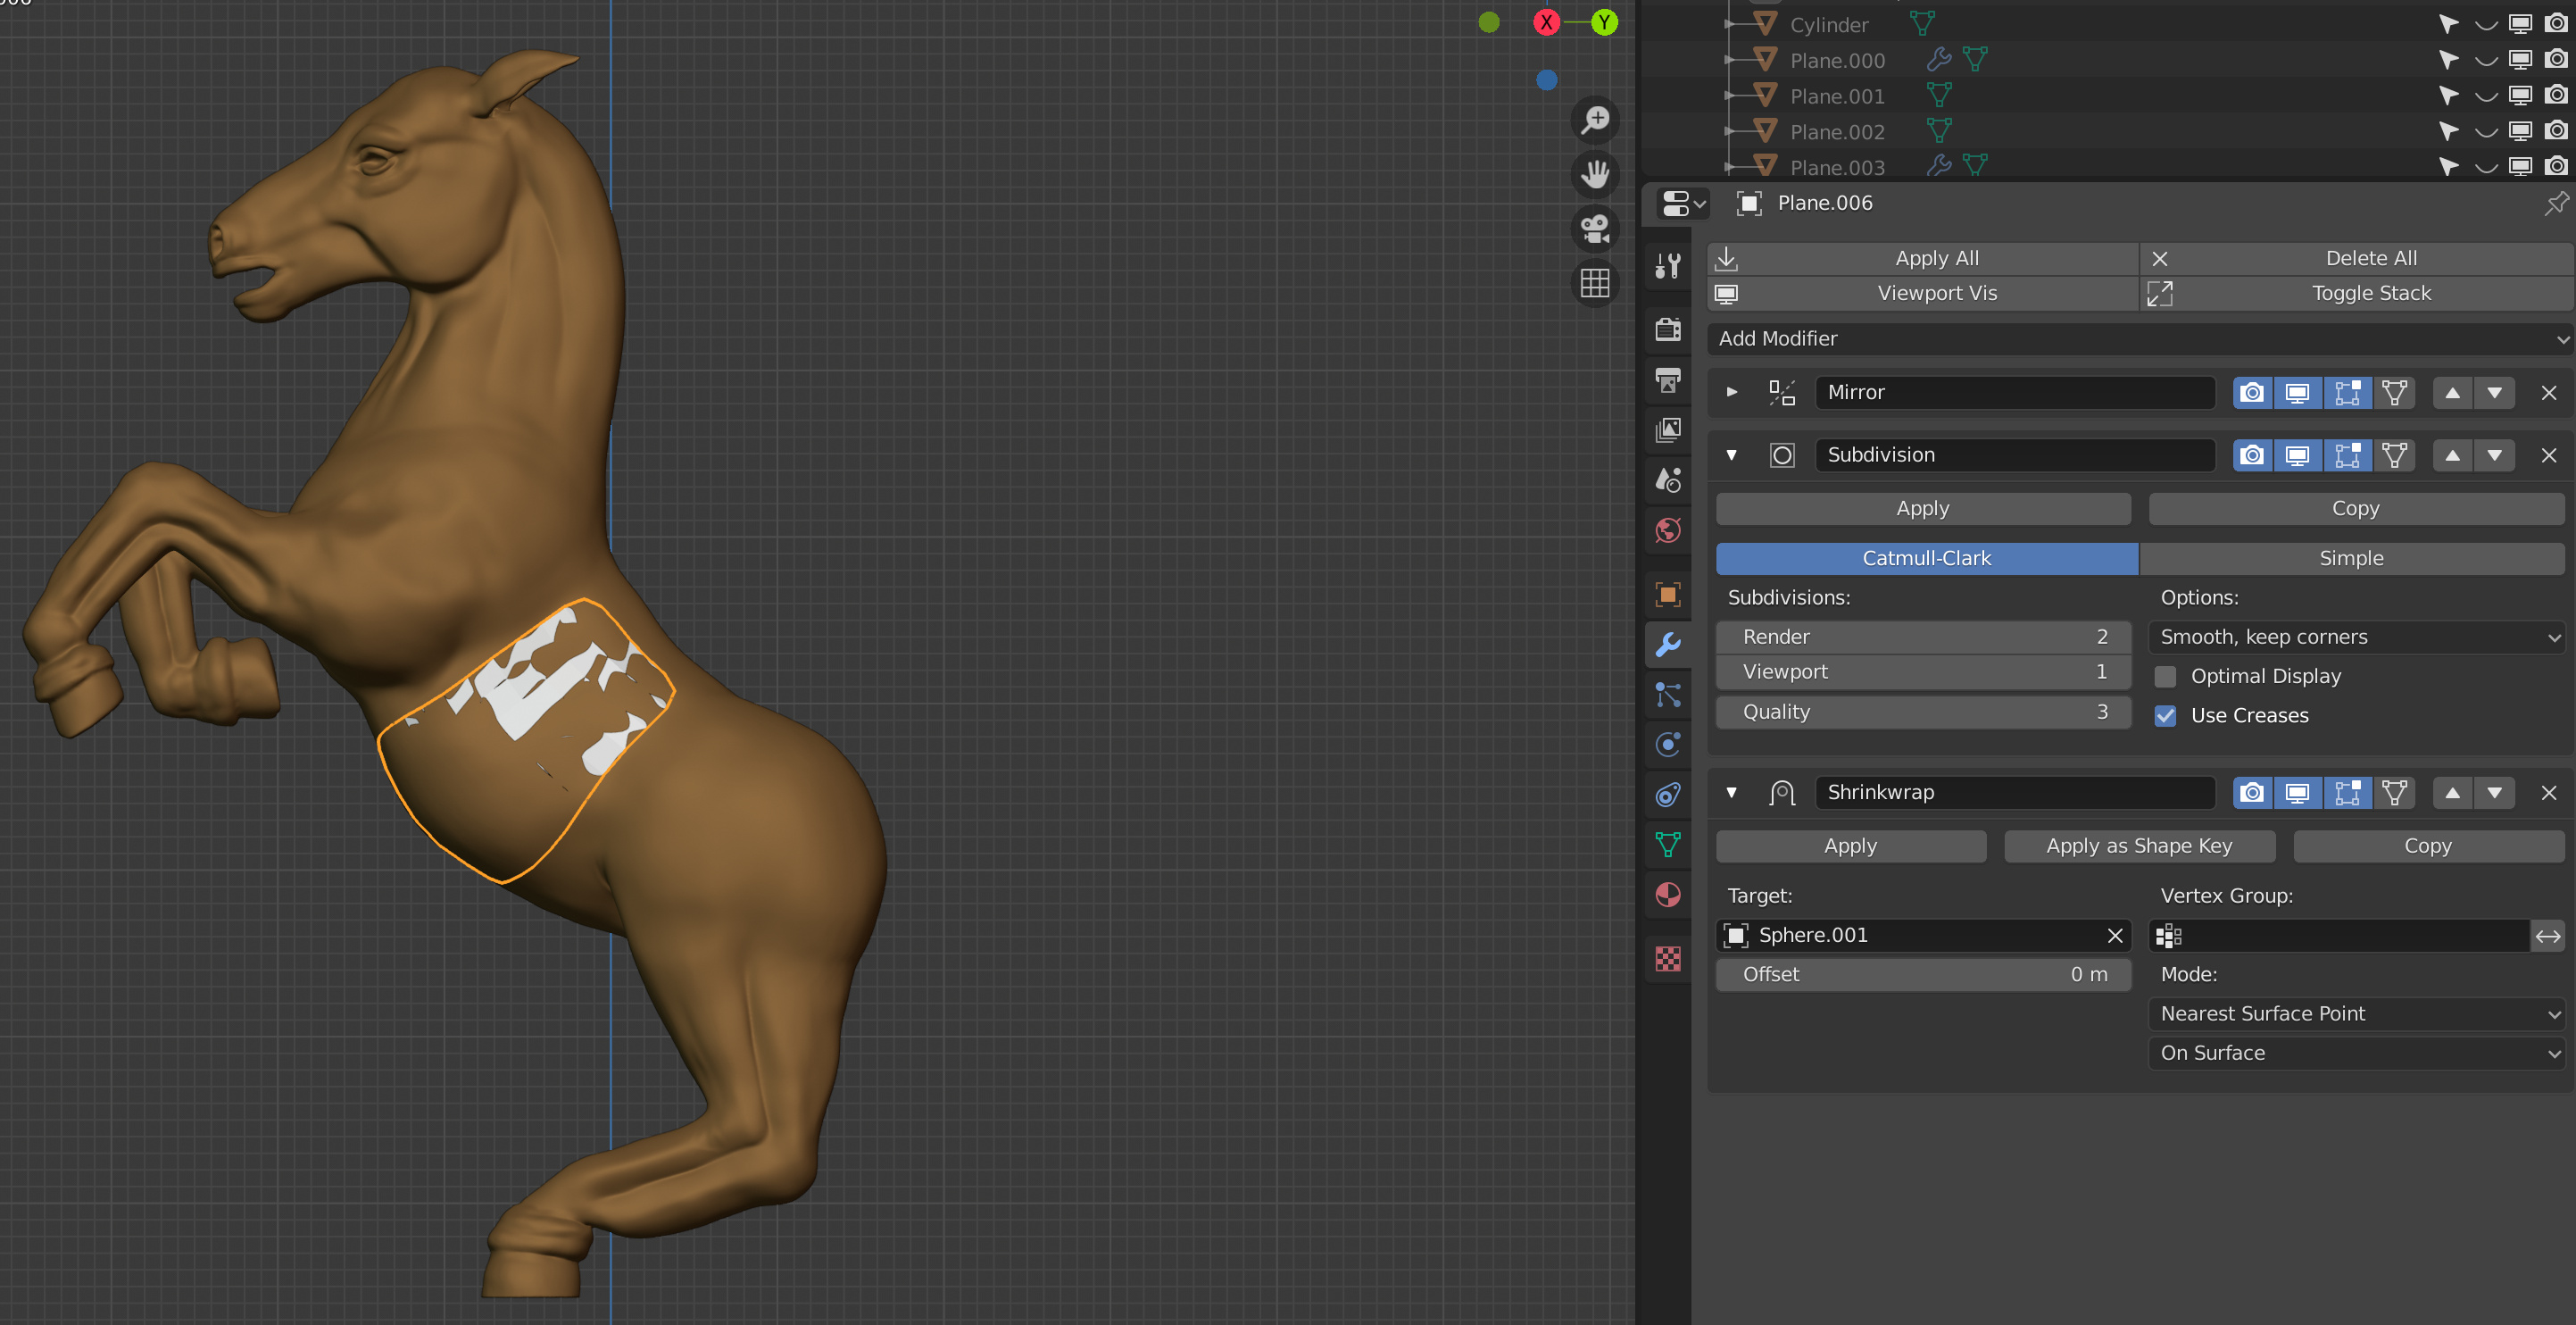
Now you can add a subdivision surface-modifier for a more smooth (but higher poly) mesh. Add the shrinkwrap-modifier and choose the object you want your mesh to wrap around.

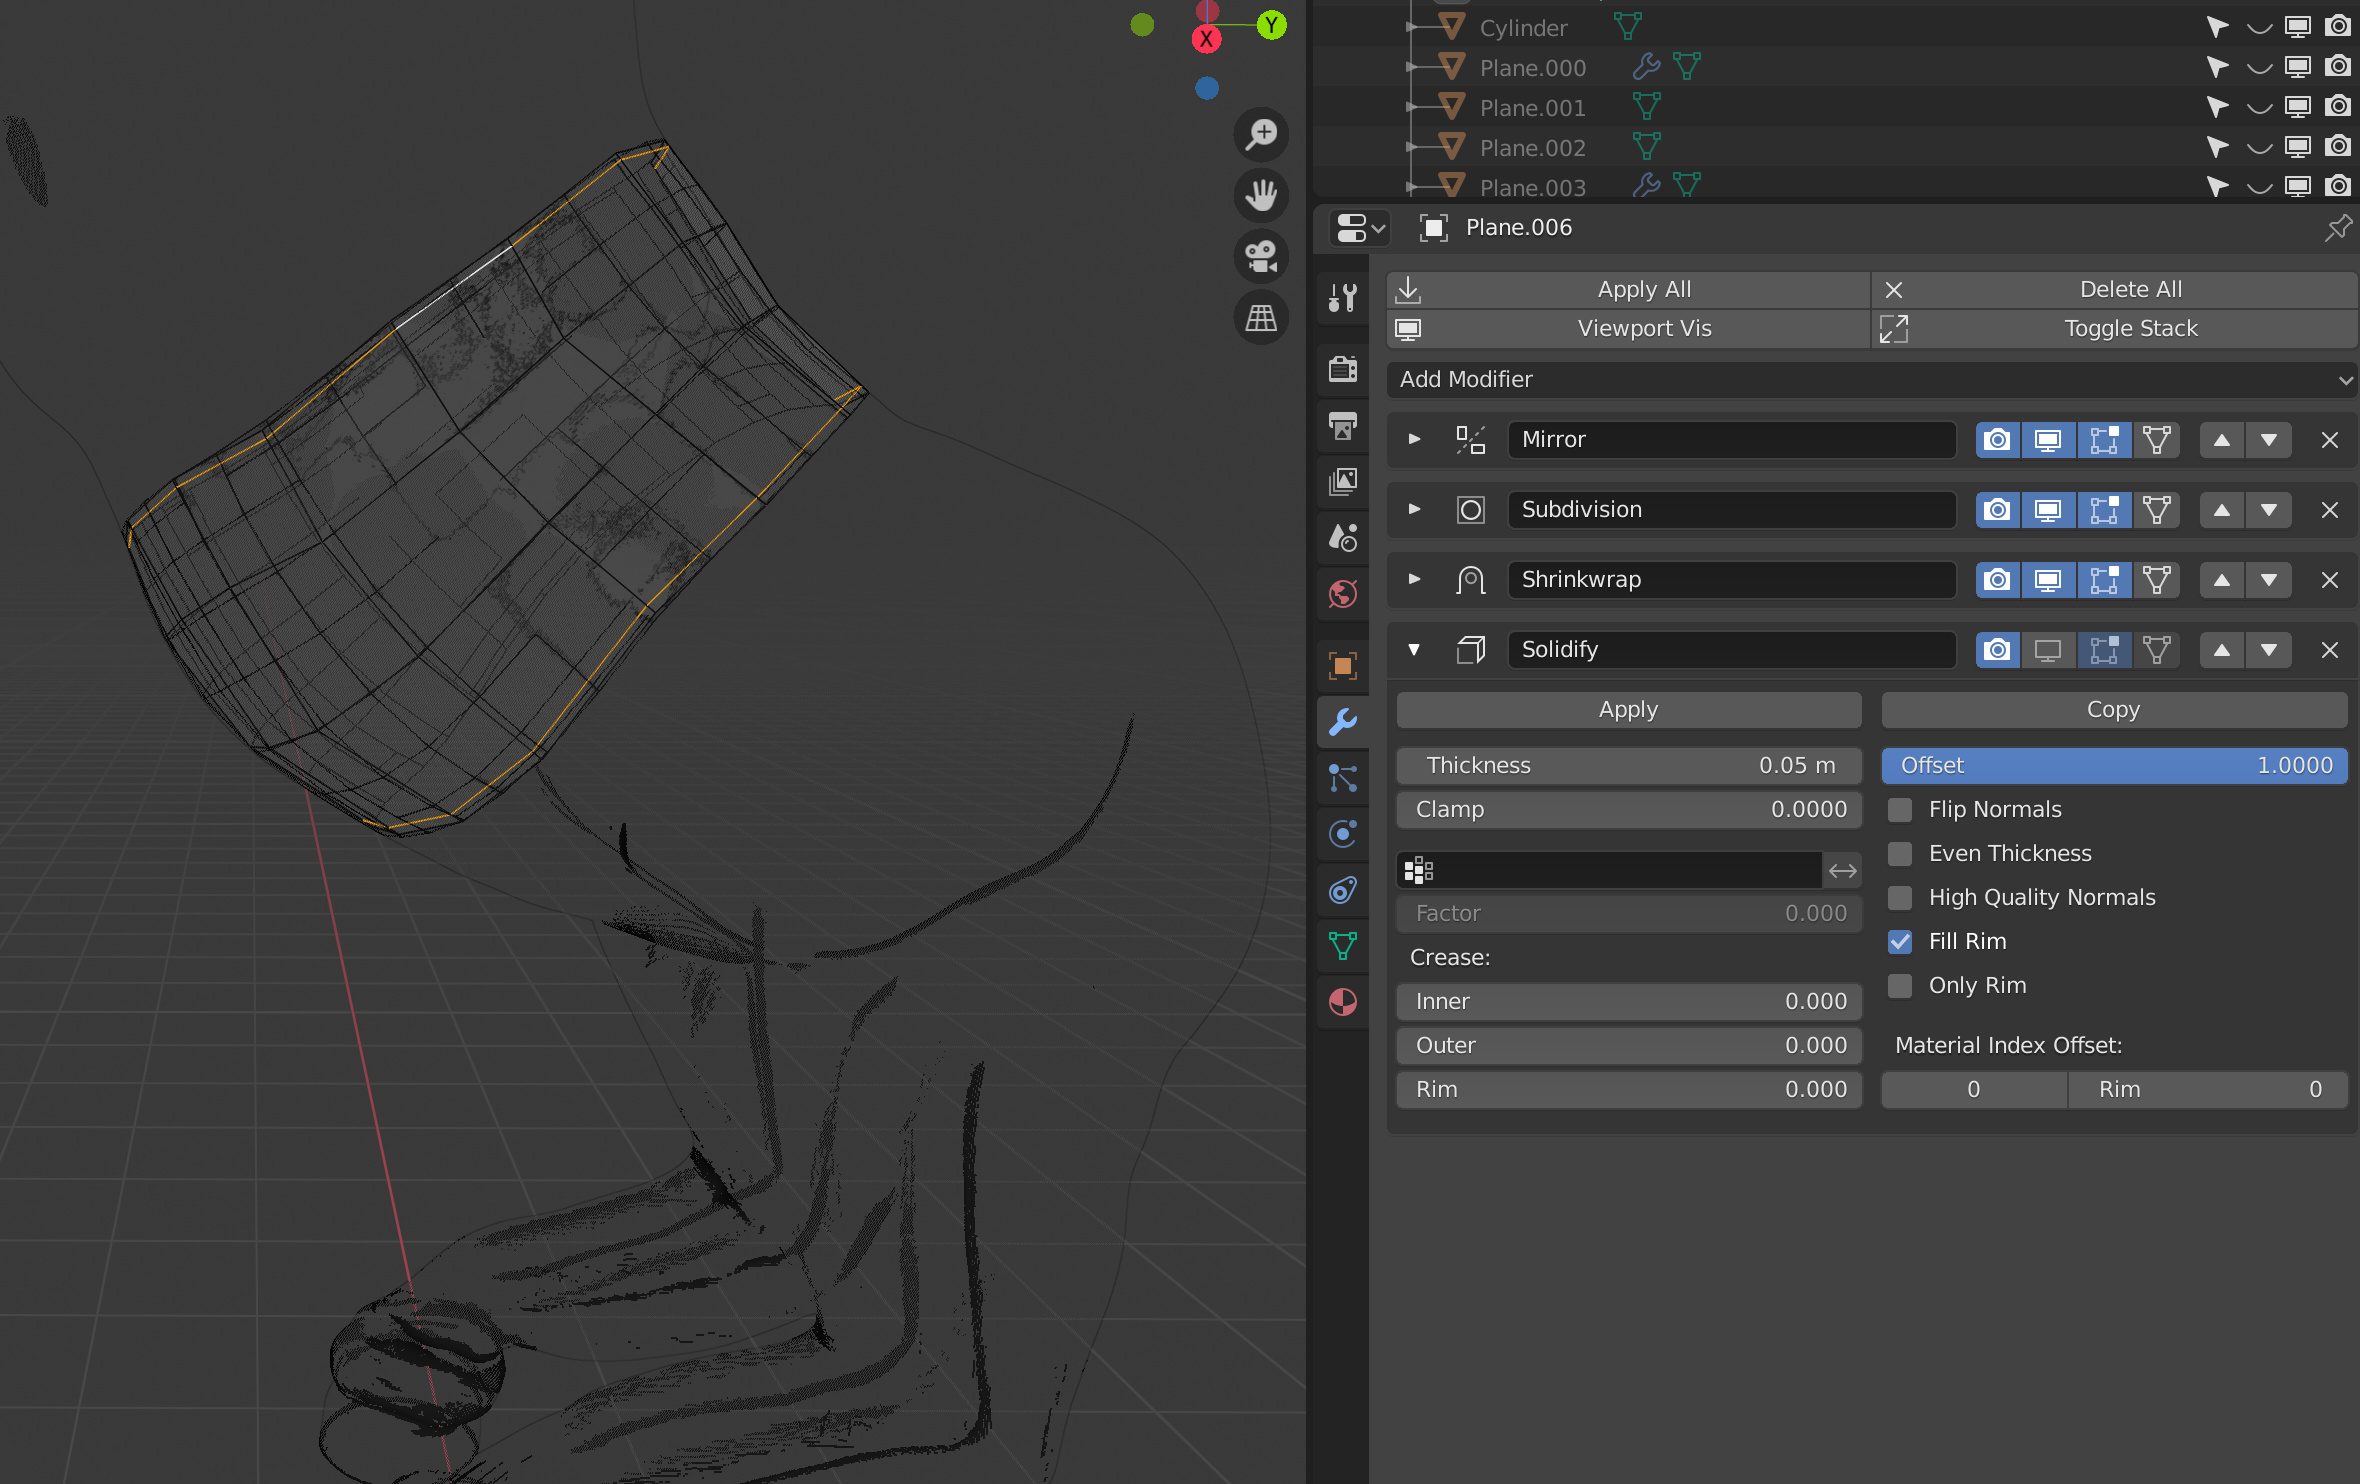
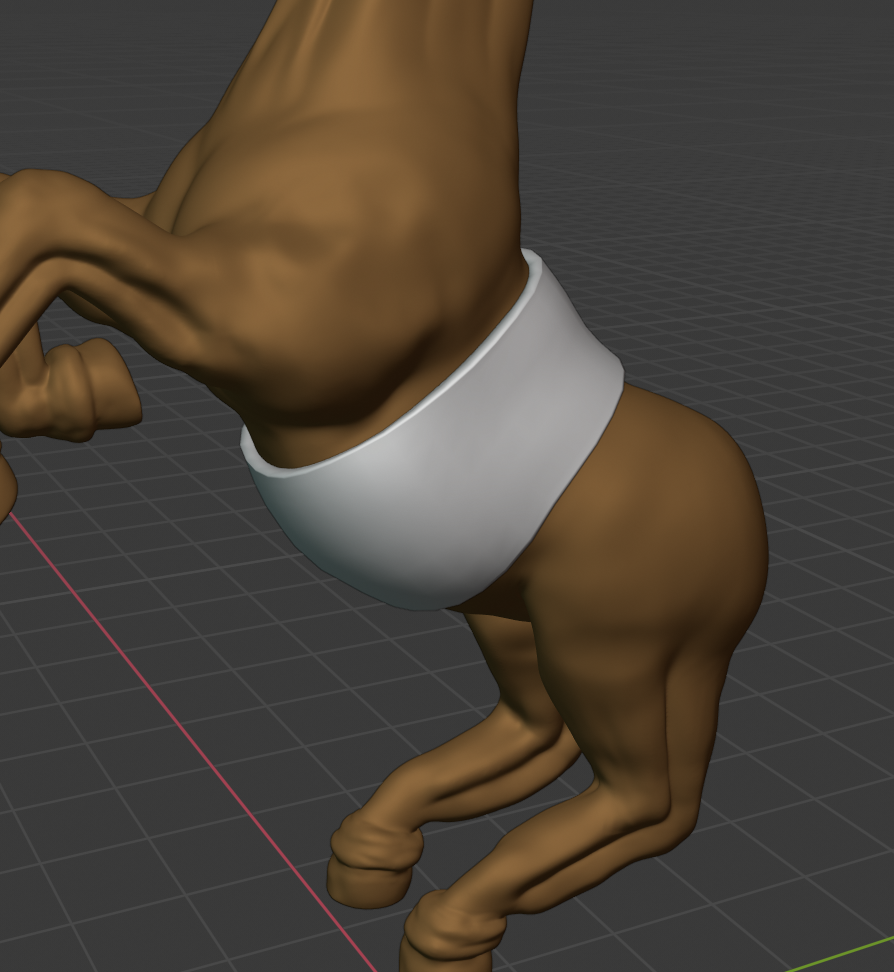
You can add a solidify-modifier now and choose a thickness you like. If you dislike the rounded look of the corners you could add supporting loops (orange edges), or change to position in the modifier stack.

In edit mode, if you extrude edges or faces now, the modifiers will update the mesh accordingly.

3 Likes

Here is the BSurfaces workflow :

Go to Preferences, Add-Ons, search for bSurfaces and activate the Add-On.

Create a Plane and apply the Rotation and Scale.

Bildschirmfoto 2019-12-28 um 22.36.59

Rename the plane to Retopo.

Now you can delete all the Vertices in Edit-Mode. We won’t need them.

In the Object properties you can change the display color to something you like. We will use it to make the retopo-mesh more visible.

Go to the shading properties and change color to object. This will let us use the object color.

In the tools-panel go to Edit and open the tab Bsurfaces. Under “Mesh of BSurface” pick your Retopo Object. You can also click on “Add Mirror and others…”. This will add all of the Modifiers we need in one step.

Press and hold the “d-Button” + left mouse-click and draw parallel lines.

Click on Add Surface.

Now you should be able to see a mesh. In my current Blender version however, it only works if i draw parallel lines. In previous versions you were able to draw grids as well. In my case i will get an error message if i try it atm.

In the left lower corner you can adjust the geometry of your new mesh. With Cross and Follow you can add or remove loops.

3 Likes

Thank you for this Manu, as I’ve never tried the BSurfaces add-on, and have not been happy with the regular shrinkwrap modifier any time I’ve used it. I’m definitely going to have to try this, though I’m still on 2.79, so the workflow will probably bw slightly different, but I’m going to bookmark this anyway.

1 Like

Thanks Manu. I will have to try those ways out. I just took the plunge and got 2.81a, guess there was no putting it off much longer. :slight_smile:
@Manu_Scheller

1 Like

@Miss_B @NP5
Glad I could help :grin:

@Miss_B Yes, in 2.79 it’s a bit different than the method above. At least when I used it before 2.8 came out :thinking:

You can also, go into edit mode. Select the vertices you need as clothing.
Press Shift+d to duplicate. Press enter to end action.
Press P to separate object.
Go out of edit mode, select new object. And edit mesh.

2 Likes

If you got a clean mesh, that is a totally valid method. However, if you did some sculpting and don’t plan on doing a retopology, it wouldn’t be so funny to switch into edit mode with a mesh over 1million vertices :smiley:
And if the topology isn’t so great there would be a lot of clean up to do.

I may just try that method as well, as I’ll for sure be trying something easy the first few times . . . at least until I get the hang of it. :wink:

1 Like

That’s true also, but now we got also the voxel re-mesher. Giving quads and poles.
Than with some modifiers (remesh, decimate) you got a simplified mesh.

Thanks a lot for this tutorial!

1 Like

@Marcello
Glad you like it :slight_smile:

1 Like

Privacy & Terms