Honestly I’m a little bit lazy… so I’ve found how to make gradient dithering workflow a few times faster.
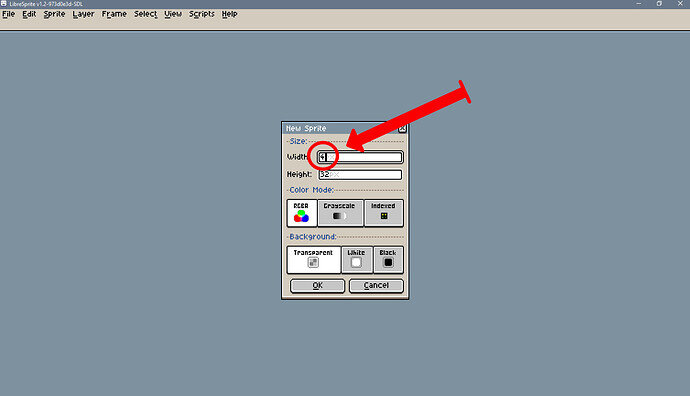
- It’s not so necessary but it might be more easy to work with a new file with only 4 pixels width (for this example I made 4x32 pixels canvas):
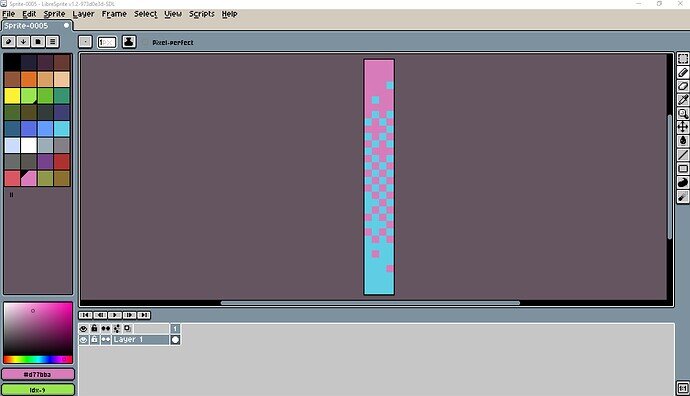
- Paint dithering as in lesson by Reece. For example:
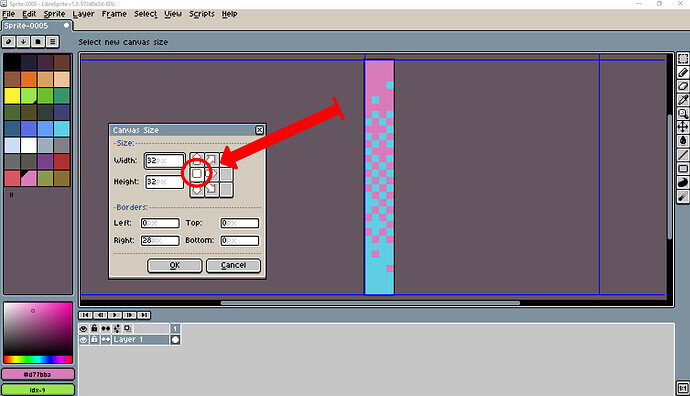
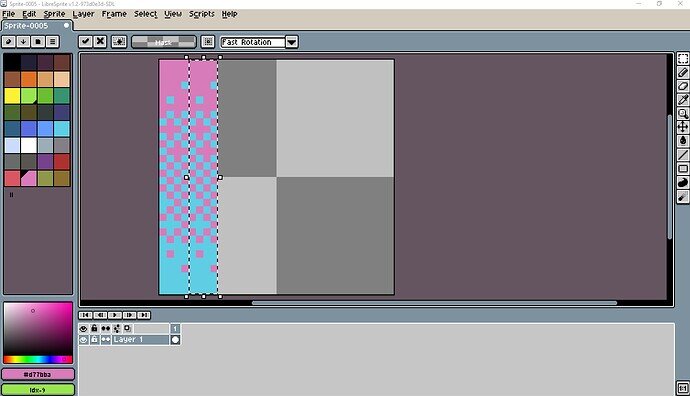
- Change canvas (by pressing “C”) width size as you needed but don’t forget to select middle left square as in this printscreen example:
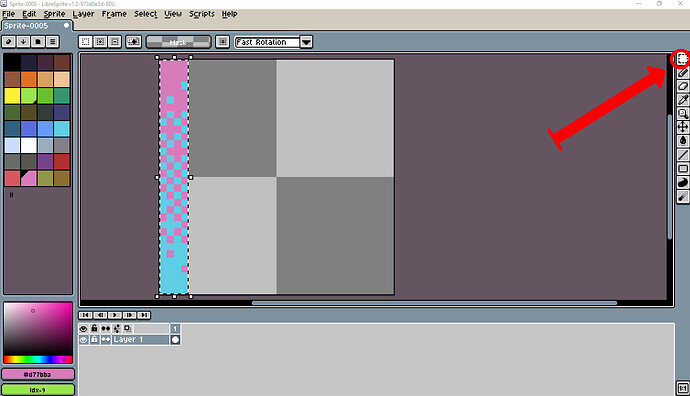
- Select just (and only) your painted pattern with selection tool:
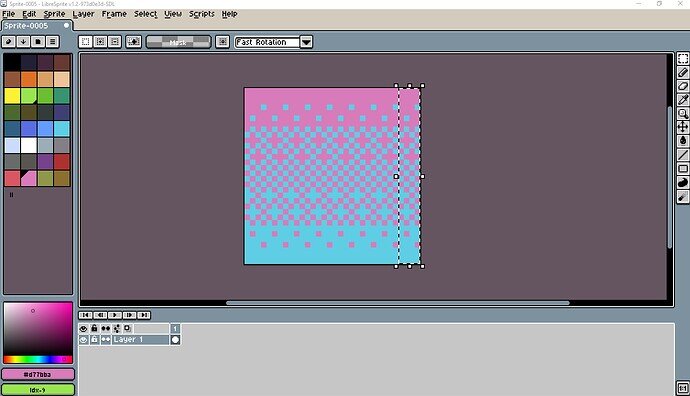
- Copy, paste and move to the right (ctr+c, ctr+v, mouse or right arrow x 4 times):
- Repeat until you fulfill all your canvas:
- Congratulations! It’s done and have took just a few minutes (and was less boring and repetitive). And now you can create any wight dithering backgrounds in just a couple minutes.
Have a good day!
